And so it begins...

Those of you who know me will also know that I sell supercharger kits under the moniker 'Joe Blow'. A while back I decided that to promote the kits I would put together a logo'd rat panel van - with nice Joe Blow powered motor. Orignally I was after a lowlight panel but somehow ended up with a '55 panel instead. So today I decided to start work on eliminating the tin worm. I recently cleared a load of projects from my schedule and so figuring the bus wasn't going to fix itself I decided to get stuck in.
The original idea was to do the necessary work to get the bus on the road - lower front nose, sills and repair the damaged panels. The cab floor and cargo area floors are not too bad. Rear end is badly dented but otherwise fairly solid. The goal is to have a ratty lowered bus with faded Joe Blow logos running a Supercharger kit.
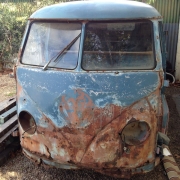
The bus has the usual rust in the lower front nose, which means an inner and outer front valence are required, there's some rust in the A pillars and around the screen surrounds but the roof and gutters are solid.
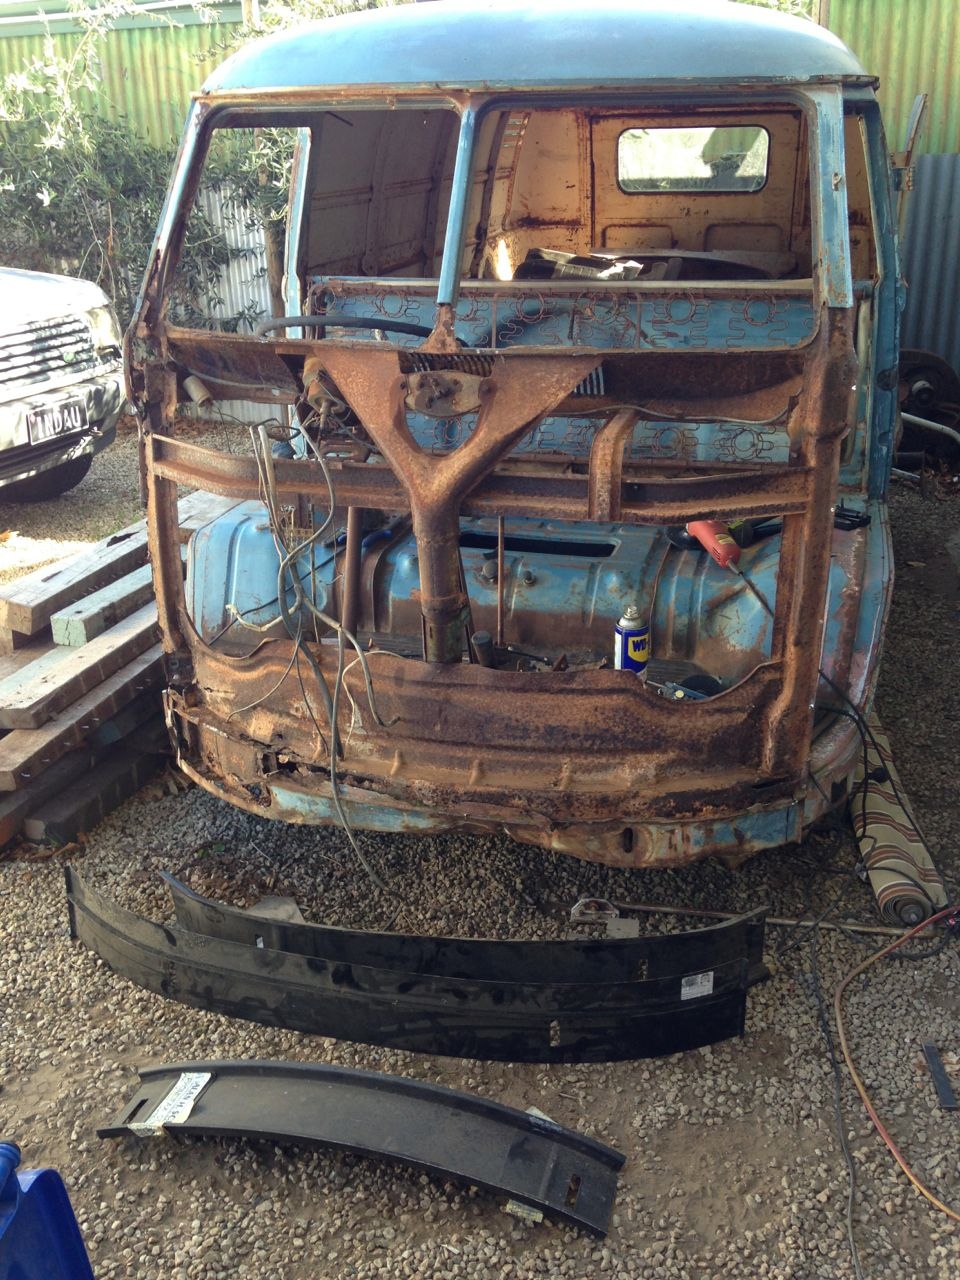
The bus had sat under a tree in the middle of a field for many years and so has suffered a typical fate...
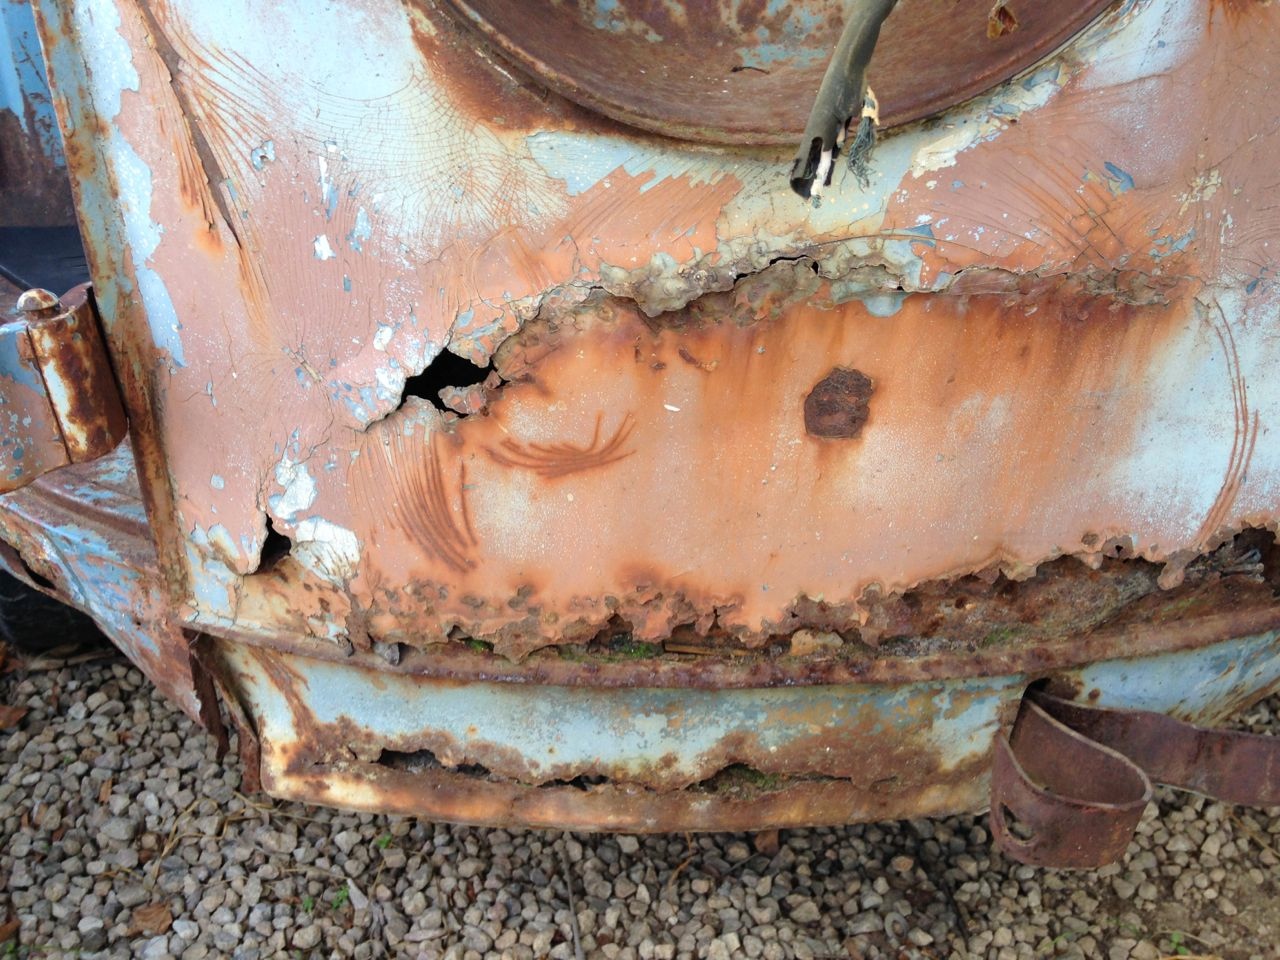
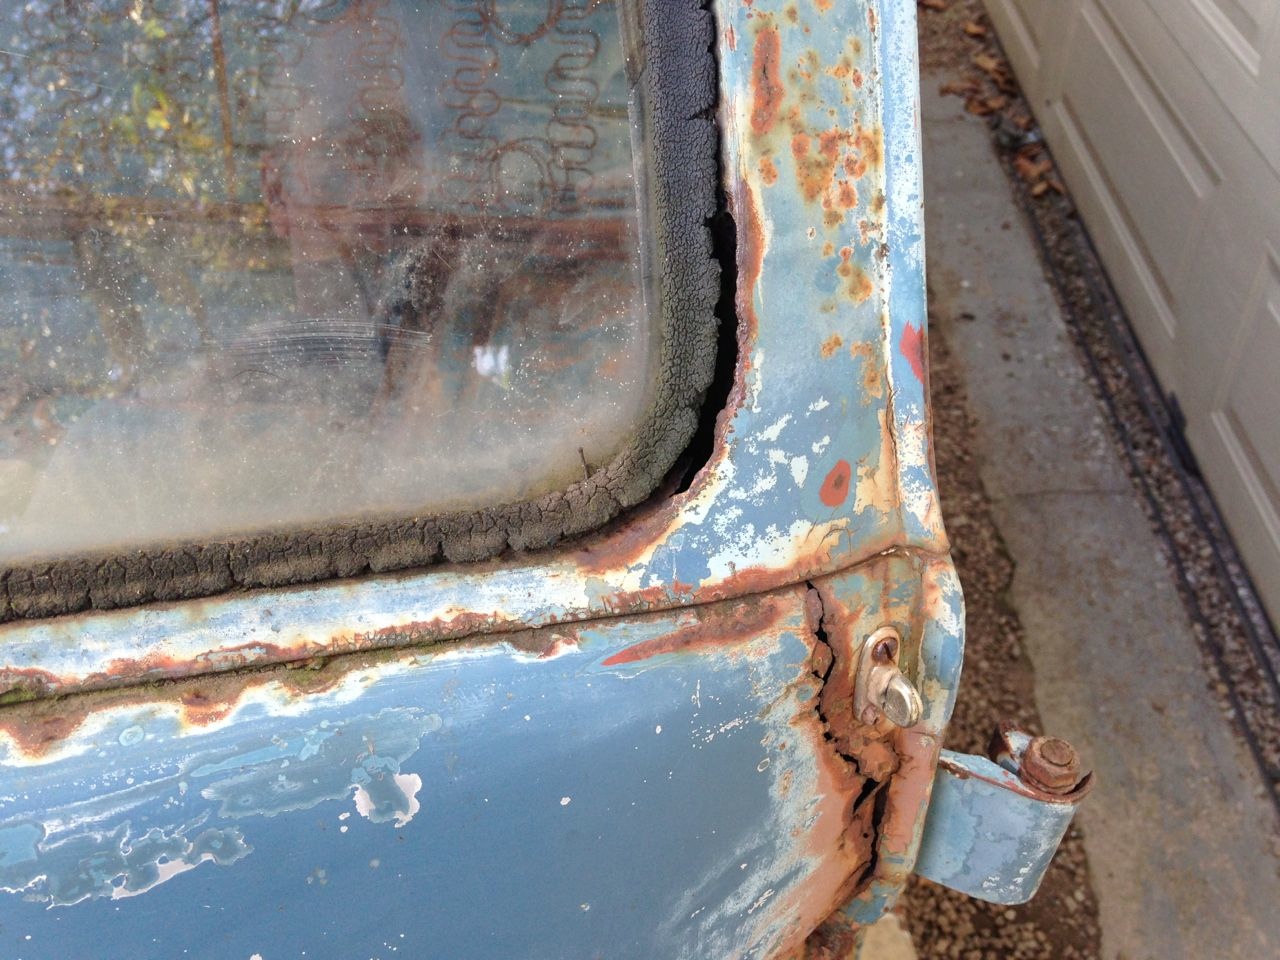
The lower 6 inches of the nose need replacing and where the front vee blends into the beltline needs patching on both sides
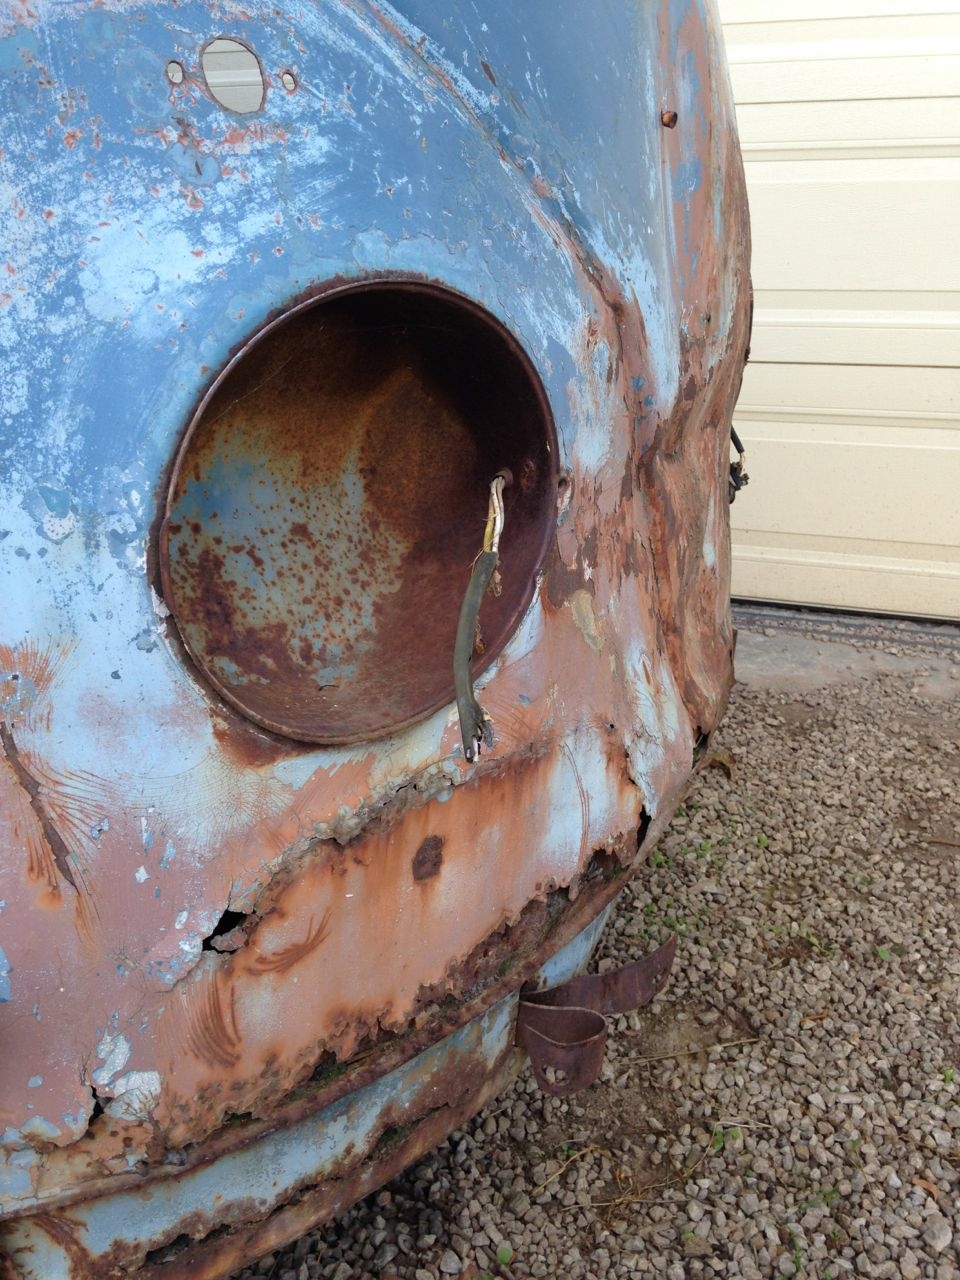
The nose had also suffered from a bad impact at some point.
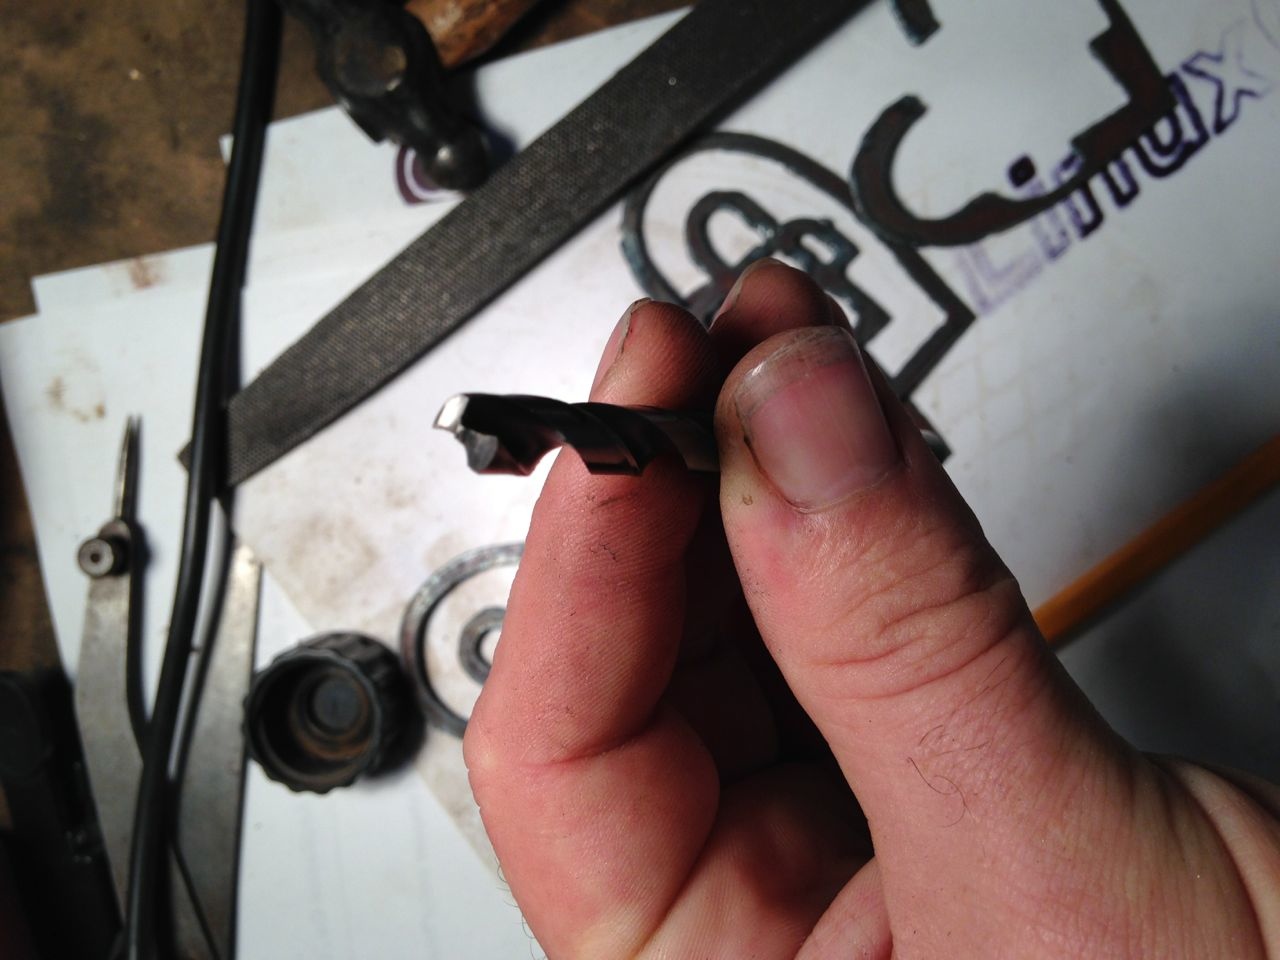
To get things started I decided to make up a couple of necessary tools - a spot weld drill and a chisel. Being able to grind up your own spot weld drill is a must. The hole saw type of bit are absolutely useless and break / blunt in no time and at $10 a pop for a decent proper spot weld drill bit if you cannot resharpen them you will go broke before you even get to buying panels. Best bet is simply to make your own spot weld drill. Best thing is that you can simply grind up a normal drill bit.
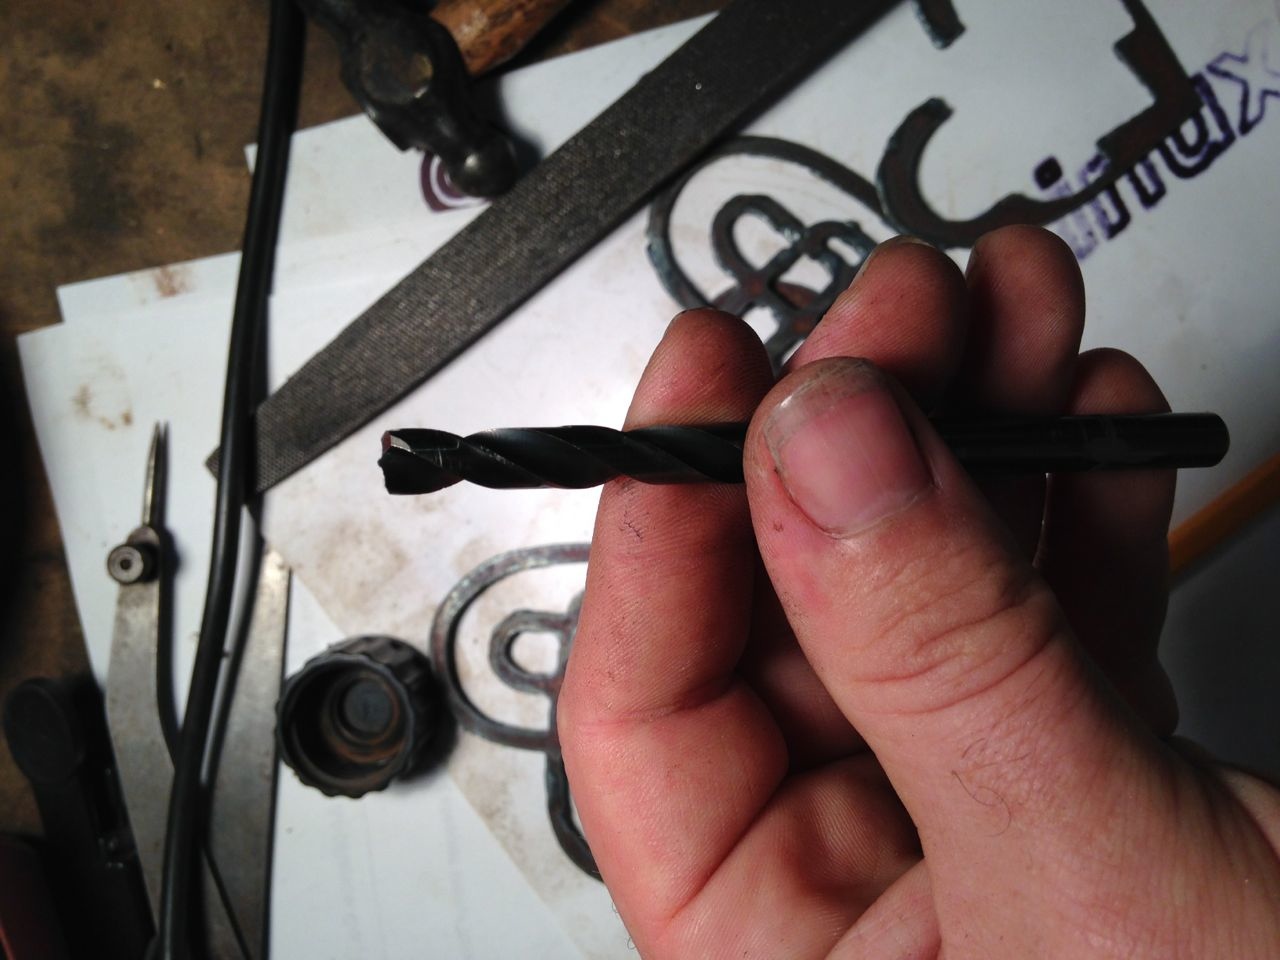
Start off by grinding the end of a normal drill bit completely flat. You then want to grind the rake similar to how you would when you normally sharpen a drill bit but do it with the bit at 90 degrees to the grinding wheel, you also want to leave a small point in the center - you do this by grinding the rake with the drill off of the side of the wheel. In the end it should look like this...
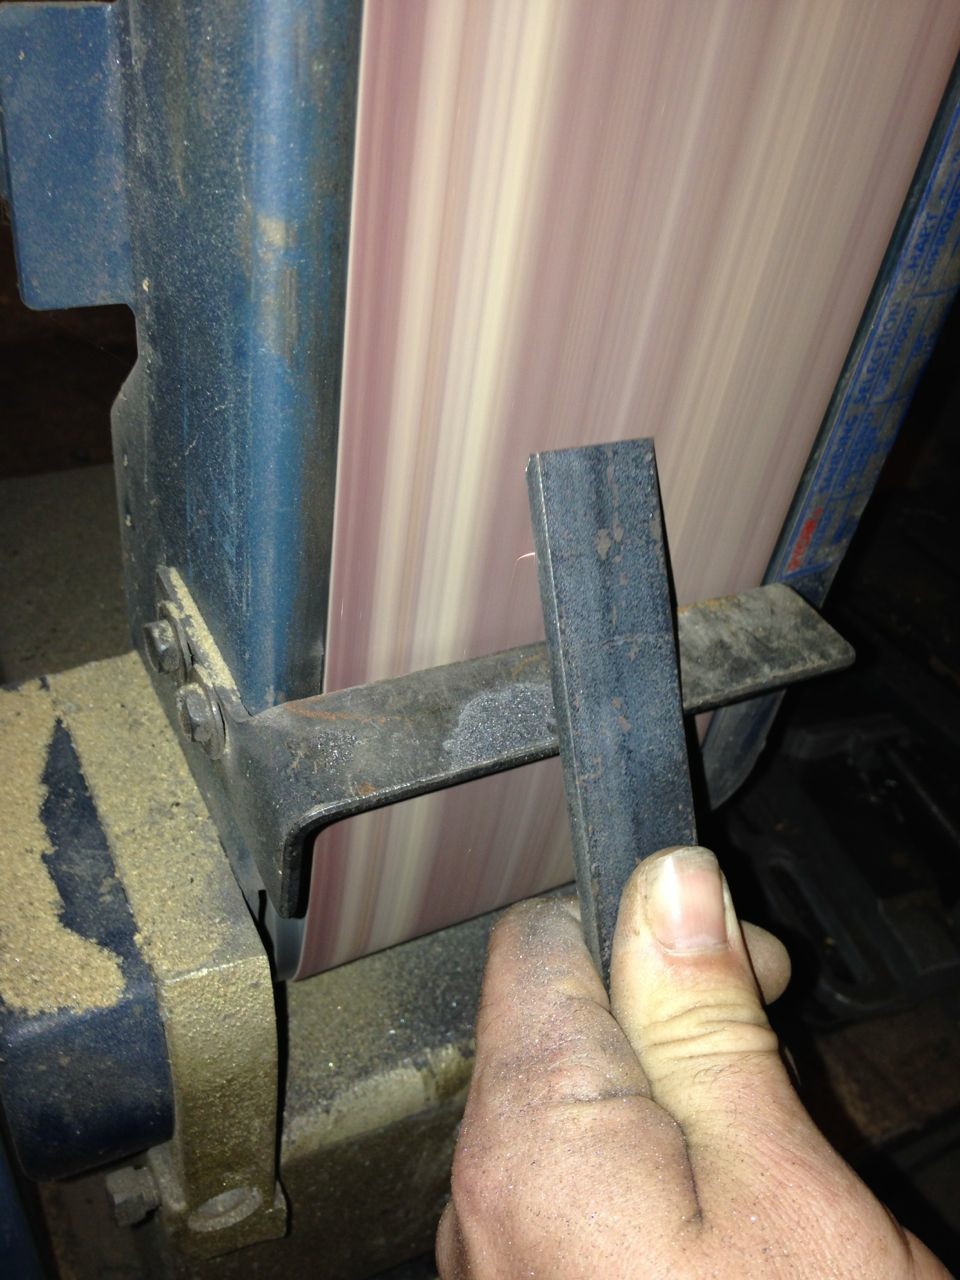
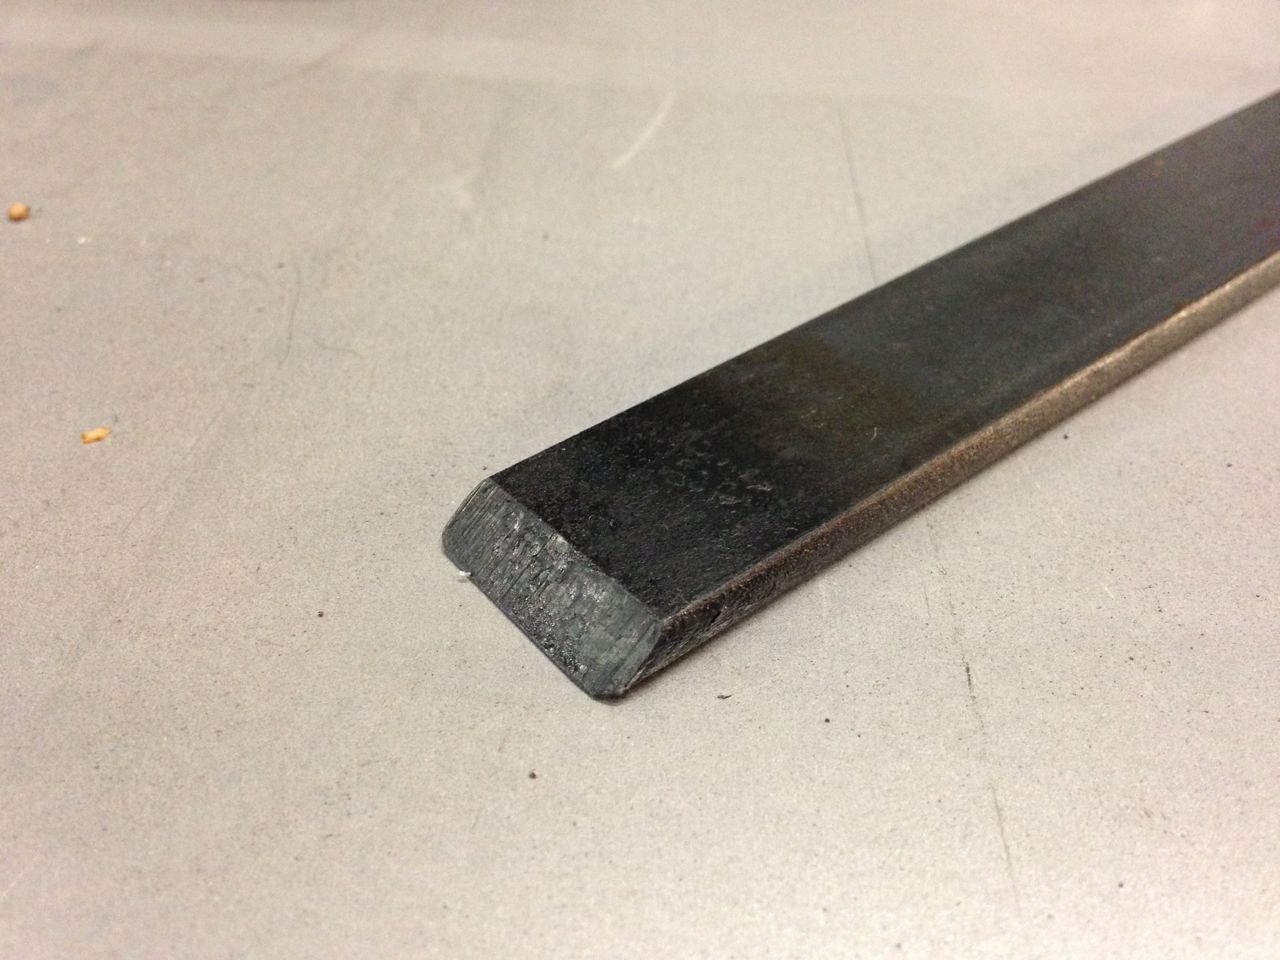
Next I made up a nice chisel. I simply ground a bit of flat bar at an angle like this...
Next I heated it up with the oxy and quenched it in oil to case harden it...
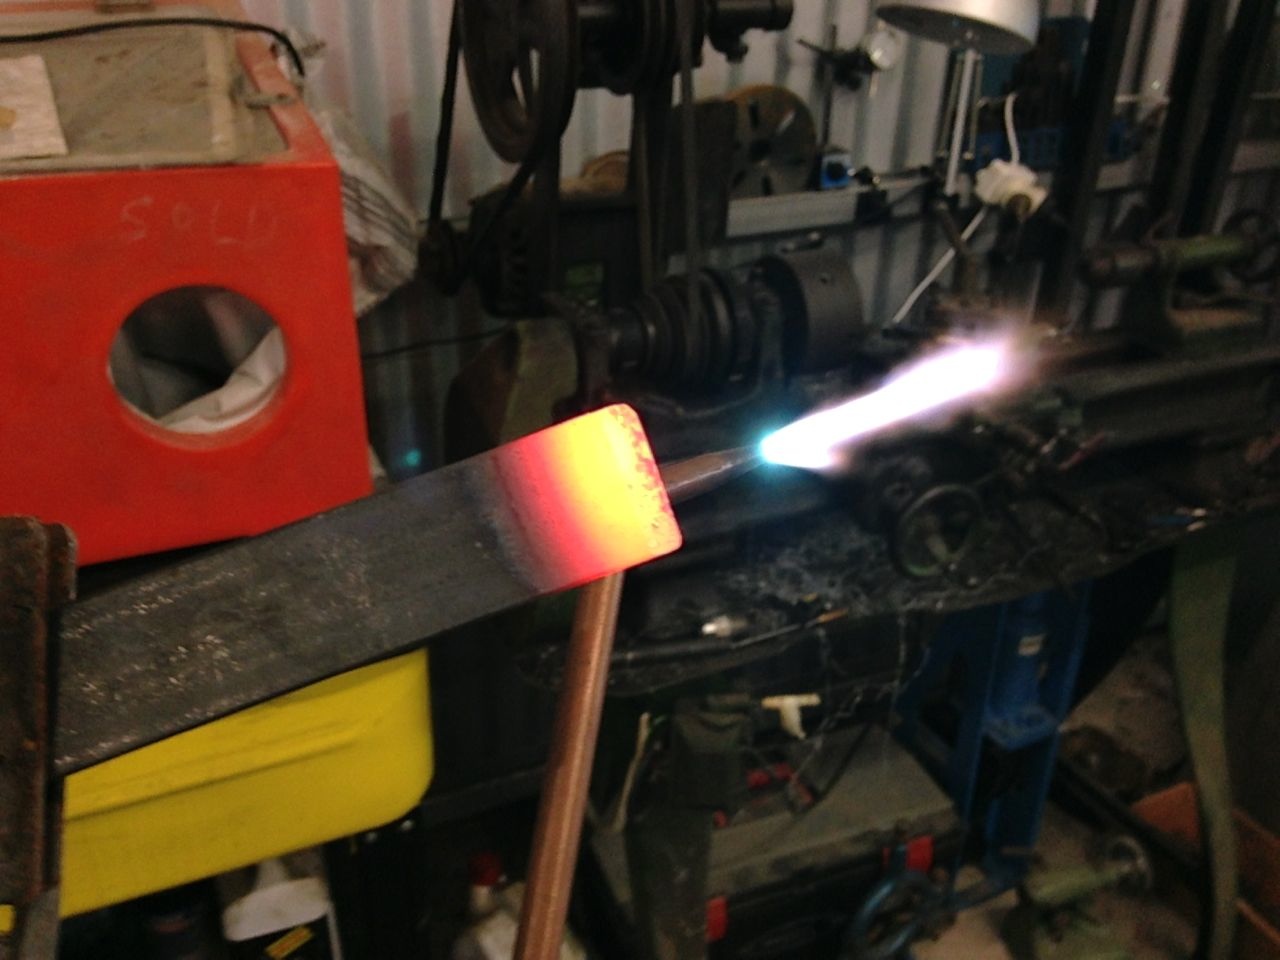
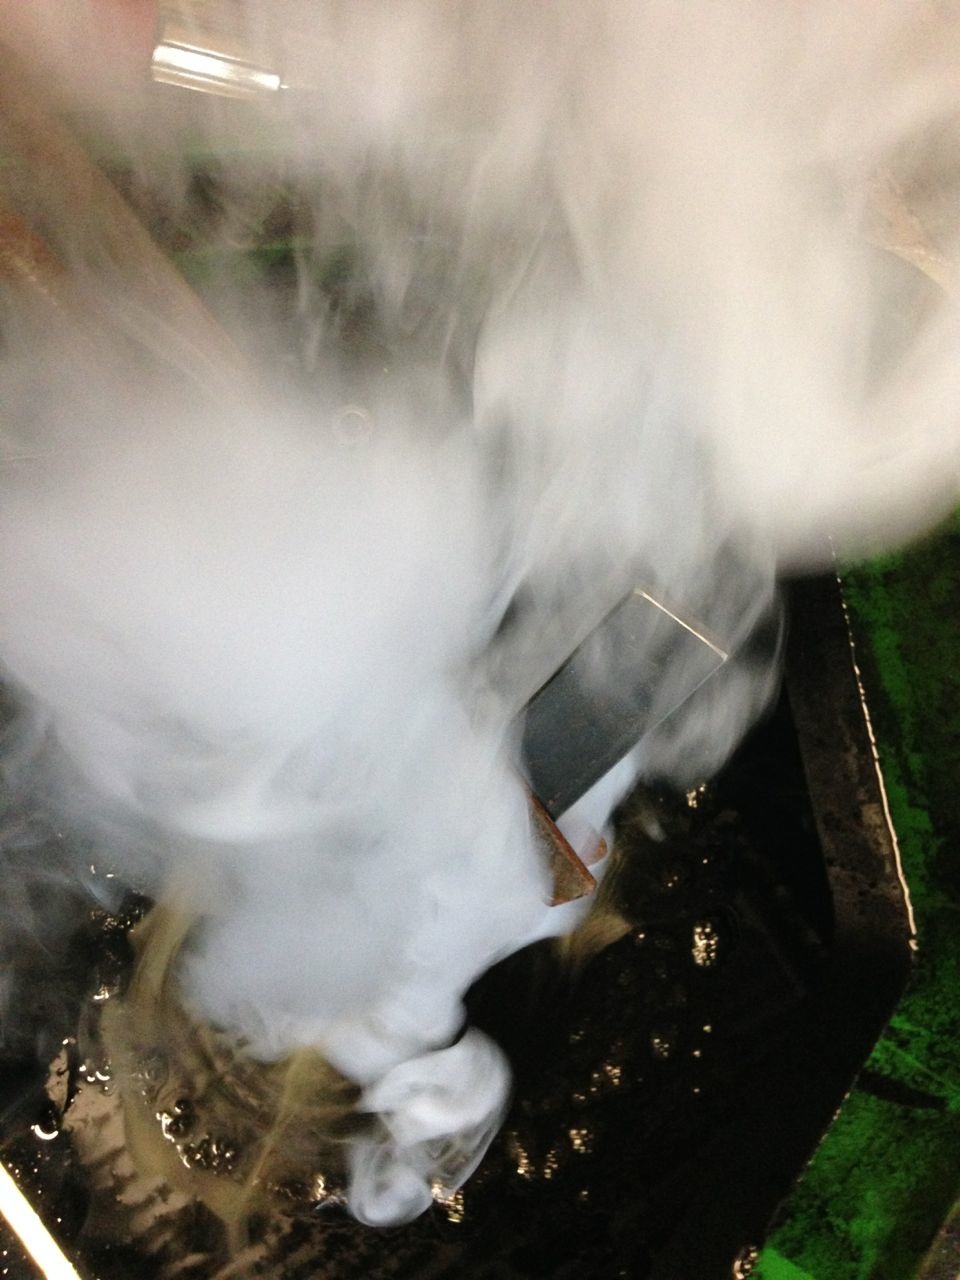
The finished article...
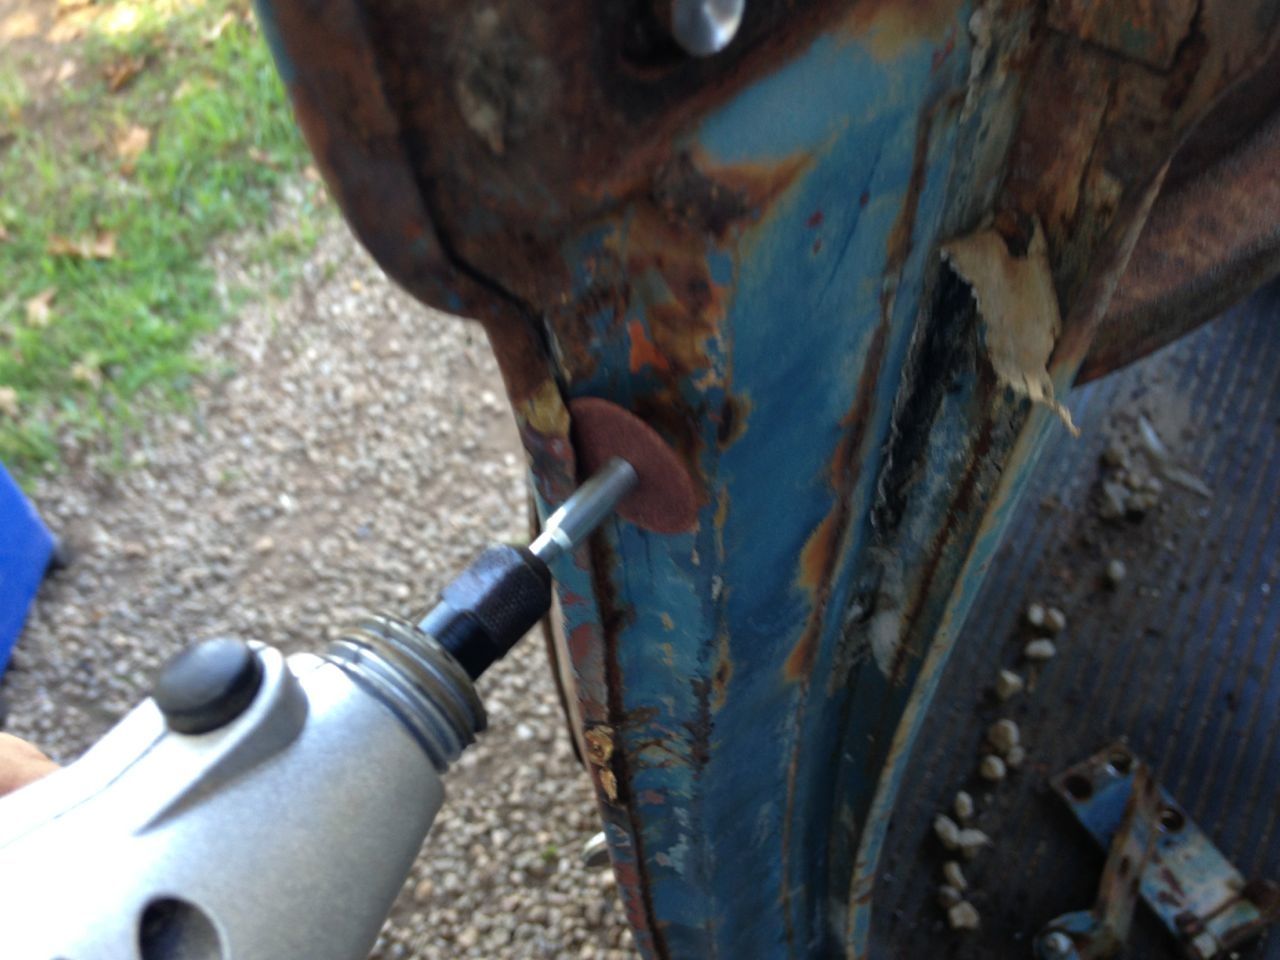
You can use this chisel to pry off the clinched edge of panels such as door skins or the nose skin, it also cuts very nicely too. Getting the nose skin off was the first task to tackle. With the nose panel off I could straighten out the dents and also get to the inner valence a lot easier. To get the nose panel off you need to cut across the bottom of the windscreen and unpick the A pillar seams. To do this you have to grind away at where it is brazed into position - easiest done with a dremel and cut off wheel
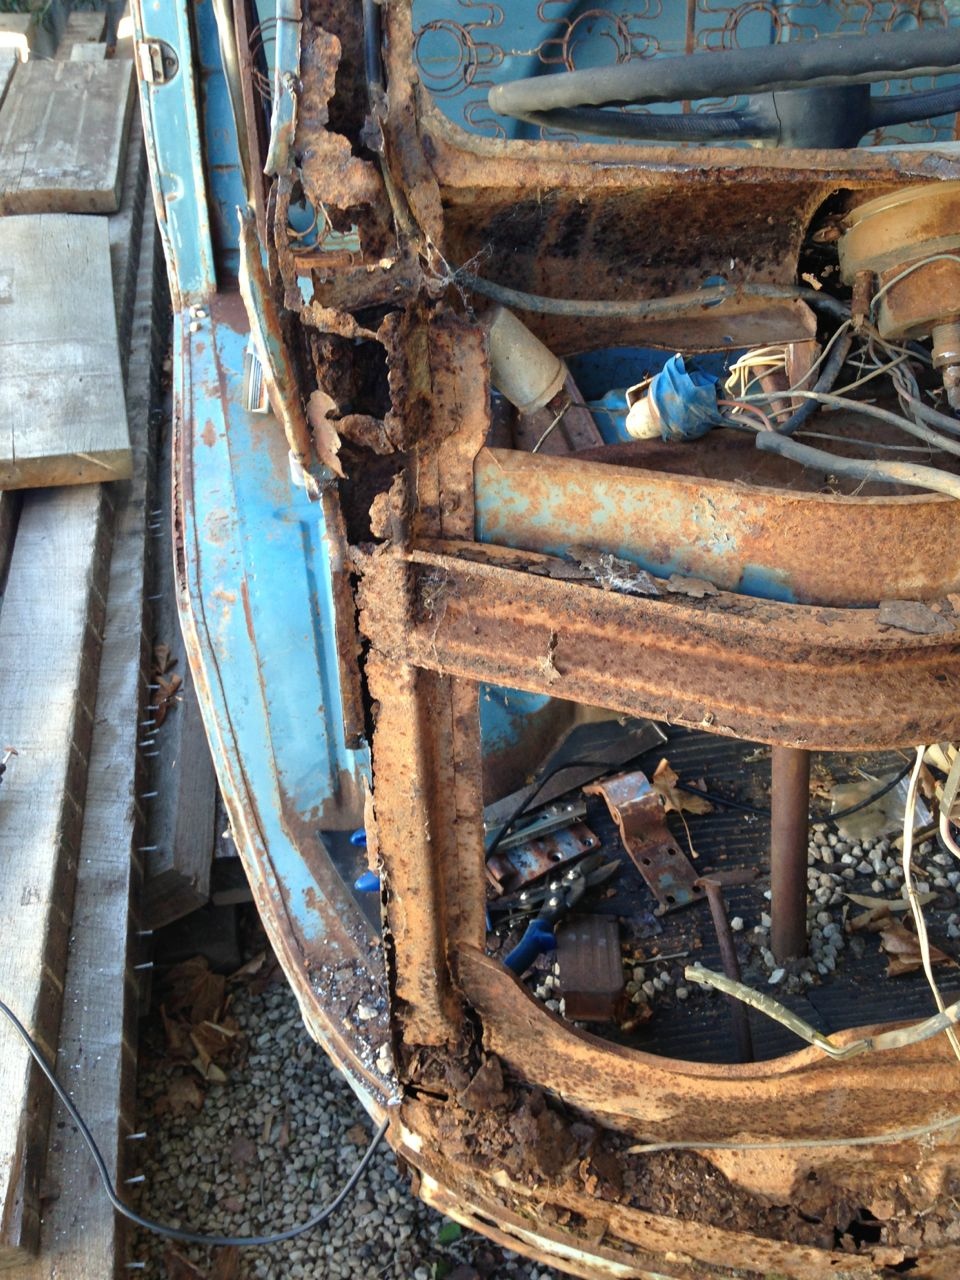
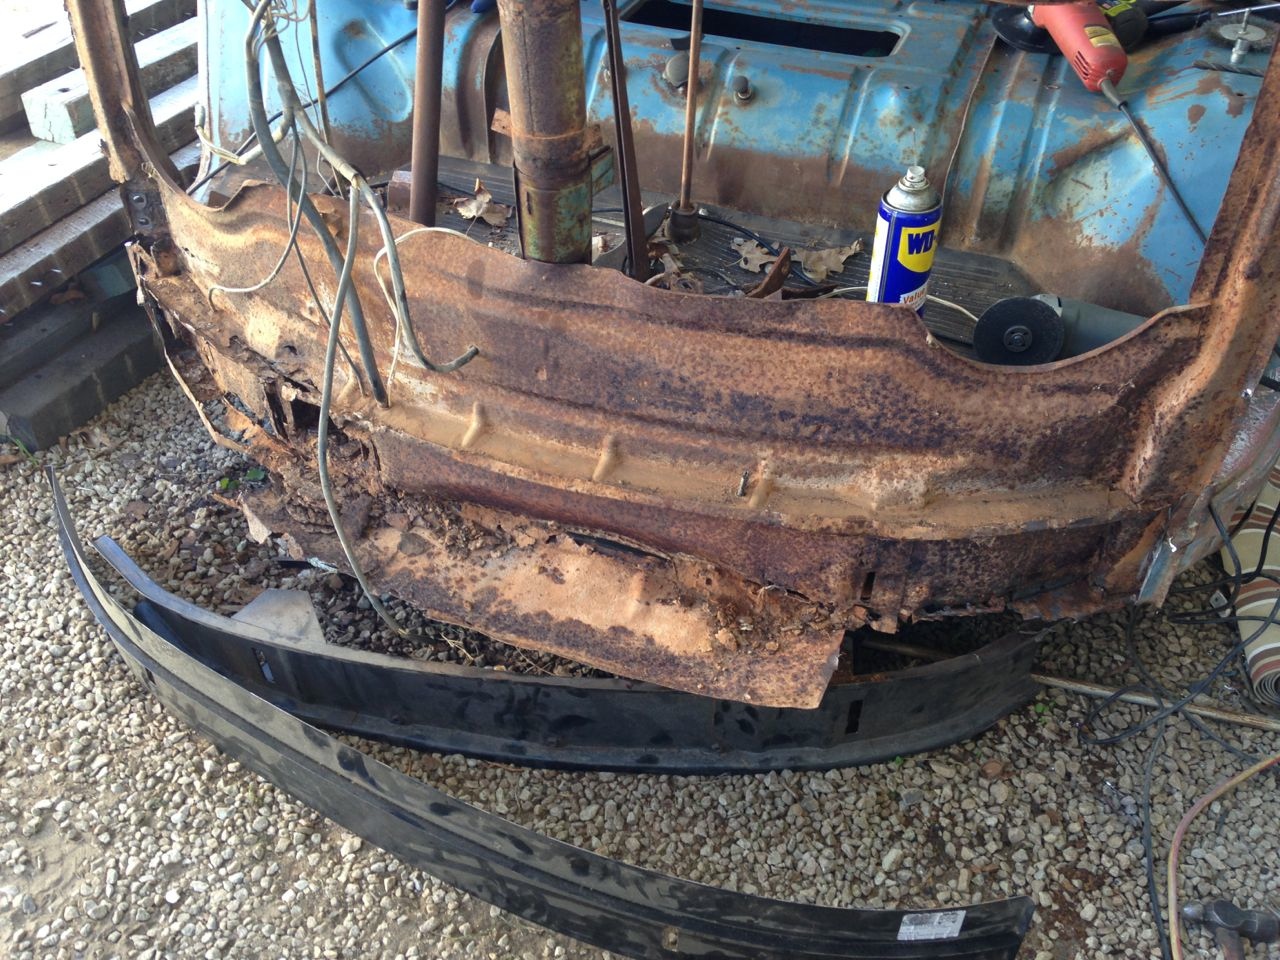
With the lip free you can slowly start to pry it open using the chisel. In addition to the lip you will also need to drill out a few spot welds - namely around the lower windscreen frames and behind the lip on the A pillar you just prized back. Fortunately being an older bus there was not so many spot welds to drill out - in fact there were only four on each side. As the lower windscreen frames were rotten I decided to use the chisel to cut through the rest of the panel there to save some time. I also did the same at the lower nose. The end result was this...

With the nose panel off it was readily apparent that the drivers side A pillar was completely toast. This is too far gone to save so I will have to order a new one from Klassic Fab or try and find a suitable doner.
The rest of the front seems pretty much as I expected. I spent some time cleaning things up and offering up the panels that I have
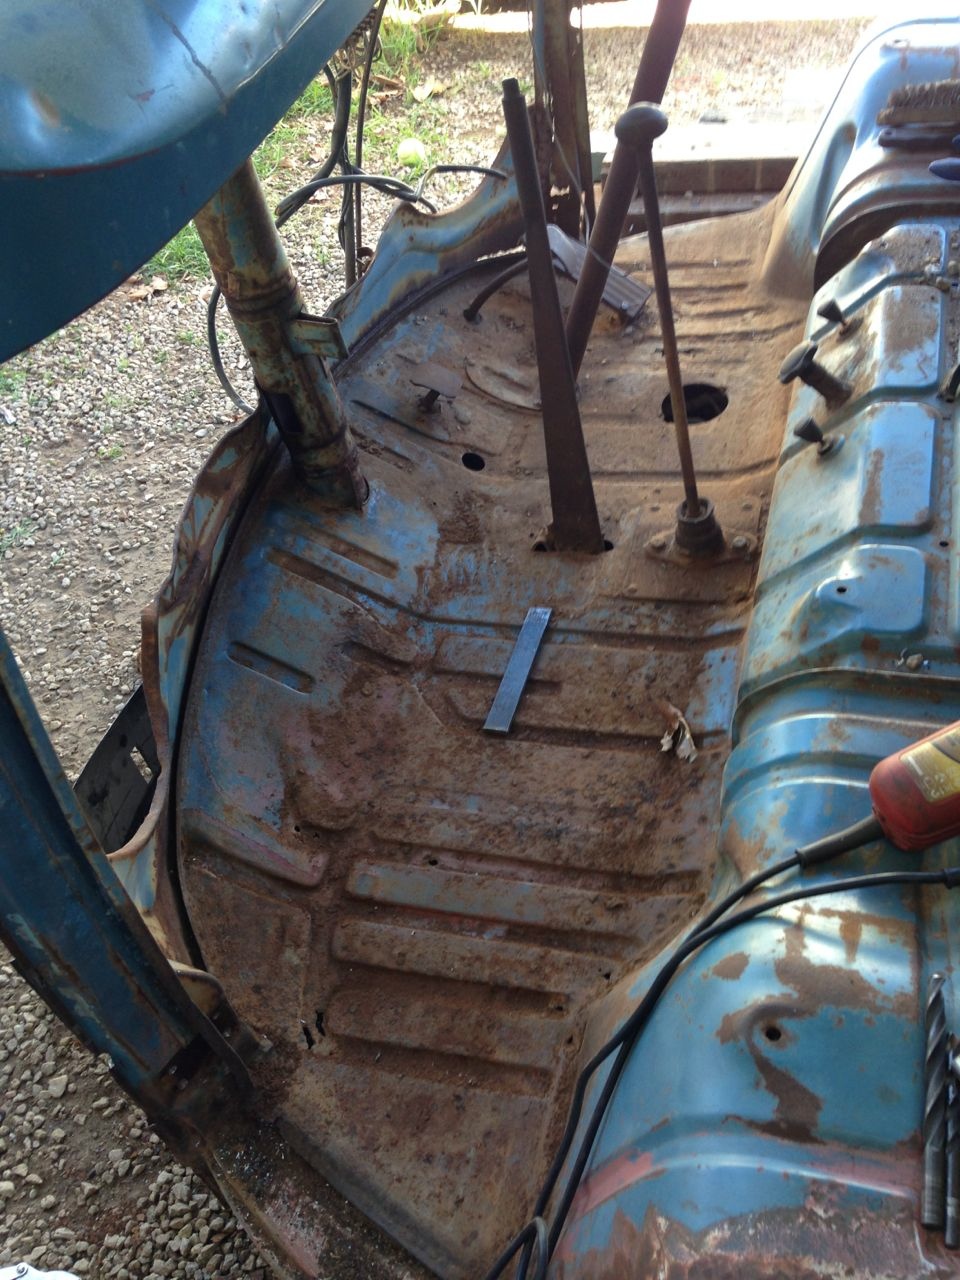
Spent some time cleaning up the cab floor - it's not too bad but has a few pinholes in it
I've got a complete RHD front cut that came with the 15 window which has a reasonable floor. I will checkout of I can use this to patch the floor up with. I also started to remove the lower valence and headlamp support panel but that's as far as I got today.
It looks like I might be able to save the floor with some patching but the dogs legs are very rotten. I've got a couple of pairs of dogs legs that I might be able to patch together to make a good pair. The inner valence that I have is also not wide enough but I have a spare centre section so will probably use this to make up the difference. Looks like I also need to invest in some POR 15 as well.
Really looking forward to getting stuck into this bus. Plans include a close ratio straight axle box, flipped front spindles, Supercharged 1600 lightened and balanced with stock reworked heads. I plan to run this at the drags, the goal being to see what I can get out of a 1600 with one of my supercharger kits on it. Have absolutely no idea what time it will get but I know that I will have a heap of fun finding out.
Comments