Well it's finally done. The bodywork is finished. No really. It might look like nothing has been done, which is what my daughter Bella said when I showed her a photo of the bus, lol. But the rust is now gone, new metal has been added where needed and panels recycled wherever possible. It's ready for reassembly. (well nearly)
The rear end is done and the bodywork is nearing completion so I'm slowly turning my thoughts to what comes next...
Funky green dog legs
Pretty much the last panel required.
(although we're replacing the drivers door with a better one)
Received an update from the shop. Front inner panel and passenger door are fitted up. Starting to look like a bus again.
Just a quick update. The shop has just taken delivery of the front panels for the bus. We decided to go for an all-in-one front sub-panel instead of separate panels as not only is it assembled on a jig and so should hopefully be nice and square, but it will also save a heap of time compared to assembling the individual panels on the bus.
Been getting a bit distracted by cyclops lights recently. Not that the bus is anywhere near ready for trinkets, still plenty of metalwork to do before its time to add jewellery. So completely sidetracked I decided to scratch that particular itch and have a go at making a cyclops light myself. My reasoning was that it would be good metal shaping practice, plus I had kinda figured out how to make it in my head and wanted to see if I could actually do it.
With the long Easter weekend I managed to get a few extra hours in on the bus. Having already cut off the front panel and one dogleg, and made up an A-Pillar repair I decided to carry on with the front end and take a look at the dented front panel.
The front nose, like pretty much every other panel on the bus has suffered a bit of abuse and has taken a bit of a pounding. Not only is there current crash damage, but there are also some previous repairs that have rusted out and need to be repaired.
Spent some time today making up the repair panels for the bottom of the passenger side A pillar. Fortunately there was enough of the original left for me to take some measurements from. The repair panels are in three sections - two sections form the a pillar itself and another makes the bracket that attaches to the inner lower nose panel.
Managed to get out and do a bit more work on the bus today, decided to carry on sorting out the lower nose inner panel. The panel that I acquired unfortunately turned out to be for a left hand drive bus, which meant that to get it to fit I needed to swap over the mounting brackets. The reason for this is that the two chassis rails that it attaches to are not identical and so have slightly different profiles, this means that the mounting brackets are also slightly different.
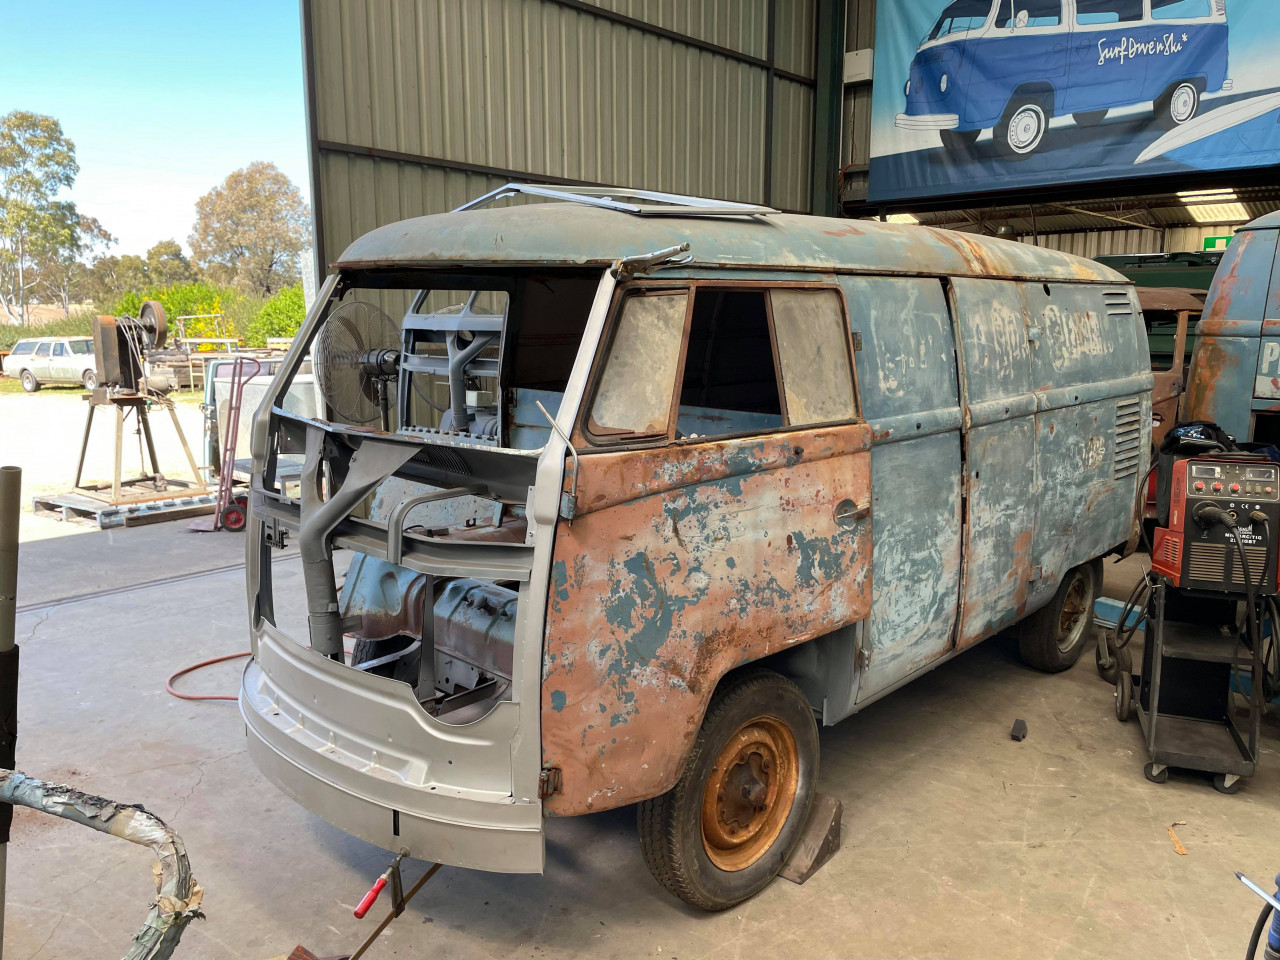
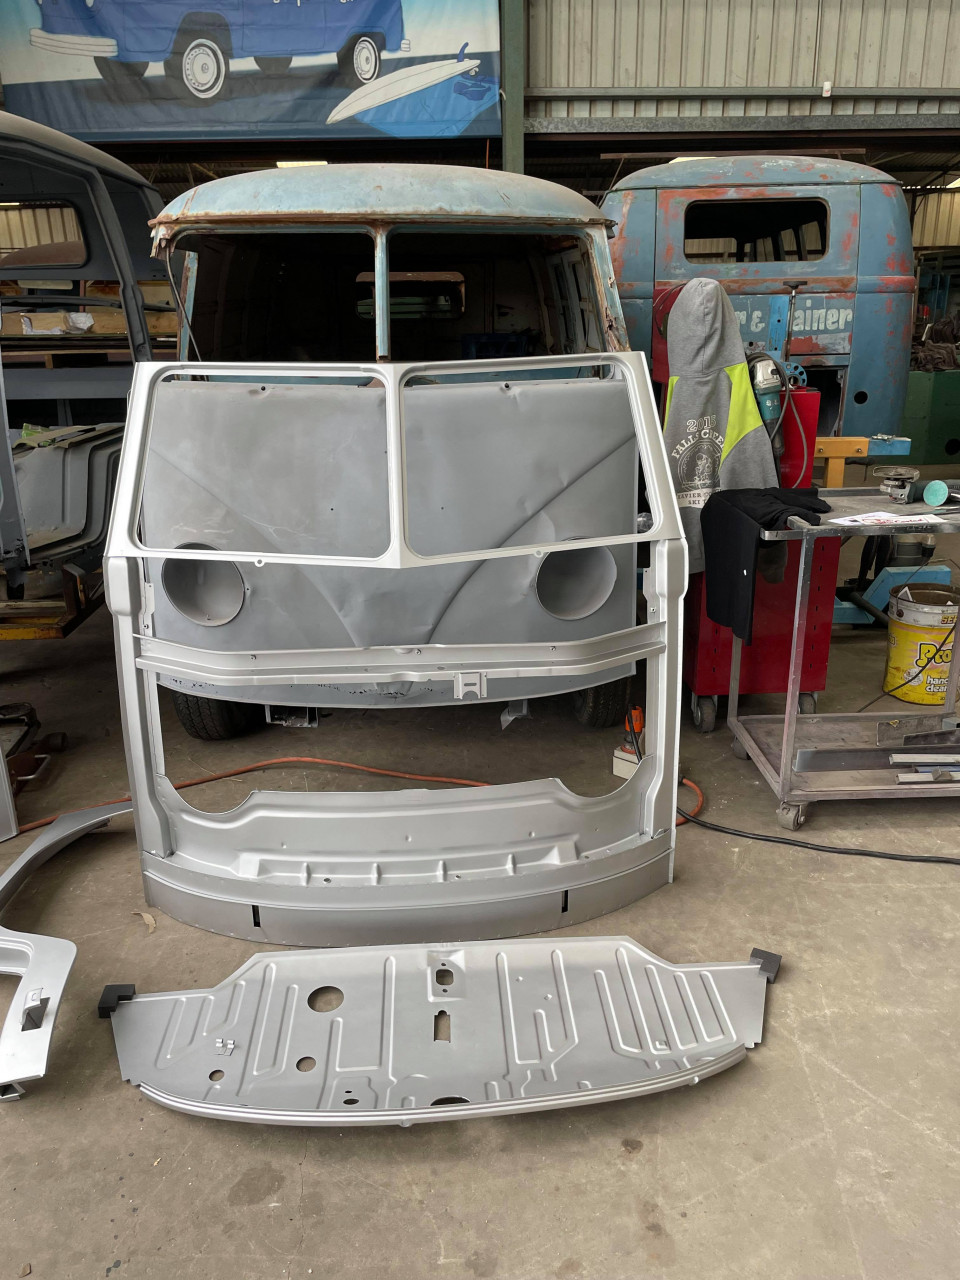
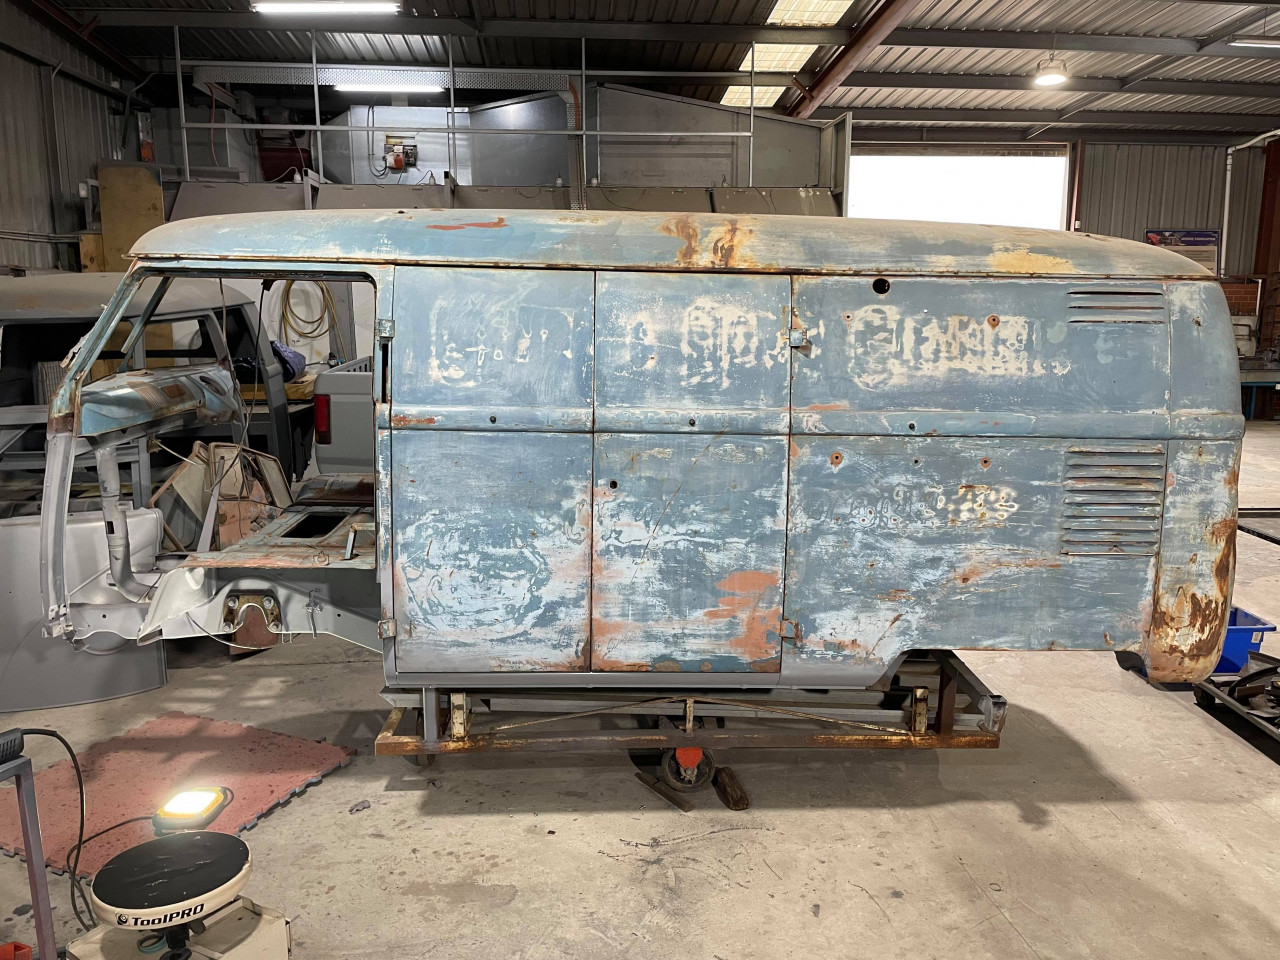
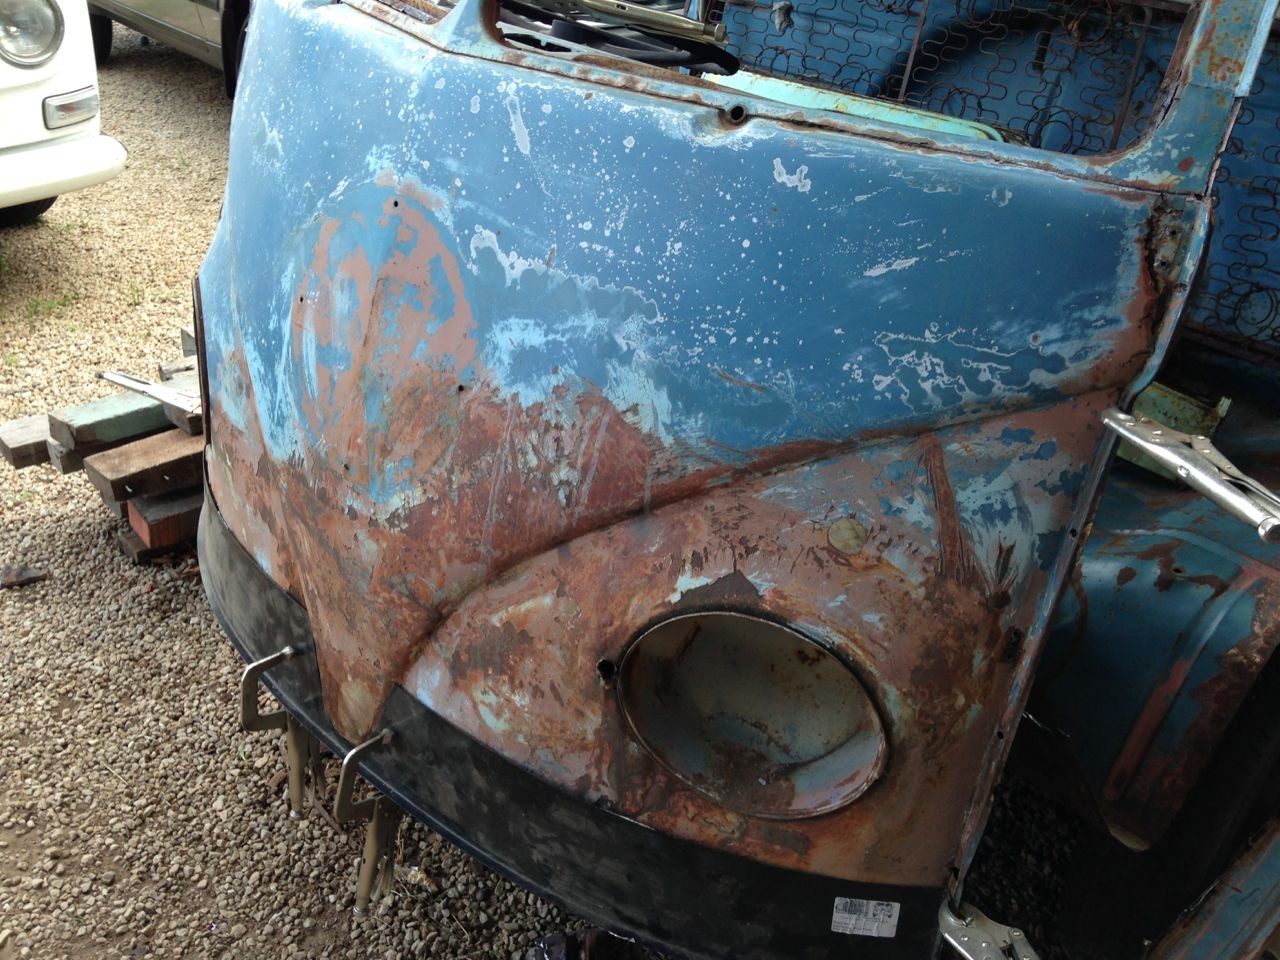
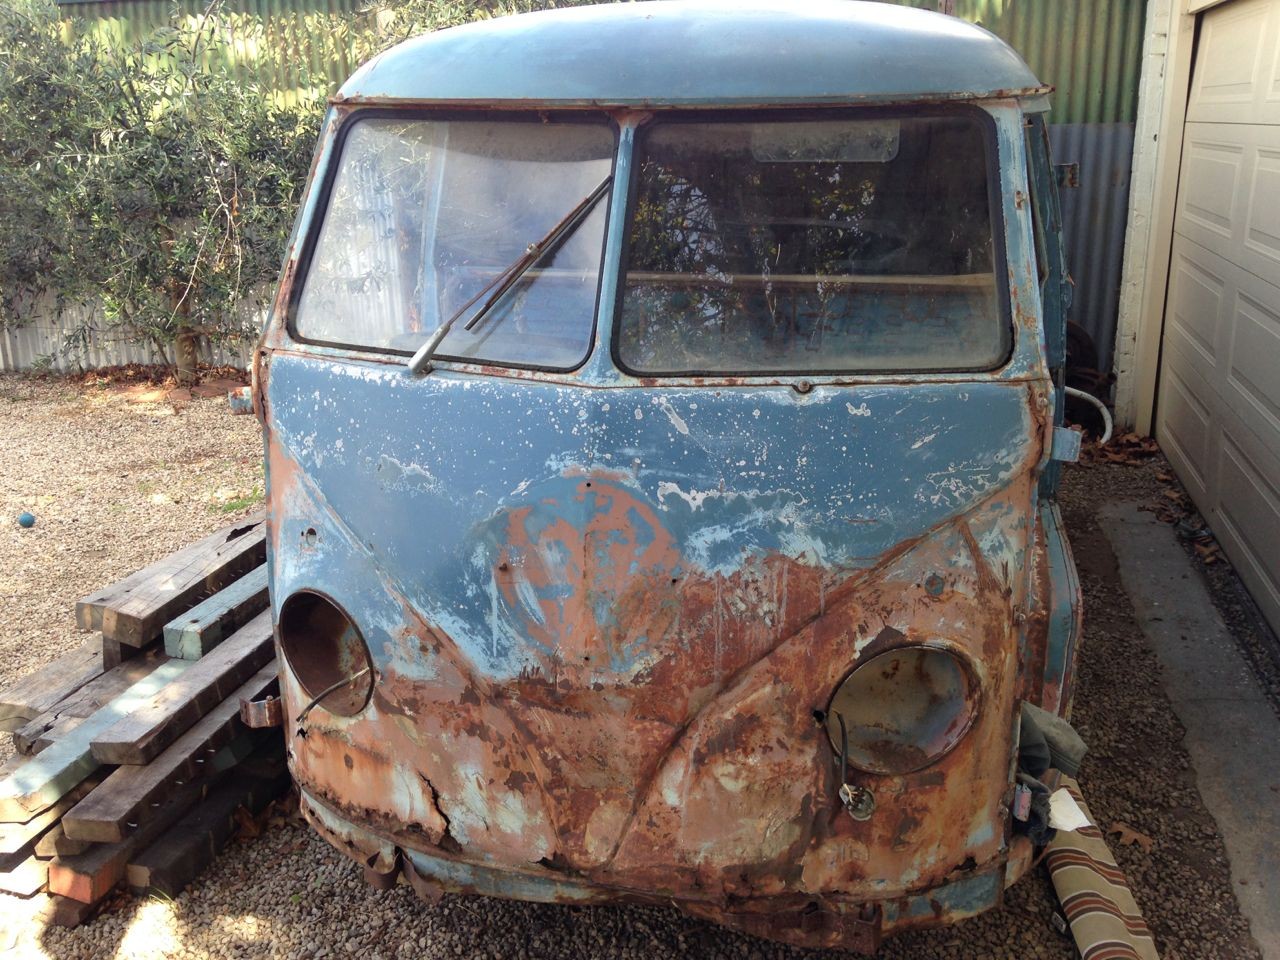
With the cab floor on the '55 looking like it needs replacing I decided to see if I could avoid having to buy a full repair panel by using the floor from a front cut that I have stored for my 15 window project. I have the front cut to provide a dashboard and chassis member to convert the 15 to right hand drive but for some reason the cab floor is nearly perfect. Not what you would really expect on a bus that ended up getting chopped up. Unfortunately whoever chopped the floor section out did not really do a very good job, not only did they gas axe an inch off of the floor on every side, but they also managed to cut straight through the chassis member that I need for the RHD conversion. Phah.
So I decided to dig the floor section out from the back of the 15 and take a look.
Those of you who know me will also know that I sell supercharger kits under the moniker 'Joe Blow'. A while back I decided that to promote the kits I would put together a logo'd rat panel van - with nice Joe Blow powered motor. Orignally I was after a lowlight panel but somehow ended up with a '55 panel instead. So today I decided to start work on eliminating the tin worm. I recently cleared a load of projects from my schedule and so figuring the bus wasn't going to fix itself I decided to get stuck in.