Things are really cranking now
After last weekends progress and also receiving my 74mm DPR crank in the post this week I was amped to get back out into the man cave and spend a little more spanner time on the oval. The DPR crank is an awesome bit of work. It's a stock 36hp crank that is welded and offset ground to give the extra stroke. It also has counterweights added and is heat treated to stress relieve the crank after the welding process. The end result is a very affordable 74mm crank.


Along with the new crank I also ordered a 36hp flywheel with a 200mm clutch and a 12volt ring gear. This allows me to use an aftermarket performance clutch and be able to fit it to the 915 gearbox with no issues. I also got DPR to supply me with a stage 1 Kennedy pressure plate and solid clutch disc so that they could balance everything together. I cannot recommend DPR enough, they were a pleasure to deal with.
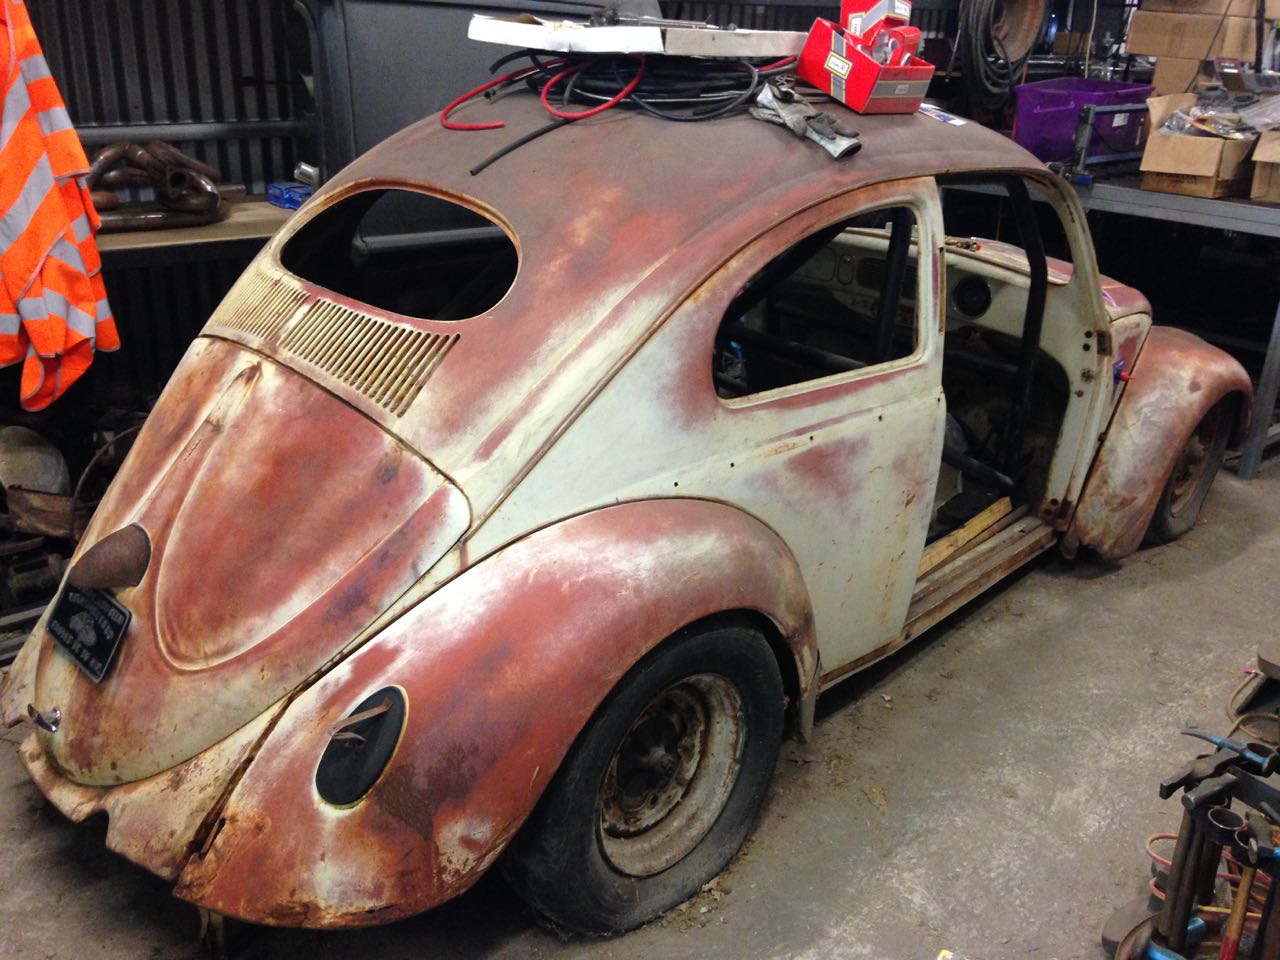
Feeling inspired I managed to get some more small jobs out of the way this weekend. I made a start on beating the dents in the guards out. Whilst the car is relatively rust free it's obviously had a bit of abuse at some point in its life - maybe as a paddock basher as there are a fair few knocks and dents in the lower nose and lower edges of the fenders. Fortunately the damage is not too severe and I was able to straighten them up pretty good. There's still some cracks to weld up but I will tackle these when i finally fit the guards to ensure I weld them up straight. I trial fitted them to the car, it was good to see it looking like a car once again.

The front tyre clearance is a little worrying. Even with the 2" narrowed beam the tyre scrubs the guard. I'm hoping that I can remedy this with some smaller and lower profile front tyres - the 175s that are on there are obviously too big but even so it looks like it will still be a tight squeeze with 145s on there. I've managed to find a local source for nankang front-runner drag tyres at a very reasonable price. These are a 145/65R15 and are speed rated to 150mph (V rating) which is perfect. They also have 175/80R15 which would make a reasonable rear although I'm still waiting to hear what larger sizes they stock.
As the tyres are an important part of the car I decided to dig out the wheels I bought for it. I purchased a set of mangels a few years back - 2 x 4.5 J / 15s and 4 x 5.5 J / 15s. The idea being that I could run a few different tyre heights on the rear if required. I opted for brand new mangels as all new wheels are now required to have safety beads and safety beads are requirement for DLRA races. I also bought a set of moon discs at the time so decided to get these ready to fit up.
Moon discs cannot be fitted using the traditional method of drilling a hole through the rim and fixing them with self tapping screws, instead they need to be fitted with either 3 dzus fastners or six machine screws around the circumference. Originally I planned to use dzus fastners but decided to change my mind and use 6 machine screws instead. This required drilling some extra mounting holes in the moon discs as they are only supplied with 3 holes. Unfortunately I had run out of gas so could not weld the nuts to the rim to fit them.

With the wheels as far as I could get them I moved on to the engine. Having already received some engine goodies I decided to start trial fitting the engine together. The first thing I wanted to tackle was the cam and cam gear. I had already had a conversation about using a 50 horse cam gear so knew that this was possible but was also aware that there was some kind of modification required to make this setup work. When I bought the stash of 36hp parts I was lucky enough to get a pretty much perfect stock cam in with the haul. This had been very carefully stored greased up and sealed in plastic bags, the end result being that it's probably better than a NOS one as it has no signs of wear and the added bonus of not being covered in over 50 years worth of shelf snot. The cam gear I opted for was a straight cut version with offset washer to allow me to dial it in properly - assuming that I can get a set of cam specs of course. After offering the cam up to the cam gear it was plain to see that the gear needed clearancing. An easy issue to solve when you have access to a lathe.

After taking a quick skim off of the inside edge of the cam gear the cam fitted perfectly so I decided to trial fit it into the case.

I wanted to check clearance for the cam gear bolts and also to make sure that the cam both engaged with the oil pump and did not foul it. Everything fitted perfectly.

With the cam fitted I decided to close up the case and check it for binding and rotation. 36hp engine are odd in that the cam runs directly in the case without bearings - a novel but concerning way to do things, fortunately the case measures perfect and things were just as they should be.

I also test fitted the gilmer setup and could not resist another peek at how the supercharger would fit up. I've already drafted up the brackets for the blower but have not yet cut them out. With the engine at a point where I really need rods / heads / bearings to rock up I decided to move on to other things.
Next up was the rear decklid, unfortunately it had one busted hinge, I managed to fix this up using a hinge of of a doner deck lid I bought a while back. I drifted the hinge pins out and replaced them with R-clips to allow me to remove the decklid easily when tuning. I also could not resist fitting this...

After a trial fitting of the fuel cell up I turned my attention to the interior. I made up a bracket to hang the tacho from the rear mirror mount and also put together the engine control panel


The engine control panel is simple stuff - a few switches and a pushbutton that I bought from the local electronics store along with a fuseboard - its all that's needed - a circuit for the fuel pump and one for the ignition, A light for oil pressure and a light for the generator. I'm also going to add in a buzzer for the oil pressure too.
With that done I turned my attention to the seat and did a quick temporary trial fit using tek-screws. I'm pretty happy with the seat position but still need to factor in the head restraints that are required. I will probably end up going with a new Kirkey seat that has these integrated. At one stage I was planing on welding 'ears' into the cage but looking at the seat location this is not going to be as easy as I first thought due to the cage design.

I also managed to get some other stuff knocked off of the list, I fitted the external battery cut off, trial fitted a 36hp engine so that I could make sure that everything fitted under the decklid (it does :) ) straightened the decklid out, re-fitted the front hood and did a fair bit of pondering - like how to fit lexan windows and whether or not to cut out the rear firewall.
Tonight I went down toe BOC and got a new bottle of argon so will get the wheels welded up to mount the moon discs some time this week. If my expenses come through I will also go out and buy the tyres so that I can get the wheels fitted on which means that this coming weekend I should look to get the brakes fitted. Currently the drums are temporarily fitted to allow me to roll the car around I need to re-fit the backing plates and the new shoes and cylinders and hook up the flexi-hoses. I also placed some more orders and should have a harness and some gauge pods arriving soon so that I can finish off the interior electricals. Things are ticking along nicely, lets see if I can get it done in time for my deadline of February.
Comments