Deprecated: json_decode(): Passing null to parameter #1 ($json) of type string is deprecated in /var/www/html/administrator/components/com_easysocial/tables/link.php on line 71
Pinned Items
Recent Activities
-
2002 reacted to this post about 8 months agoPost is under moderationStream item published successfully. Item will now be visible on your stream.
-
2002 reacted to this post about 8 months agoPost is under moderationStream item published successfully. Item will now be visible on your stream.
-
Post is under moderationStream item published successfully. Item will now be visible on your stream.
-
So a lot has happened in the past 6 / 7 years. I did actually end up making a flow bench, but rather than follow the traditional constructions of using a manometer and orifice plates as outlined in the PDF above, I decided to design and build a...So a lot has happened in the past 6 / 7 years. I did actually end up making a flow bench, but rather than follow the traditional constructions of using a manometer and orifice plates as outlined in the PDF above, I decided to design and build a system that uses automotive MAF sensors. I also went one step further and released it as an open source project.More
After many experiments and several iterations I ended up with a system based on the ESP32 micro controller and designed a custom PCB 'shield' that integrates the necessary pressure and environmental sensors on one board.
Some early tests
Initial versions used an LED display
V1 Prototype PCB
The interface is now web based and accessed from a browser
All of the work to date is available under the GNU open source license and is available for free. So you can build your own flow bench for relatively little cost if you have some patience and some basic soldering skills
You can download the project files via my GitHub account. There is more info in the Wiki on the GitHub page and also on the website. I also created a Facebook page way back when I started this project, but whilst initially created to support the project it had now morphed into a community with over 8,000 members and covers a wider range of flow benches.
The main project is still a work in progress and I am hoping to finalise and release the V3 PCB along with updated interface code some time this year.Post is under moderationStream item published successfully. Item will now be visible on your stream. -
Wow been 6 years since I posted this up. I'm still slowly chipping away at making my own supersquish style pistons. I did reach out to John at ACN a few years back, to see if he would be prepared to do a run of standard sized pistons, but the...Wow been 6 years since I posted this up. I'm still slowly chipping away at making my own supersquish style pistons. I did reach out to John at ACN a few years back, to see if he would be prepared to do a run of standard sized pistons, but the lack of demand made it prohibitive (unless I wanted to purchase multiple sets). So, somewhere on the horizon I will eventually make something akin to a supersquish for the Okrasa engine I'm building.More
Here's where I'm at...
I've scanned the combustion chambers of the heads, this has given me a 'plug' of the chamber shape. This shape needs to be refined so that there is a void at the plug locations. This will force the charge towards the plug and confine it ready for the ignition event.
Once the shape has been finalised I can then go ahead and machine the pistons.
Which leads me to my next challenge - upgrading my desktop CNC. Whilst it would just about machine the pistons, it's not really enough guts to produce the kind of results I need. So I really need to pull my finder out and get my CNC mill finished off.Post is under moderationStream item published successfully. Item will now be visible on your stream. -
Mick commented on this post about 2 years agoComments (1)
-
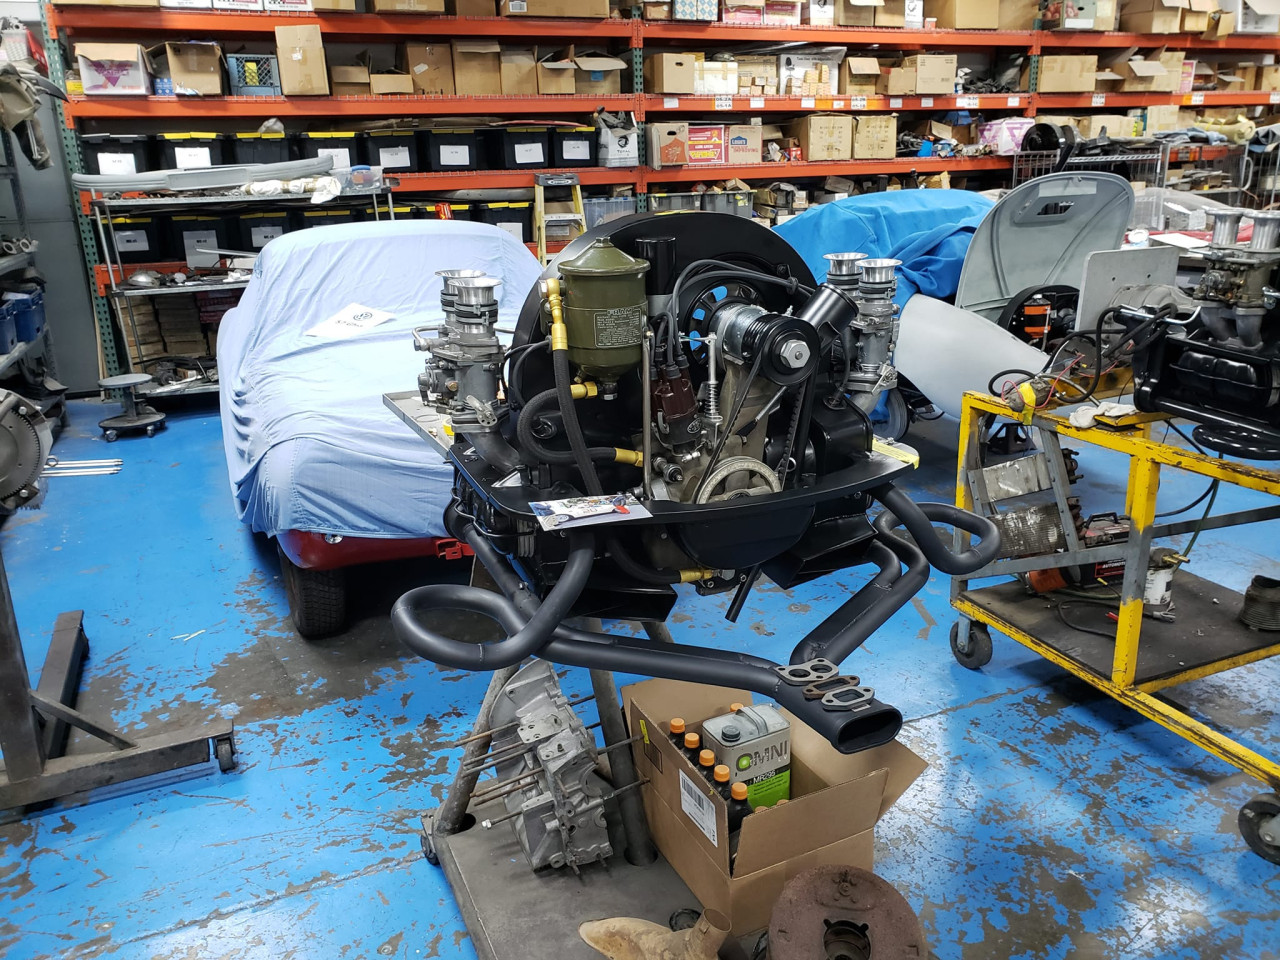
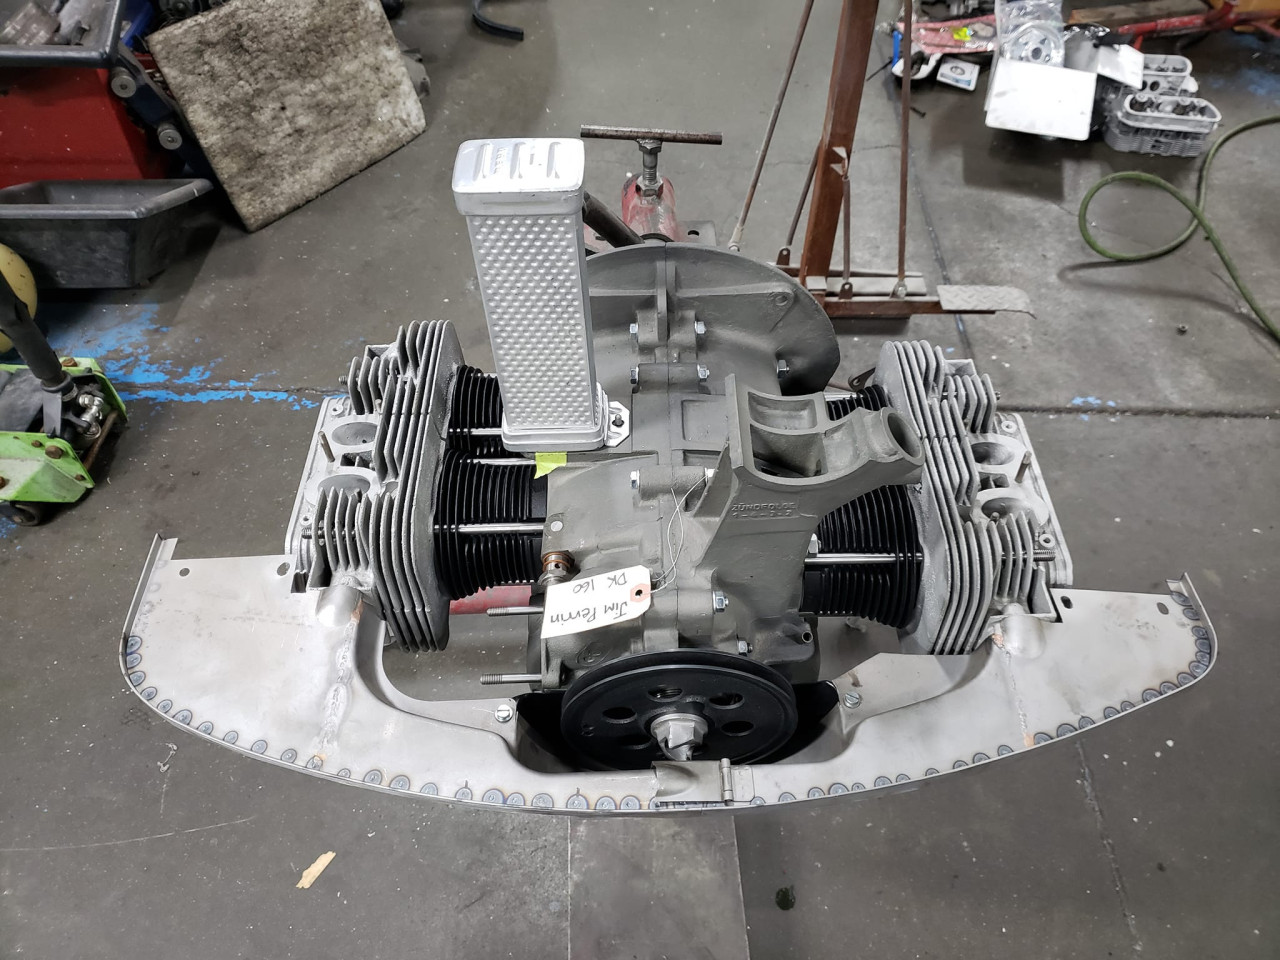
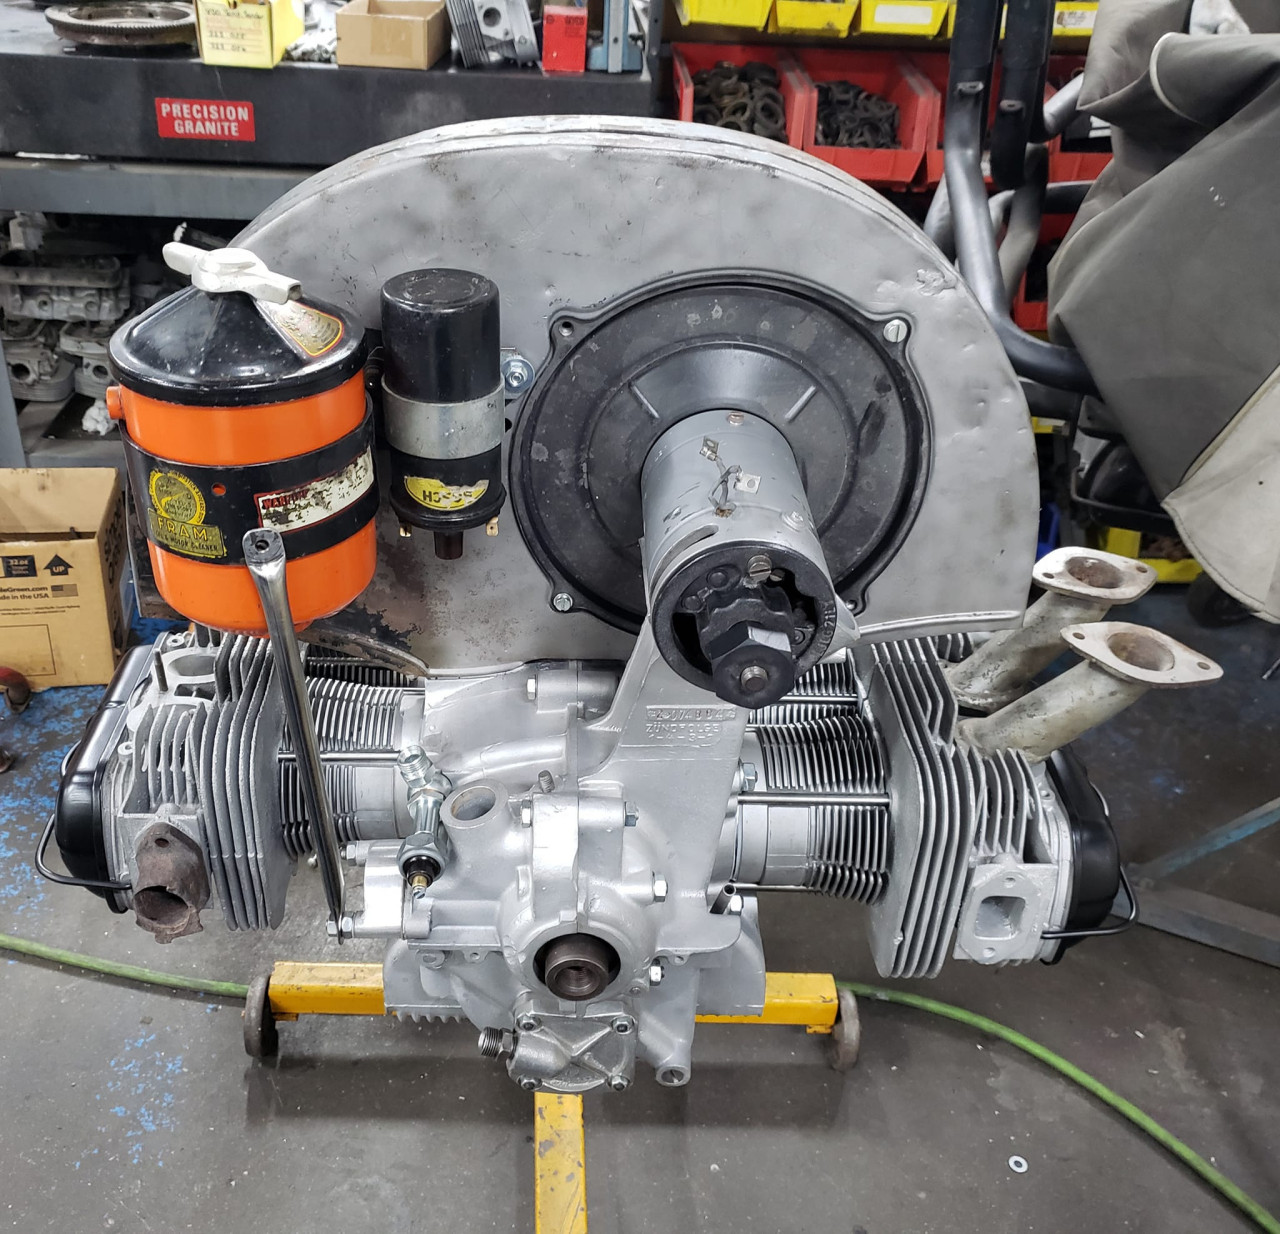
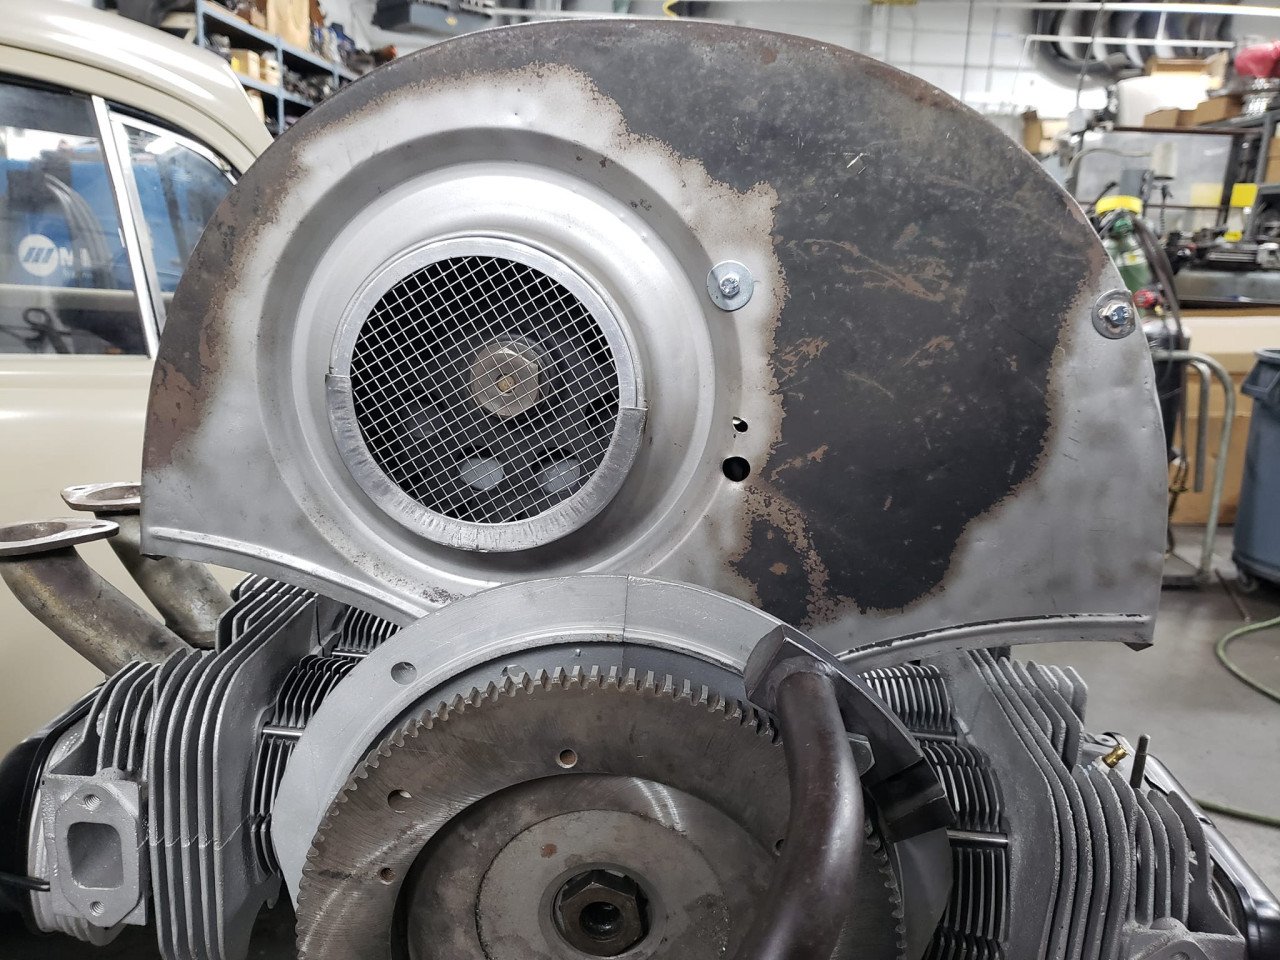
Saw this today on the 36hp Challenge page. Repro Denzel engines being prepared by Tom Niedernhofer. Most of the parts are bespoke. Heads are made by More ...
Post is under moderationStream item published successfully. Item will now be visible on your stream. -
-
Stream item published successfully. Item will now be visible on your stream.
-
Post is under moderationStream item published successfully. Item will now be visible on your stream.
-
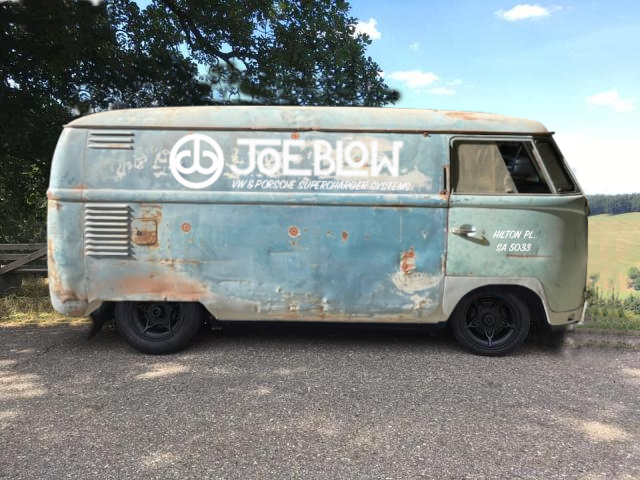
I've been contemplating is how to do the logos. The plan all along with the bus was to use it as a promotional vehicle for the business, which means getting it sign written in a sympathetic way with hand painted sign writing in a period style aged to fit in with the general patina and look of the bus. As we already have a company logo and typeface, it makes sense to use these as they are. But other text might look better done in a typical sign writers font of the period.
This of course is...I've been contemplating is how to do the logos. The plan all along with the bus was to use it as a promotional vehicle for the business, which means getting it sign written in a sympathetic way with hand painted sign writing in a period style aged to fit in with the general patina and look of the bus. As we already have a company logo and typeface, it makes sense to use these as they are. But other text might look better done in a typical sign writers font of the period.More
This of course is really hard to decide as when I make a mockup photoshop image - to me, it just looks modern. But looking at other sign-written busses of the period shows that there are plenty of companies that had equally modern looking logos and typefaces. (Yes I did flick through the 400+ page thread on thesamba). I think that what I really took away from that thread was to keep the sign-writing simple. White logos and writing over the dove blue is pretty iconic and very typical of early busses and might be the key to making it look like the sign-writing is contemporary with the bus's age.
Some might note that there are already existing logos on the bus, these are pretty faded and unrecognisable. Removing the top layer of paint also removes any trace of the logos as they seem to have been painted in non-automotive paint over a previous repaint, so they are pretty much impossible to uncover and retain. This is a bit of a shame, as original logo'd busses are alway nice. but I do plan to retain and touch up a few of the parts that I could make out, like the axle weight markings. So there will be a small homage to the original logos.
I think I really need to get the bus back and uncover as much of the original Dove Blue as I can before making the final decision, but at least I've made a start.Post is under moderationStream item published successfully. Item will now be visible on your stream. -
Post is under moderationStream item published successfully. Item will now be visible on your stream.
-
Post is under moderationStream item published successfully. Item will now be visible on your stream.
-
Post is under moderationStream item published successfully. Item will now be visible on your stream.
-
Post is under moderationStream item published successfully. Item will now be visible on your stream.
-
Stream item published successfully. Item will now be visible on your stream.
-
Post is under moderationStream item published successfully. Item will now be visible on your stream.
-
Post is under moderationStream item published successfully. Item will now be visible on your stream.
-
Stream item published successfully. Item will now be visible on your stream.
-
Post is under moderationStream item published successfully. Item will now be visible on your stream.
-
Post is under moderationStream item published successfully. Item will now be visible on your stream.
-
Post is under moderationStream item published successfully. Item will now be visible on your stream.
-
A word from our sponsors...
-
Post is under moderationStream item published successfully. Item will now be visible on your stream.
-
Stream item published successfully. Item will now be visible on your stream.
-
Post is under moderationStream item published successfully. Item will now be visible on your stream.
-
Post is under moderationStream item published successfully. Item will now be visible on your stream.
-
Cool video showing the creation of rear quarter and roof panels using traditional methodsPost is under moderationStream item published successfully. Item will now be visible on your stream.
-
Stream item published successfully. Item will now be visible on your stream.
-
Don't forget it's burger night this Friday.
Meet at Burgers N Shakes from 6:30 onwards.
Post is under moderationStream item published successfully. Item will now be visible on your stream. -
Stream item published successfully. Item will now be visible on your stream.
-
Stream item published successfully. Item will now be visible on your stream.
-
Post is under moderationStream item published successfully. Item will now be visible on your stream.
-
Post is under moderationStream item published successfully. Item will now be visible on your stream.
-
Post is under moderationStream item published successfully. Item will now be visible on your stream.
-
Stream item published successfully. Item will now be visible on your stream.
There are no activities here yet


