Interior panelling
I've been pretty busy over the past few weeks trying to get the shell and running gear finished so that I can make a start on building the engine. The body is pretty straight and only needs a few small patches welded in but having cut out the rear floor (for a variety of reasons) I needed to make up some interior panelling. After some deliberation I decided to go with aluminium panelling simply as it is easier to work with and requires no finishing. I had originally wanted to make the panelling and door trims out of reclaimed corrugated fence panels - the stuff you would typically see on a 100 year old Aussie property - just like the stuff I replaced on my house a few years back and retained for exactly this purpose but decided that the time that it would take to iron out the corrugations was time I did not have so aluminium won the day.
I originally got the idea of the fence panels from a guitar I own - a DonMo rust bucket - a resonator guitar made from recycled fence panels. Truly a thing of beauty - especially if you are into rat look cars and playing the blues.


As you can see the rear includes the original branding mark found on the corrugated panels. I have heaps of these and thought that they would look great in my Aussie rat rod oval. but alas time is against me so for the time being they will be aluminium.
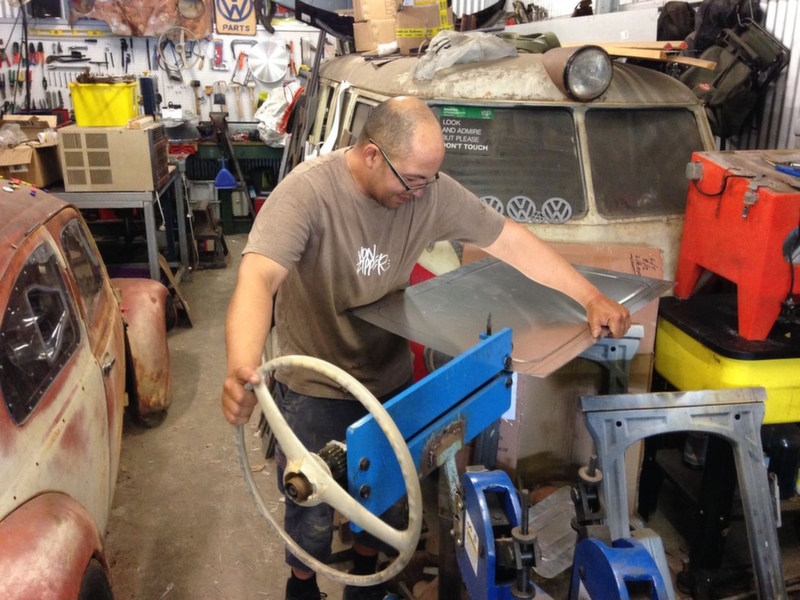
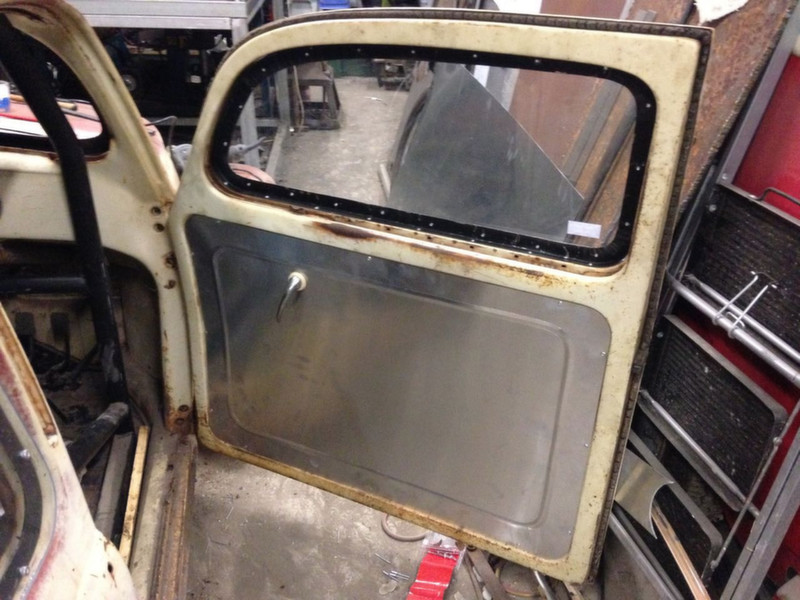
Making the door panels was a simple case of cutting out a rectangle with rounded corners and then adding a bead with the bead roller. The rears were a little more complex as they were curved but this was made easy with the template that 'Rusty Ovali' brought round. He also made a good job of rolling the panels too.
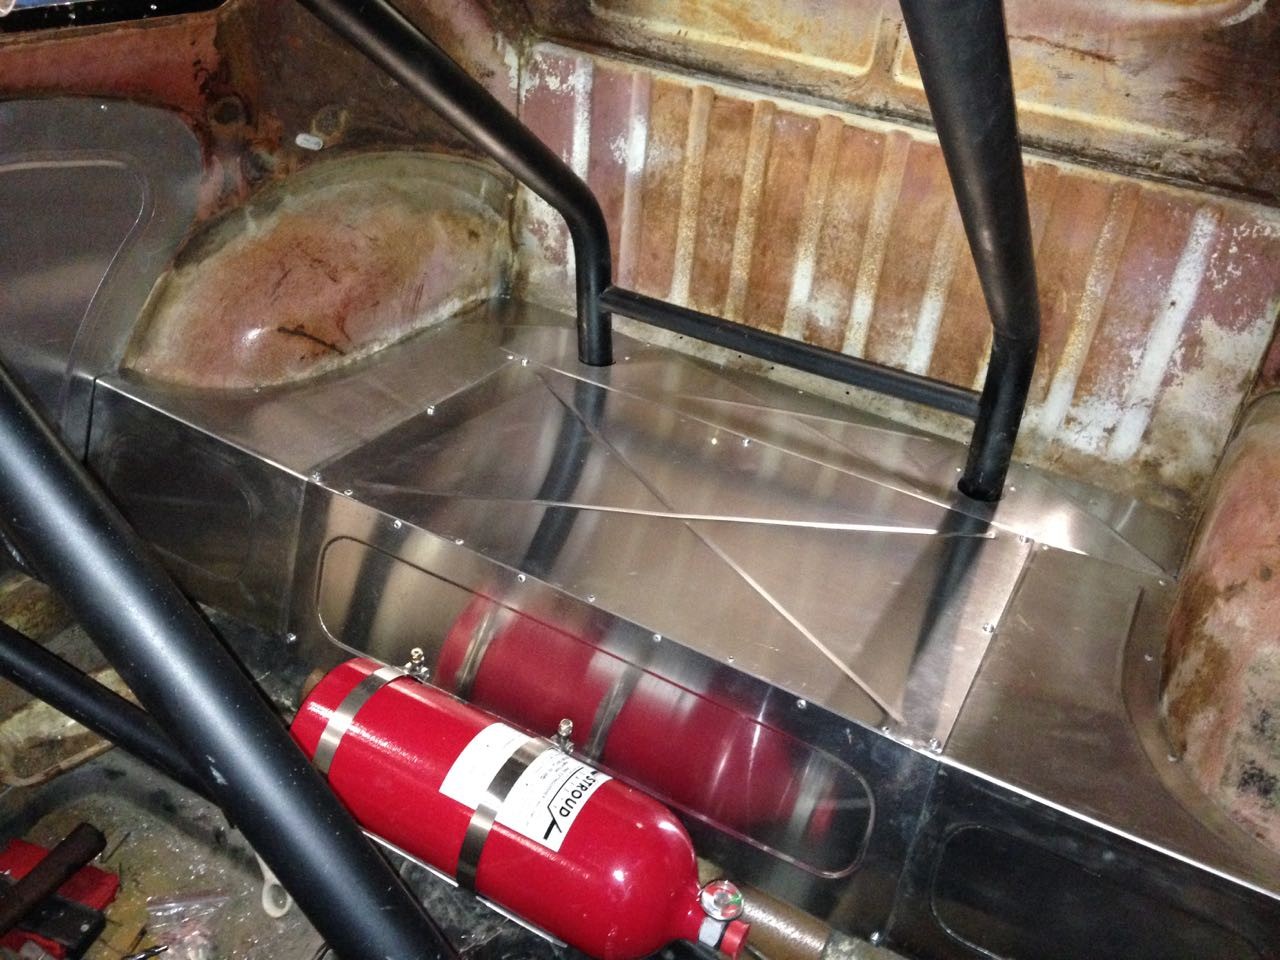
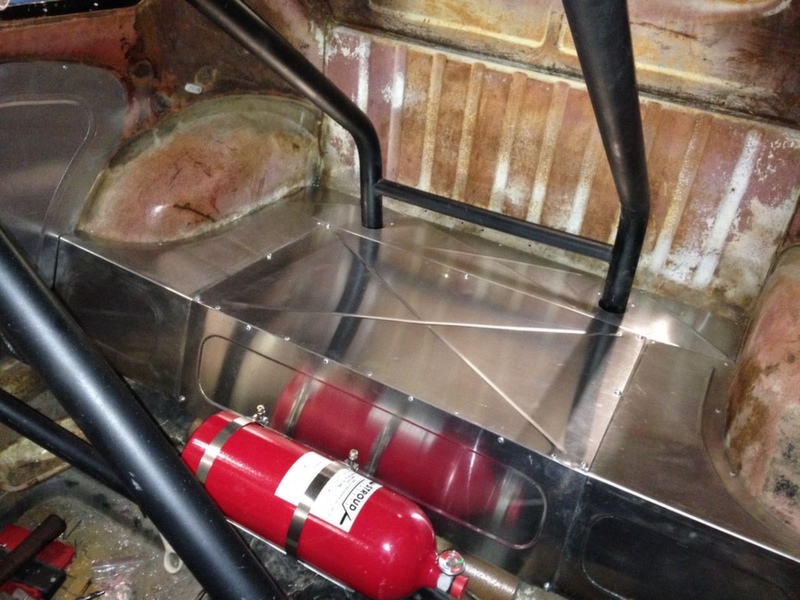
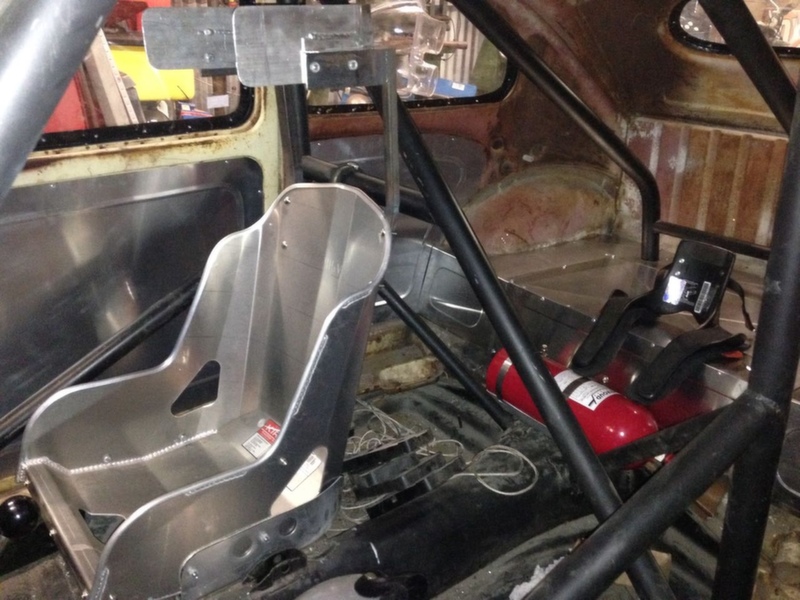
After fitting the door panels and rear kick panels I turned my attention to the rear seat area. This area had been cut out to allow the cage to be made - it allows the bode to be removed from the pan over the cage. It also gives great access to the gearbox. I decided to make this out of 1.5mm sheet as this is called for by the DLRA rules. I made it in three sections with the centre part removable so that I could still access the gearbox / starter / fan fairly easily. You can also see the beginnings of the fire system being mounted up too...
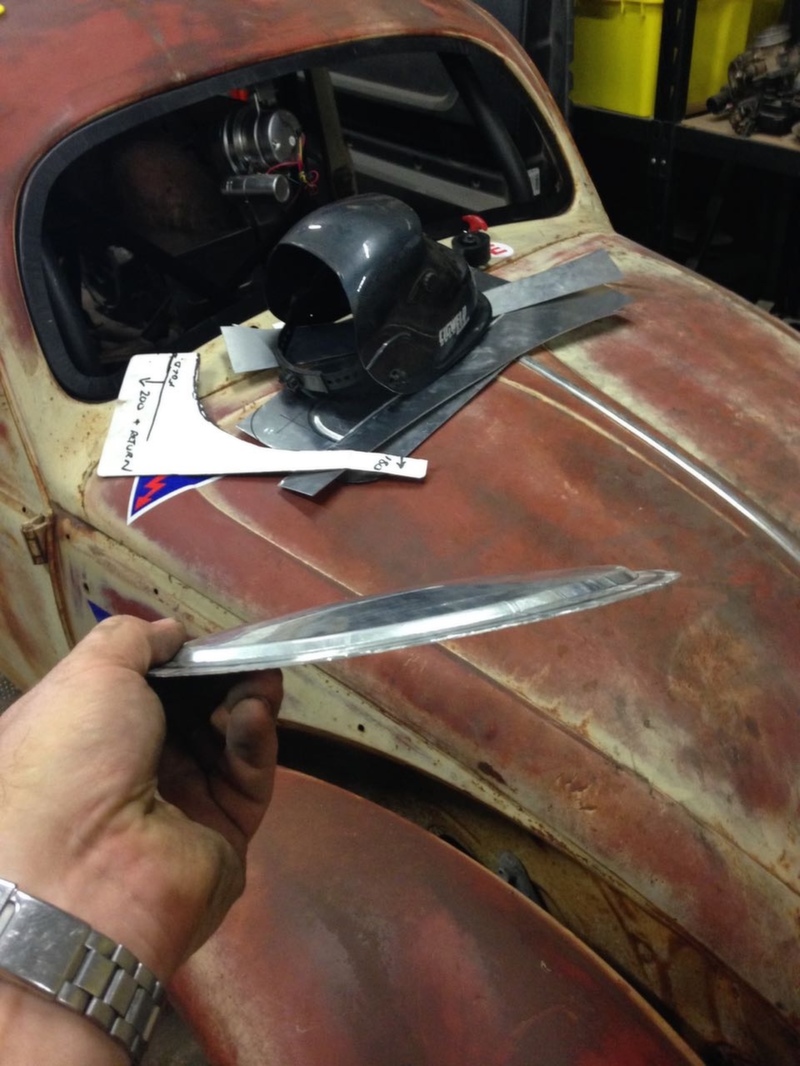
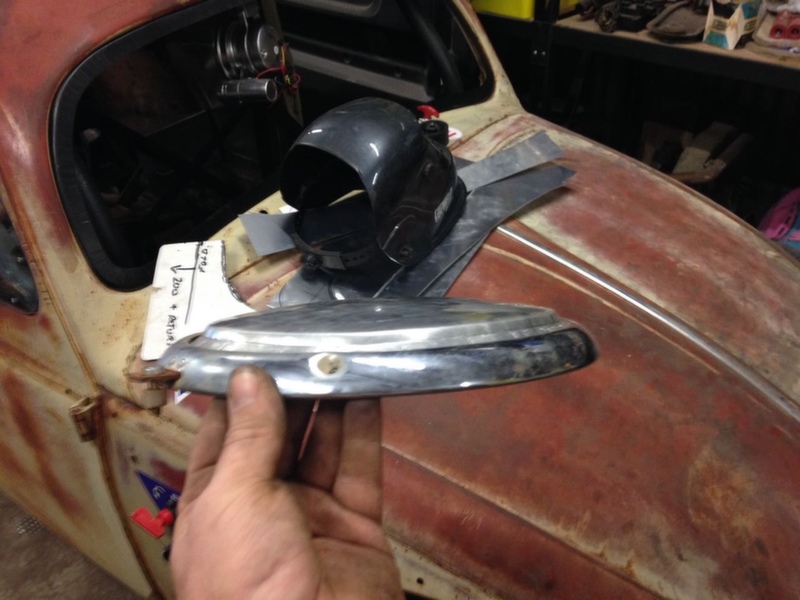
Whilst I was working with aluminium I decided to knock up a couple of other items too, namely some headlight covers - this both gets rid of the glass and also is a requirement for the Altered Coupe class in which I have entered. I made these by putting some shape into a a flat blank and then bead rolling a step around the edge to allow it to fit in the original position like the glass sense did.
Back when I originally started building the car there were not requirements for a HANS system or head restraints other than a head rest. With the changes in safety that have happened over the past few years there is now a requirement for head restraints. Having already bought a low back seat with the intention of using a head rest mounted to the cage I had to go back to the drawing board and come up with an alternative. I didn't really want to replace the seat, but a new high back Kirkby with the optional shoulder and head restraints would definitely be the go if I was buying a new seat - or maybe even a full restraint seat.
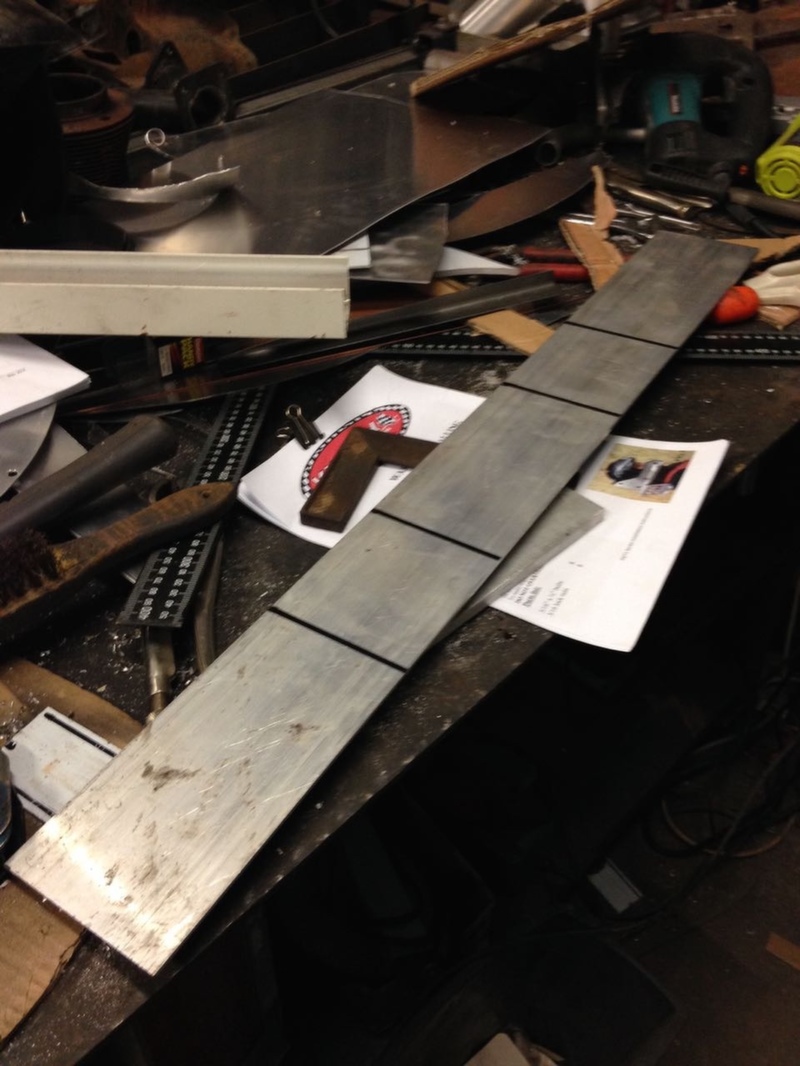
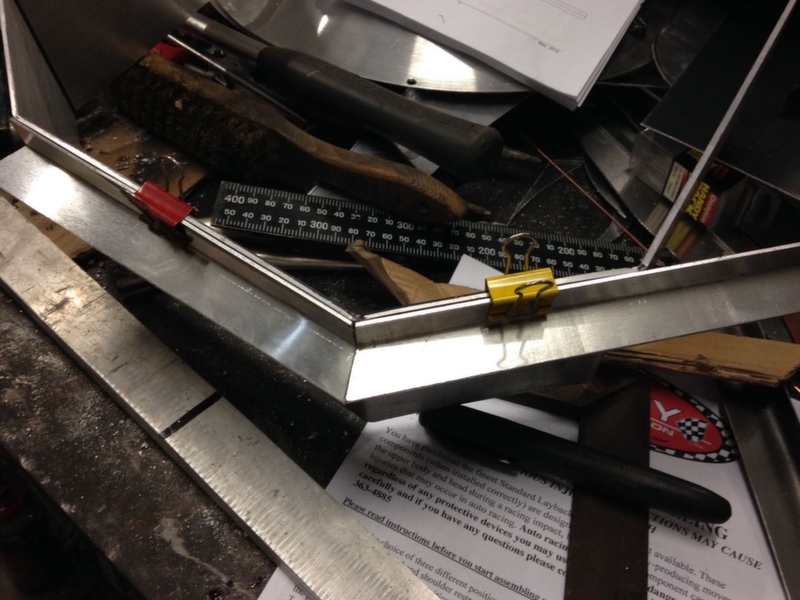
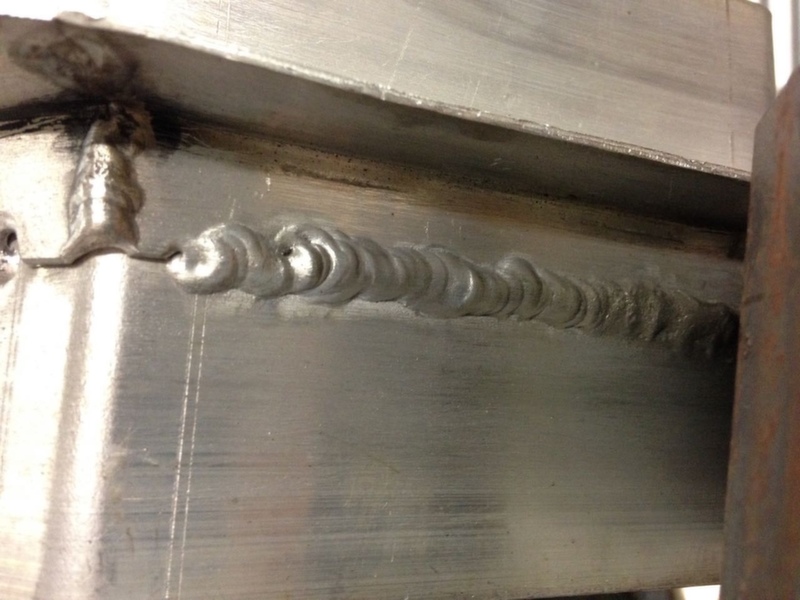
Inspired by the new Kirkey full restraint seats I set about adding a suitable head restraint to the existing low back. I started off with some 5mm x 100mm aluminium flat bar and bent it up into a similar shape as the Kirkey unit - fortunately all of the measurements for the Kirkey unit are available online as a fitting guide. I then added some additional support in the form of some aluminium angle that I had in the spares pile. I TIG'd this on (my aluminium welding skills need lots of honing).
I then set about mounting it all up. I had already decided to mimic the way that the kirkey full restraint seats mount the head rests as this left a nice clear area for the harness plus it allowed me to mount the restraint directly to the seat back. Here's the end result. I still need to get some flush bolts and SFI padding to finish it off but it works really well.
Other tribulations include having a custom flywheel and clutch disc made up to allow me to marry up the 1950's VW 36hp engine to the 1980's 911 gearbox, and even though this should allow me to get the power to the wheels (once I have drive shafts that is) I still need to engineer a way to release the clutch. 911 gearboxes are an anomoly in the automotive world, not only does the starter ring gear bolt to the flywheel but instead of pushing the thrust bearing into the clutch to release it - it pulls the bearing (which is attached to the clutch pressure plate) away from the clutch - it's basically backwards.
This means that the usually way to get everything to marry up is to use the complete 911 clutch setup which is what I did on the original big block engine when I built it by having a custom flywheel made up. This time I decided to move away from the 911 setup as it is massively heavy - especially for a little engine like this one so the only option was to use a stage 1 200mm VW pressure plate on a custom flywheel (with a 12 volt starter ring gear instead of 6 volt) married to a 200mm clutch disc with the VW centre swapped out for a Porsche centre. This is a good setup for this engine but leaves me with the issue of operating the clutch, there is simply no way to retrofit a normal style clutch fork.
My current thinking is to use a hydraulic style release bearing, these are like an oversize release bearing that you can hook up to a hydraulic master cylinder, they simply sit on the input shaft tube and expand to push the clutch fingers. Next pay I will order one and figure out how to change my existing cable pedal to a hydraulic one.
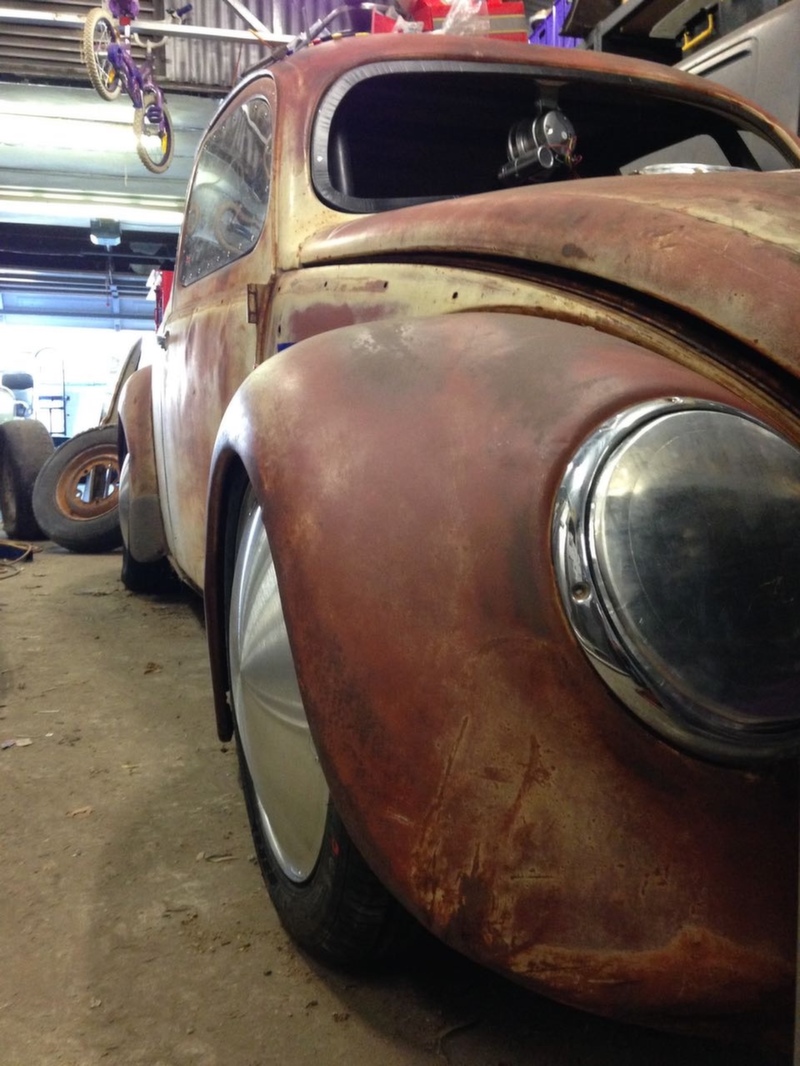
I also had some tyres fitted to the rims and managed to find some V rated (150mph) in suitable sizes. This is way over what the current engine is capable of powering the car at so will do very nicely indeed. The front are Nangkang 145R65/15s a popular size for use as front runners by street cars and the rears are run of the mill 195R65/15's - a tad wider than I would have liked but as none of the narrower tyres are available in a V rating they had to do.



Comments