Nicks 57 bottomless money pit Part 2
Well its been a while since I added to this so here goes-
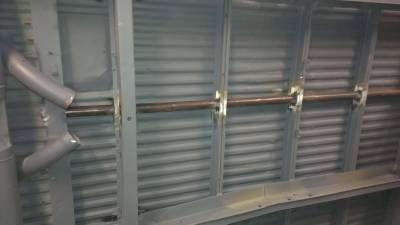
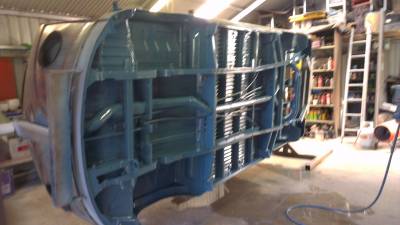
After getting the panel back from the blasters we continued the work,now on the rotisserie..All pre 59 or so buses use an open long shift rod that is only supported at the front by a metal spring open to the elements so I decided to change the set up to the later style enclosed shift tube so the rod is supported by 2 plastic bushes.This was a hell of a lot of work as the hole in each I beam and the front and rear tophats had to be enlarged and the rigid tube bashed in.Before the shift rod was installed for the last time I filled the rod itself with grease,this acts as a vibration dampener and gives the gear shift a more solid feel.
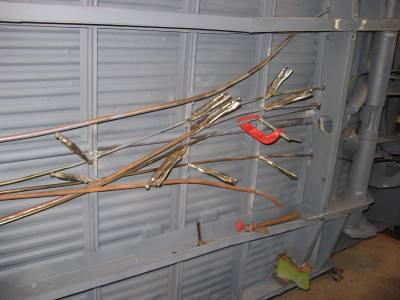
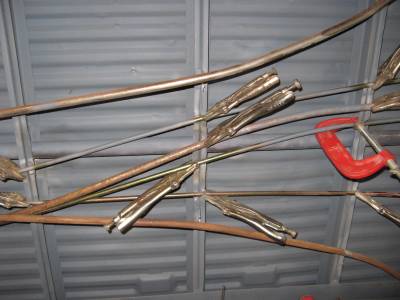
Next came the replacement of all the cable conduits,these weren’t stuffed or anything but hey in for a penny as they say.We copied their locations from another kombi.
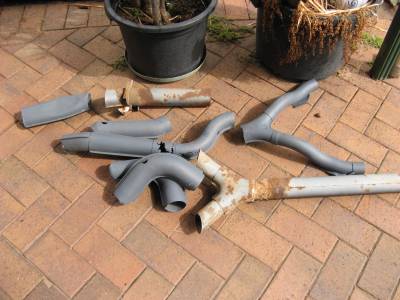
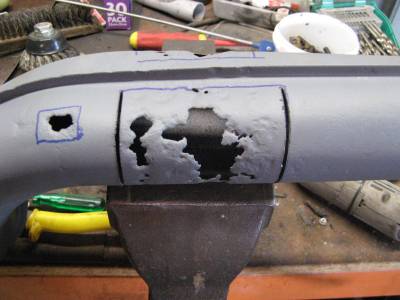
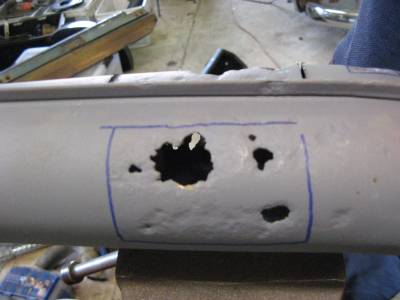
The heater tube came next,it was pretty holey
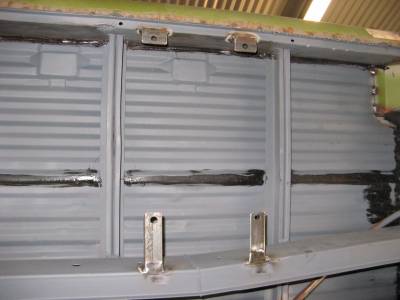
Brackets for an external oil cooler,seam sealer and the underside is done
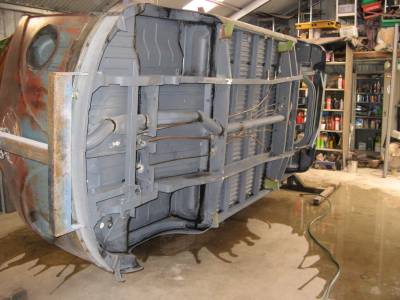
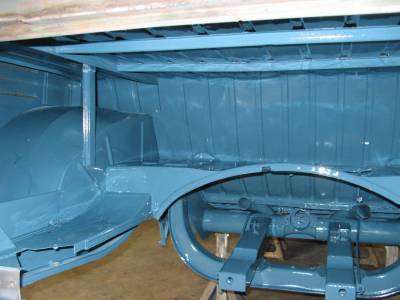
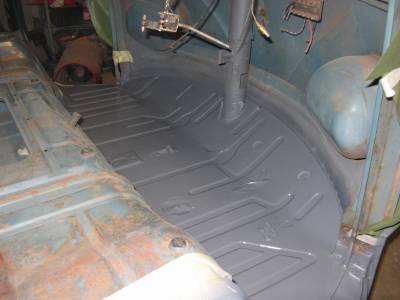
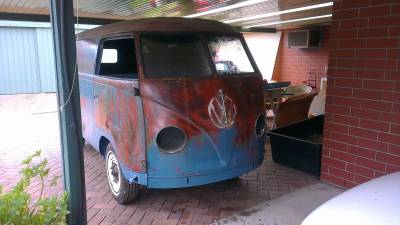
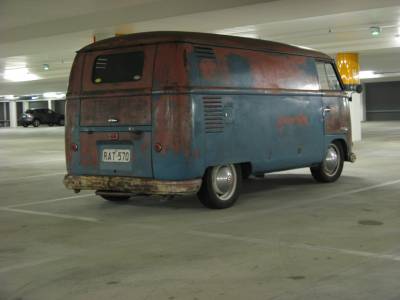
Time for colour! This was done in Spies Hecker Hi Solids 2K.My goal from the beginning was bright and shiny underneath and "as found" up top.Painting the underside of a kombi black or using some sort of rust paint looks like shit,IMHO.
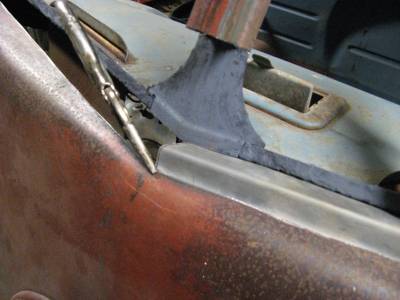
Time to tackle the dreaded windscreen rust.The biggest problem here was not losing any more of the patina than necessary and blending in the repair afterwards,whilst at the same time not affecting the original paint on the dash.First the top of the nose skin had to be fabricated and then the Gerson windscreen repair section put over the top.After this repair was completed we hid it using rust effect art paint.
http://shop.murobond.com.au/rust-paint/
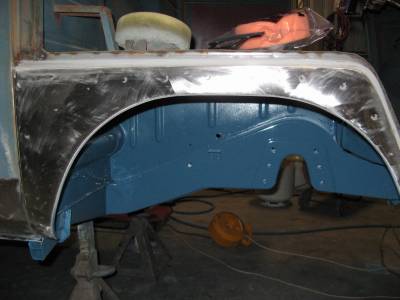
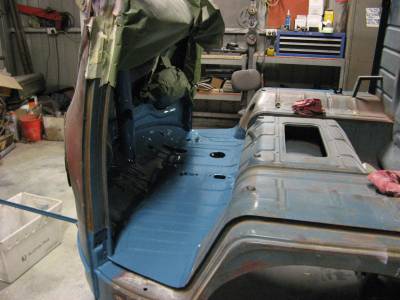
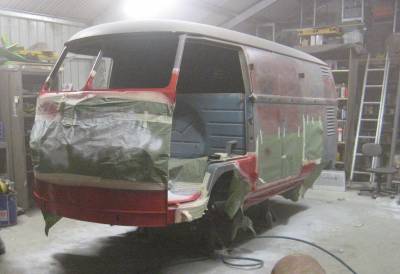
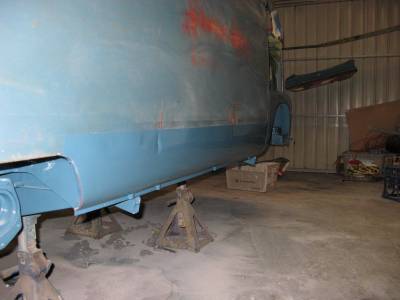
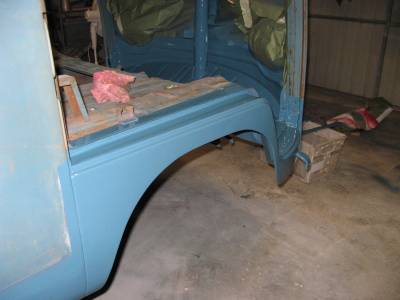
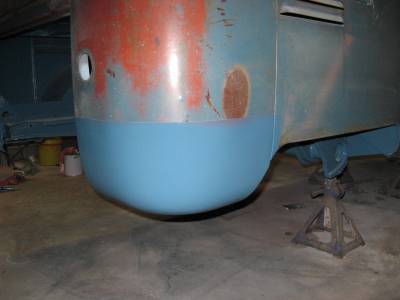
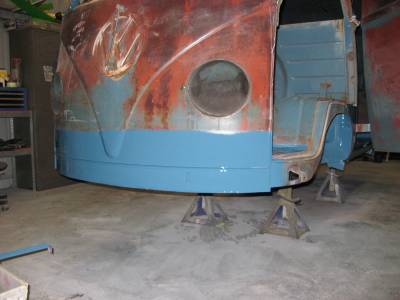
Next came blending in all the new metal around the lower portion of the bus.This was done by first laying on a coat of grey primer and doing any filler work.Next white 2K primer and gloss 2K red oxide colour matched to the factory primer.Last coat was gloss Dove Blue acrylic with a small amount of flattening agent added.This was done so it would be easy to rub through the blue revealing the red underneath.At this stage the front and rear floors were painted in 2K Dove Blue
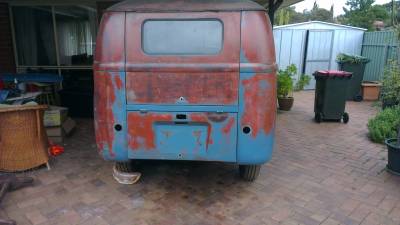
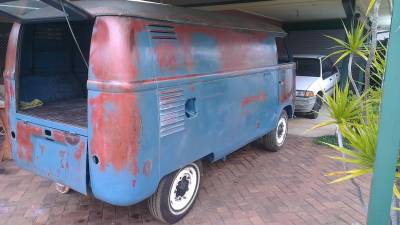
So after some creative sanding and throwing rocks at it to make instant stone chips the body was finished.
It took me a lot longer than I anticipated to put all the rubbers,brake hard & soft lines,new wiring loom,windows,handles etc. in but I wanted to get things right the first time.Add some good bits and its time to rock and roll.
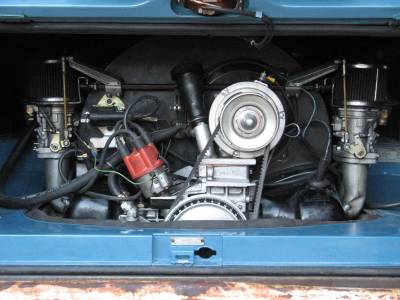
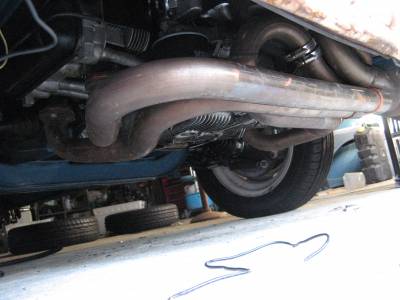
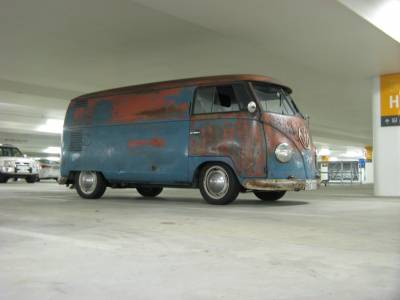
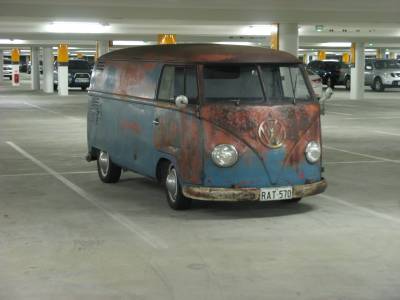
After 18 months as a daily driver,cruiser,parts pickerupperer,furniture mover,drinker of bullshit amounts of petrol, here it is

Comments