Electrickery and other such magick
With the ReVolks trip looming and the interior in the bus it' time to get things finished off and start packing for the road trip. Everything at floor level is pretty much done, carpet is in, rock and roll seat is in, rear cargo area is carpeted, in fact the only things that havent been done are up in the roof.
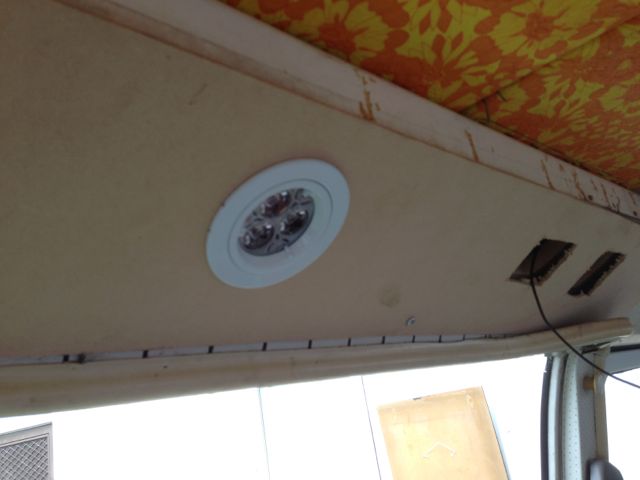
For some reason at some point the headlining has been cut out of the bus. This left a nasty view of the guts of the poptop conversion. It also meant that there was nowhere to mount lights into. Afte a little pondering and being inspired by the wooden roof Devon conversions I decided to use some 3mm MDF to quickly make up a cover for the roof area. I made two strips; one for each side of the roof to fill in the gap between the pop top and the missing headlining. For the rear area I made a full width cupboard. The result of fitting these two strips in is that I now have a nice area to fit my lighting.
For the lighting I am using LED downlights; the kind that you would normally see in your house. The beauty of using LED downlights is that they are already 12volts, you simply use them without the transformer. In addition to the downlights I am also using a dimmer unit to control them. I stumbled across the idea as I'd seen a bus with downlights in it before. I'd also seen LED strip lighting used but was told by the owner that they were far too bright. Armed with this info I did a bit of research and determined that I could fit dimmable LED downlights - best of both worlds. The dimmer unit I sourced also has an infra red remote control allowing you to set the light level and turn them on and off; no need to clamber into bed in the dark any more.

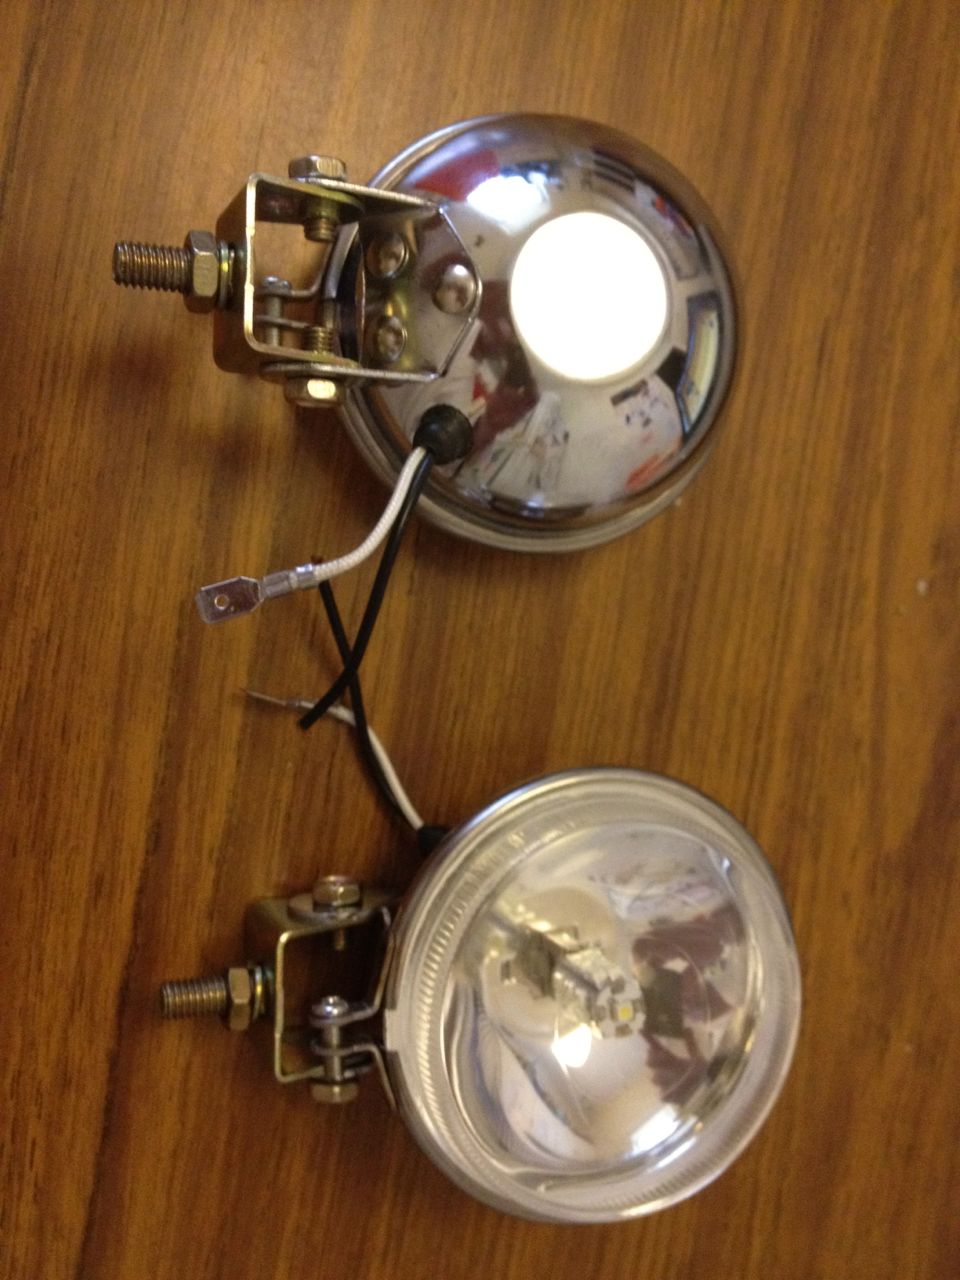
Along with the LED downlights I also bought some LED spotlights. I mounted these to the roof rack to illuminate the area next to the bus. This means no more getting caught out cooking in the dark or struggling to put up the awning without being able to see what you are doing. The roof rack has also been put to good use holding other stuff too. I fitted a 4 inch PVC pipe across the rear of the rack to hold the tent poles for the awning, no need to take up valuable space inside the bus unnecessarily. The spare wheel is also up there, along side a jerry can of spare fuel and the portaloo (shovel). it also makes a handy mount for the CB aerial too. When I get a bit more time I will make up a mount to hold the jerry can vertically on its side, unfortunately the only one available was the Rhino version, which at three times the price of a normal upright mount is not going to find its way onto the bus any time soon.
With the lighting done the only other electrical job was to tackle the inverter and dual battery changeover. I had decided, that as the bus will mainly be used for camping trips it should be kitted out appropriately and an inverter was a justifiable luxury: One thing that I found was that with the kids booster seats fitted in the rear, the rear seat is not able to be lifted up. this means that it is not easy to get access to the stove for quick pit stops. Without the stove there is no tea or coffee, which is obviously a major bummer. Inspired by the need for easy tea and coffee, I determined the best solution was a small kettle and an inverter. I pondered the idea of getting a 12v kettle, but threw that out of the window when I found that they can take 20 minutes to boil (in that time I might as well take the kiddy seats out, set the stove up and cook something as well). I was also given the hard sell by the chick in the camping store swearing by the merits of some 'as used by the army' compact water heater stove. Which whilst it may well have only taken 7 minutes to boil the (integrated) mug of water, meant taking additional (and different) fuel as well as finding somewhere for it to live.

In the end, I decided to fit a 1Kw inverter in the engine bay, and managed to source a 240v travel kettle. The benefit of the inverter is that I can also power all kinds of other 240v stuff such as charging batteries, phones etc. The kettle is super small and holds exactly two cups. Perfect!

To ensure that all of this electrickery doesn't flatten my battery I fitted a second battery in the engine bay. I used a deep cycle leisure battery. These batteries are designed to be depleted and then recharged (hence deep cycle) whereas normal car batteries are only designed for short duration loads. To recharge the battery a special relay is used to connect the second battery to the main battery. When the relay senses that the voltage has dropped below a certain level (the batteries are going flat) it automatically opens, disconnecting the main battery ensuring that it will not go flat.
I ended up shopping around for the relay as they can be quite expensive. I found that Autobarn had the best price and supplied the relay as part of a kit that included all of the wiring and terminals needed. In fact it included everything apart from the second battery itself. Installation is relatively straightforward, and the instructions are easy enough to follow.
Comments