It'll be all white in the end

Last weekend was a bit of a milestone in the build with the bus's first trip around the block. One thing that was instantly apparent from the maiden voyage was that the accelerator linkage was absolutely cactus. The second thing that was also readily apparent, and was made a lot worse by the first thing was that PICT34's and 009's do not play nice together. The bus had the infamous flat spot, which made you want to stamp down on the loud button to get things moving. This worked (to a degree) but ended up with the worn throttle sticking in the down (flat out) position. All in all it made for interesting driving.
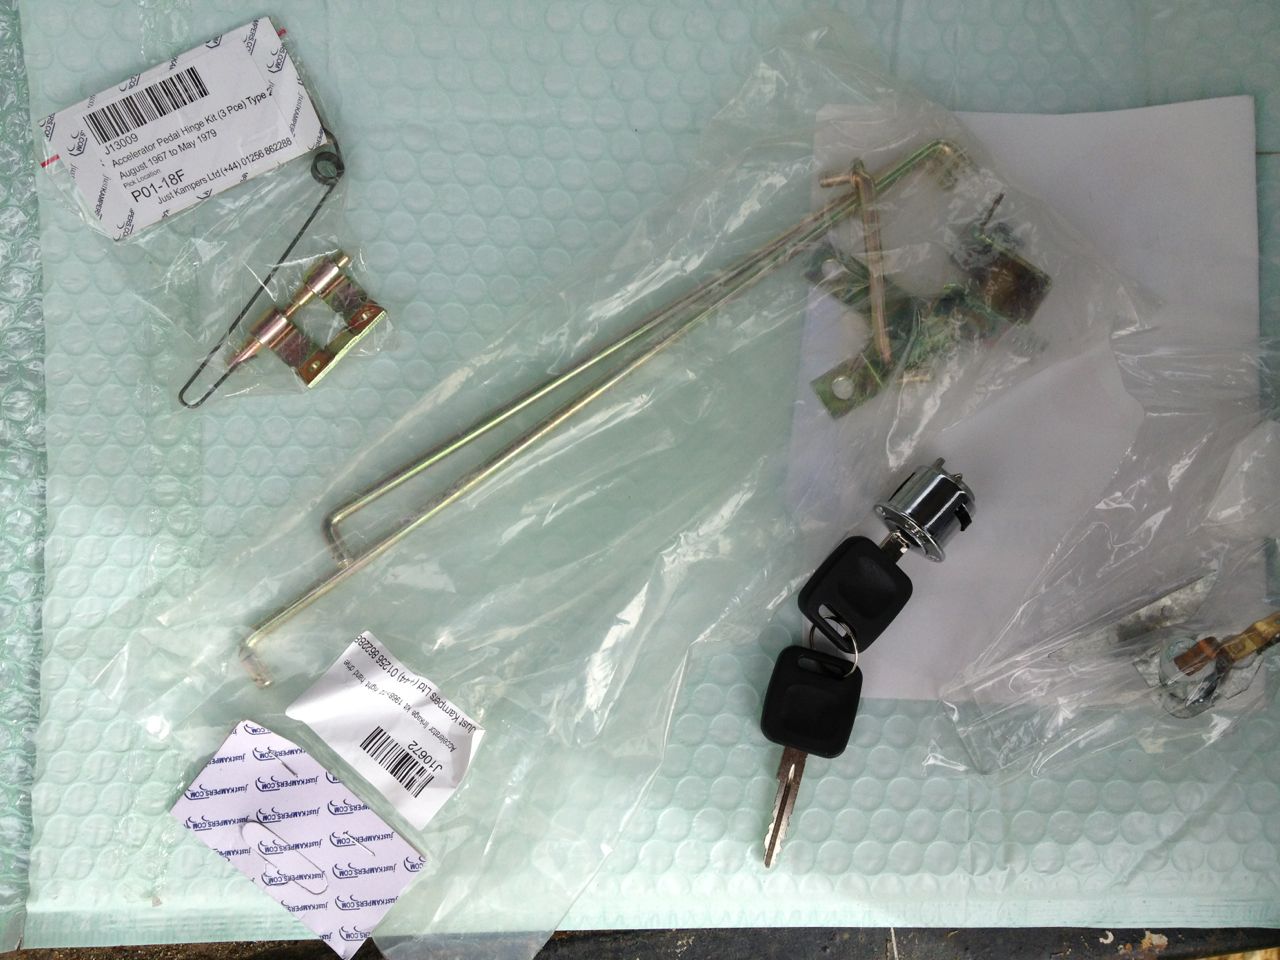
After a quick look at the throttle linkage I decided that the best thing was to simply replace it, so I ordered one from Just Kampers here in Aus. I also ordered some other goodies as well. I decided to replace the front indicator lenses as the ones I have now let the bus down quite a bit, I also ordered a new ignition barrel and key as starting the bus with a screwdriver is not really how I want to do things.
The parts arrived in good time and so when the weekend rolled around it was time to fix up the accelerator. I started off by drilling out the welds on the old pedal hinge and linkage pivot underneath. The floor around the pedal is a little corroded and ideally needs patching up so I decided to leave the remnants of the old hinge in place so that I did not damage the floor un-necessarily. I will add this to the list of items to fix when I redo the bus next winter. With the new pedal in place and the pivot installed I removed the old cable and replaced it with the new one that I ordered. I also took the time to lubricate the linkage so that everything was working nice and smoothly. Unfortunately the cable was a tad too long, I will fix this later. The great thing is that now I have full throttle and full pedal travel.
I bought some clear indicator lenses as the old ones were looking a little tired. The lenses even came with orange bulbs. fitting them was imply a case of unscrewing the old ones, swapping the bulbs and refitting the new ones. Unfortunately the seals were out of stock so these will have to wait until later.
The ignition barrel was easy to fit, but did require some modification. the spring clip that holds it in place is slightly too wide so I needed to grind a couple of mm off of it to get it to clip in a retain properly. I'm guessing that the new busses are slightly different from the old ones (the ignition barrel is from a Brazilian type 2). Interestingly the text on the lock is in Brazilian and the key is a more modern style with a plastic head. Another job off of the list.
I also managed to tackle the remaining painting. This was the drivers door, rear bumper and rear valence. I had already finished prepping the door last week but did not have a chance to get any paint on it before today. I hit the door and rear bumper with a couple of coats of high build primer and then flatted them back. I also removed the paint from the rear valence and gave that a couple of coats of primer filler as well. With everything flatted back I laid down about 4 or 5 coats of the Antartic White. I let this dry and carried on with other things.
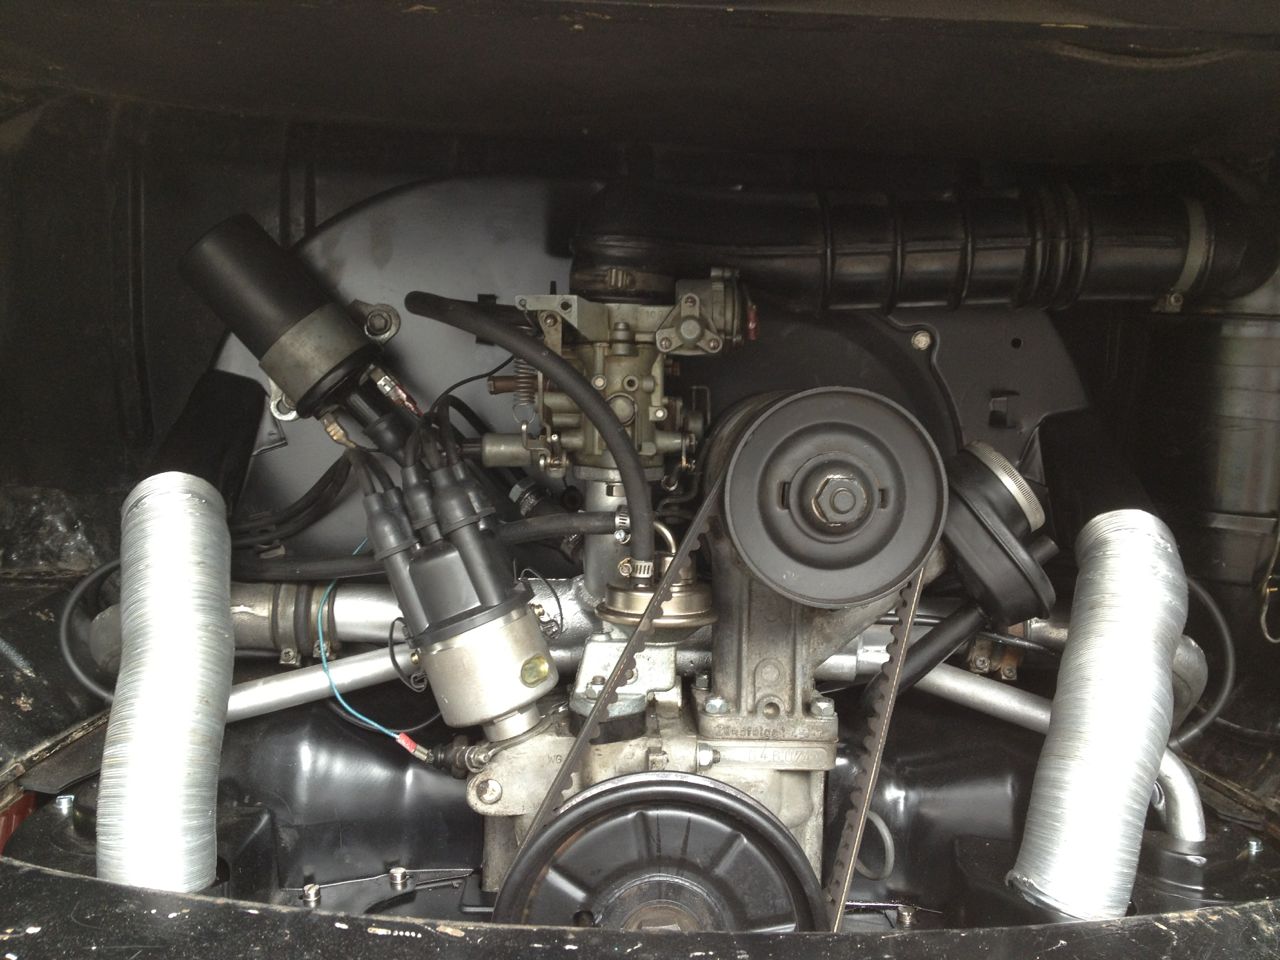
I made up a short wiring loom to connect the generator to the voltage regulator and put the battery back in the bus. Yesterday I ran the bus for a while before it conked out. I figured it had run out of fuel, but I also found a dead electrical system so I put the battery on charge. I had been running the bus with the generator disconnected so decided to hook it up properly. I also swapped out the starter motor for another one as I initially thought that I might have a starter motor issue. Unfortunately I did not get the bus started again before flattening the battery so I put it on charge overnight. I will have another go tomorrow.
With the paint now dry I wet sanded it back and turned my attention to the other side of the door. the inside of the door had received a few scratches from laying about on the trestles when I was prepping the other side, so I sanded these back and then painted the inside and edge of the door. I also did this for the passenger door as well.
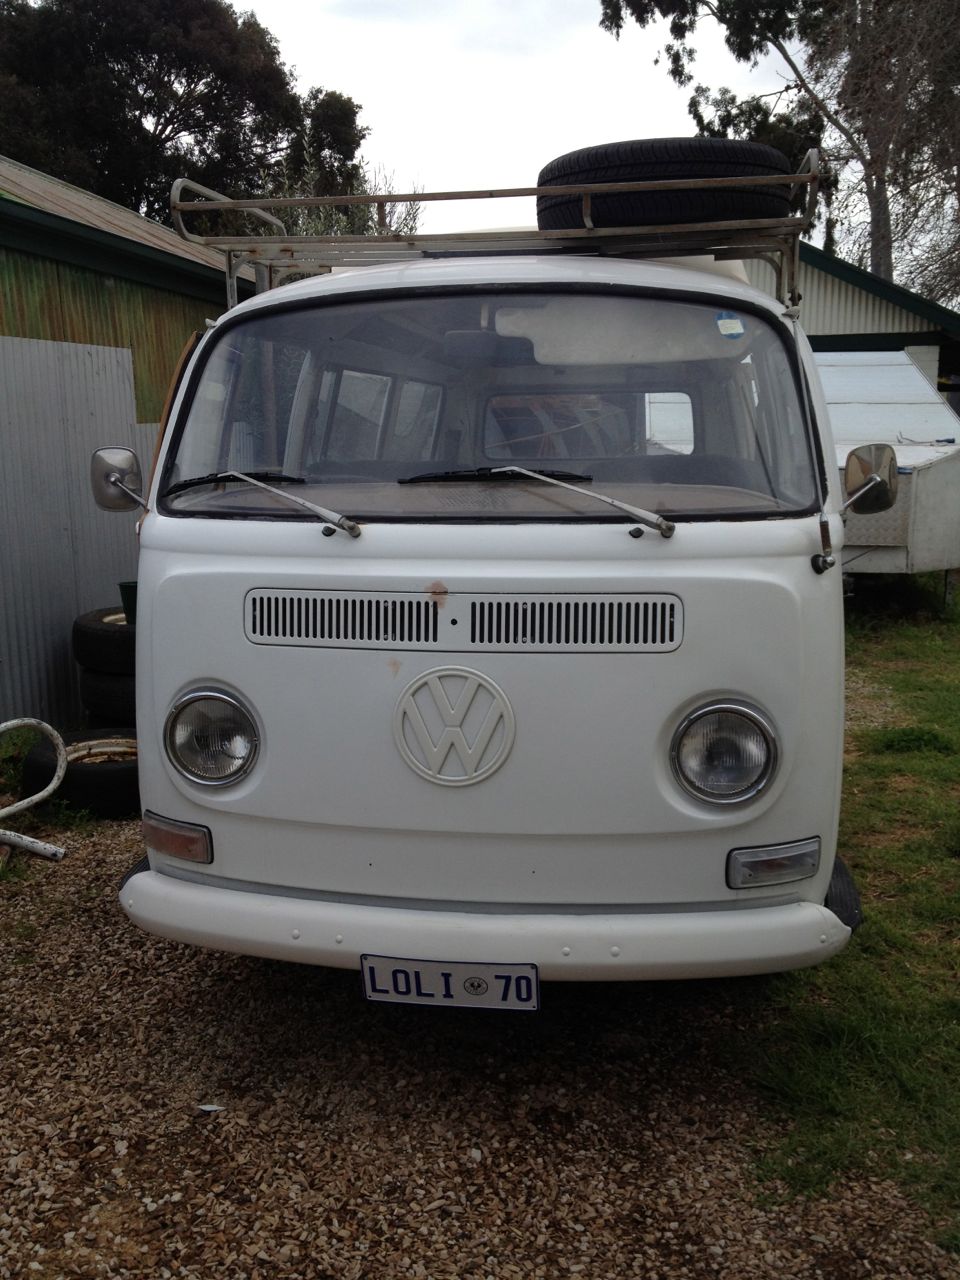
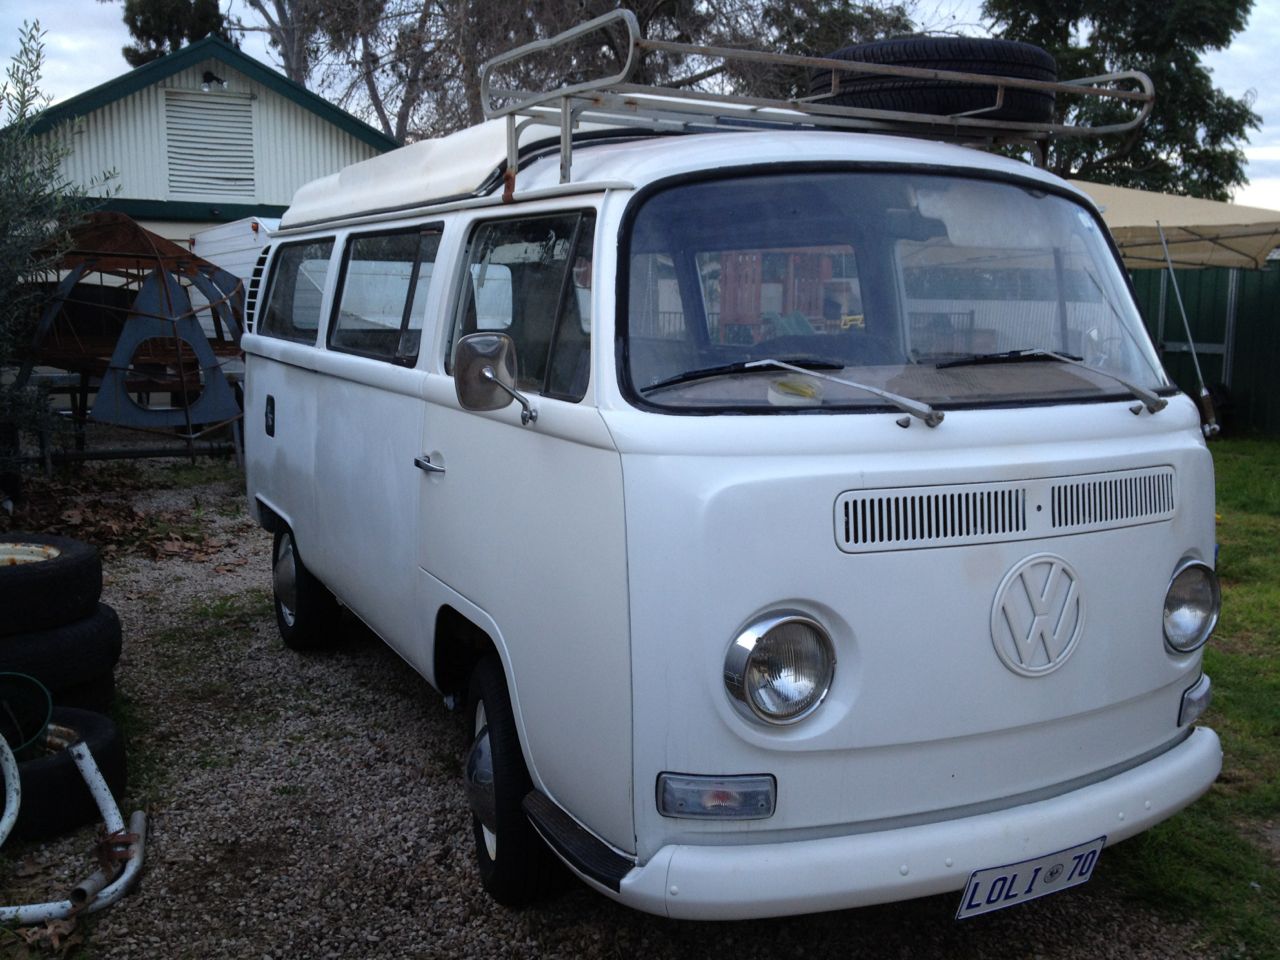
With both doors painted, refitted the handles and fitted the doors on the car, now the bus is all one colour. Yay! The colour is slightly different from the rest of bus as I opted to repaint them in the correct Antartic White which is a slightly creamier colour than what the bus was previously repainted in. I will repaint the whole bus next winter but for the time being the aim of the game is to simply get it on the road and enjoy it.
reVOLKS here we come :D
Comments