Gauges Finished (Kinda)
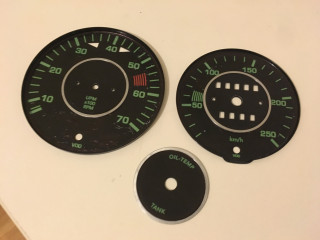
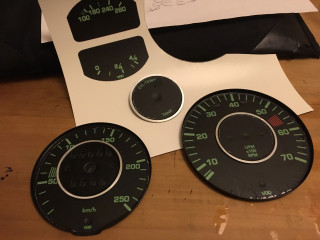
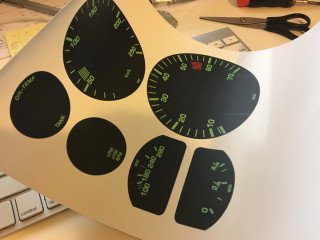
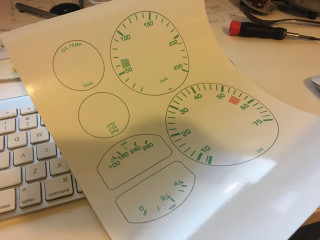
Finished off the gauges this evening. Scaled the fascias down to fit and printed out a few test prints. I initially tried to print onto transparent water decal paper but found that the ink was not vibrant enough and did not show up that great on the black background. This was a shame as the transparent decal paper works a lot better then the white.
So unfortunately I was forced to use the white paper so that the green numerals were visible. This had one unfortunate side effect - that the white edge of the paper was clearly visible in a few areas against the black background.
One other thing I noticed is that despite having a laser printer the quality is really not that good. It could be down to the way that I'm processing the image but having exported it 1:1 from an SVG program and printing it 1:1 it came out surprisingly pixelated.
Despite the quality issues I decided to continue on and get the gauges back together as I figured I could touch up the white bits with texta and as I now had the artwork, at some point down the track I could get some vinyl stickers printed up. At least I would have some functional gauges for the time being.
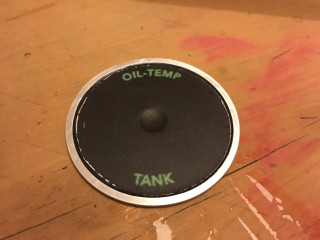
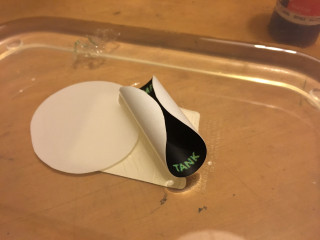
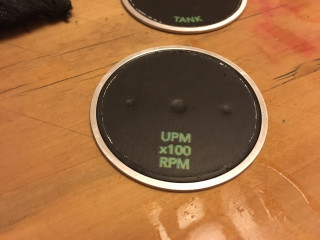
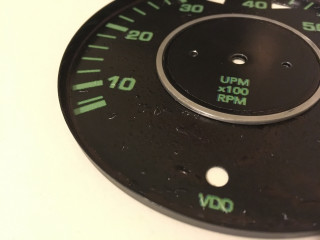
With the transfers in place they are then 'cooked' in the oven for 10 minutes at 150 degrees. This is to 'set' the transfer. Unfortunately on a few of the transfers the surface bubbled up a little. I'm guessing that this may have been due to water trapped underneath, or maybe they were not in the oven long enough. With no info supplied with the decal paper it's pretty much anyones guess as to why,.
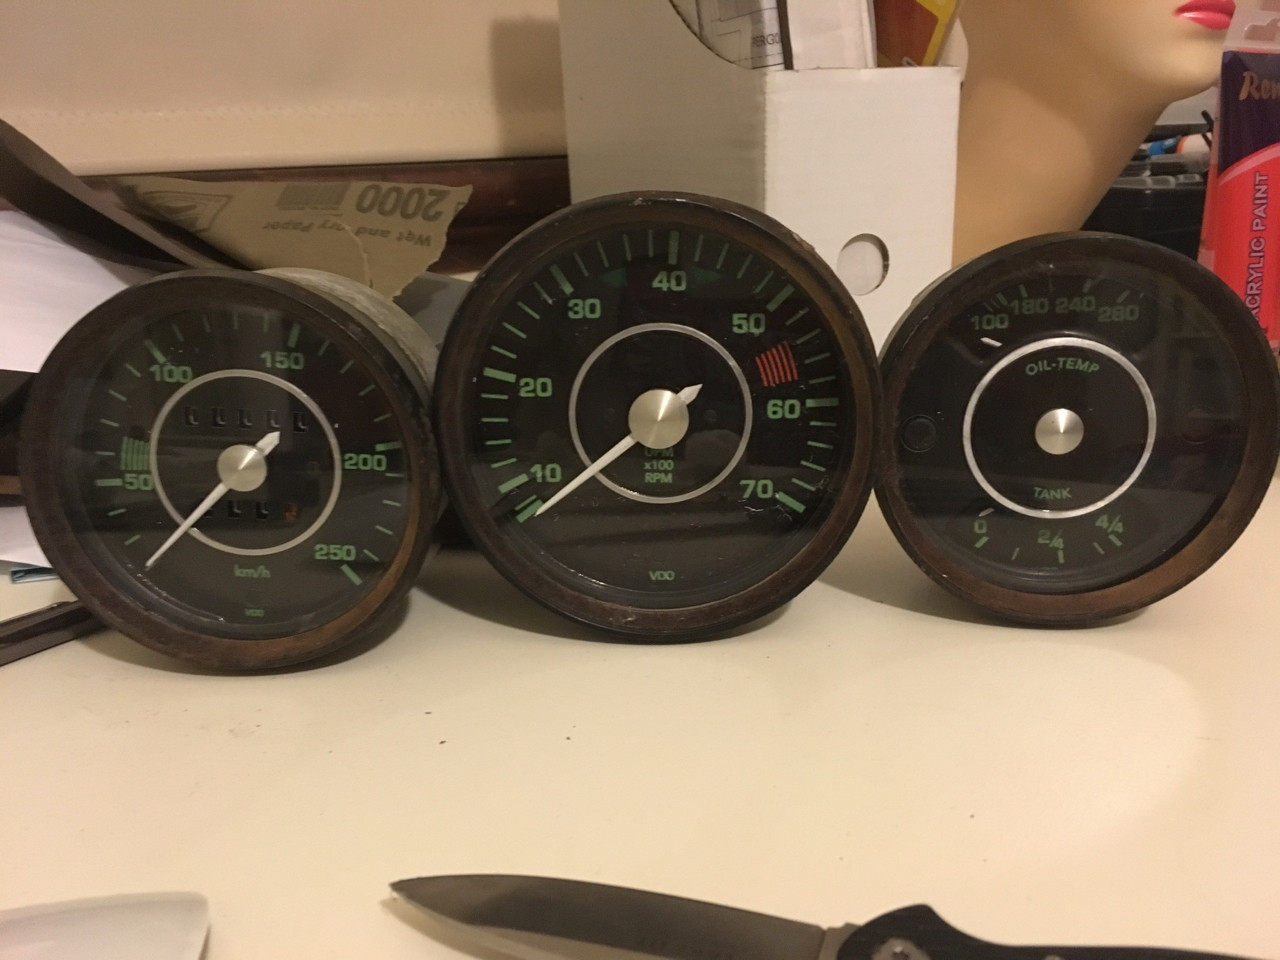
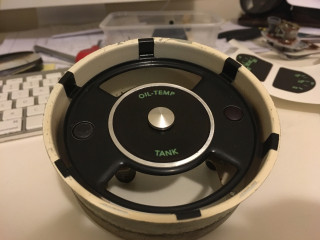
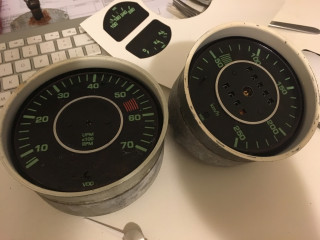
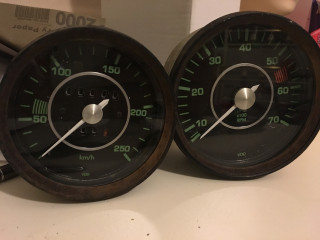
With the decals installed on the faces I poked and cut the various holes and then reassembled the gauges. Despite the obvious quality issues they don't look too bad (as long as you don't get too close). I need to get the bezels chromed (I may just paint them for the interim) but even with the dodgy looking faces they will do just fine. (and they didn't cost me $1k like the reproduction units you get).

Comments