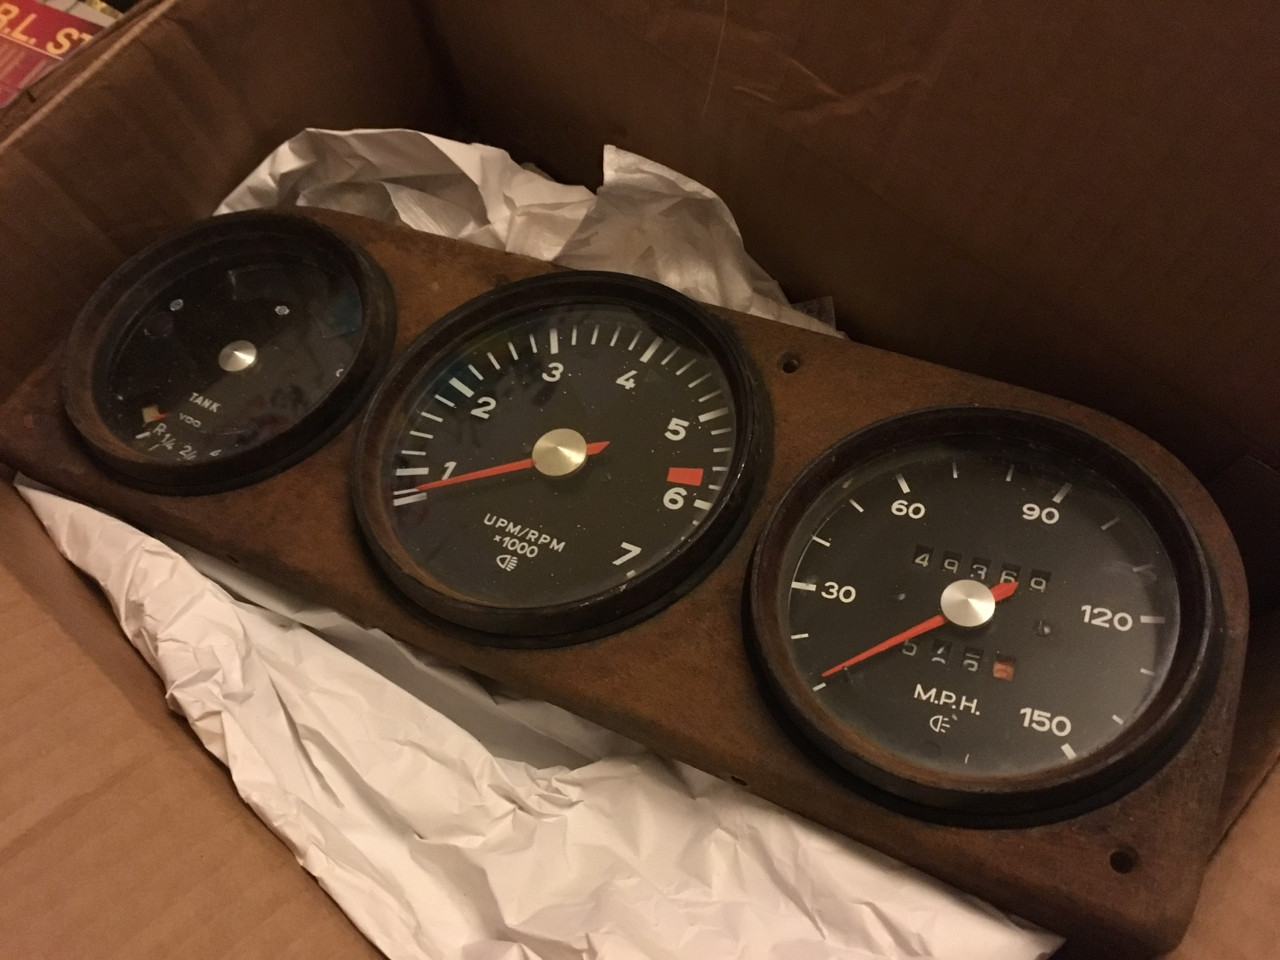
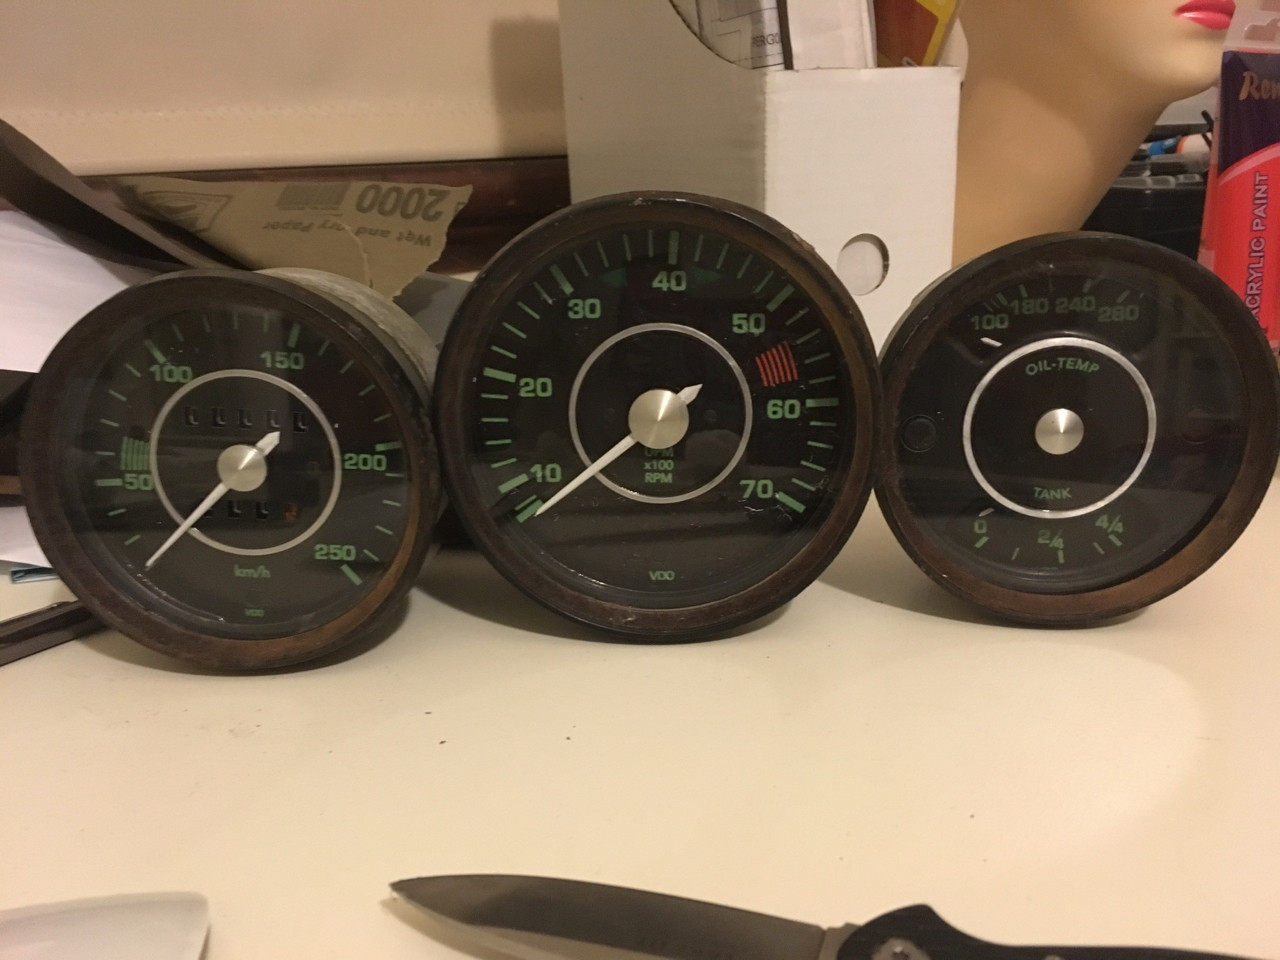
I found a cheap set of early 914 gauges on Ebay that were simply too cheap to pass up. The plan is to give them a bit of an overhaul and update the faces to match the original 356 style. The tacho on the 914 is slightly larger than the other gauges whereas on the 356 they are all the same size. Having seen 914 gauges fitted to other 356's it doesn't really notice too much. North Hollywood Speedos can convert these to look like 356 gauges but at some around AU$1k it would be cheaper to buy some reproduction gauges. The thing that has really turned me off of getting repro gauges is that the trip meter and odometer is a nastly little LCD screen. Yuk.
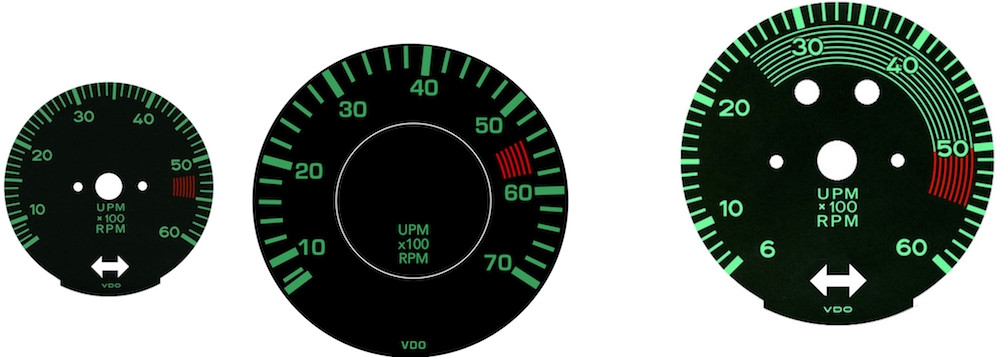
Started to draft up the images for the replacement gauge fronts, so far I have managed to get the tacho done. The process basically involves scanning the original face to get a basic image showing the locations of the markers. Then drafting a new image using the old markers as a point of reference. I've matched the font to one very similar to the original 356 A gauge font and also take a grab of the colours. The end result is an image that looks very similar to the original style gauge but with the correct scaling for the 914 gauge. The centre tacho in the image is the new version, the outer two images are early and late style facias.
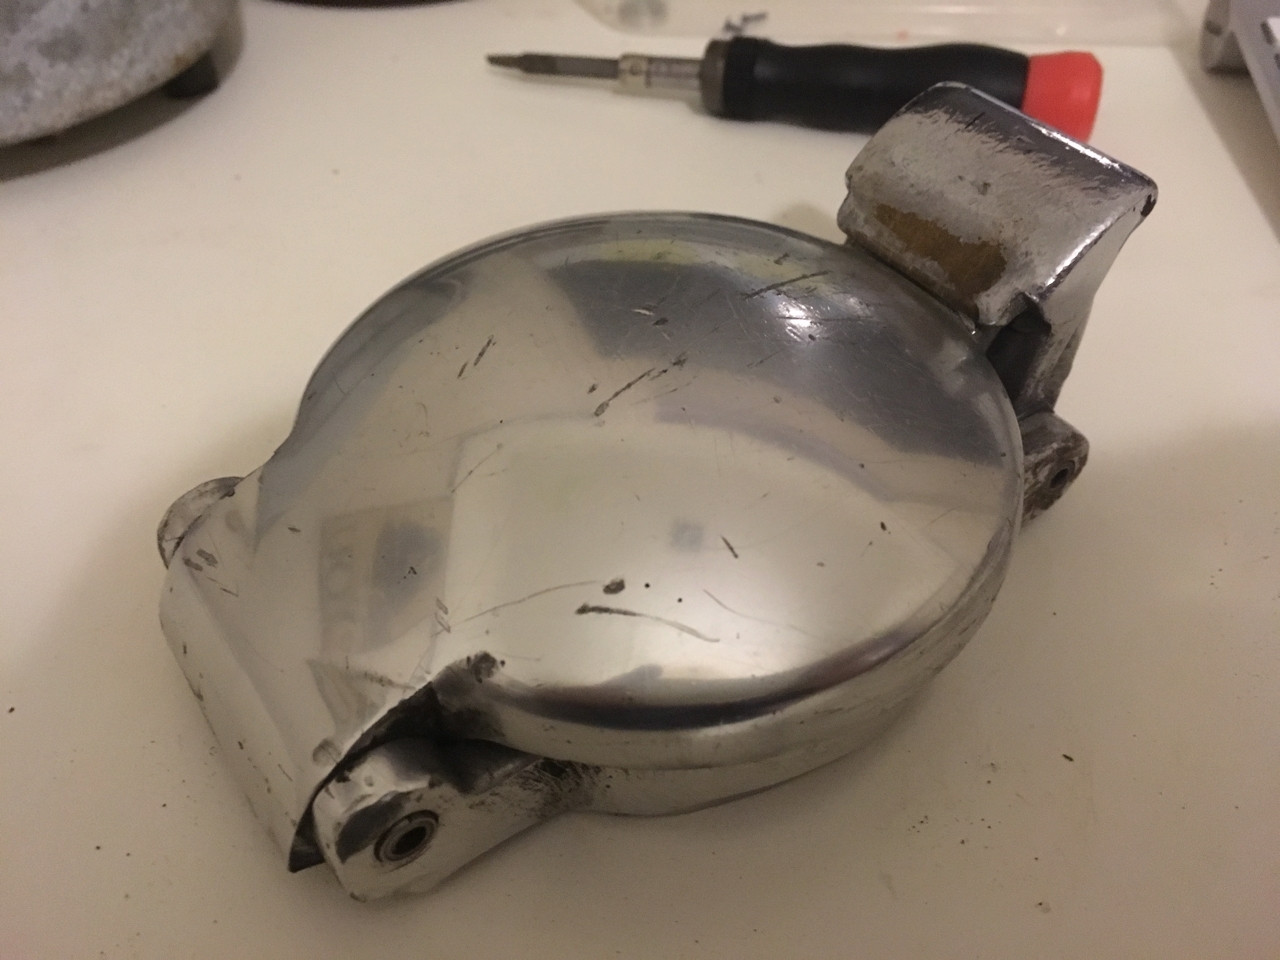
Finished off the gauge faces today, now I just need to print them up and try them out. Also received a 550 style flip top filler cap in the post courtesy of Ebay. Need to make up a new filler neck for the tank and cut a hole in the bonnet to fit this. For some reason, whilst my tank has been converted to a central filler location it does not stand upright (see photos above) not a massive drama to sort and will give me a chance to make up a proper rain tray. The cap is made from aluminium so will polish up alright but to tell the truth I'm kinda digging the patina on it.
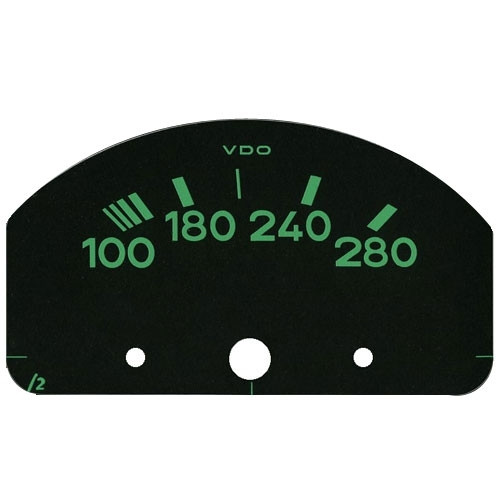
A little more progress, removed the red screen from the kombo gauge to install the 911 temp gauge. The gauge pod and temp insert are a direct swap, the only real difference is that on the 914 the gauges are arrange on top and bottom whereas on the 911 they are side by side. The 356 shares the top / bottom orientation and has similar warning light locations so I will use the 914 pod and fascia. One interesting thing that I noticed when I removed the gauge was that hidden behind the fascia at the very top of the gauge face there are numerical temperature graduations. evidently 150 is regarded as too hot (the beginning of the red zone). The 911 style white bars will be replaced with the early style 356 green numerical style when I redo the faces.
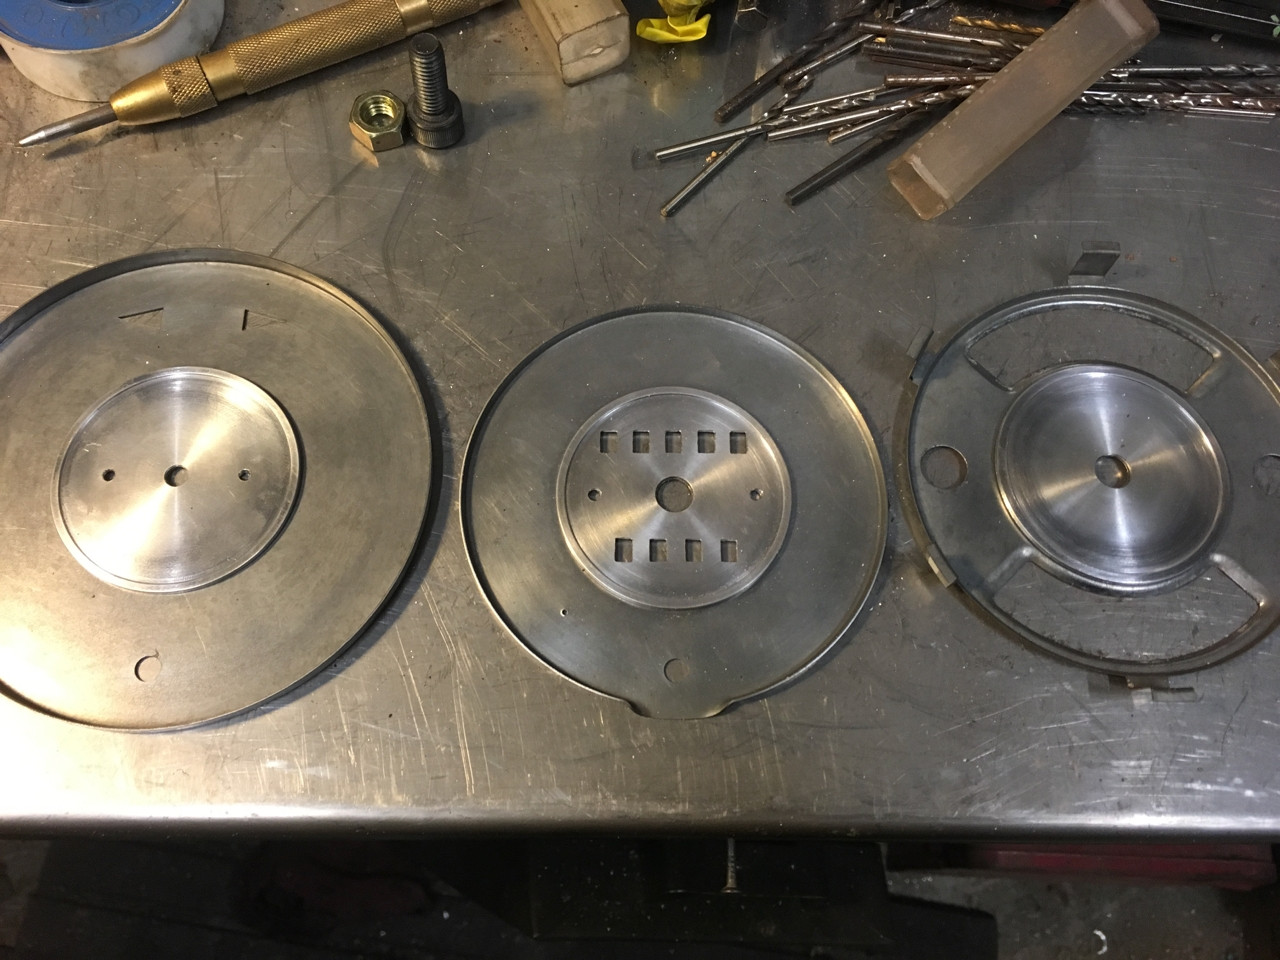
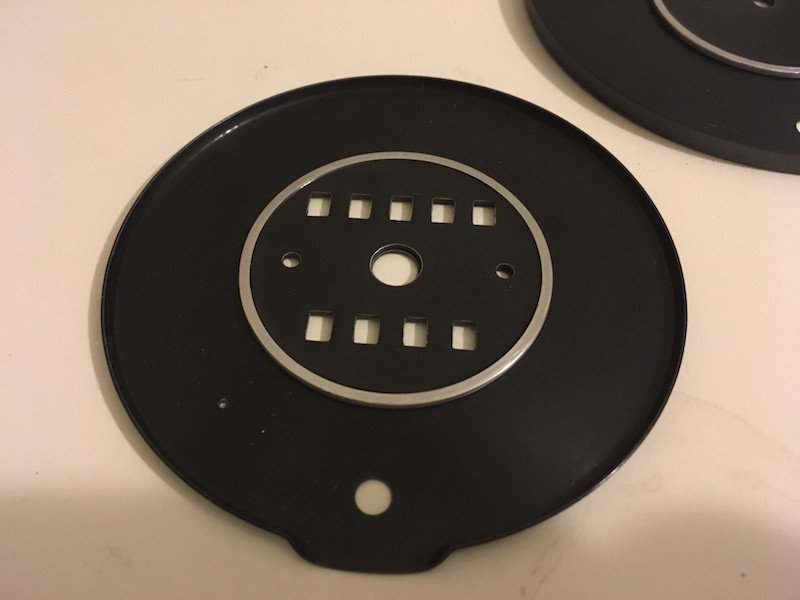
Made a start on the gauge faces today. I tuned down some bezels for the centre of the gauges. The bezels are to make the 914 gauges look more like the original 356 style of gauges. I made them out of aluminium stock which will polish up nice and easily. I spent a bit of time and cut out the individual odometer and trip counter holes on the speedo bezel. I also stripped and painted the gauge faces. Once the paint has had a chance to dry I will sand back the paint from the rim of the bezels and give it a bit of a polish.
Sanded the faces back last night and offered them up. Pretty stoked with how they are looking so far. Just need to scale the decals and print them out. Not too sure how the green will look over the black face. Guess I will soon find out.
Finished off the gauges this evening. Scaled the fascias down to fit and printed out a few test prints. I initially tried to print onto transparent water decal paper but found that the ink was not vibrant enough and did not show up that great on the black background. This was a shame as the transparent decal paper works a lot better then the white.
So unfortunately I was forced to use the white paper so that the green numerals were visible. This had one unfortunate side effect - that the white edge of the paper was clearly visible in a few areas against the black background.
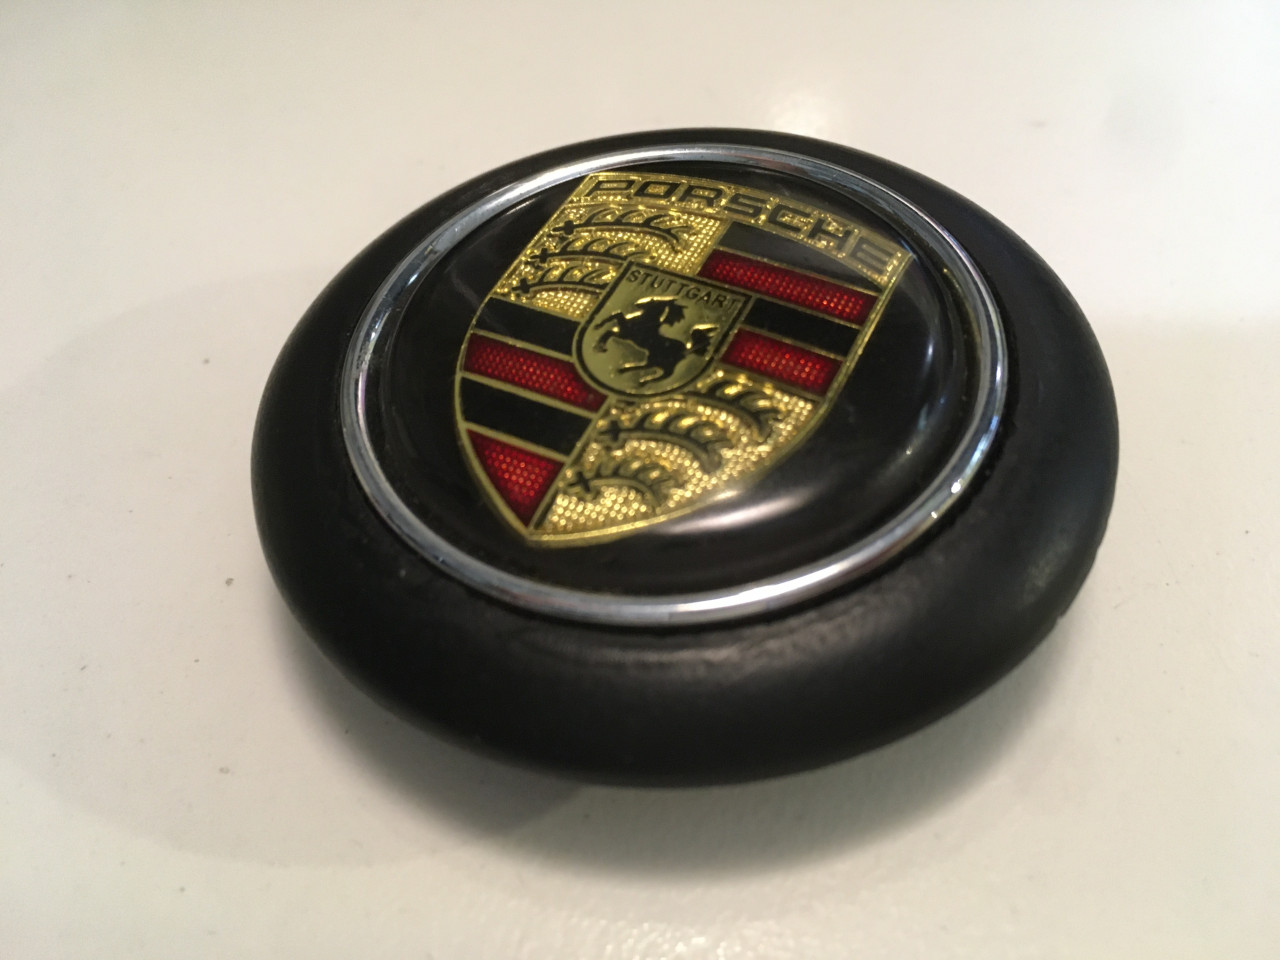
I finally got around to finishing off my horn push project.

