Horn Push Finished
I finally got around to finishing off my horn push project.
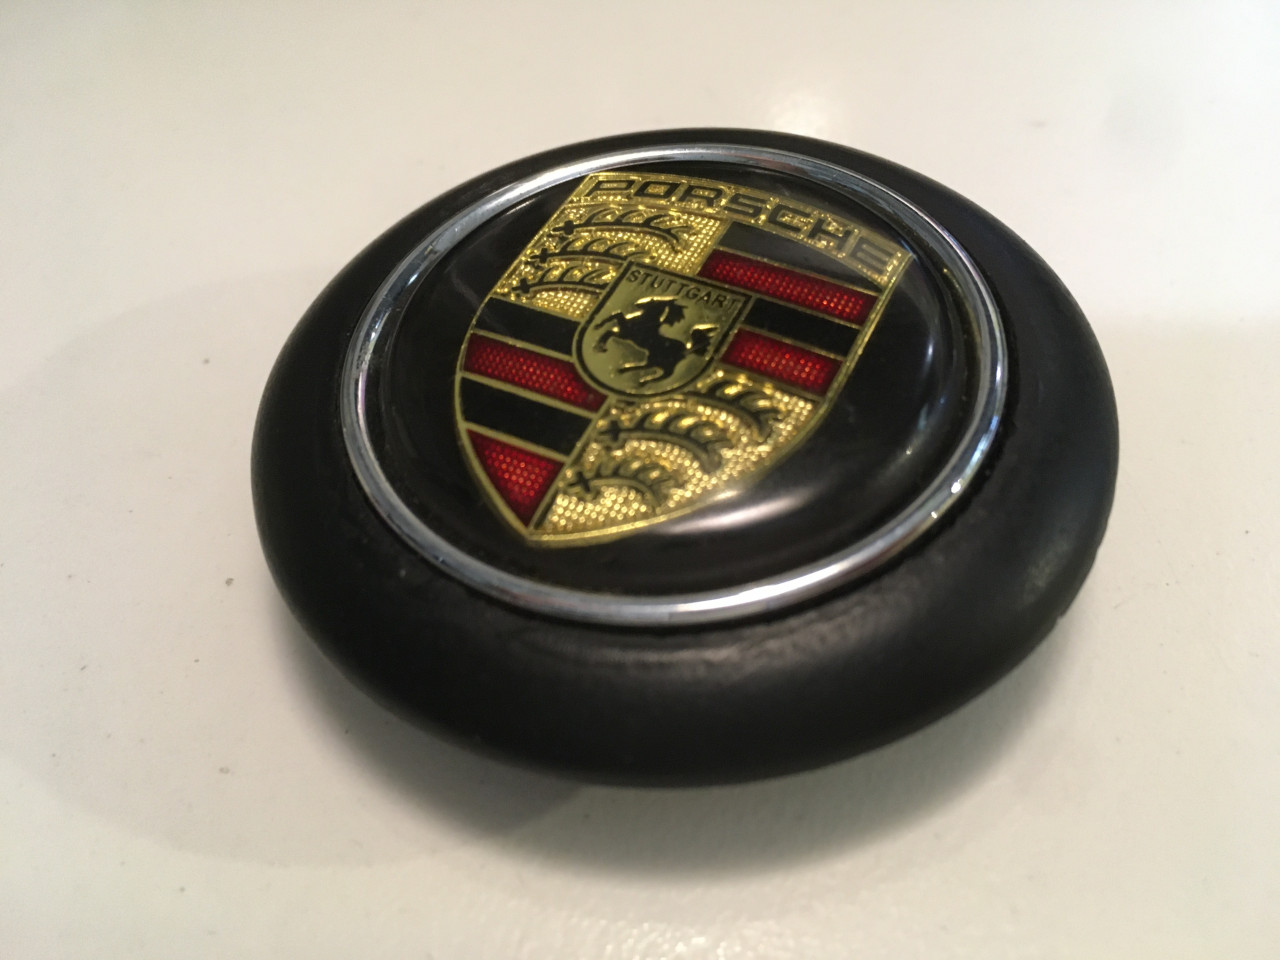
The rear of the casting needed to be sanded and painted. I waited a week or so to do this, partly as I have been doing other things, but also to allow the epoxy resin to fully cure.
I sanded the rear down through a few grades of wet and dry to get a nice smooth finish. I think I went from 240 grit (dry), through 600 and 1200 to finish on 2000. This left the rear with a nice clear, flat finish which was slightly matte.
I then painted it with a few coats of satin black paint
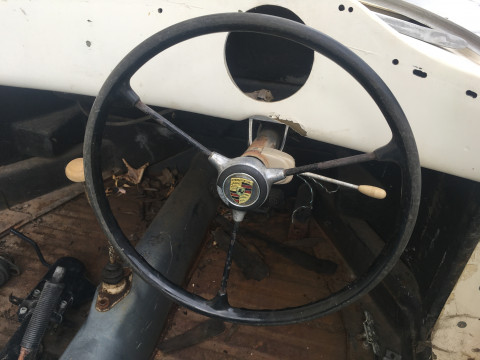
I'm very pleased with how it turned out. There is a small nick out of the top where I got a bit overzealous when removing the supporting structure from the rear, but it doesn't really notice from the front once it is assembled. Plus a few blemishes are fine as it's a ratty looking car. Much better to have something that it passable as a period looking item than a shiny new thing that looks out of place.
Here's a before and after painting comparison. As you can see, sanding and painting the rear of the badge really helps make the badge look like it's supposed to be there, whereas before it looked like it was 'floating' in the clear resin.
I also fitted the 'new' surround I received. I think it came out pretty good. I'm very stoked. :)
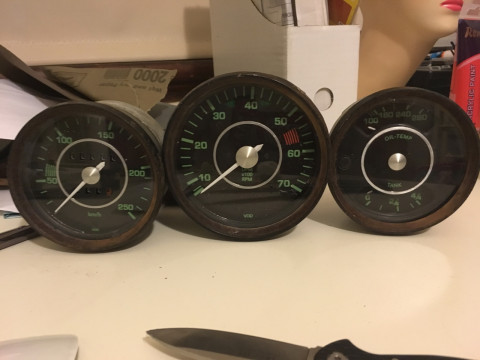
You might also notice in one of the thumbnails above the tacho I am working on. I previously converted some 914 gauges to look like 356 gauges by making center bezels for them and making new faces by scanning in the old ones and drafting up new ones. I printed the faces out on water decal paper but the finish and application did not really come out as good as I hoped.
The 914 gauges were a good choice for the speedster as they are similar and a fraction of the price and can be made to look more like original gauges with some new transfers. Or at least they used to be a good choice, as it seems that the price of 914's along with 914 spares has crept up over the past few years to the point where they are almost as much as new repro gauges.
The one issue I have always had is that I never really liked the larger tacho on the 914 gauges. The originals gauges are all 100mm in diameter, whereas the 914 has two 100mm gauges and a 115mm tacho, which doesn't really look too bad but is one of those things I find just a tad annoying. So I set about making my own 100mm tacho using the parts from the 115mm tach as a starting point. The photo shows a trial assembly of the unfinished gauge. I'm currently waiting for quotes to get the gauge faces professionally printed. I'll put up a full blog post once I have the gauge finished.

Horn Push Badge


Comments 1
Apologies from the crappy photos It's hard to take a decent picture of the horn push as no matter how you light it and what camera angle you use, it always has a bright reflections in it. (I even used reflected diffused light for the above shot).