Print a flyer to display alongside your ride at shows and events that links directly to this build-page

Pinned Items
Recent Activities
-
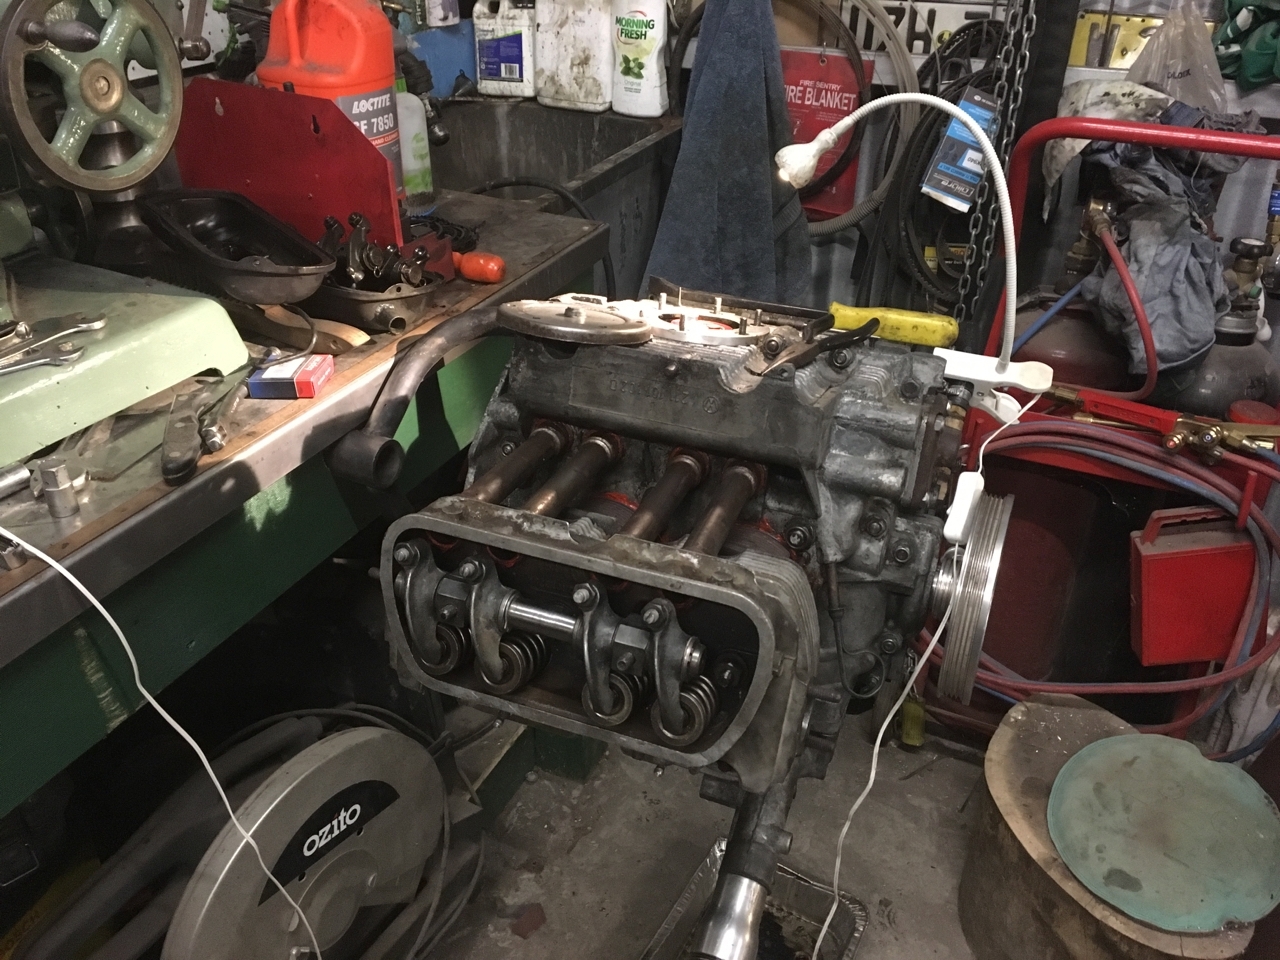
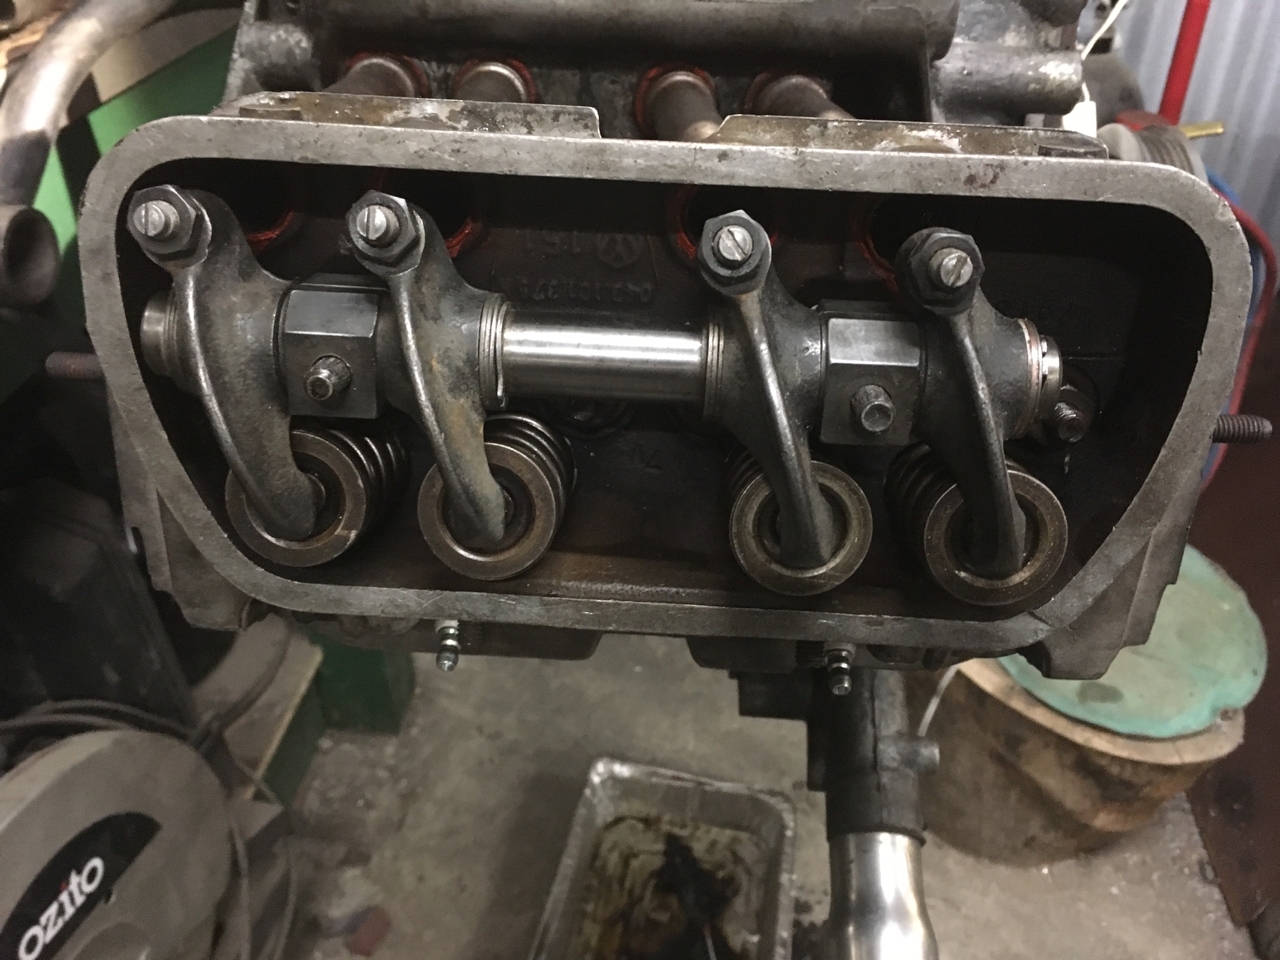
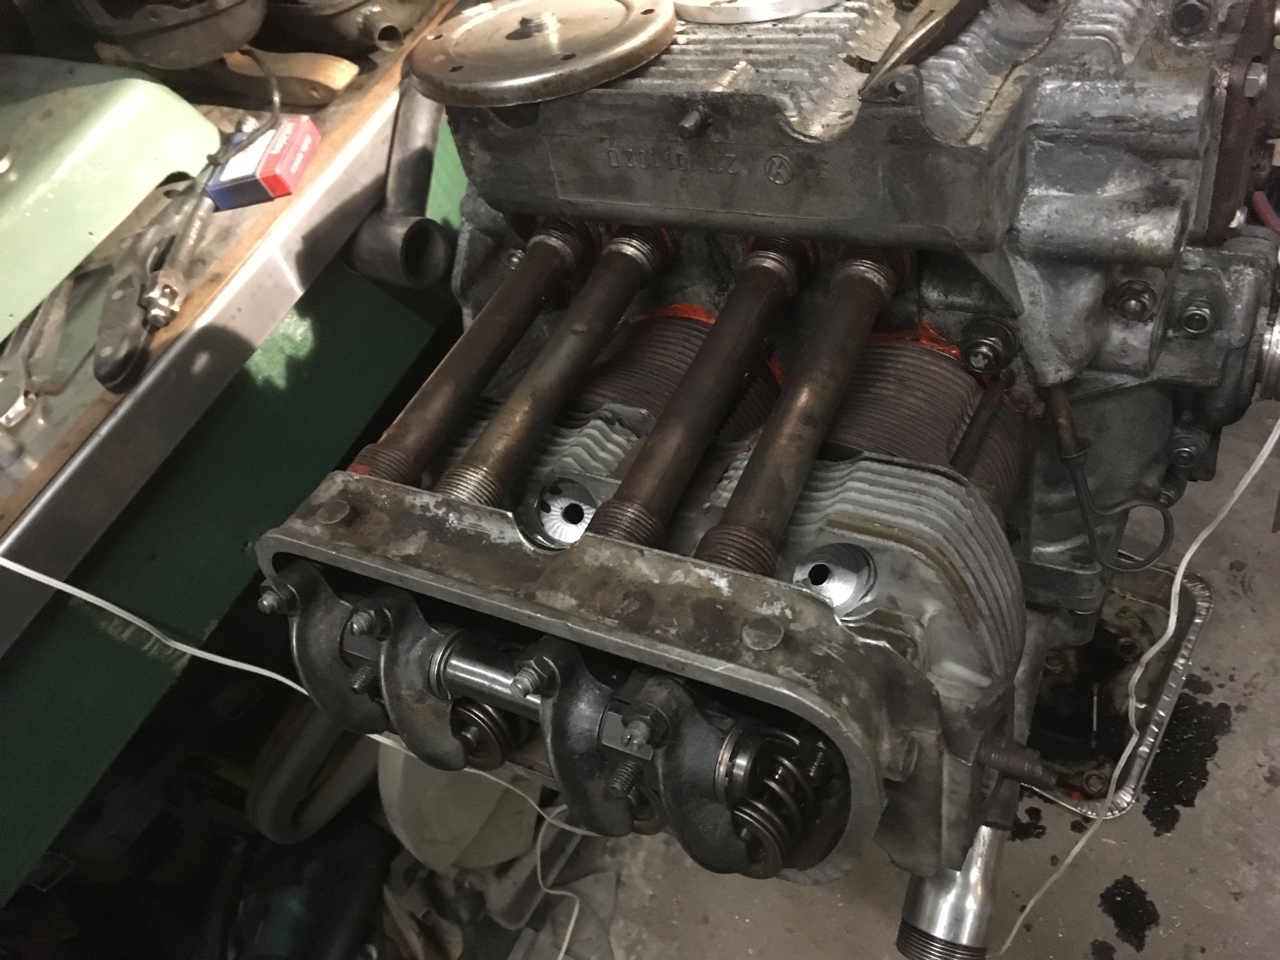
Mick's 70 Lowlight commented on this post about 8 years agoMade some more progress on getting the engine back together. Finished off the heads which involved blending the new seats in, fitting the valves with the new heavy duty engle springs and tapping the second spark plug hole. Also found some detonation damage to two of the pistons where the ring land had become bent pinching the rings. As a result of this I decided to use a set of P&C's from an old doner Type 3 engine I bought for the razor. I took the glaze off with a hone and cleaned the...Made some more progress on getting the engine back together. Finished off the heads which involved blending the new seats in, fitting the valves with the new heavy duty engle springs and tapping the second spark plug hole. Also found some detonation damage to two of the pistons where the ring land had become bent pinching the rings. As a result of this I decided to use a set of P&C's from an old doner Type 3 engine I bought for the razor. I took the glaze off with a hone and cleaned the pistons up and fitted a new set of rings. The barrels are a little worn and could ideally do with replacing but I decided to go ahead and fit them as I'm keen to get the bus running again.More
I CC'd the heads at 44cc's and measured the deck at 50 thou, this gives me a CR of 8.7:1 which should do quite nicely. I was ideally aiming for 8.6:1 but rather than stuff about trying to remove 1cc's worth of material from each chamber I decided that near-enough is good-enough.
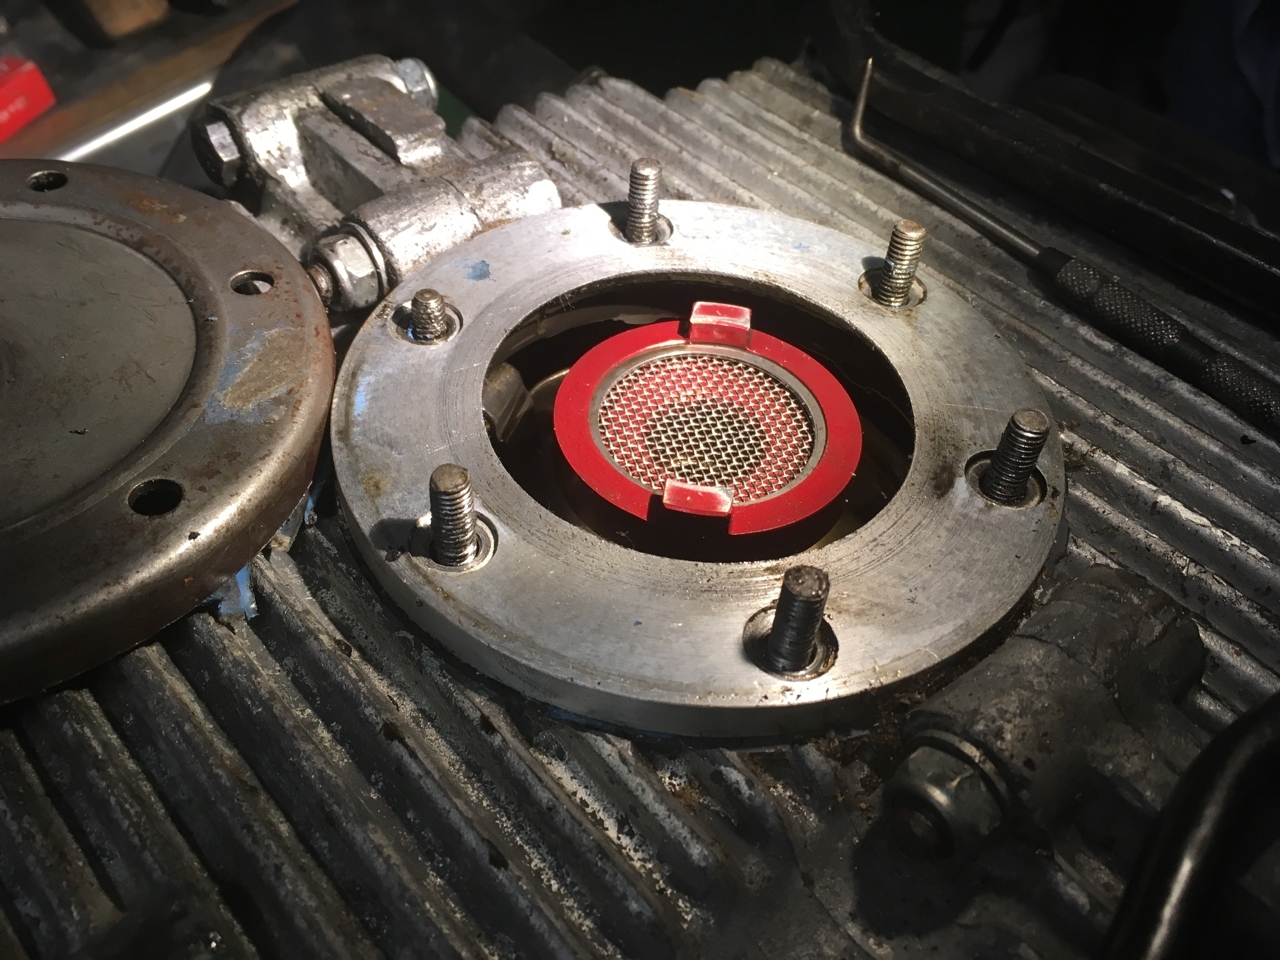
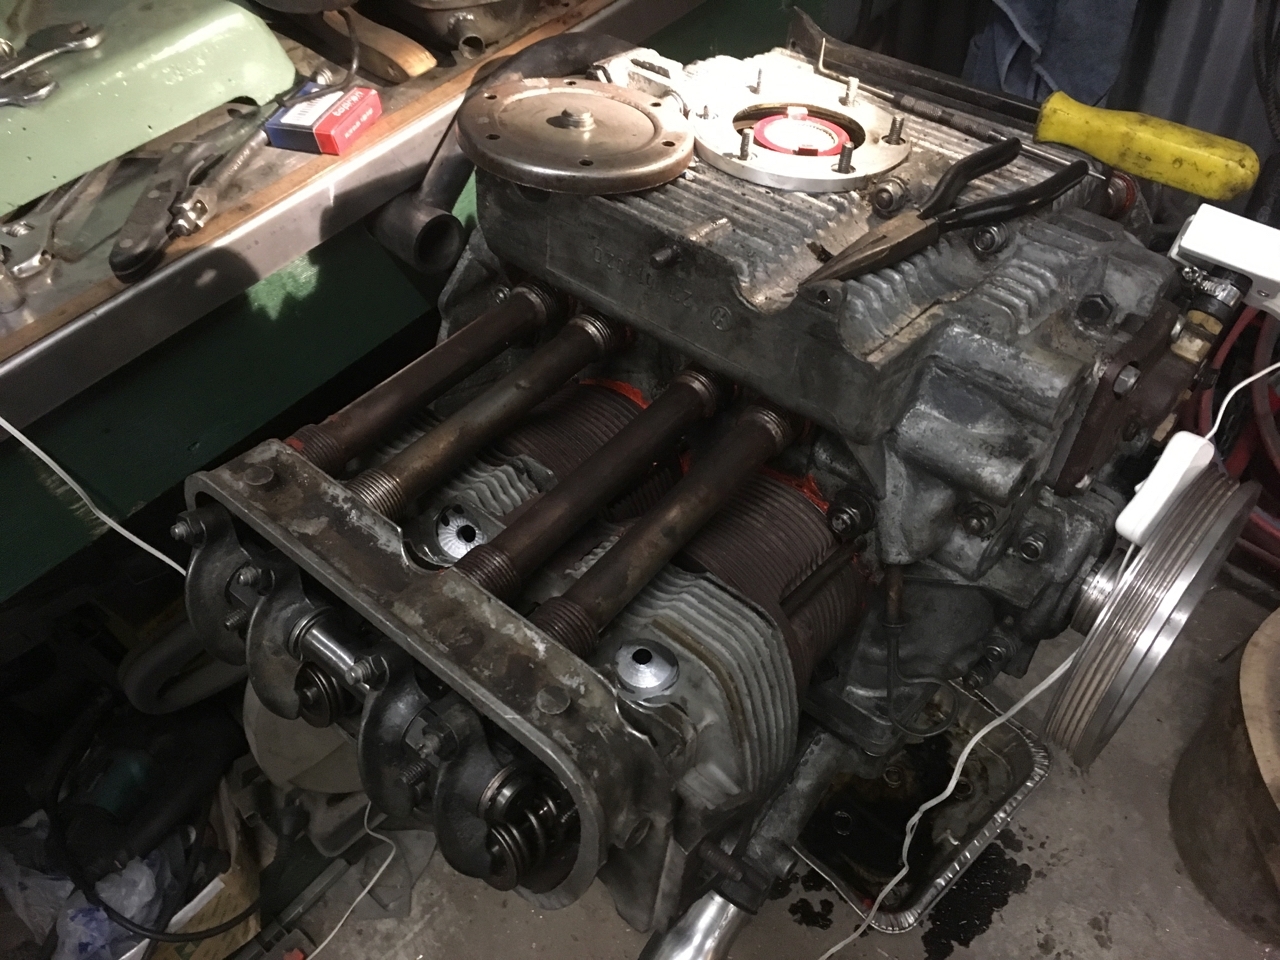
I reassembled the engine and took a bit of a stray from my normal assembly procedure as I decided to use some red hylomar to seal the barrels and pushrods. I normally don't seal the pushrod seals and use blue sealer on the barrels but as the engine was a bit leaky from #1 barrel I decided to put a stop to it. Also decided to take a look at the sump strainer to see if there were any metal particles. (none - it was clean as a whistle)
Next up is to set the valve geometry. I'm fitting a set of Sig Erson 1.5:1 ratio rockers (as they were cheap). This is about as much as I can do with the stock cam and will be a good test of what you can do on a basically stock 1600. (Previously I was running 1.25:1 CB Performance rockers). With the stock cam I will end up with about 0.500" lift which is a massive increase over stock. I'm interested to see how it performs.
So the engine specs as it currently stands:
Stock 1600, case, crank, rods, cam, P&C's
Reworked stock 1600 twin port heads (dual spark)
1.5:1 ratio rockers
Sidewinder exhaust
Joe Blow AMR500 supercharger kit.
I'm waiting on a set of pushrods and lash caps before I can set the rocker geometry, hopefully they will be here next week. In the mean time I should start looking at getting the tin wear painted up and fitted.Post is under moderationStream item published successfully. Item will now be visible on your stream.
No hashtag items to show here