Pinned Items
Recent Activities
-
Stream item published successfully. Item will now be visible on your stream.
-
Stream item published successfully. Item will now be visible on your stream.
-
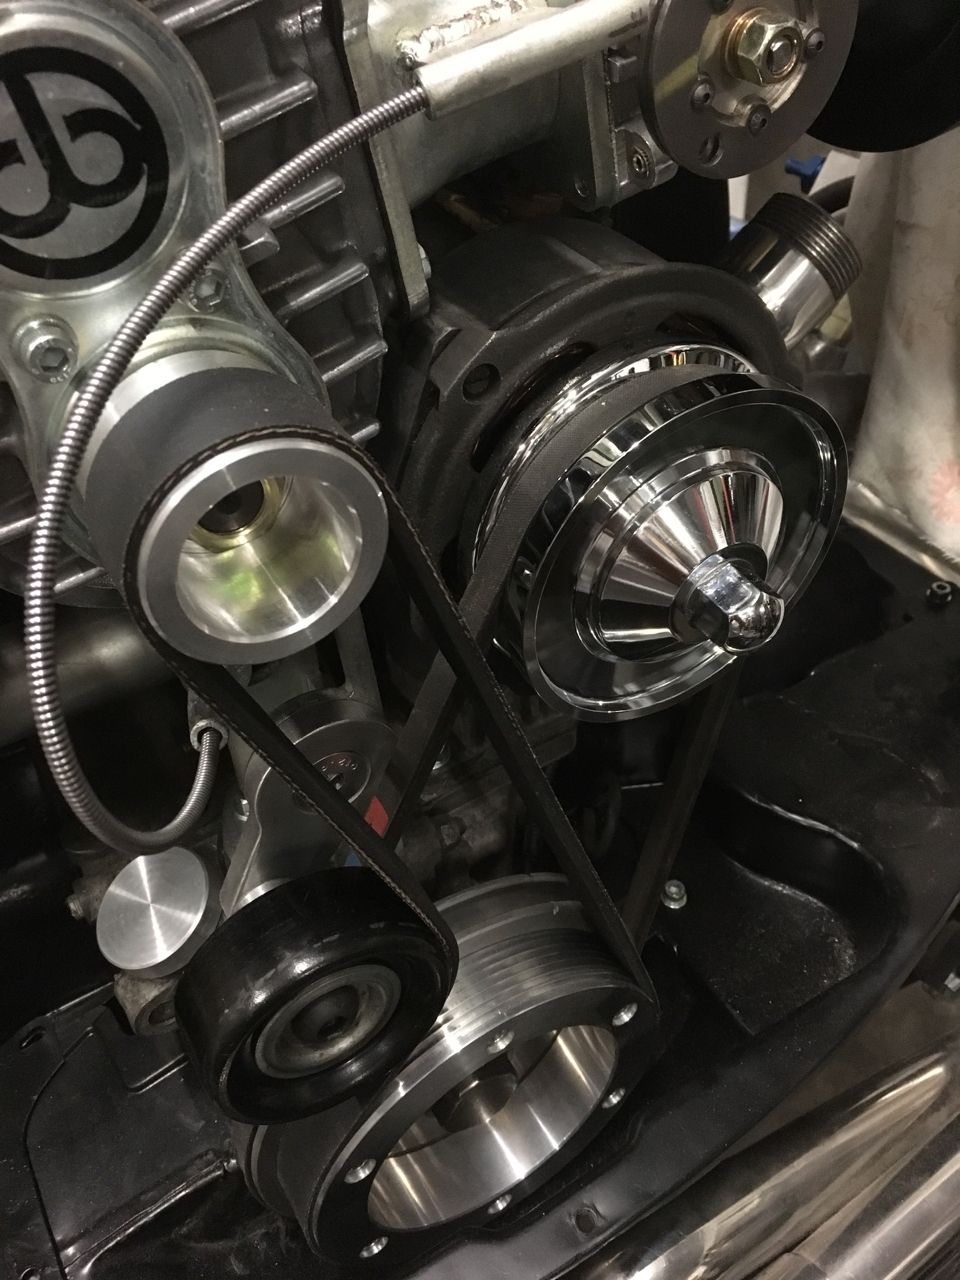
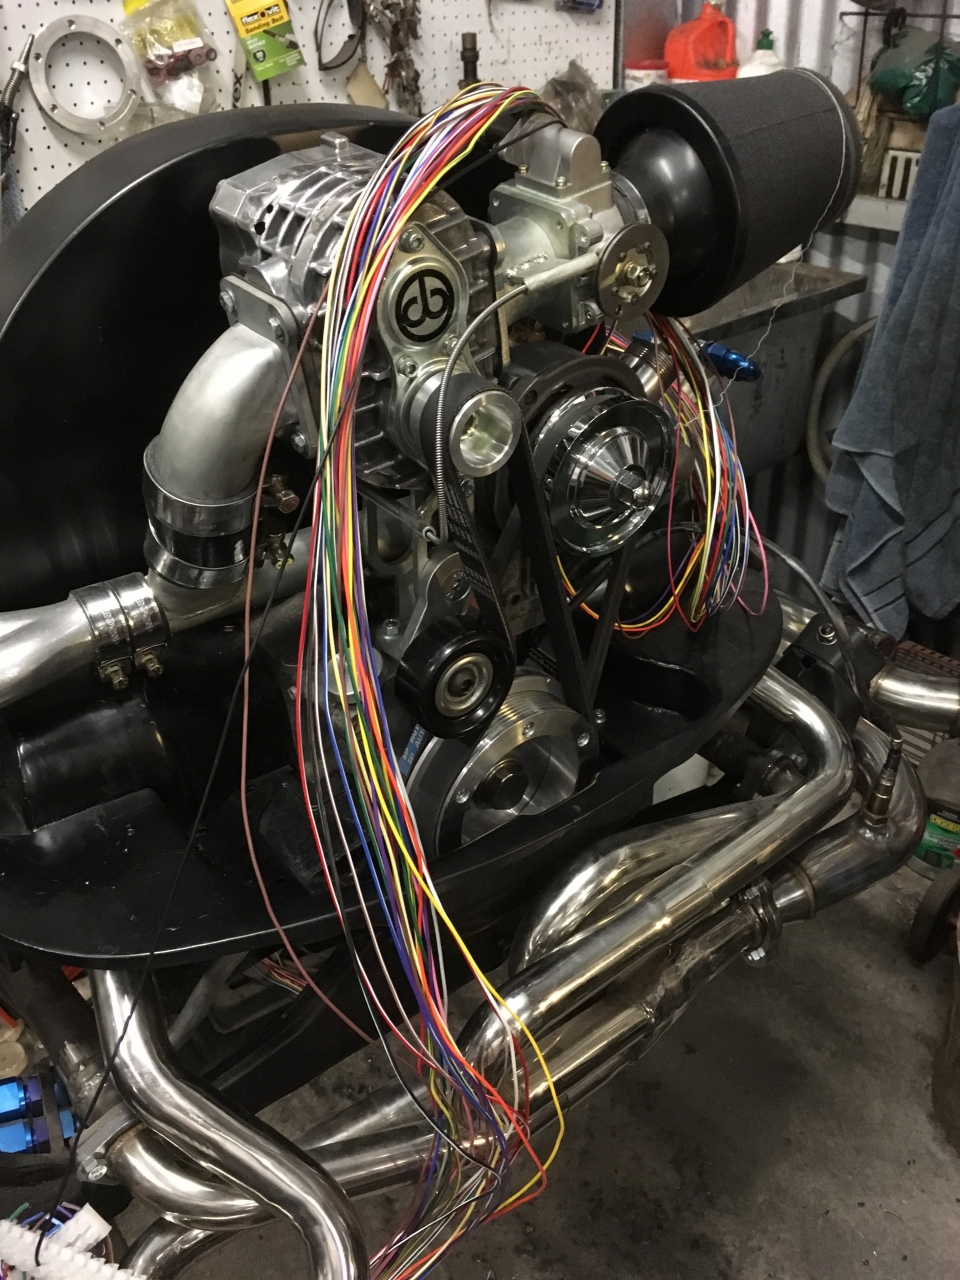
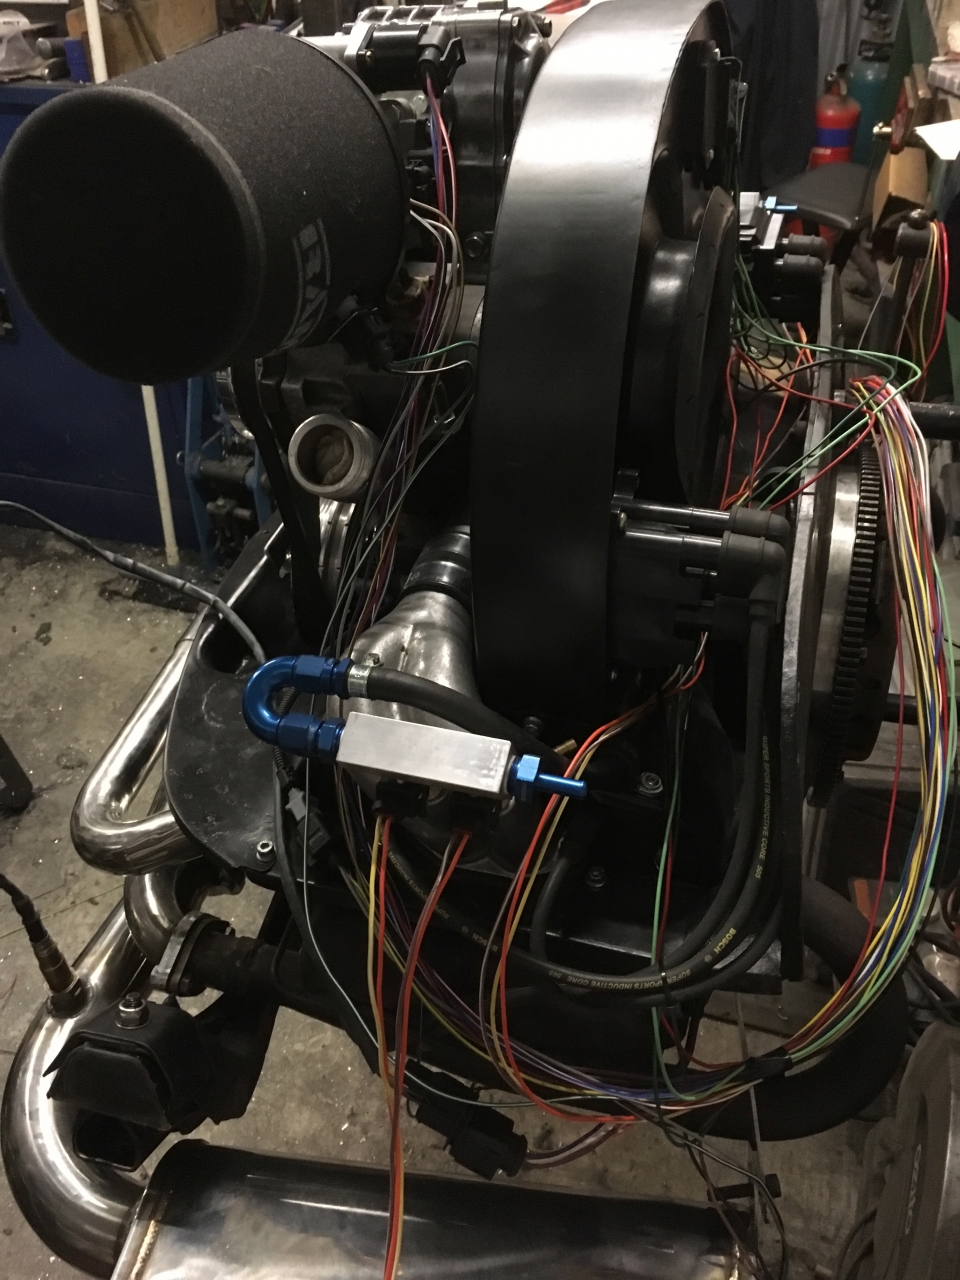
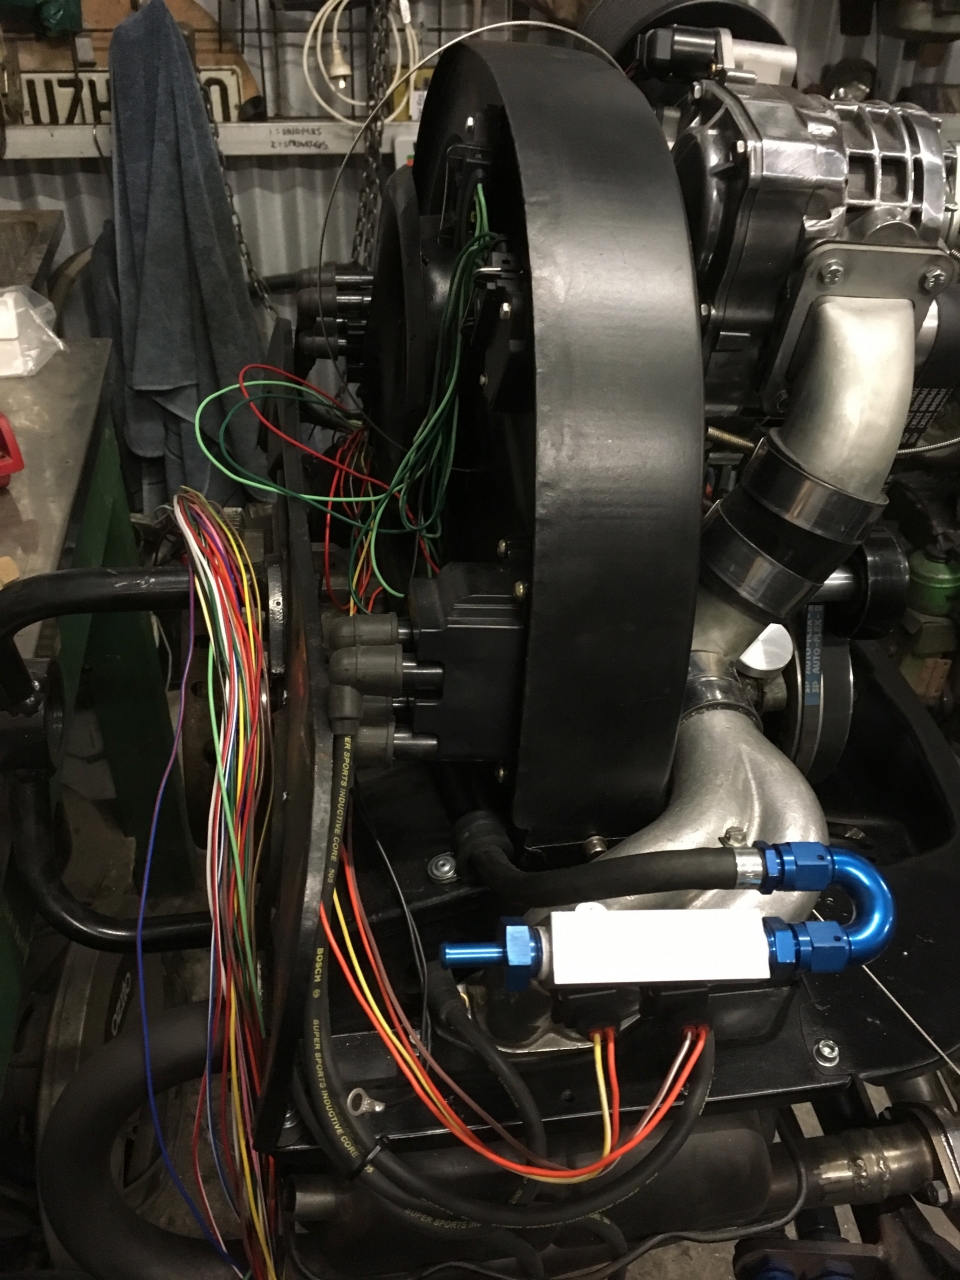
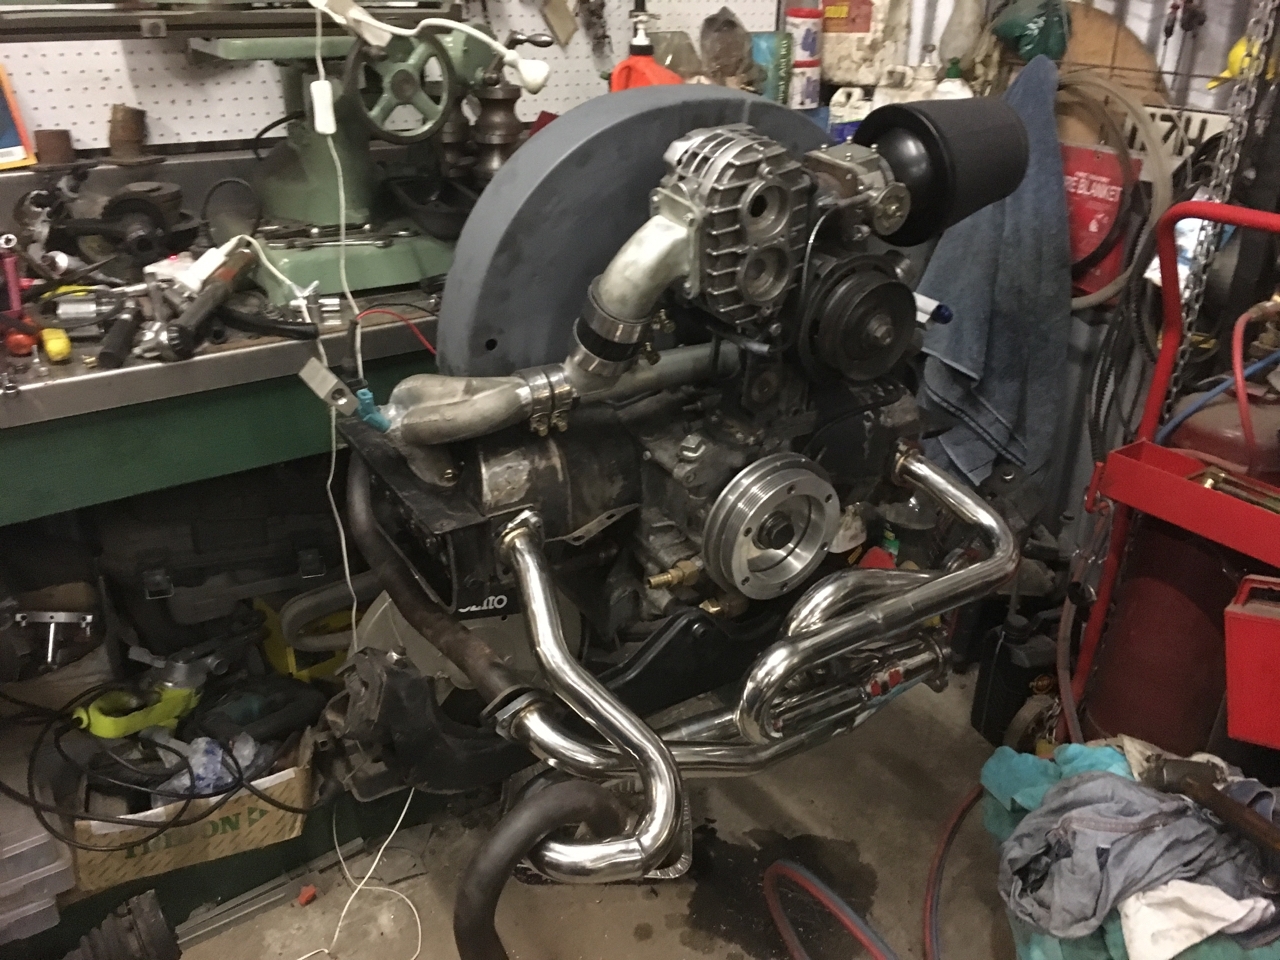
So the past month has been pretty eventful and I've spend a heap of time (and money lol) on the bus. I installed the new ECU and spent some time tuning. The bus was running really strong but I had a bit of a mishap when I pulled out from a turning and gunned it and ended up breaking a piston ring land. The issue was basically a poor tune and too high CR. The bus did go like stink, so there's definitely some merit in a high CR boosted engine and something I will explore again in the future,...So the past month has been pretty eventful and I've spend a heap of time (and money lol) on the bus. I installed the new ECU and spent some time tuning. The bus was running really strong but I had a bit of a mishap when I pulled out from a turning and gunned it and ended up breaking a piston ring land. The issue was basically a poor tune and too high CR. The bus did go like stink, so there's definitely some merit in a high CR boosted engine and something I will explore again in the future, but with our annual trip to Robe for Dubs by the Sea looming I decided that I needed a reliable engine and so made up another set of heads with a more respectable 8:1 Static CR. So the engine was out again and then back in again and the tuning recommenced.More
With the trip to Robe nearing there were a bunch of other jobs that I wanted to get finished in time for the trip, install the new front ball joints, install the drop spindles (with disk brake conversion), install a proper solar system to power our new fridge, make up a buddy seat, the list seemed to be endless.
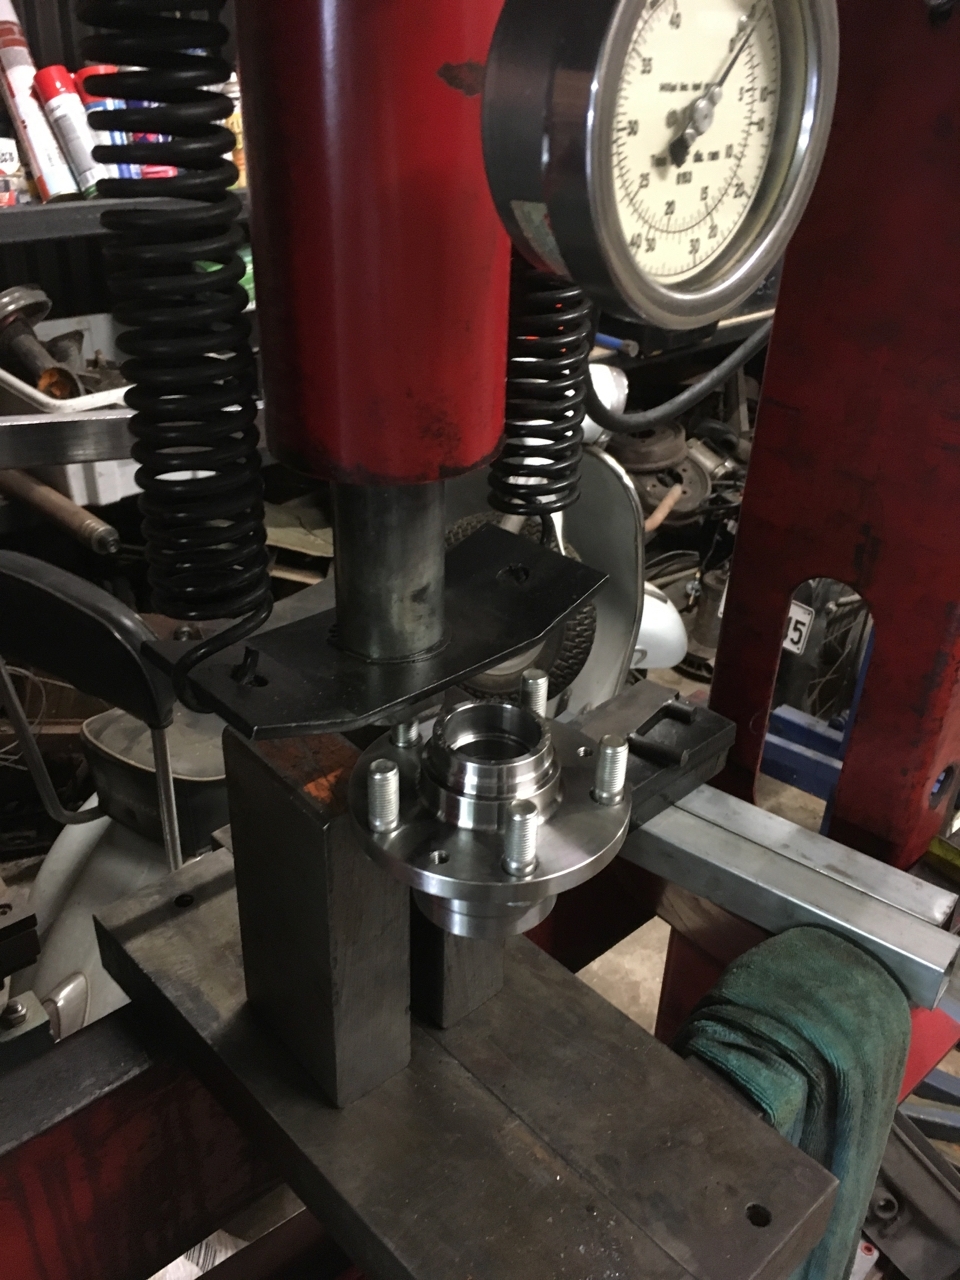
I finished the drop spindles off and went about swapping them over. Despite buying the proper ball joint press to do the ball joints on the car and making up a jig, the ball joints did not want to budge. Unfortunately my ball joints had been peened in place and the portable press just wasn't cutting it so I had to pull the torsion arms off and press the ball joints out in the shop press. (it took 15T of pressure to get them out.)
With the new ball joints in I fitted up the new drop spindles with new lowered shocks (with clearanced brake callipers to clear the 14" wheels) and set the geometry as best as I could with the tools that I had. (tape measure and eyeballs).
With the drop spindles installed I raised the ride height so that they net result was about the same, this meant that I had to re-profile the shift linkage to allow me to adjust the top beam adjusters into the position needed. I also took the opportunity to make up a narrowed ant roll bar. The handling was noticeably worse since removing it but with the availability of narrowed anti roll bars being zero unless you wanted to shell out $500 for a french slammer roll bar I had run without it. Having read online that someone had simply cut and shut the existing roll bar with no dramas I decided to do the same. I made up a sleeve and measured up the required width and then cut out the relevant amount from the centre. I then welded the roll bar back together and then welded the sleeve over the top to reinforce it. So far it's been fine.
The drop spindles and roll bar have brought back some quality to the ride. It pretty much rides like stock again, albeit maybe a little stiffer. Handling is heaps better and I no longer have to avoid pot holes. It really is quite civilised.
I also managed to get the solar and buddy seat done as well but I'll write about those that separately
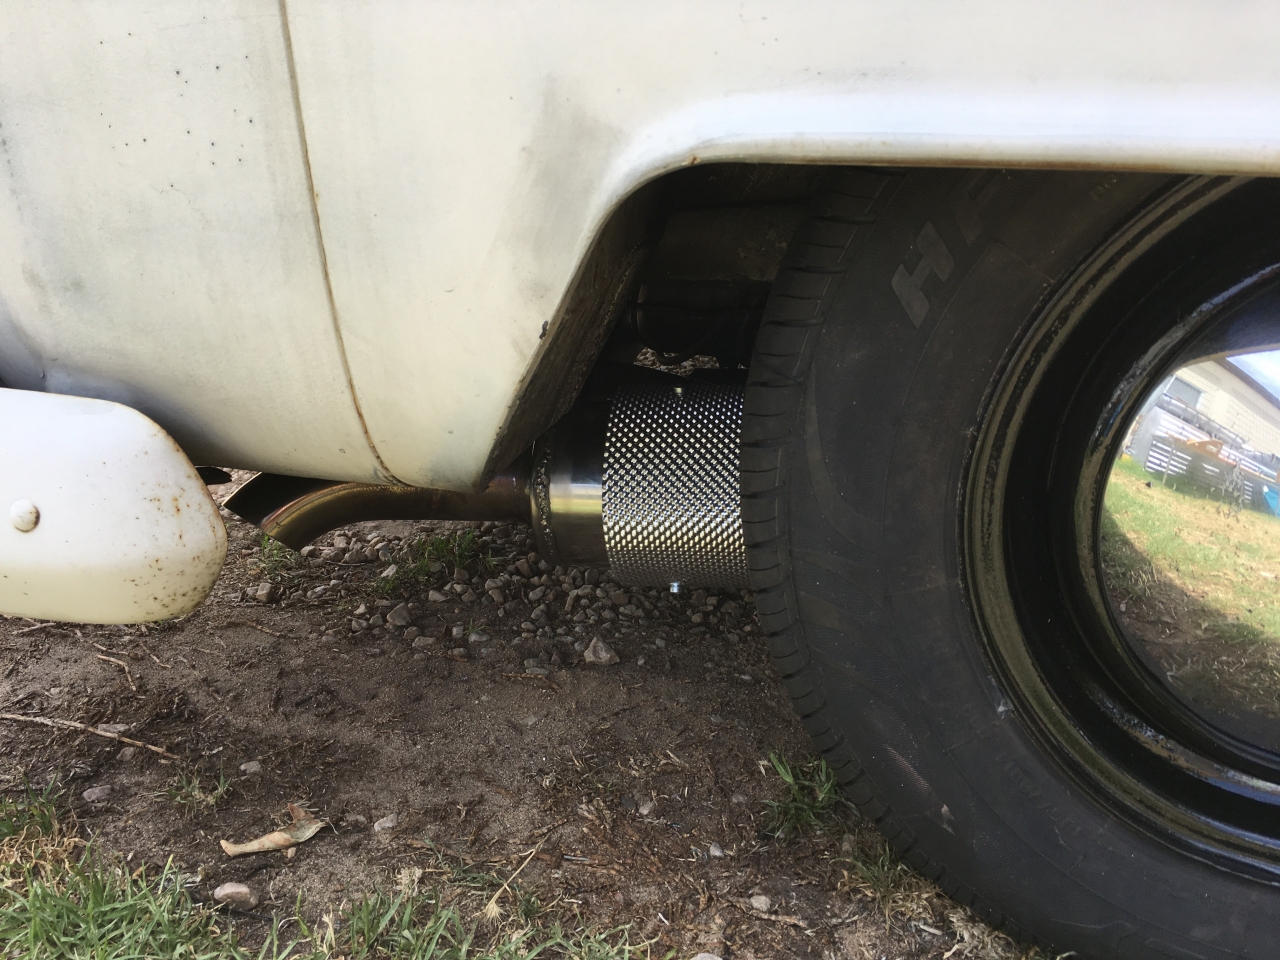
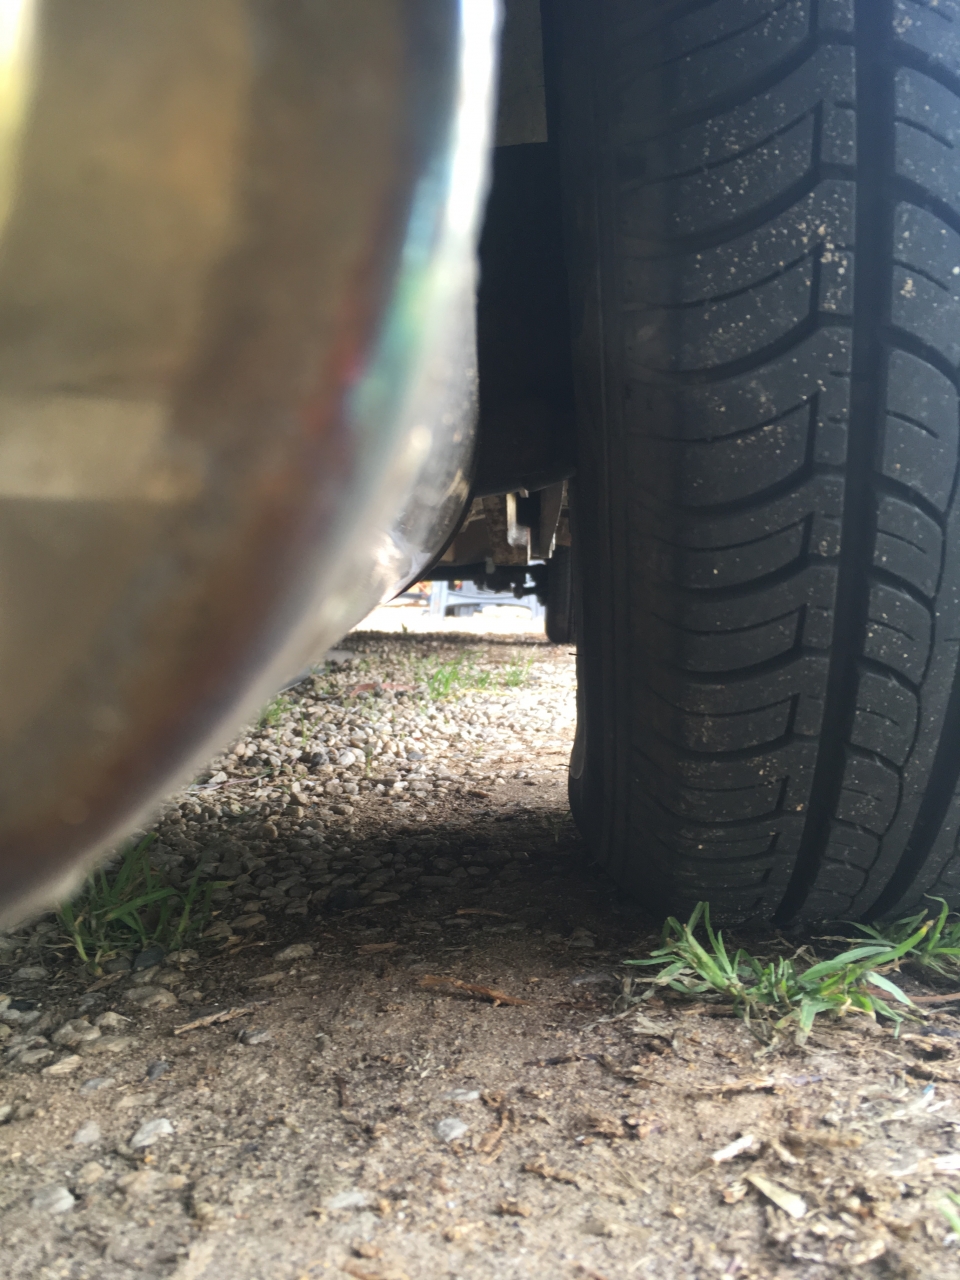
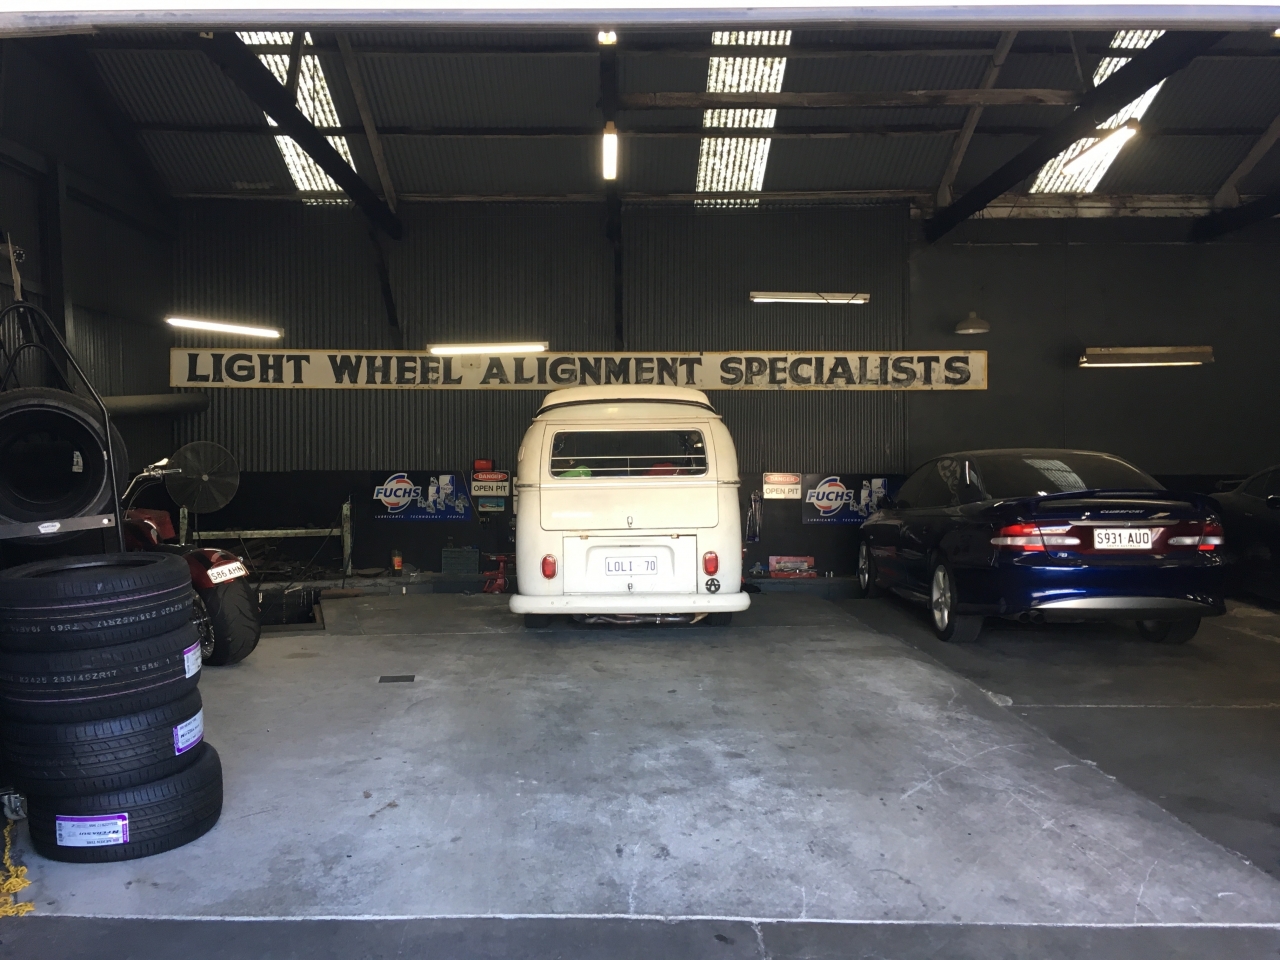
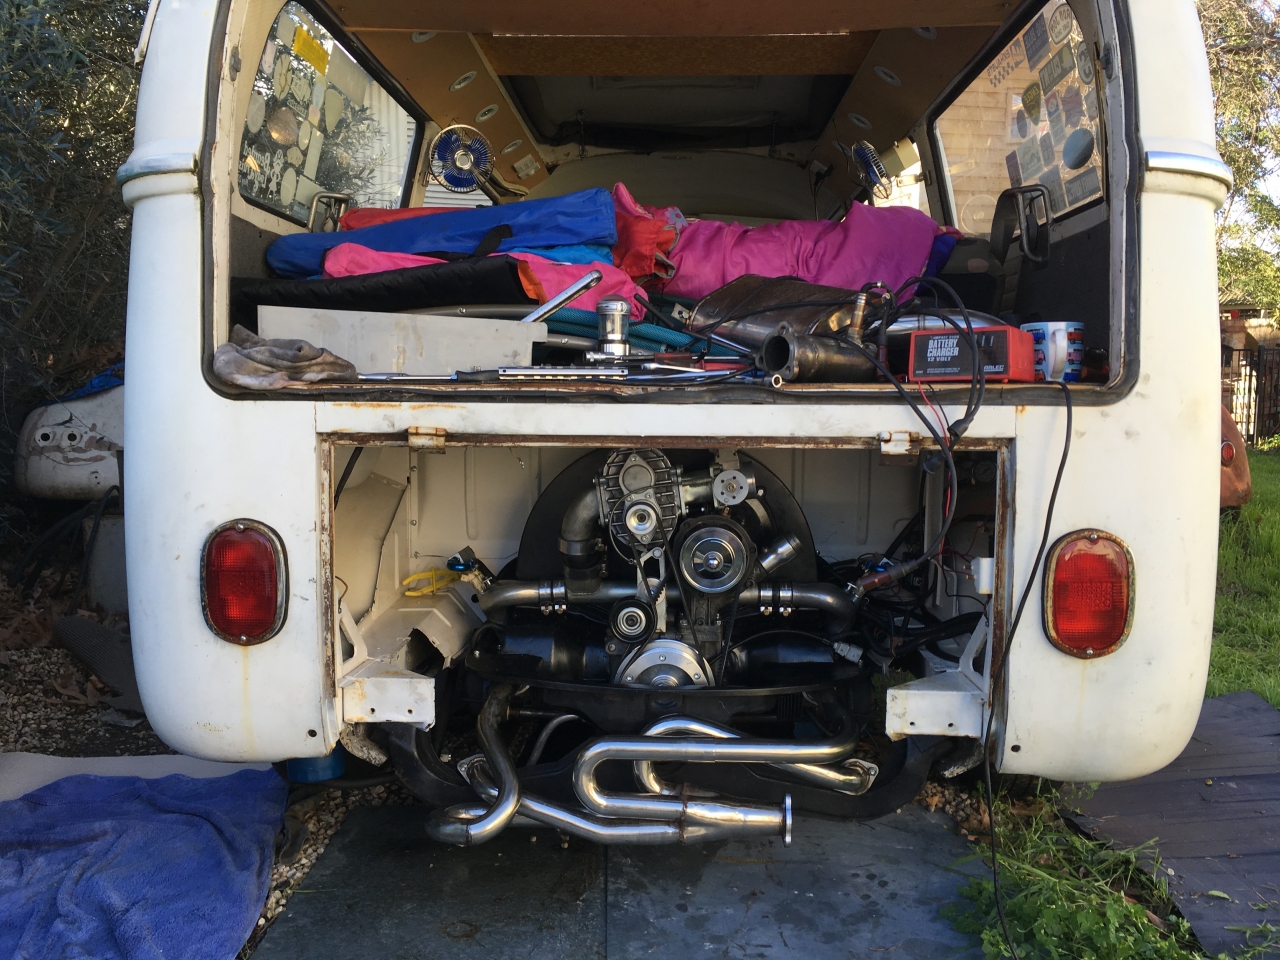
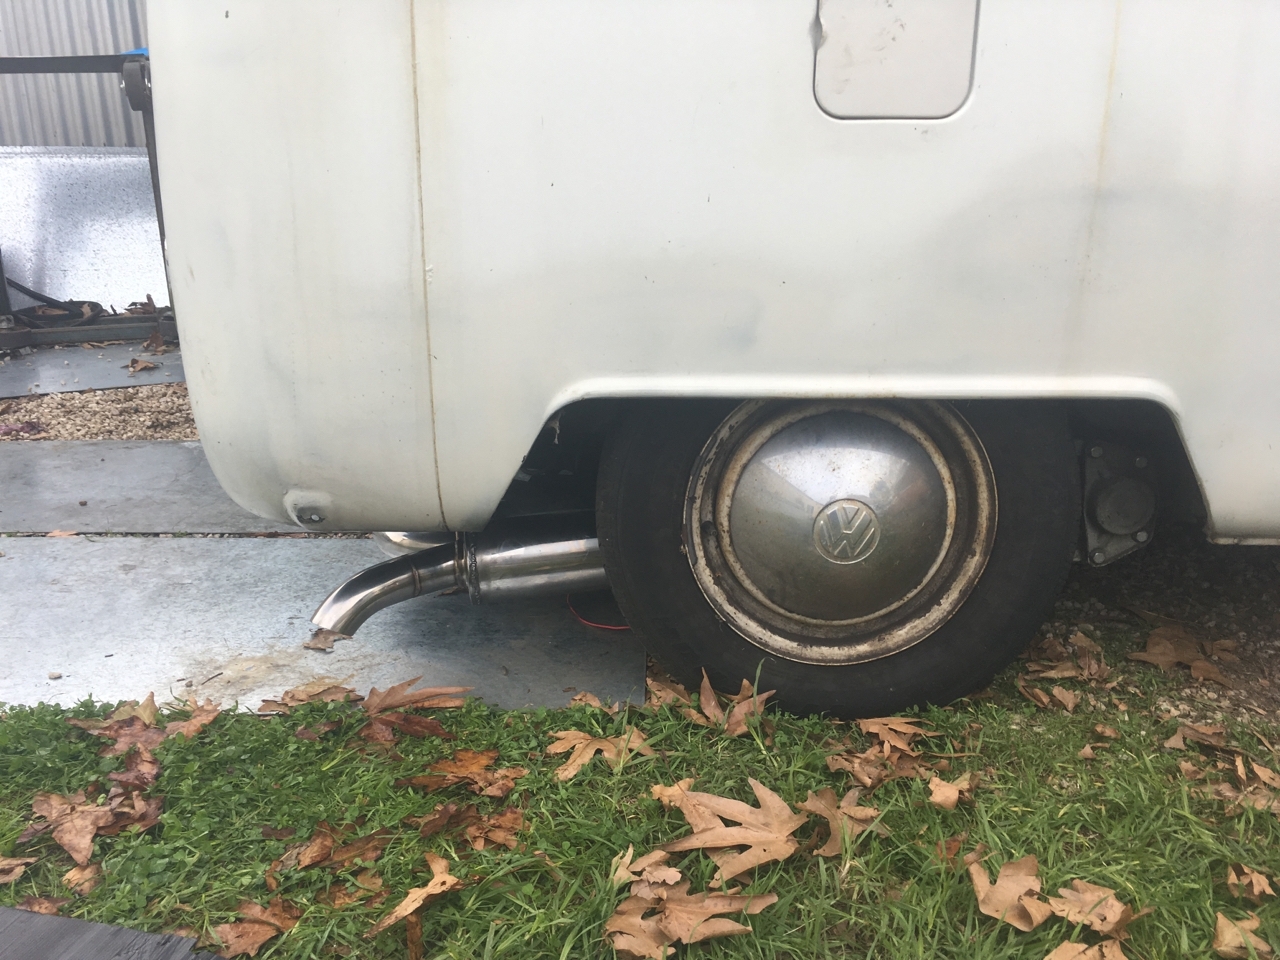
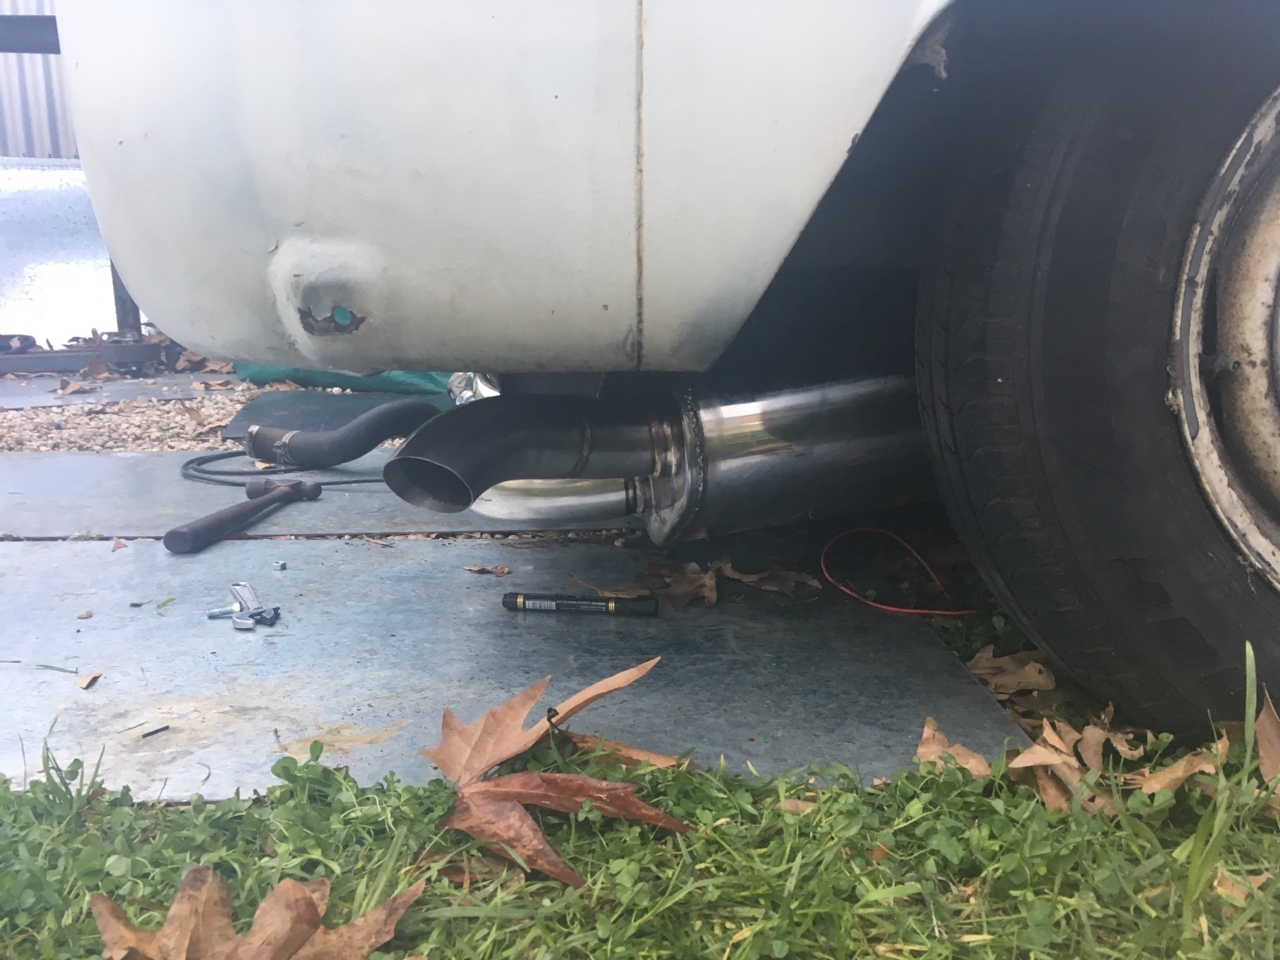
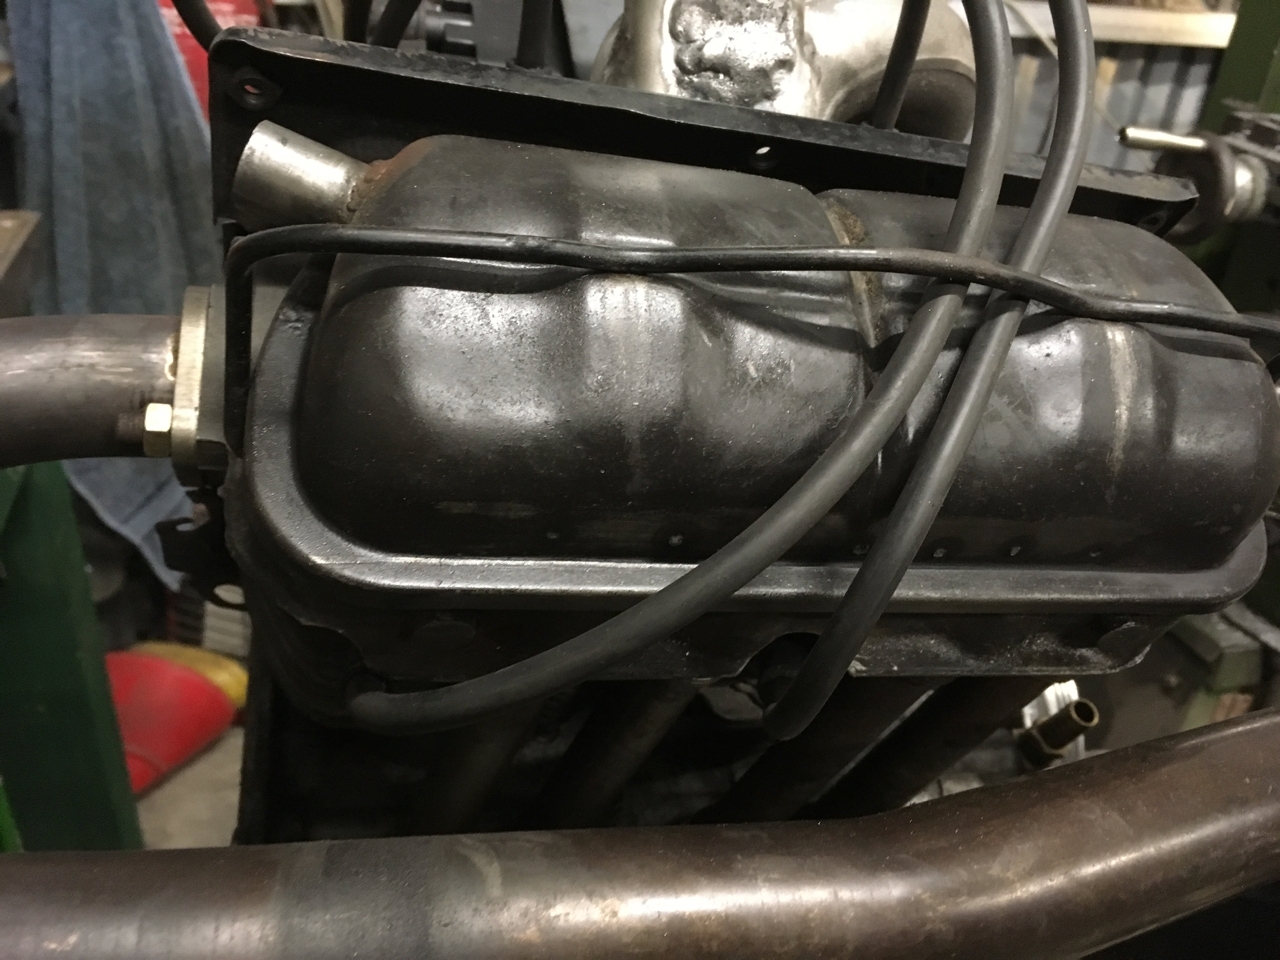
On the way back from Robe we managed to scrub a tyre, or at least that's what I thought had happened. The inner metal of the sidewall looked as though it had worn through. I suspected that the rear suspension geometry was not set correctly and the tyre had scrubbed through. So I took the bus down to Light Wheel Alignment in the CBD to get a 4 wheel alignment done. They found that the rear alignment was actually okay. So after getting a new tyre I realised that the exhaust silencer was VERY close to the tyre, and that what had probably happened was that the tyre had been cooked on the way back from Robe, the sidewall had softened and the reinforcing worked its way out.
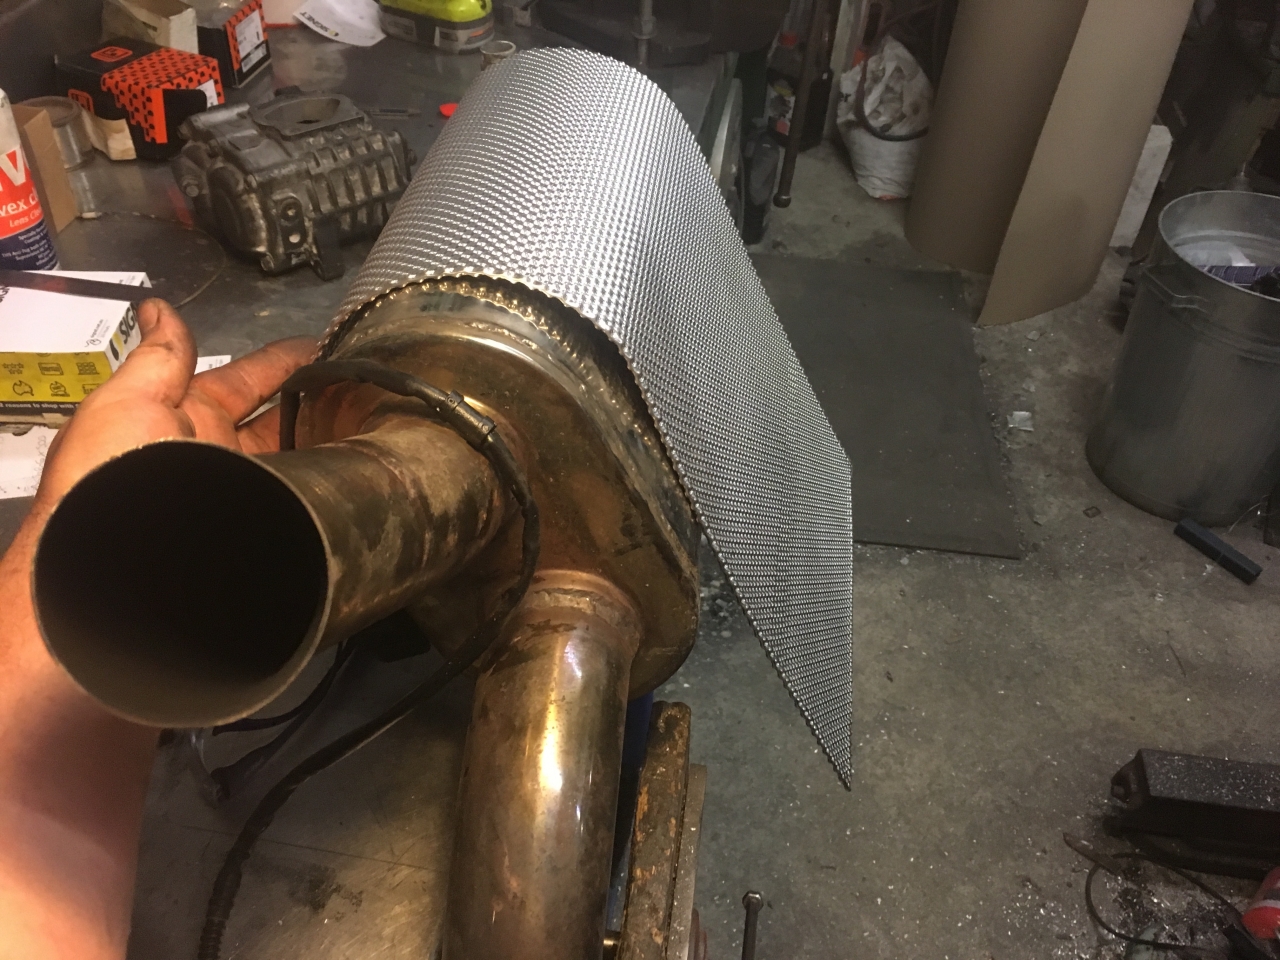
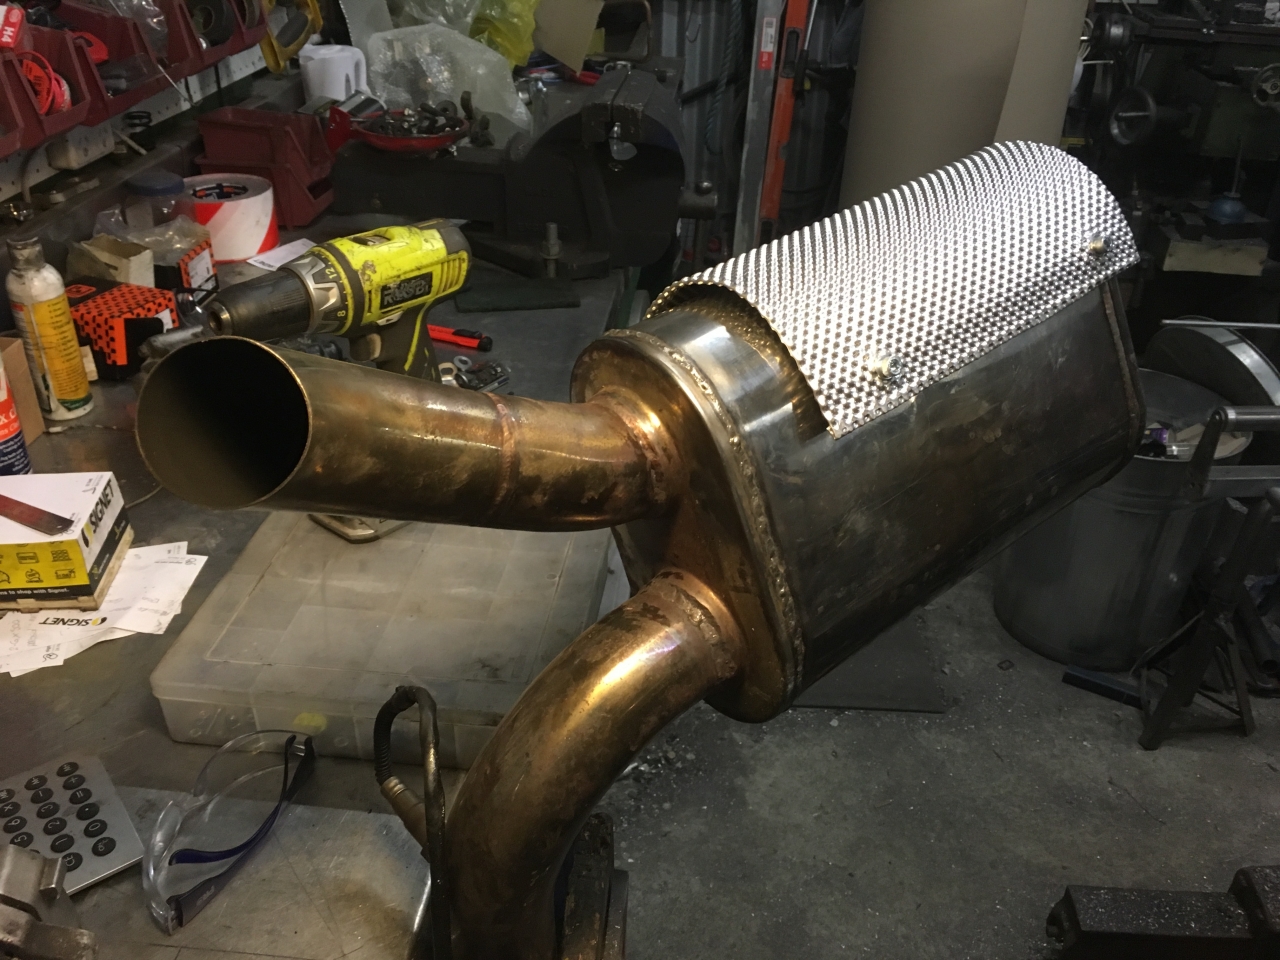
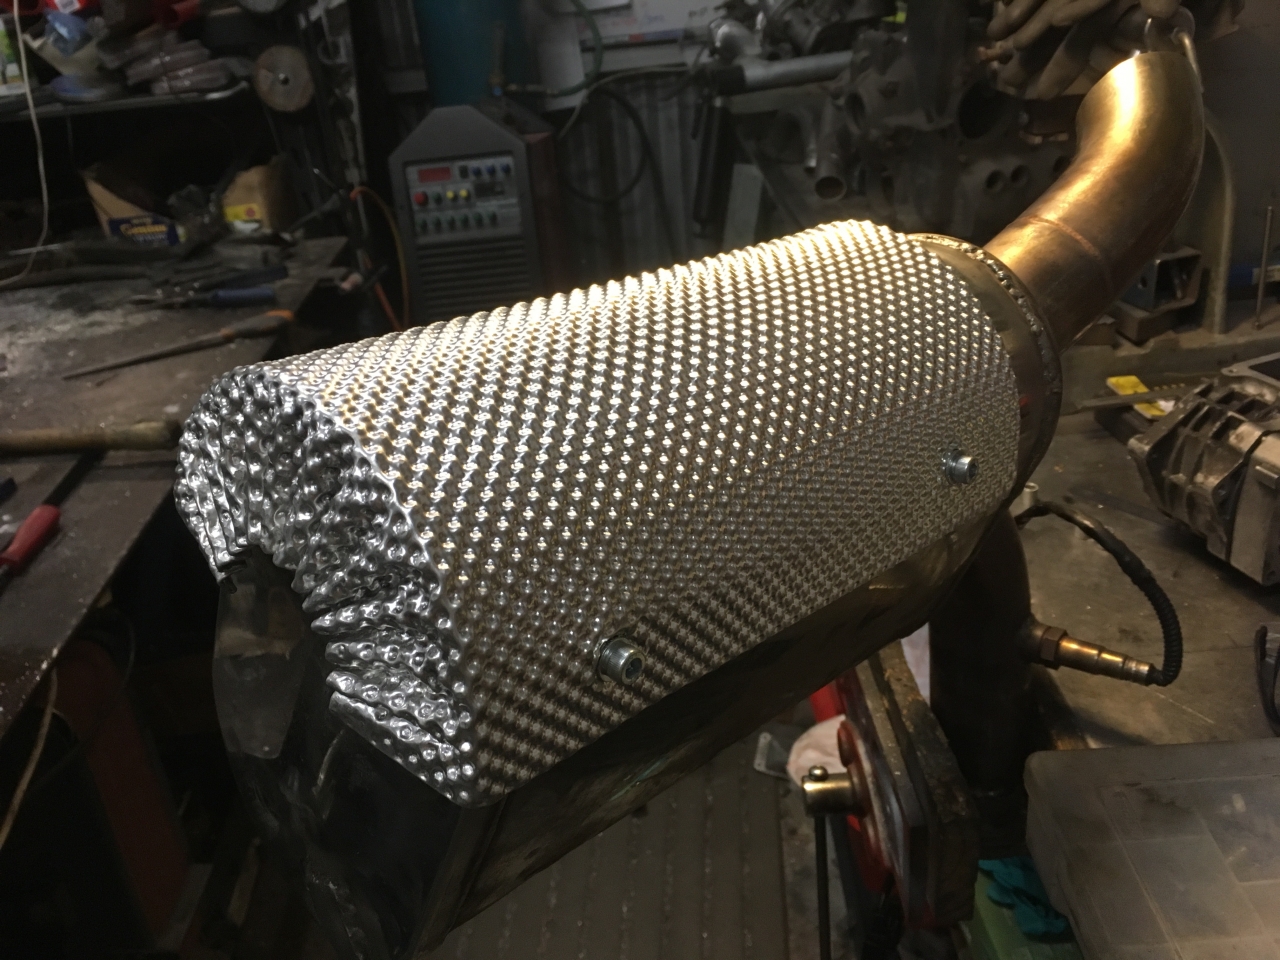
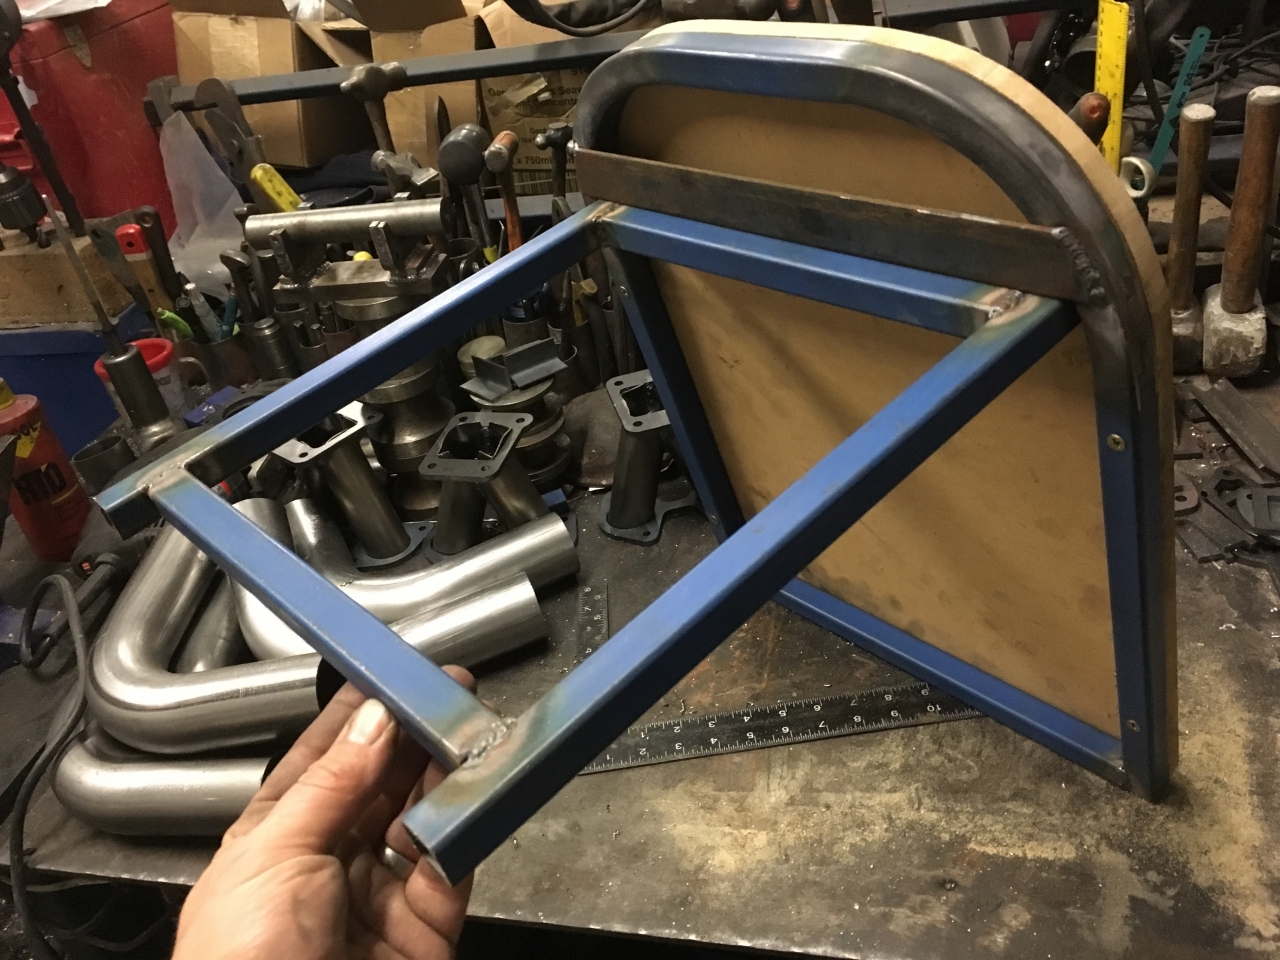
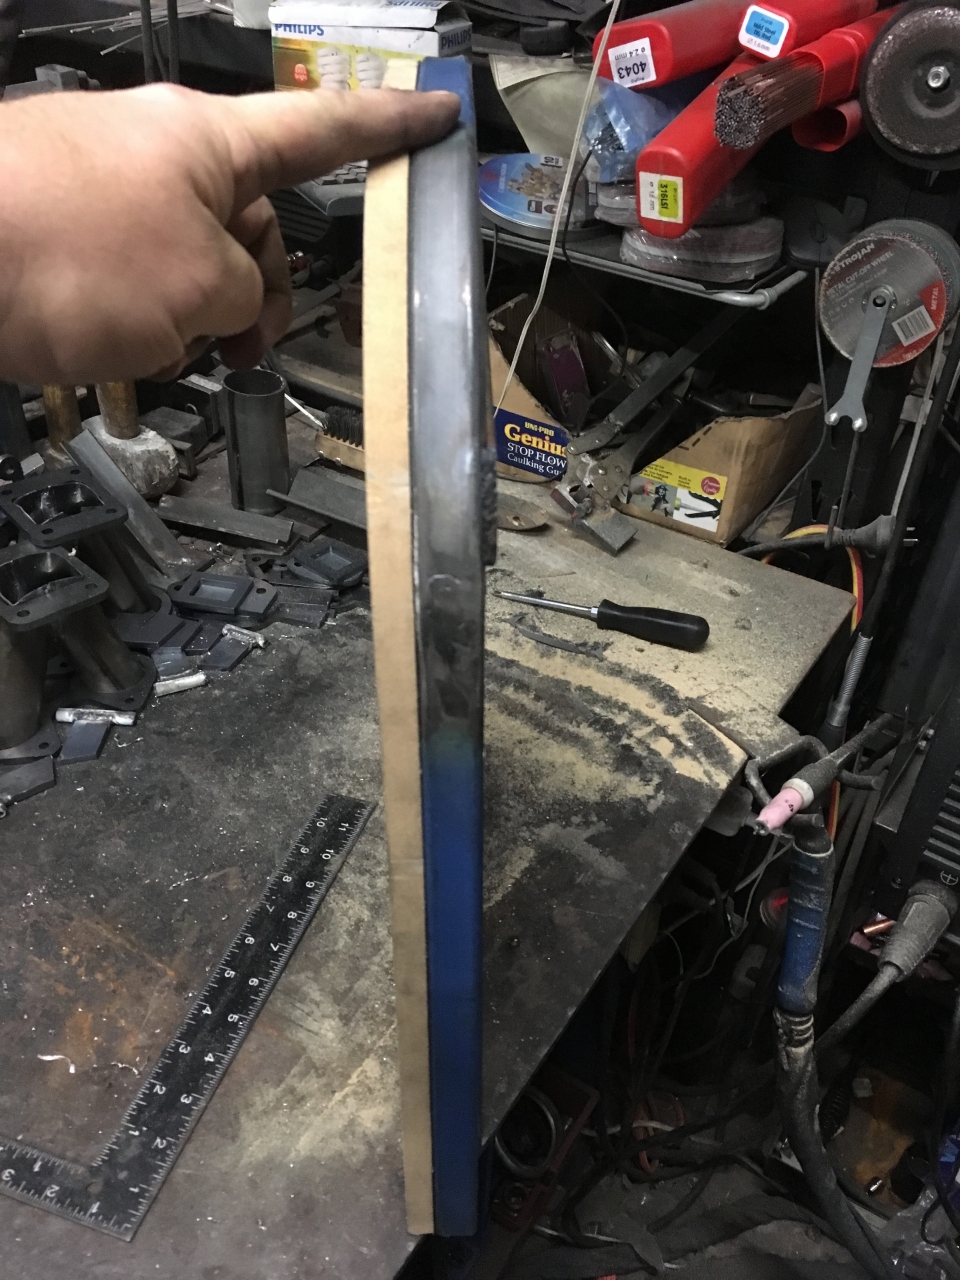
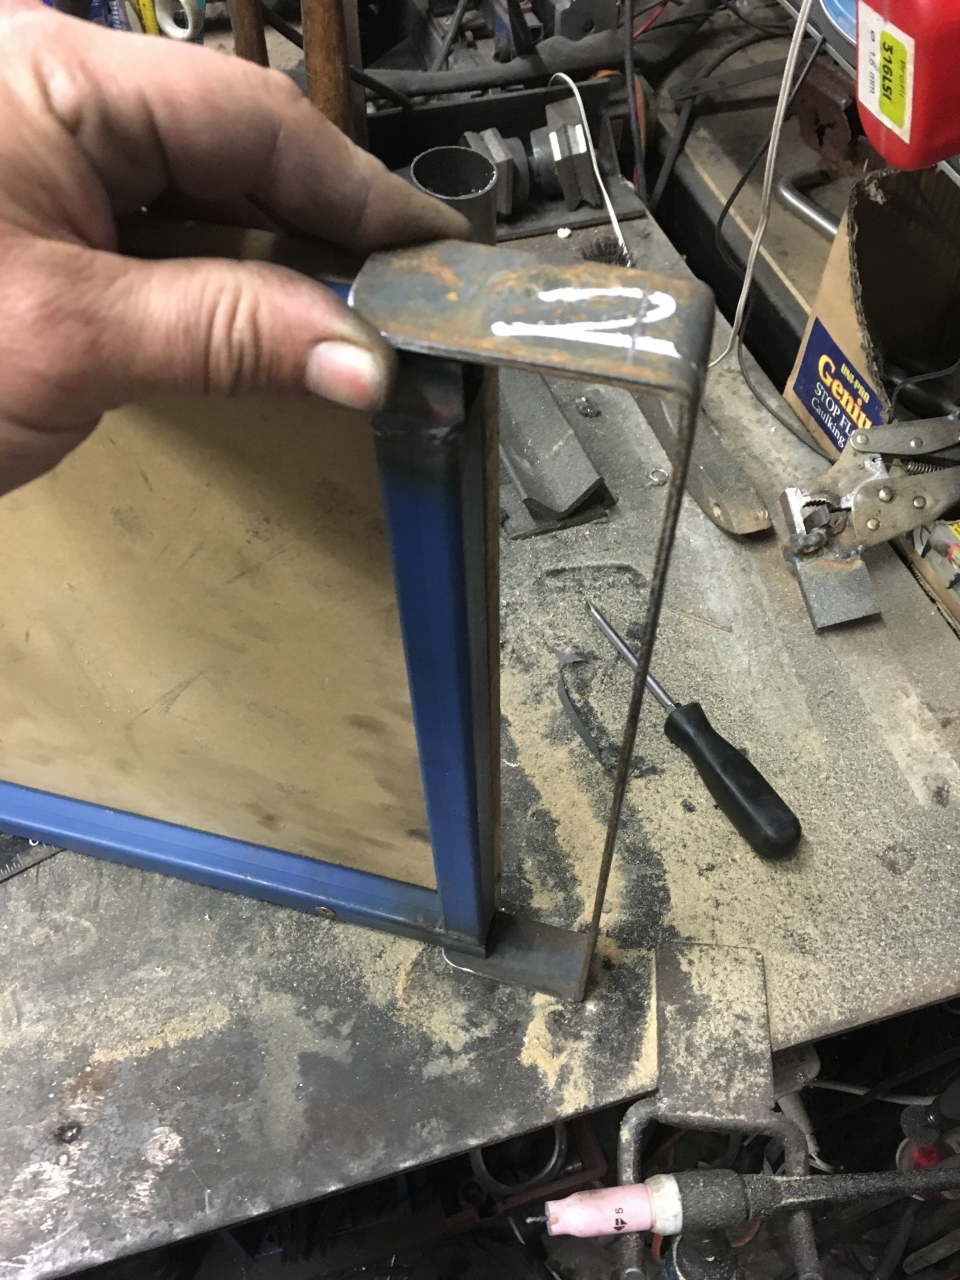
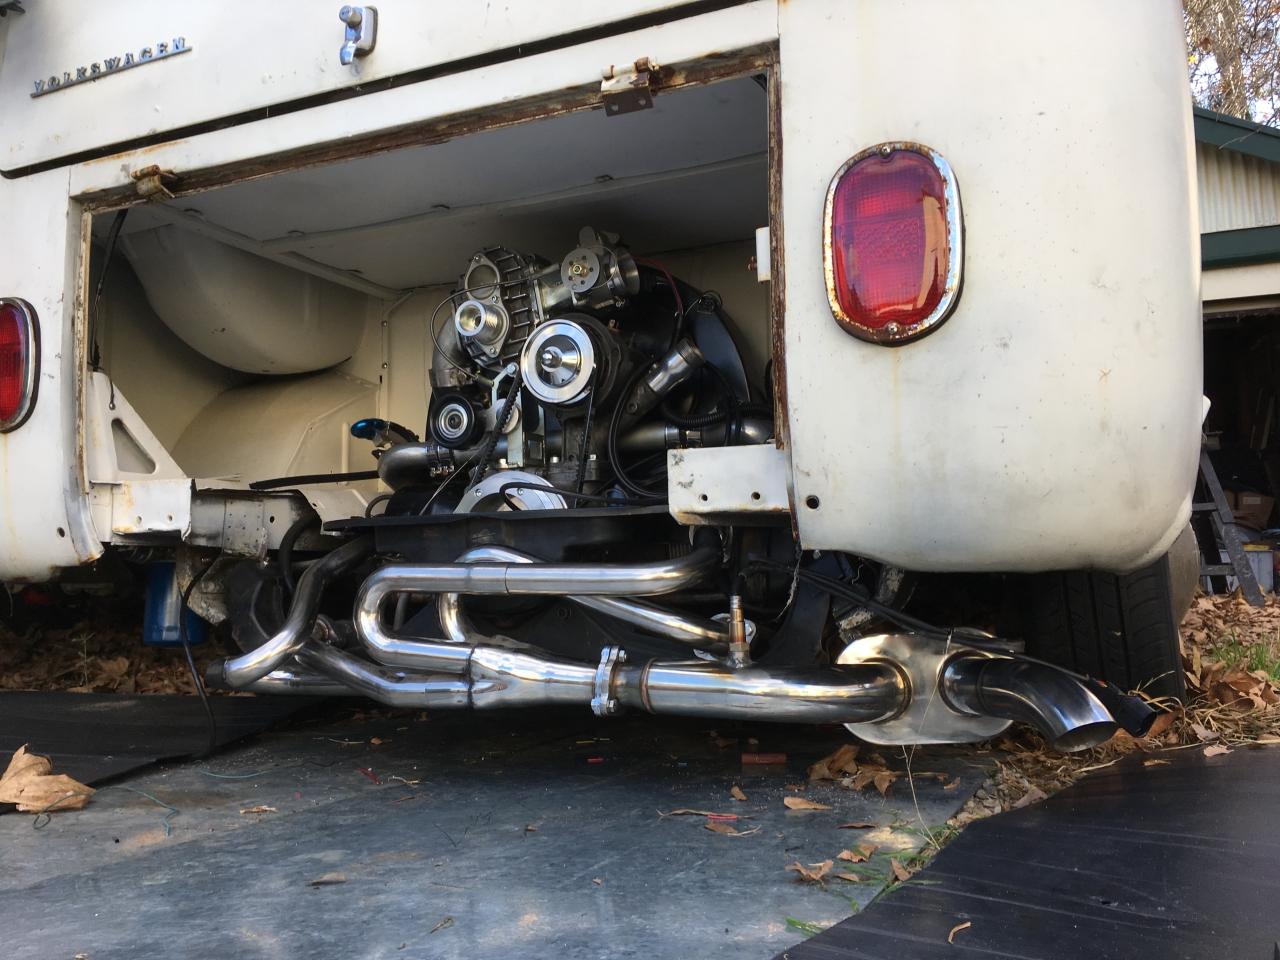
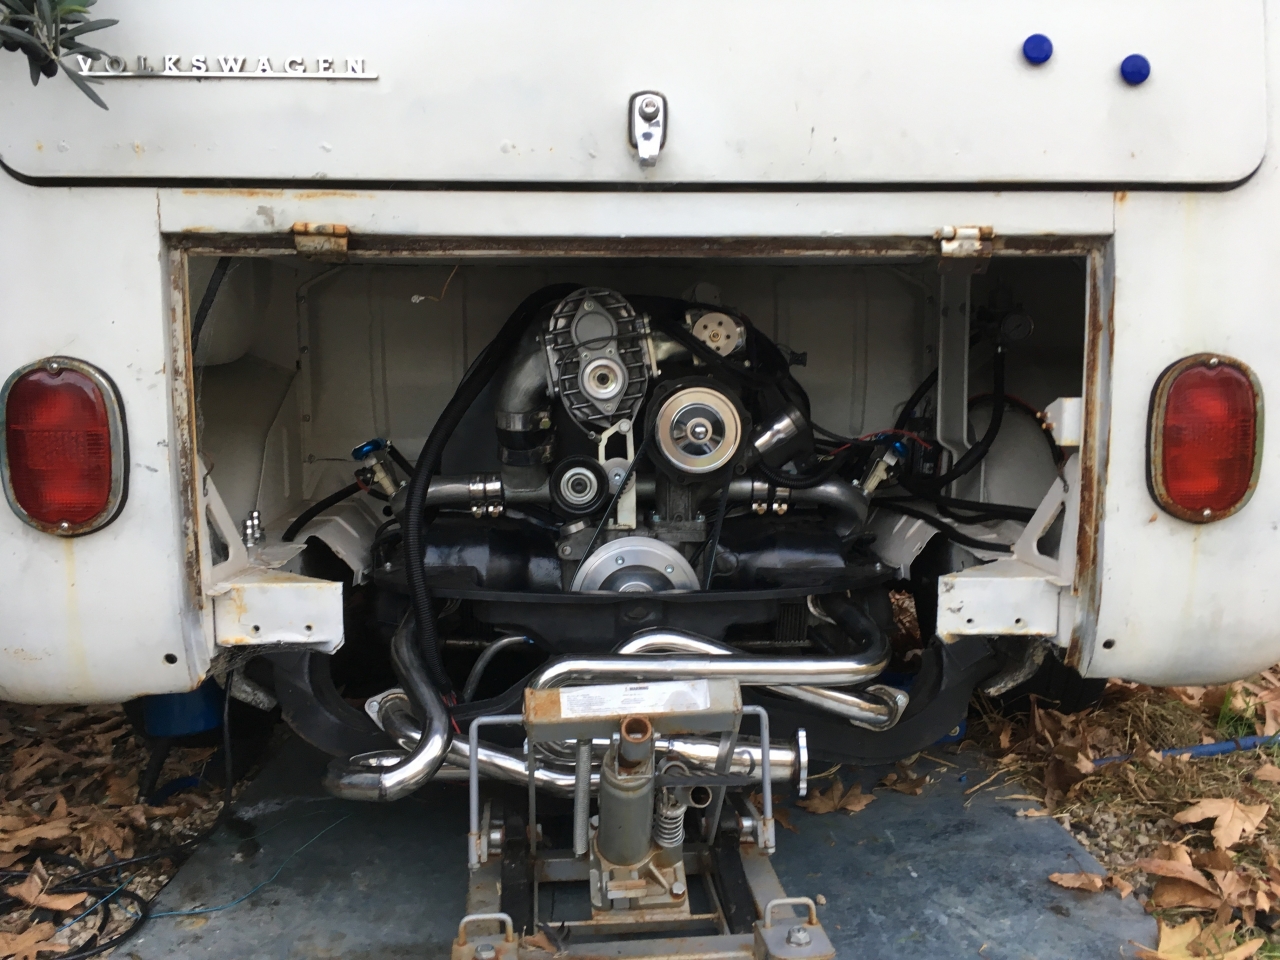
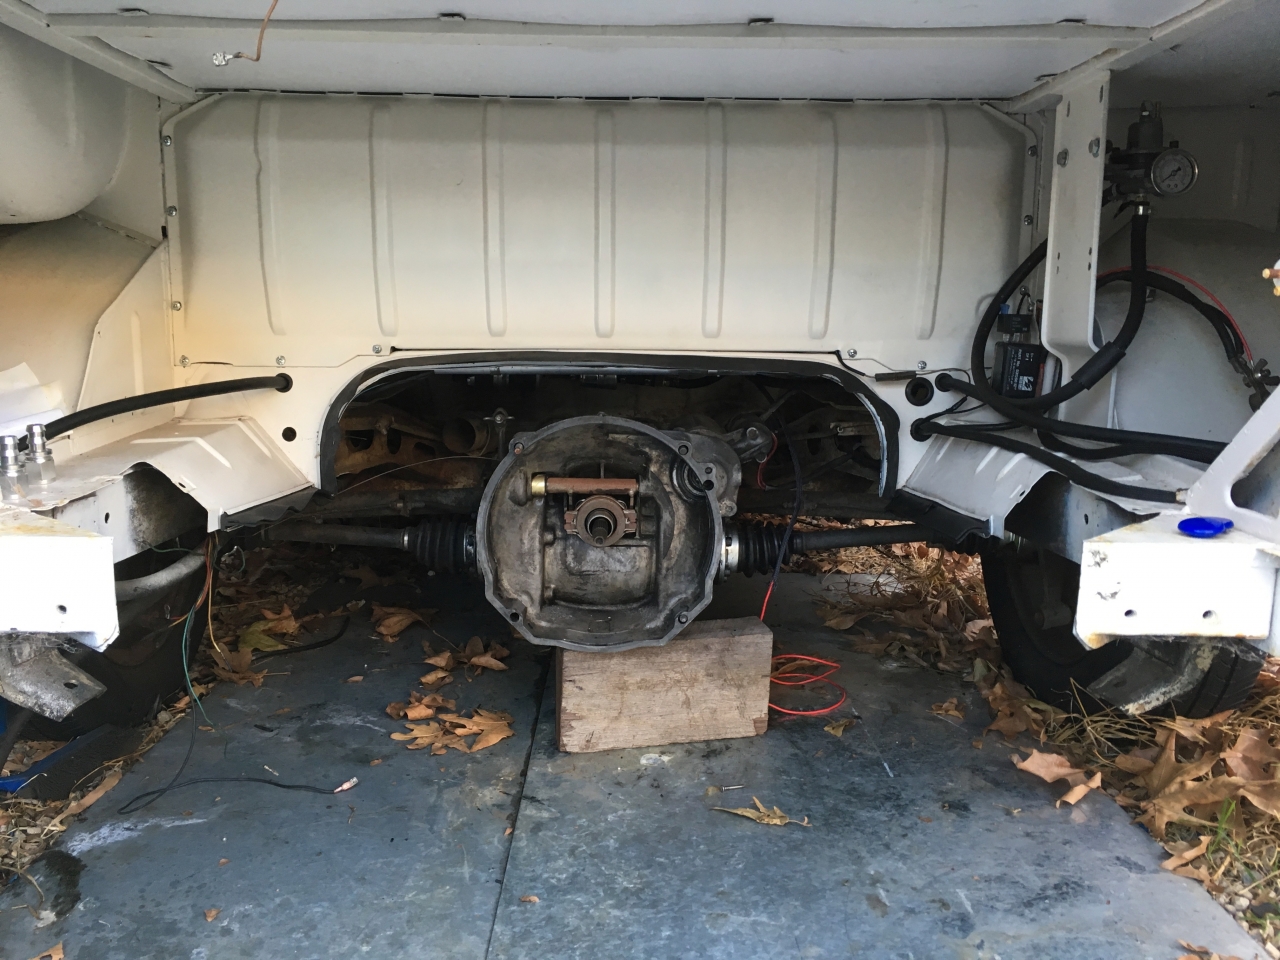
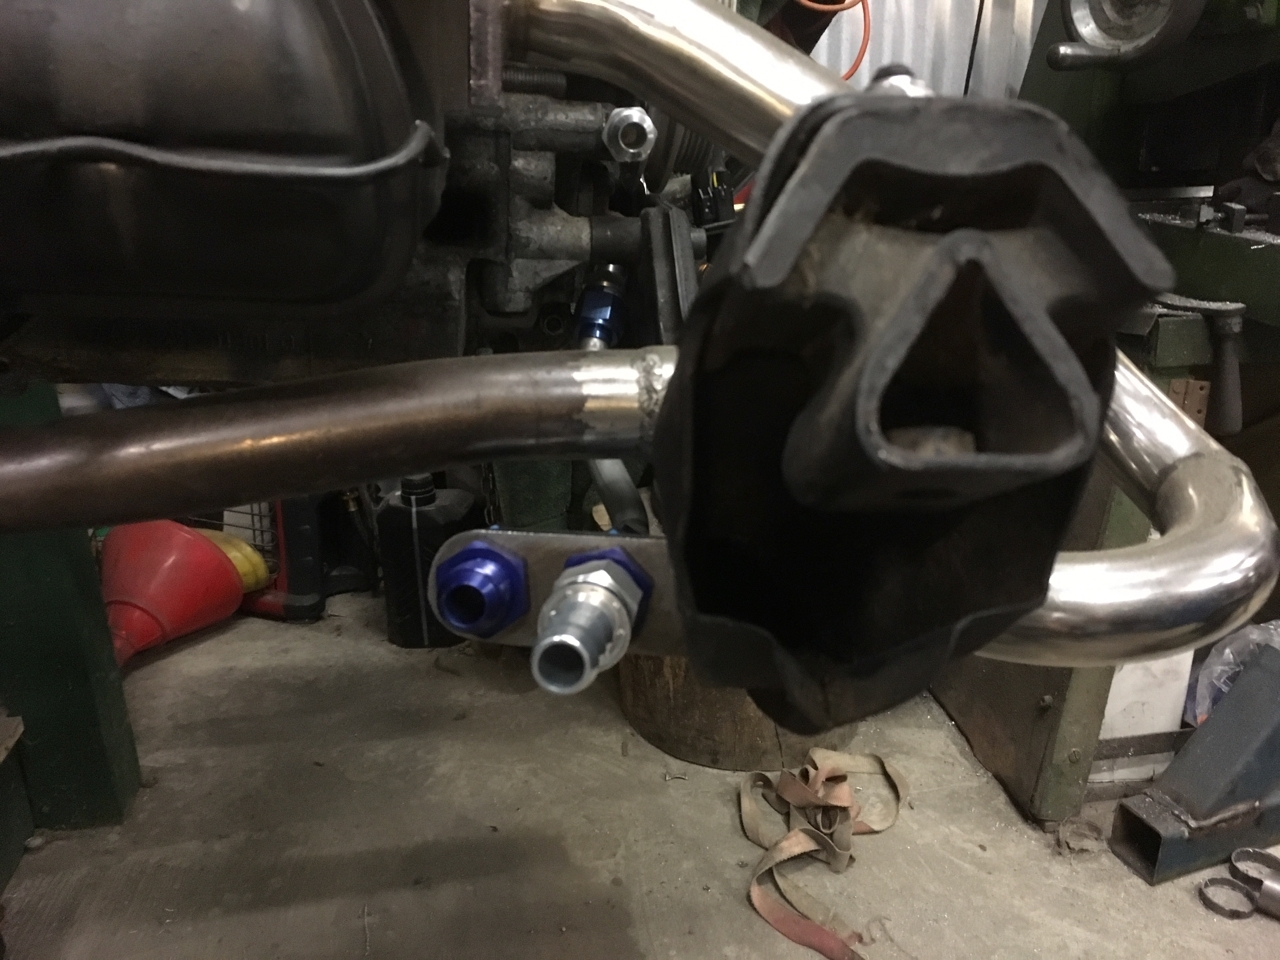
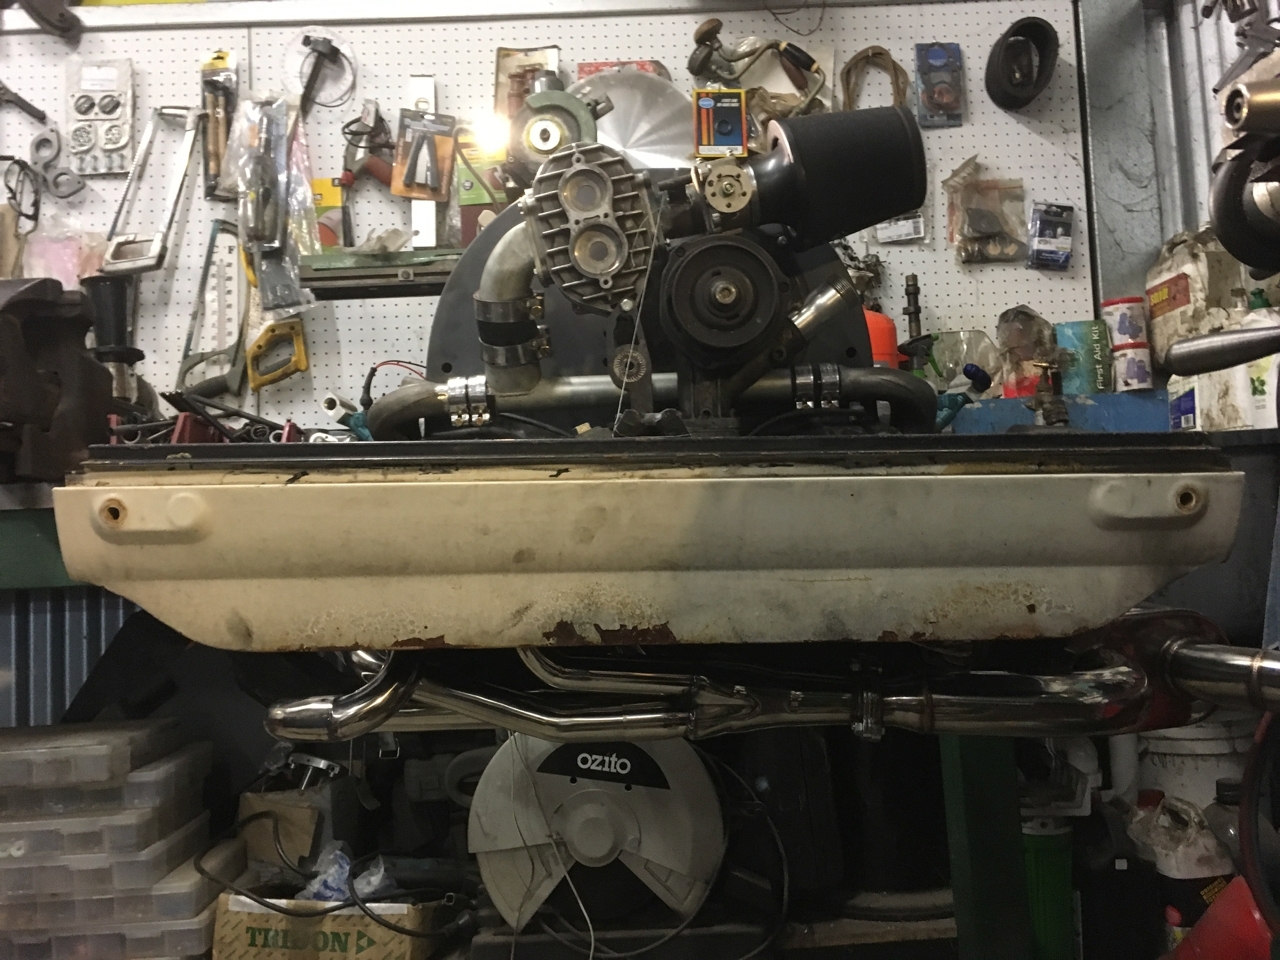
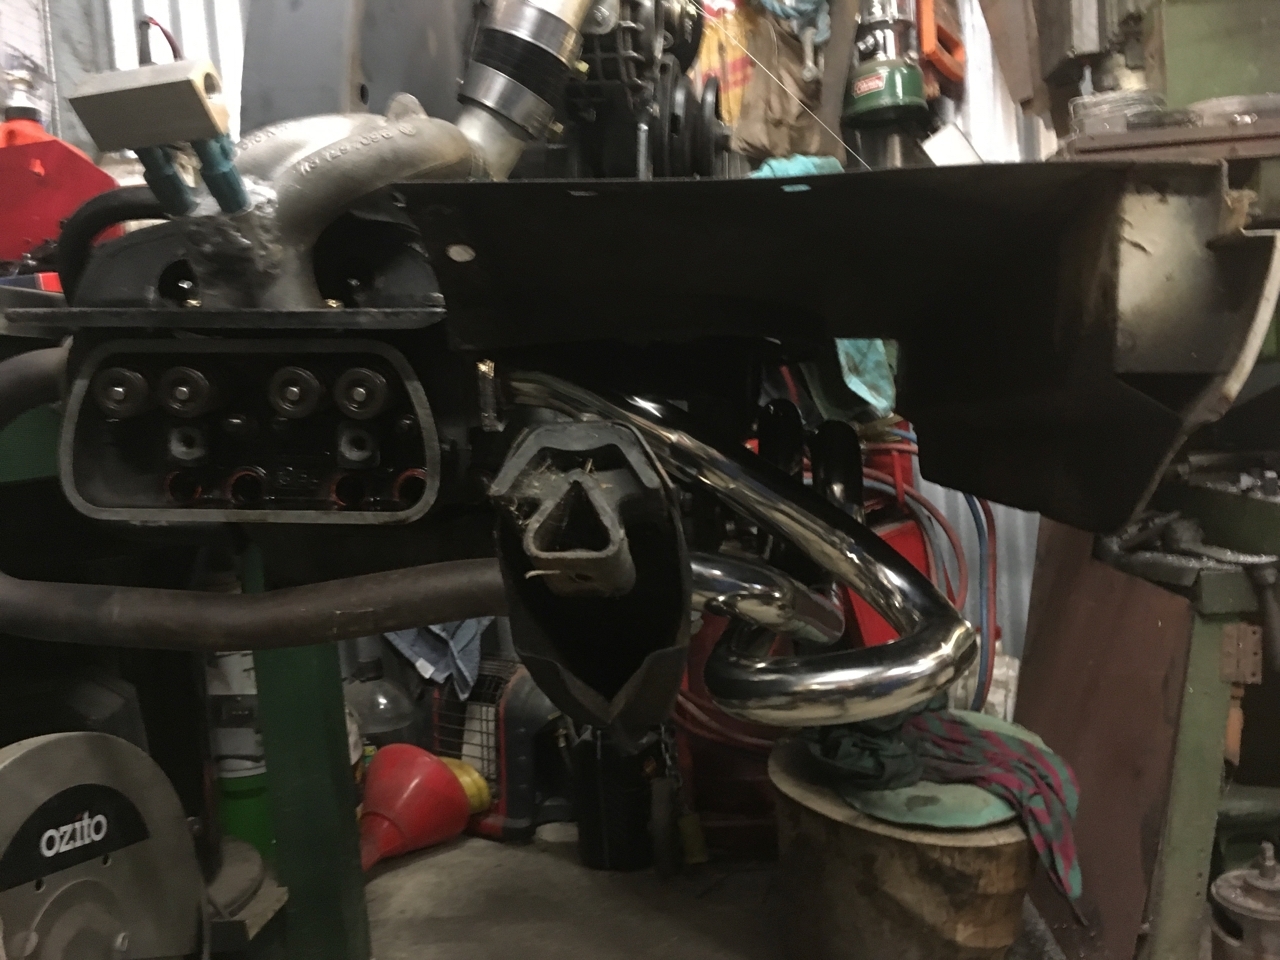
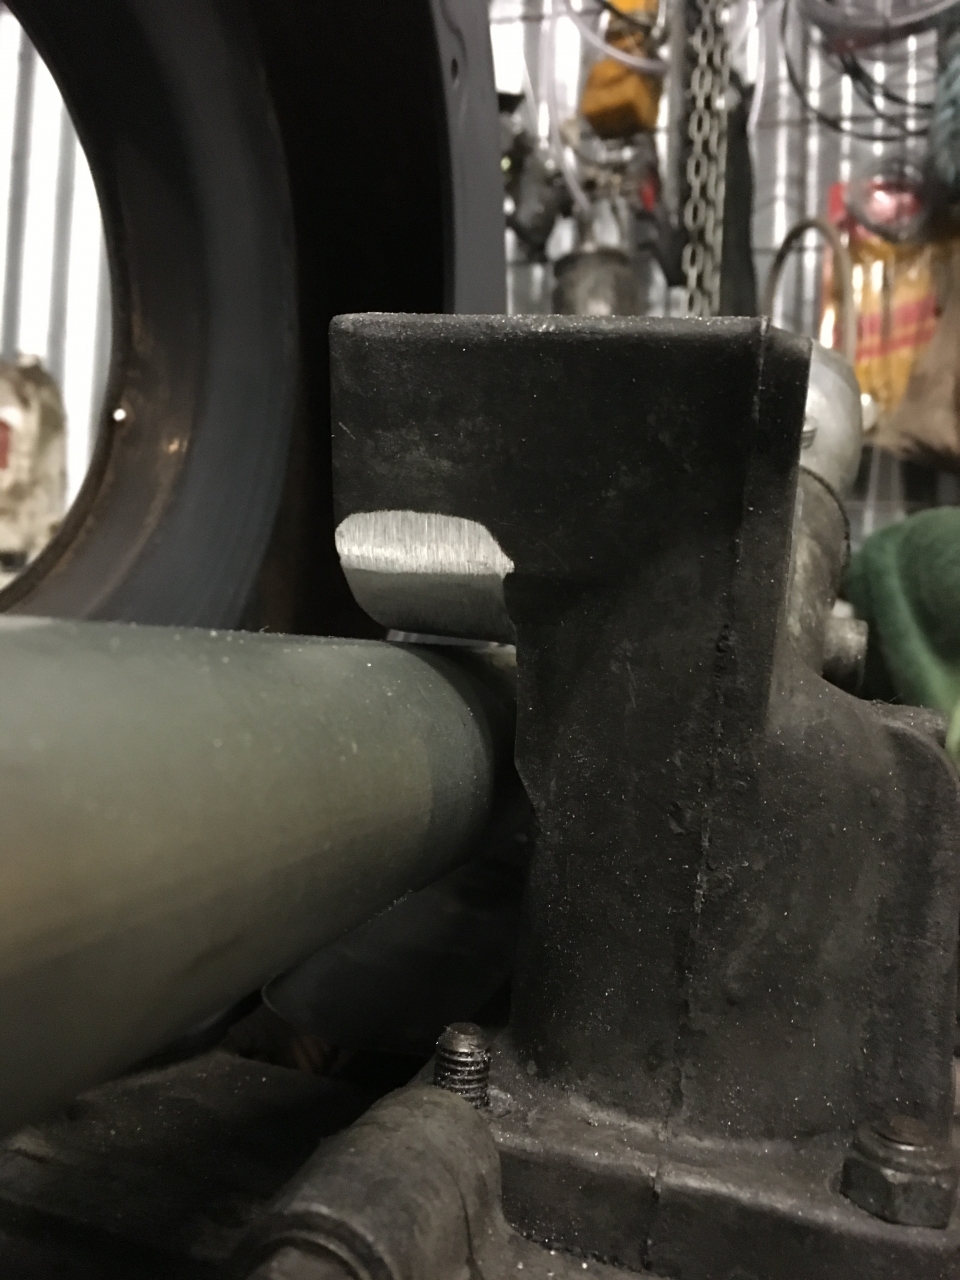
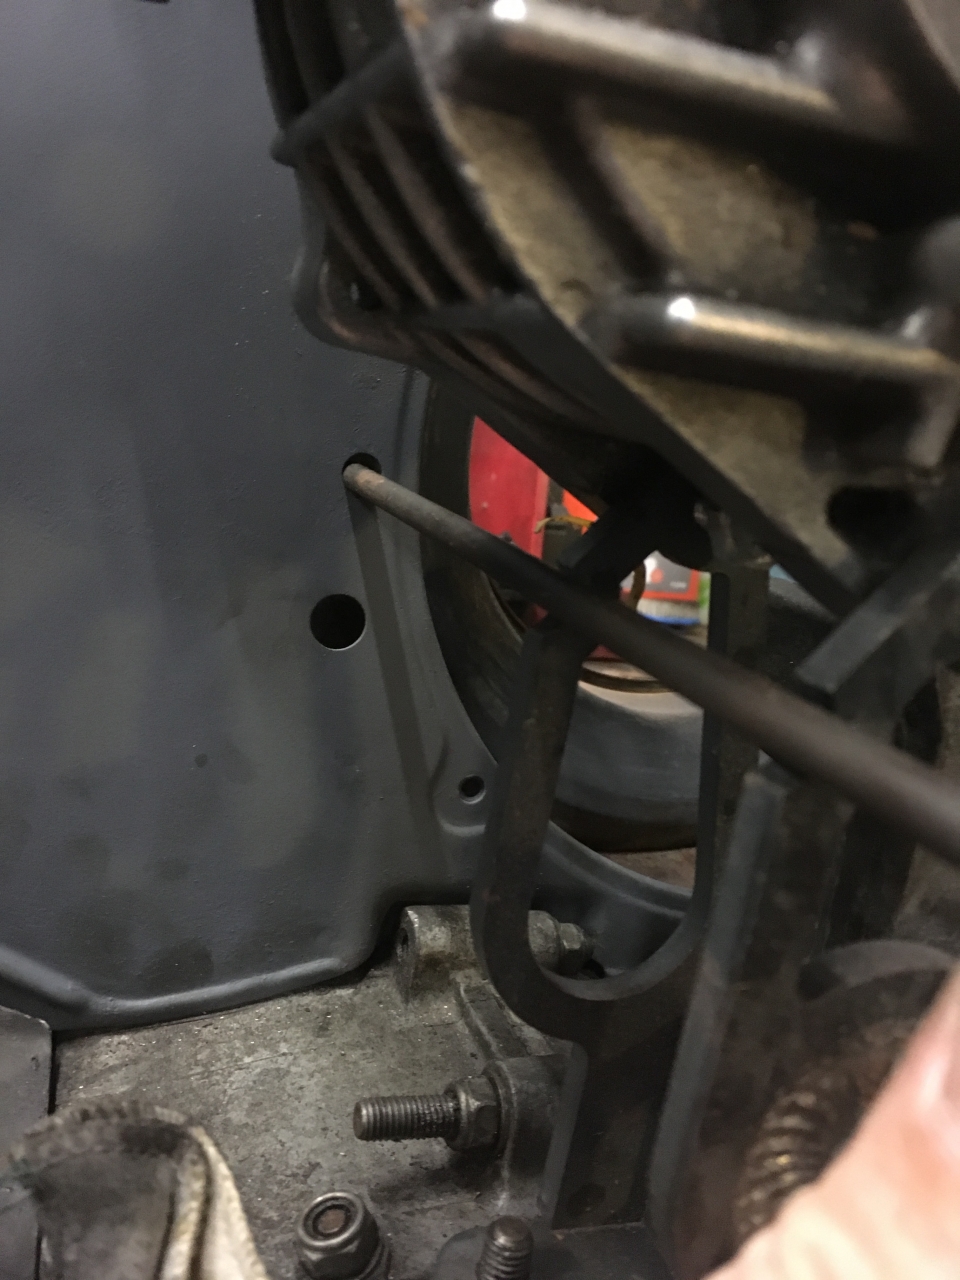
So I ordered some heat shielding and made up a heat shield for the silencer. The heat shield is very easy to bend, and it did not take too long to make up something suitable. I held it to the silencer using nut-serts. Now I can hold my hand on the outside of the heat shield, whereas I cannot touch the silencer. Great stuff. I'm planning on adding some more to the inside of the rear valence to help keep the exhaust temps out of the engine bay.
So the bus is now very much back on the road. The EFI is still getting slight tweaks but is generally working great. Now it's just a case of working through a bunch of other projects to get it back into shape, but more on that later...
Post is under moderationStream item published successfully. Item will now be visible on your stream. -
So the engine is in and running but I'm not getting a stable tune. I've traced the problem to a bad voltage regulator on the board which is giving an unstable board voltage, which in turn is giving inaccurate injector timing and ignition events. Rather than fix it I'm replacing the board as the one that's in there is a very old Speeduino version. But the cool thing is that I've driven the bus for the first time in nearly two years and IT FELT GREAT. Didn't realise how much I missed driving...So the engine is in and running but I'm not getting a stable tune. I've traced the problem to a bad voltage regulator on the board which is giving an unstable board voltage, which in turn is giving inaccurate injector timing and ignition events. Rather than fix it I'm replacing the board as the one that's in there is a very old Speeduino version. But the cool thing is that I've driven the bus for the first time in nearly two years and IT FELT GREAT. Didn't realise how much I missed driving my bus.More
Unfortunately the hiccup with the tuning meant that I did not want to risk the run to ReVolks so decided to give it a miss this year. Looks like none of the SA crew went apart from @Choco. It's a real shame as I really enjoy it, but didn't want to take the risk of such a long trip on a dodgy ECU.
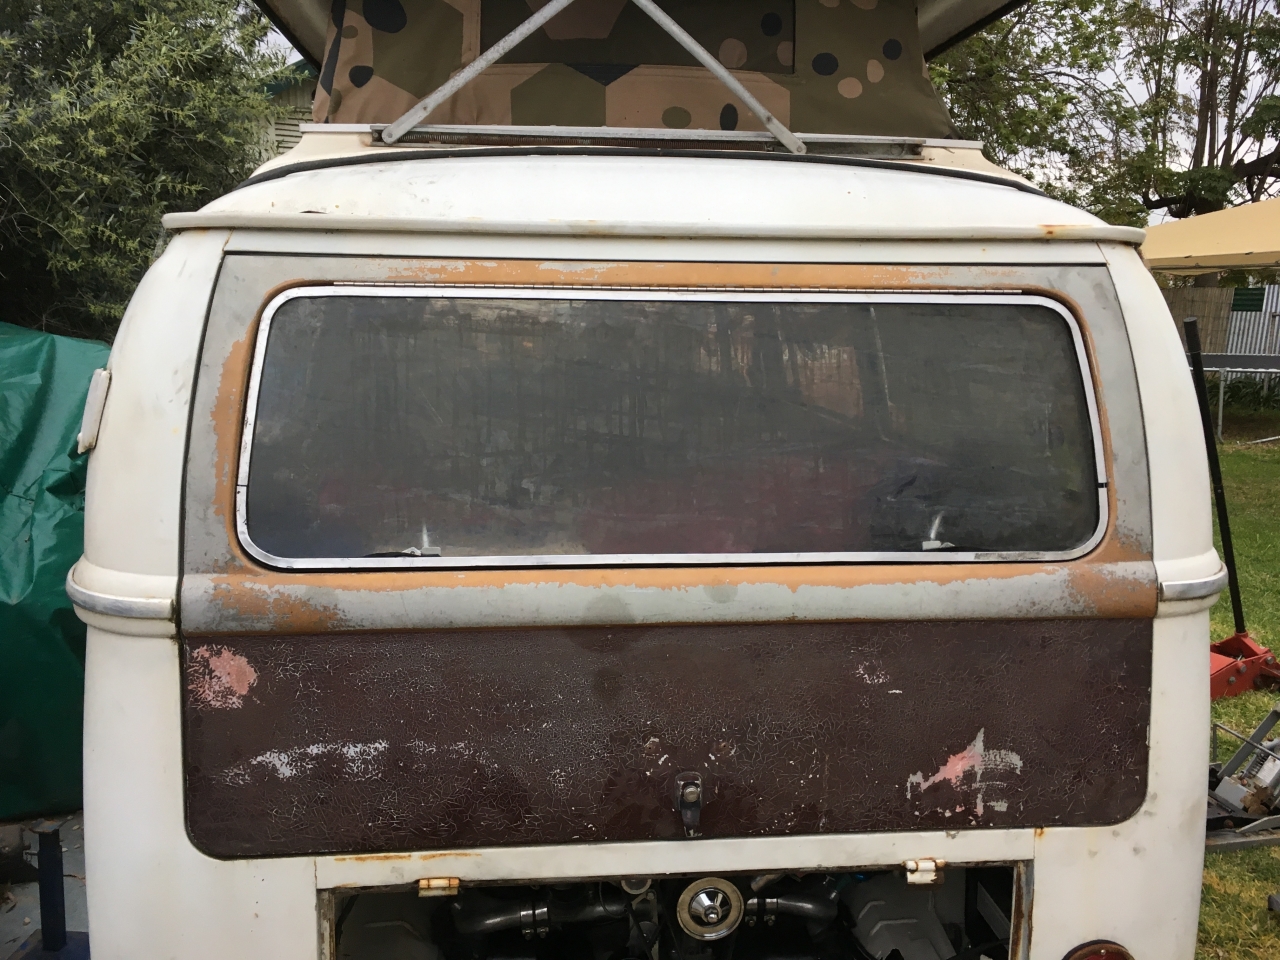
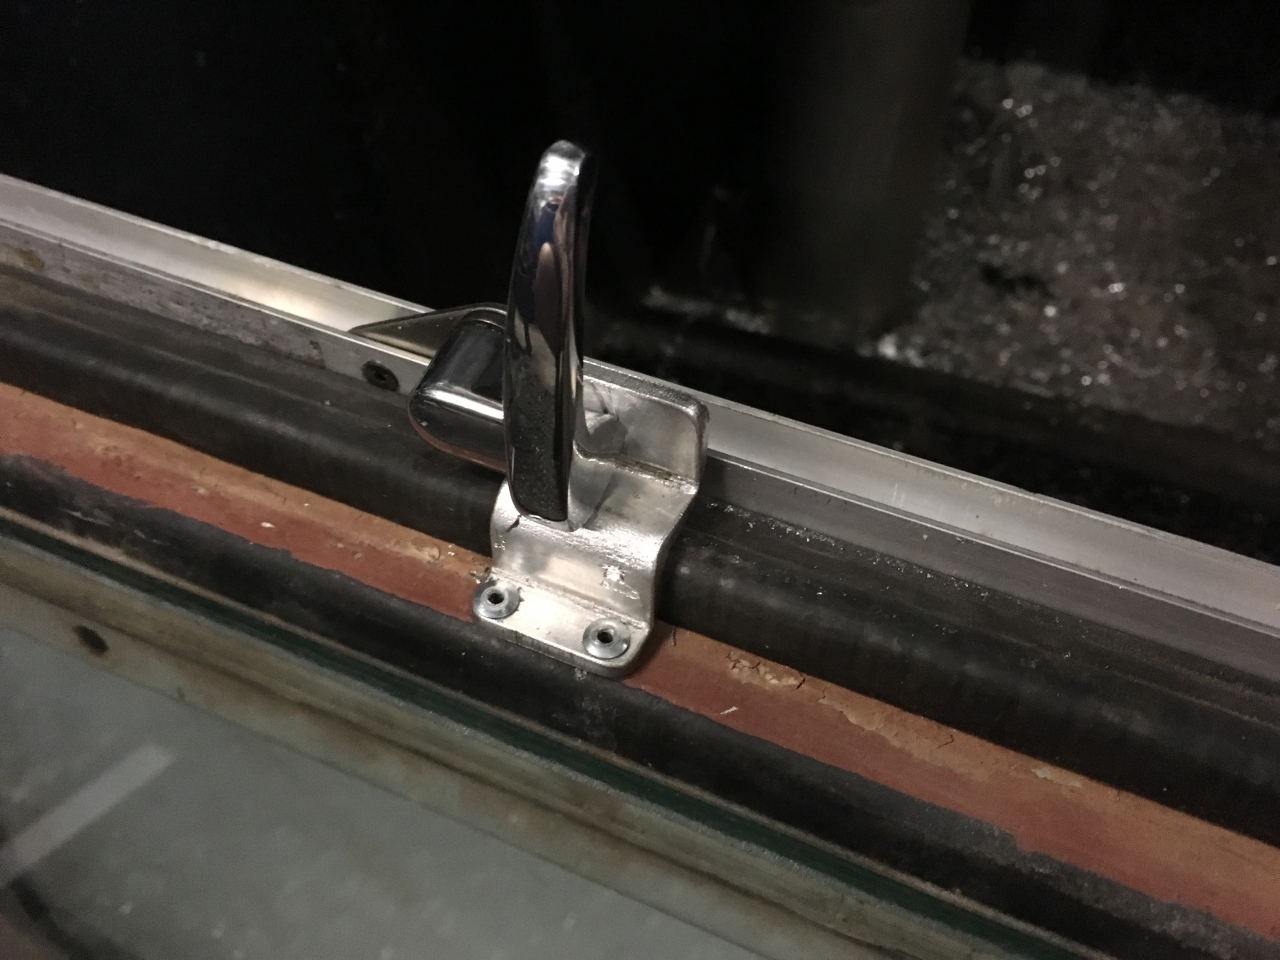
I did however manage to get the rear safari fitted to the bus. I needed to get a rear glass in the replacement tailgate for the ReVolks trip so decided to finish the tailgate to the point where I could at least fit it - this meant fitting glass and adding catches. It still doesn't have the stays fitted, and the frame needs some more fettling to get it to fit properly, but considering it's scratch made, it actually works, although I did smash one rear screen fitting it - oops.
Fitting the glass was a complete PITA - even worse than doing safaris and I think that this is mostly as the frame is aluminium. It's simply too soft to hold its shape, so where the rubber seal and glass want to push it out of shape it has no resistance. The end result is that it does not follow the contour of the hatch. I'm going to leave it for the time being but I think I'll remake it with a steel frame. Having seen how the loose nuts guys do it I think I'll do it a little differently next time. The steel frame will also make it much easier to mount the catches and stays as well as they can simply be welded to the outside of the frame.
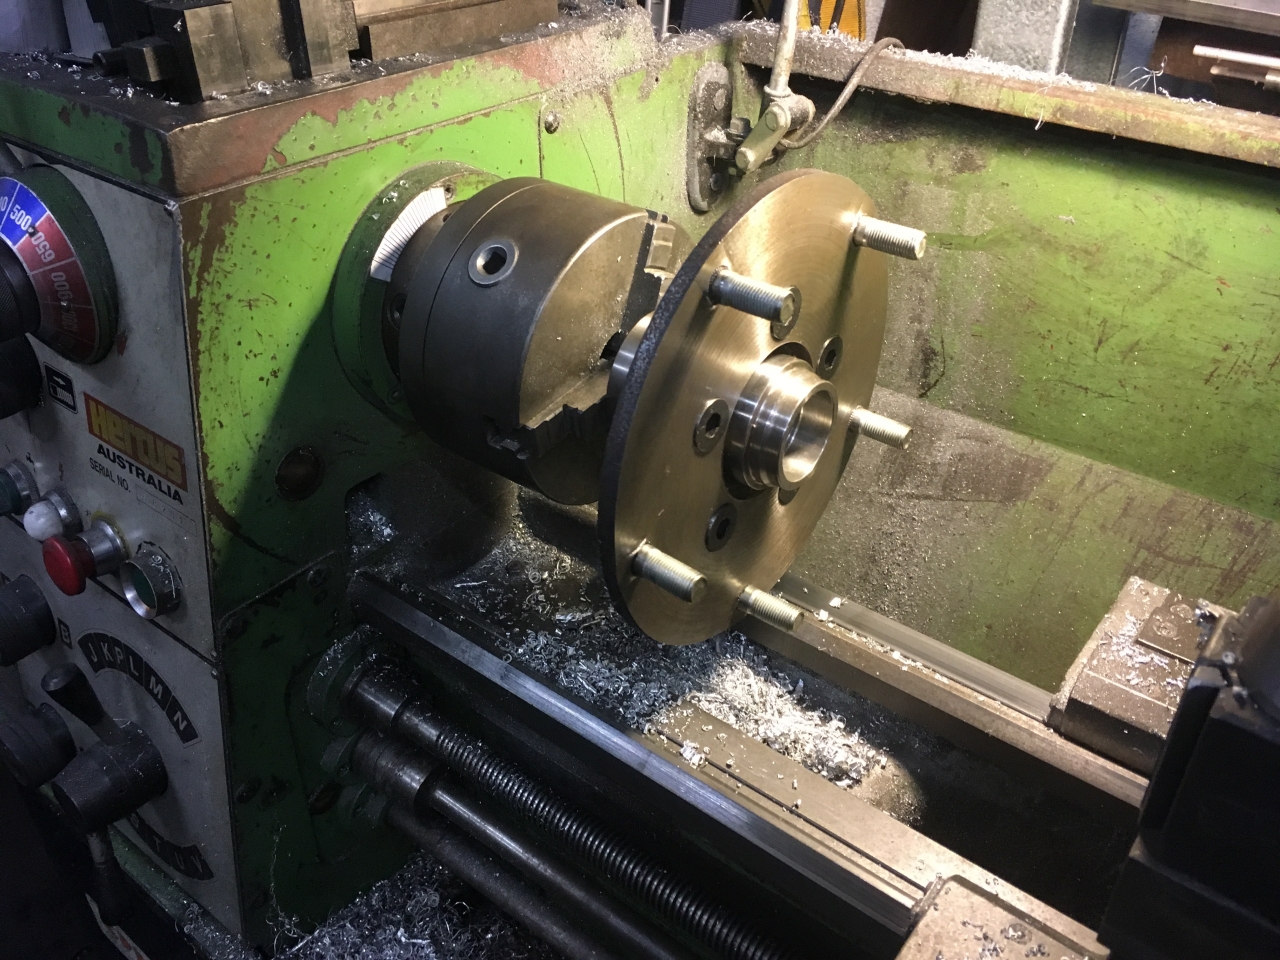
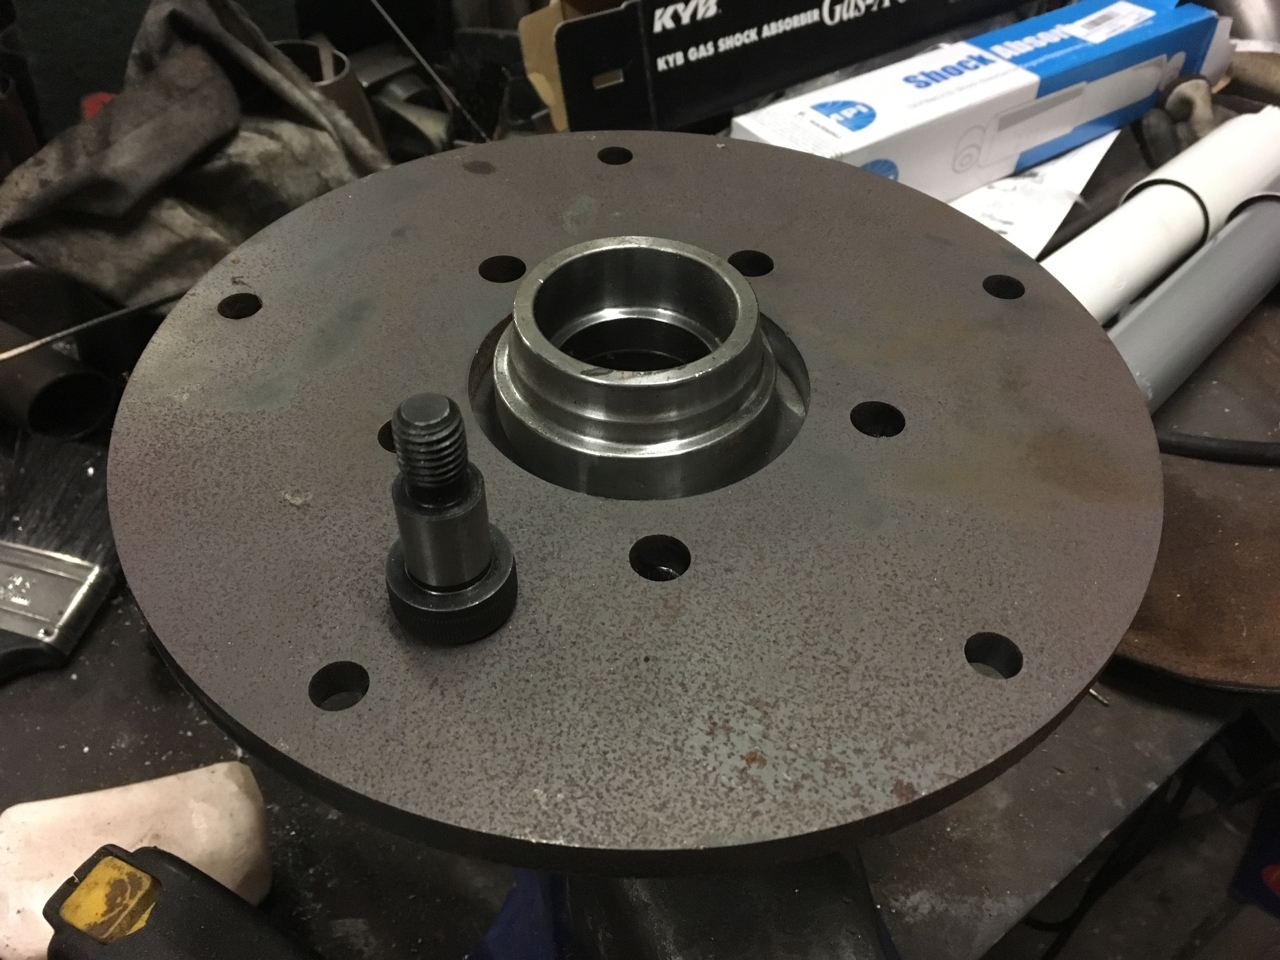
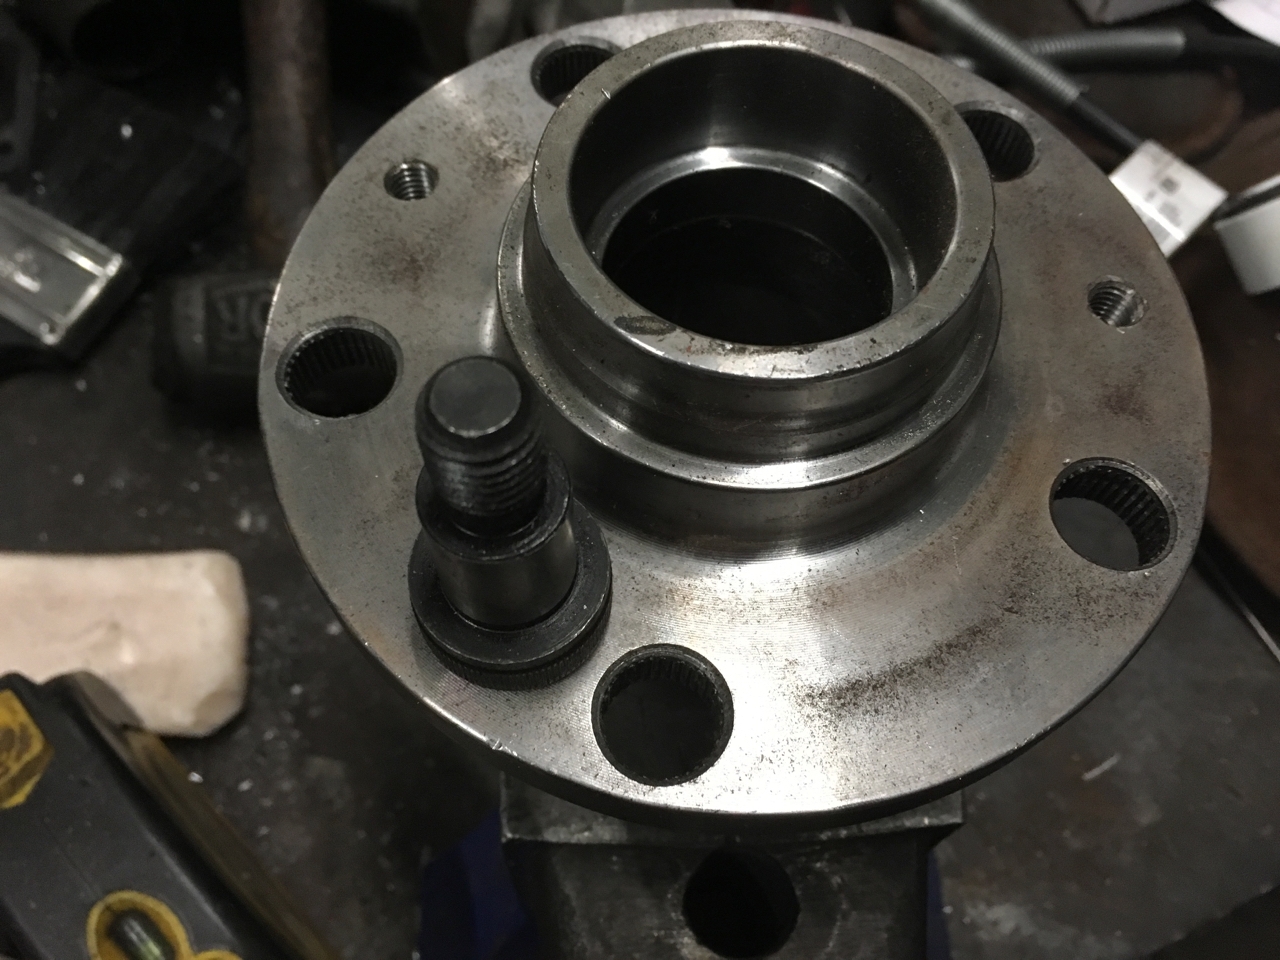
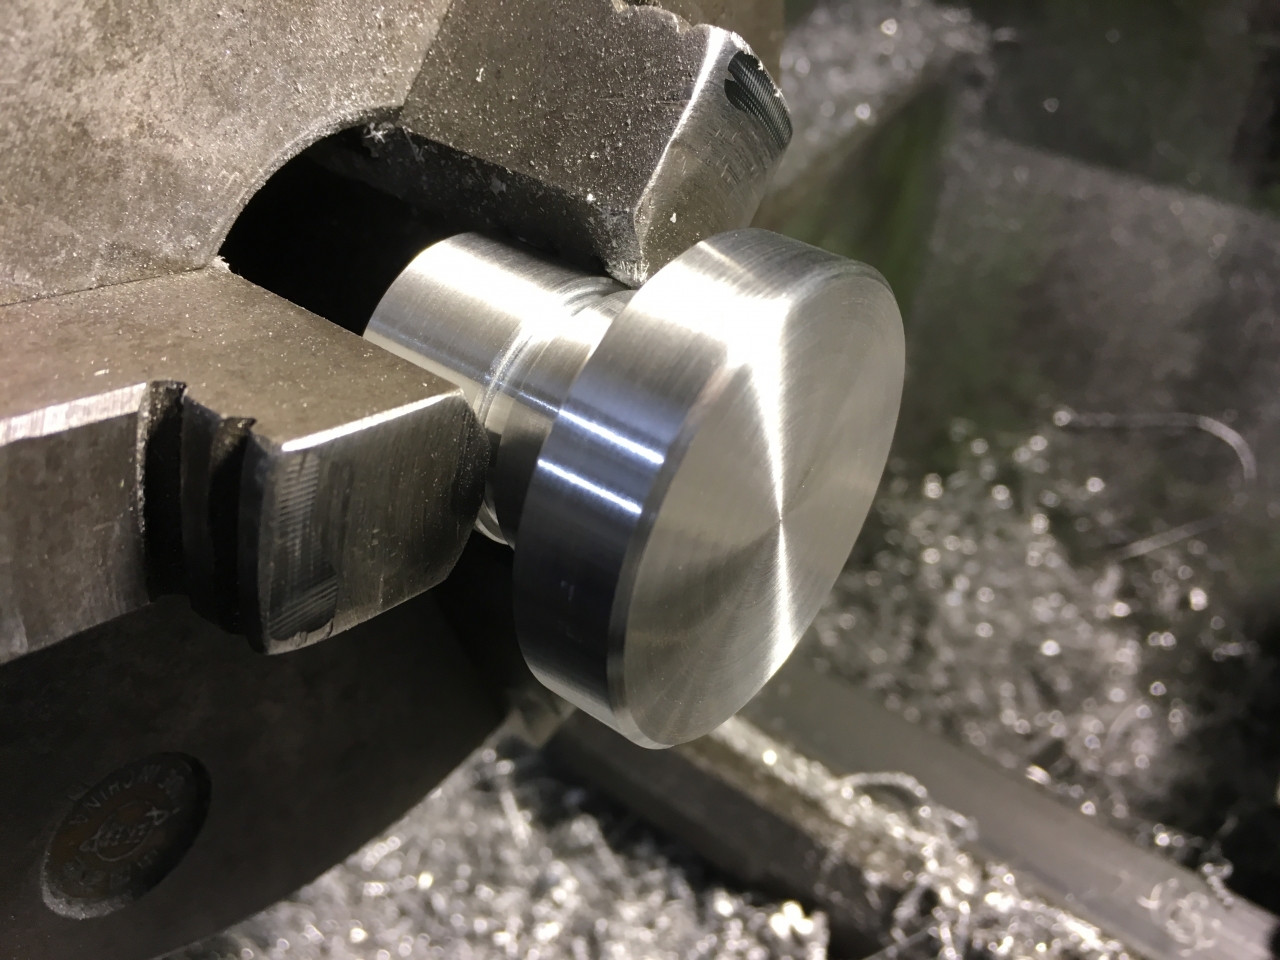
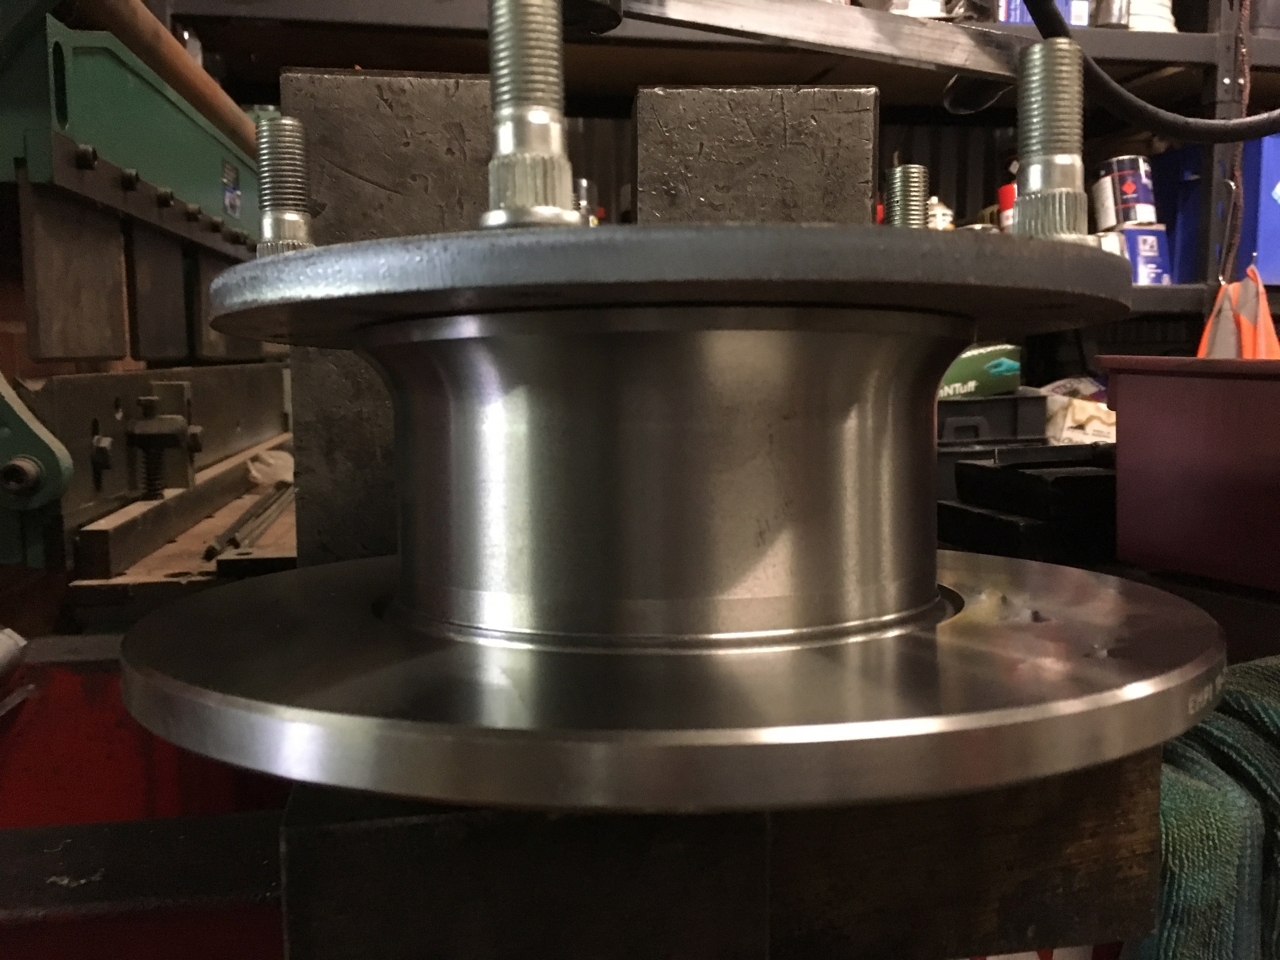
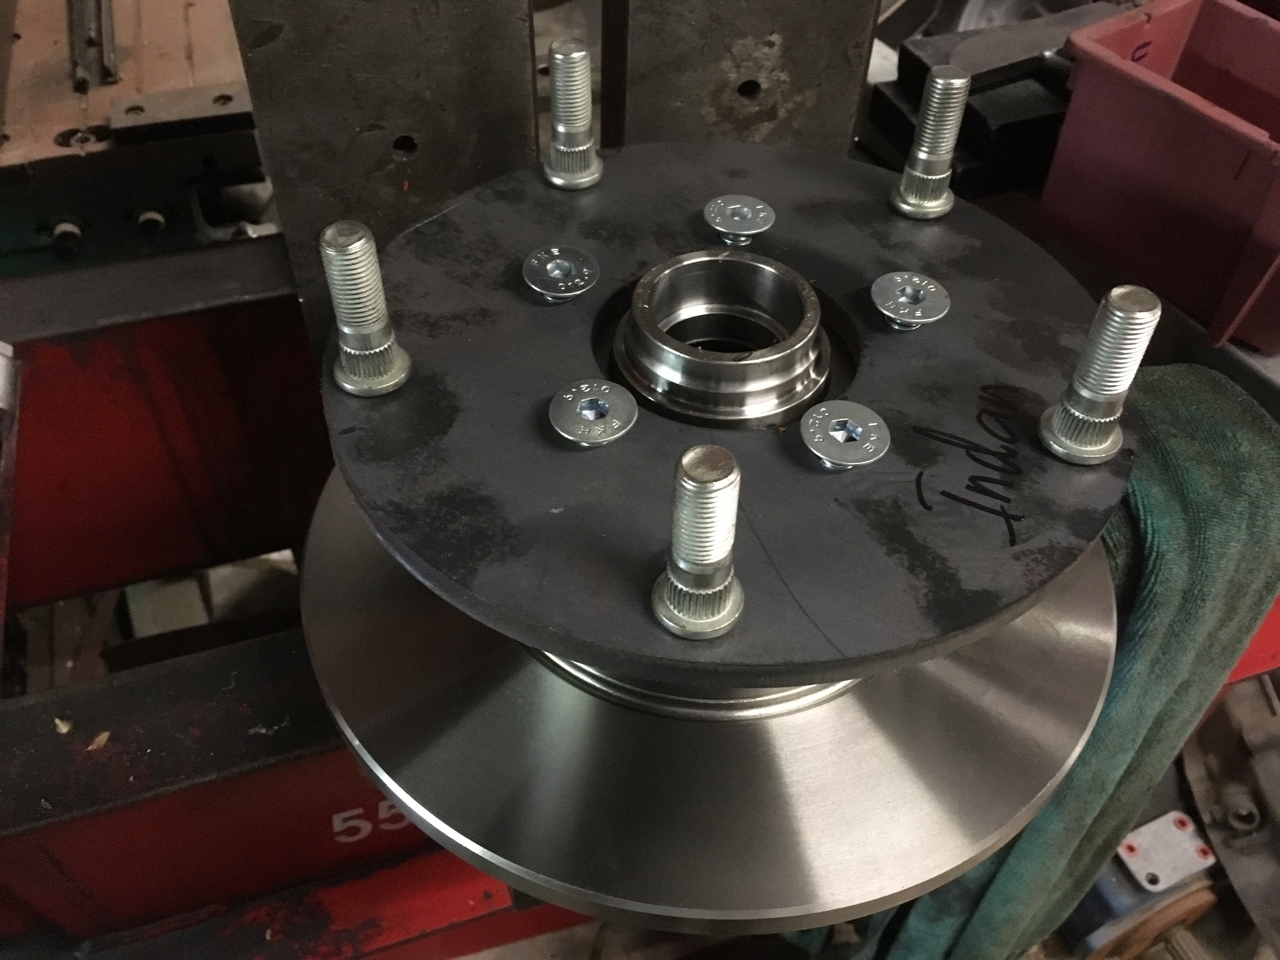
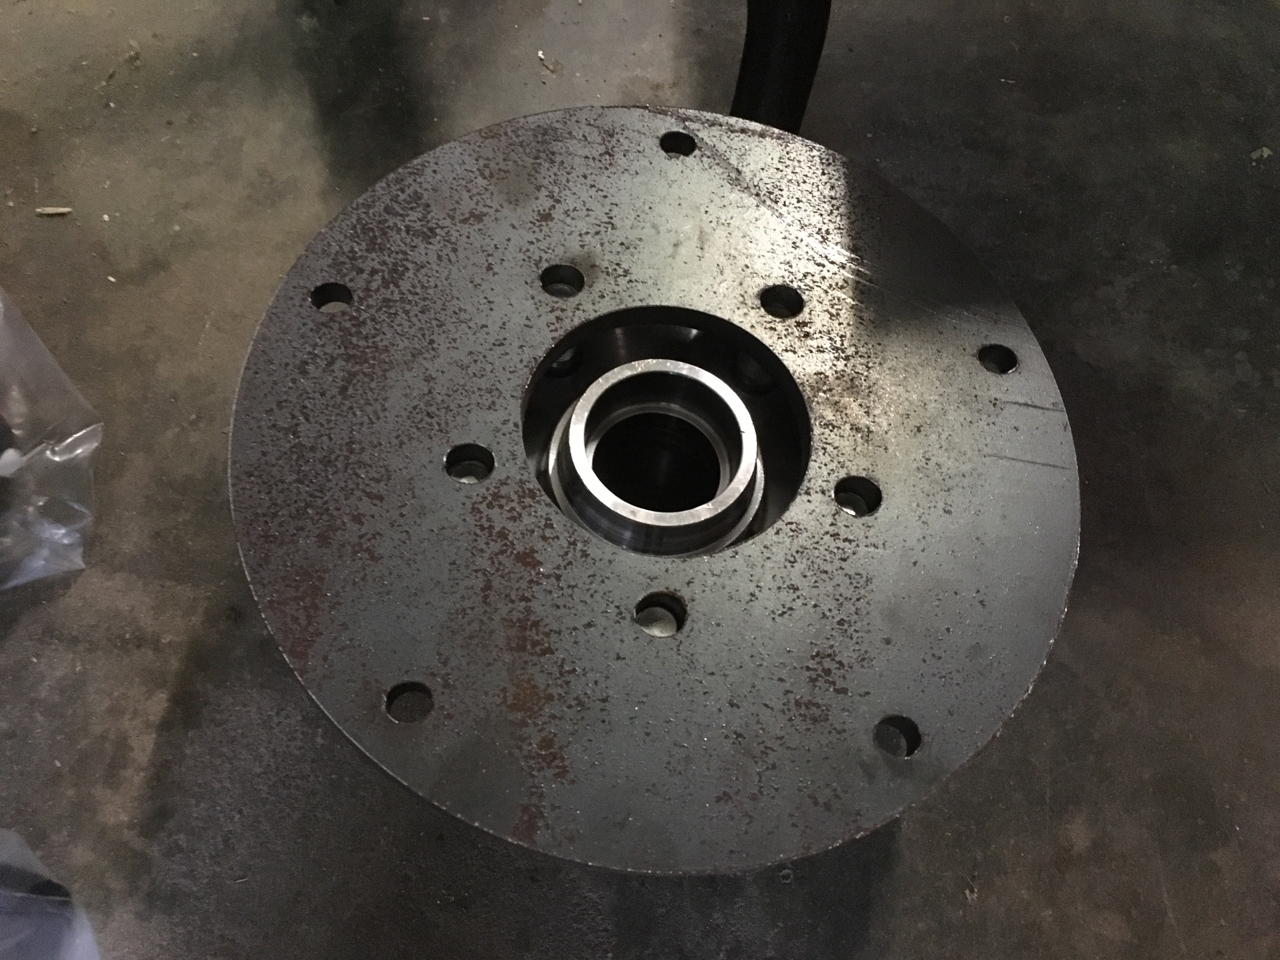
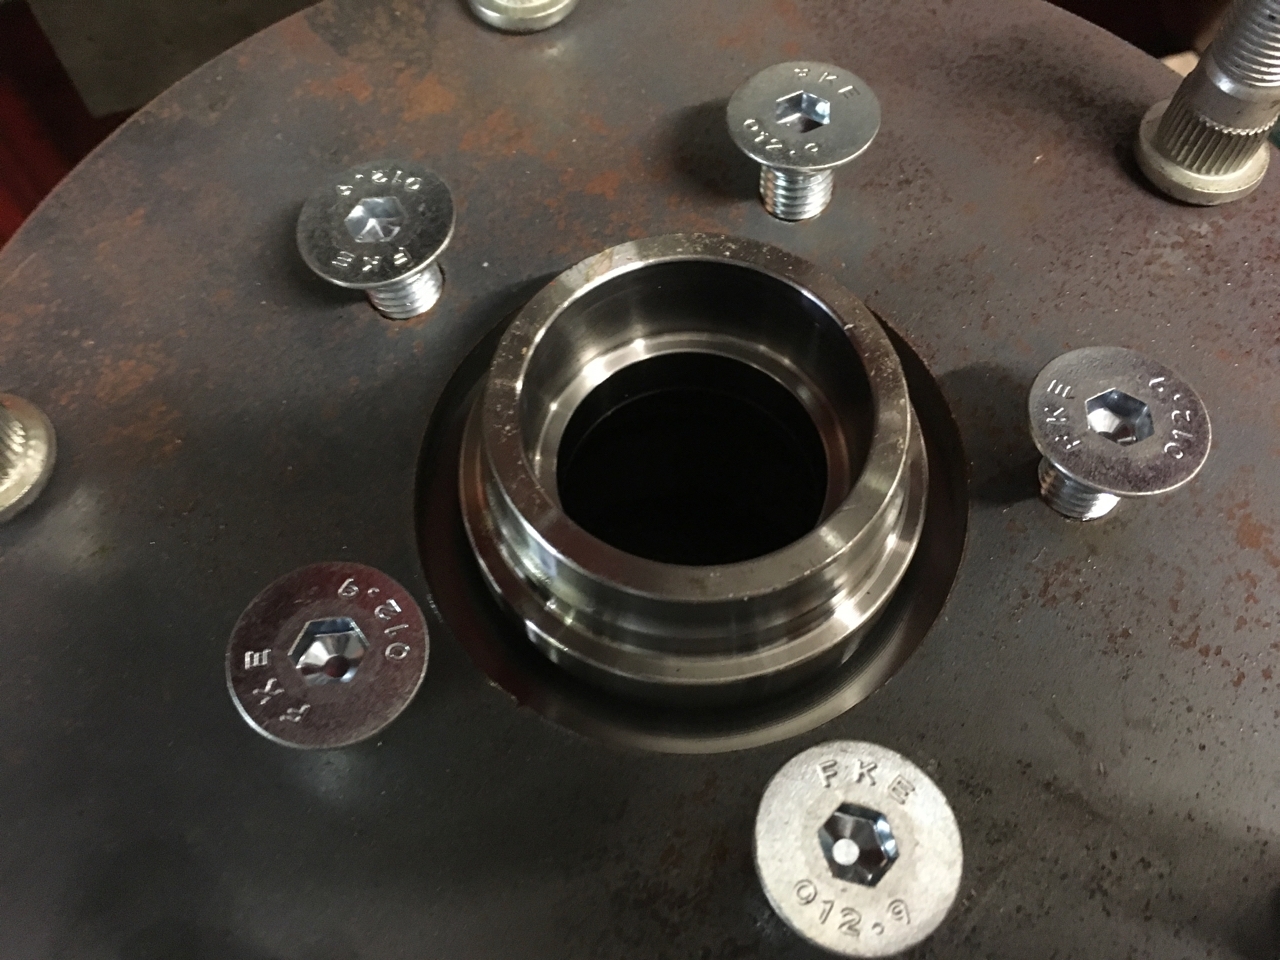
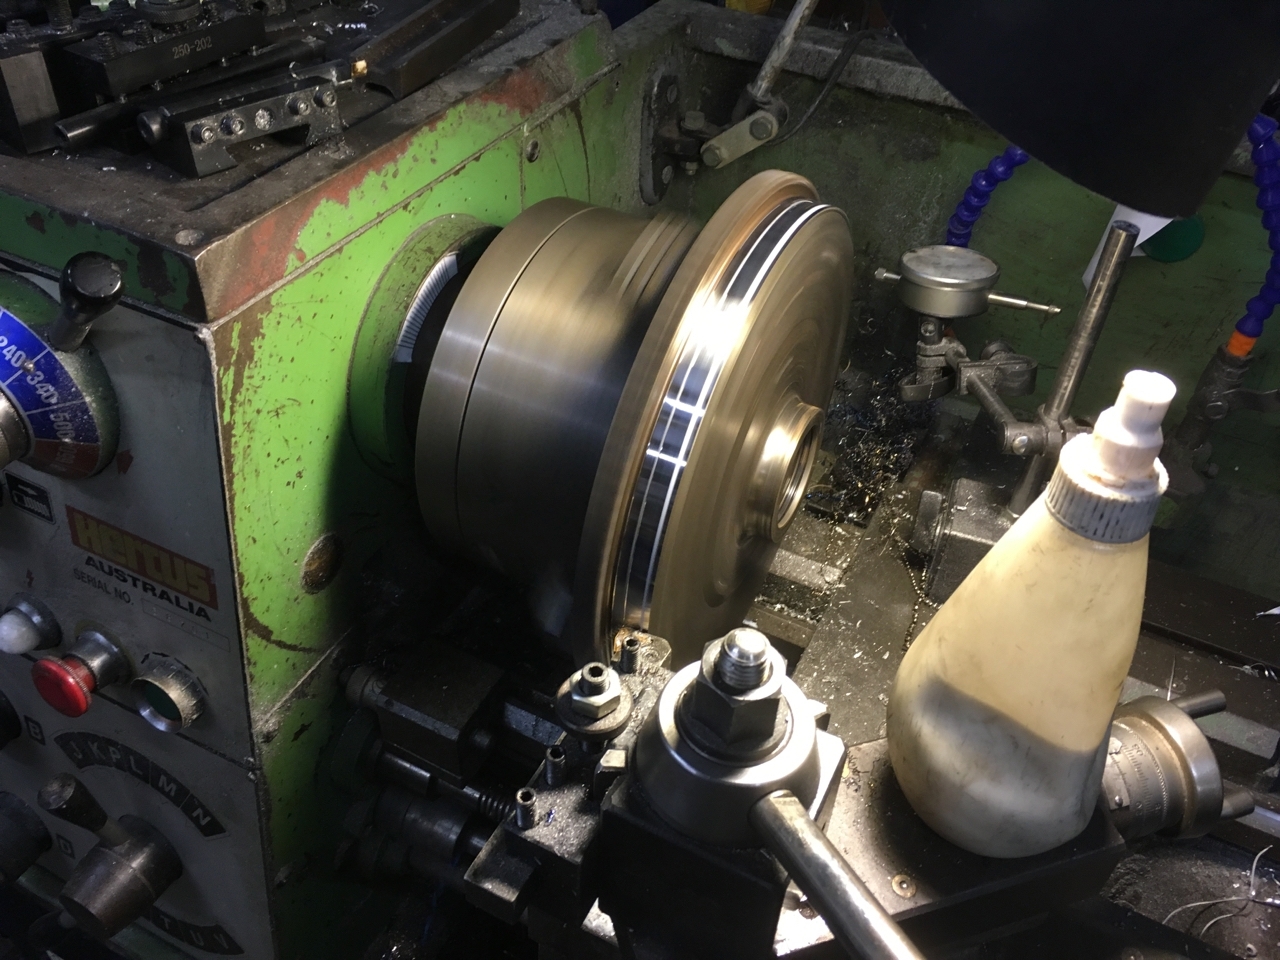
I've also finally finished the front dropped spindle conversion. This uses adaptor plates to change the late bay bolt pattern to wide 5. I finished machining the plates and fitted everything up. I had a make a small spacer for the hub as the rear of the wheel studs just fouled the brake calliper, so rather than simply grinding the calliper to clearance it, I decided to space the entire hub out. I turned some washers in the lathe to get the correct dimensions and then used the Demco T&C grinder to surface grind them down to the correct thickness (0.8mm in case anyone wants to do the same).
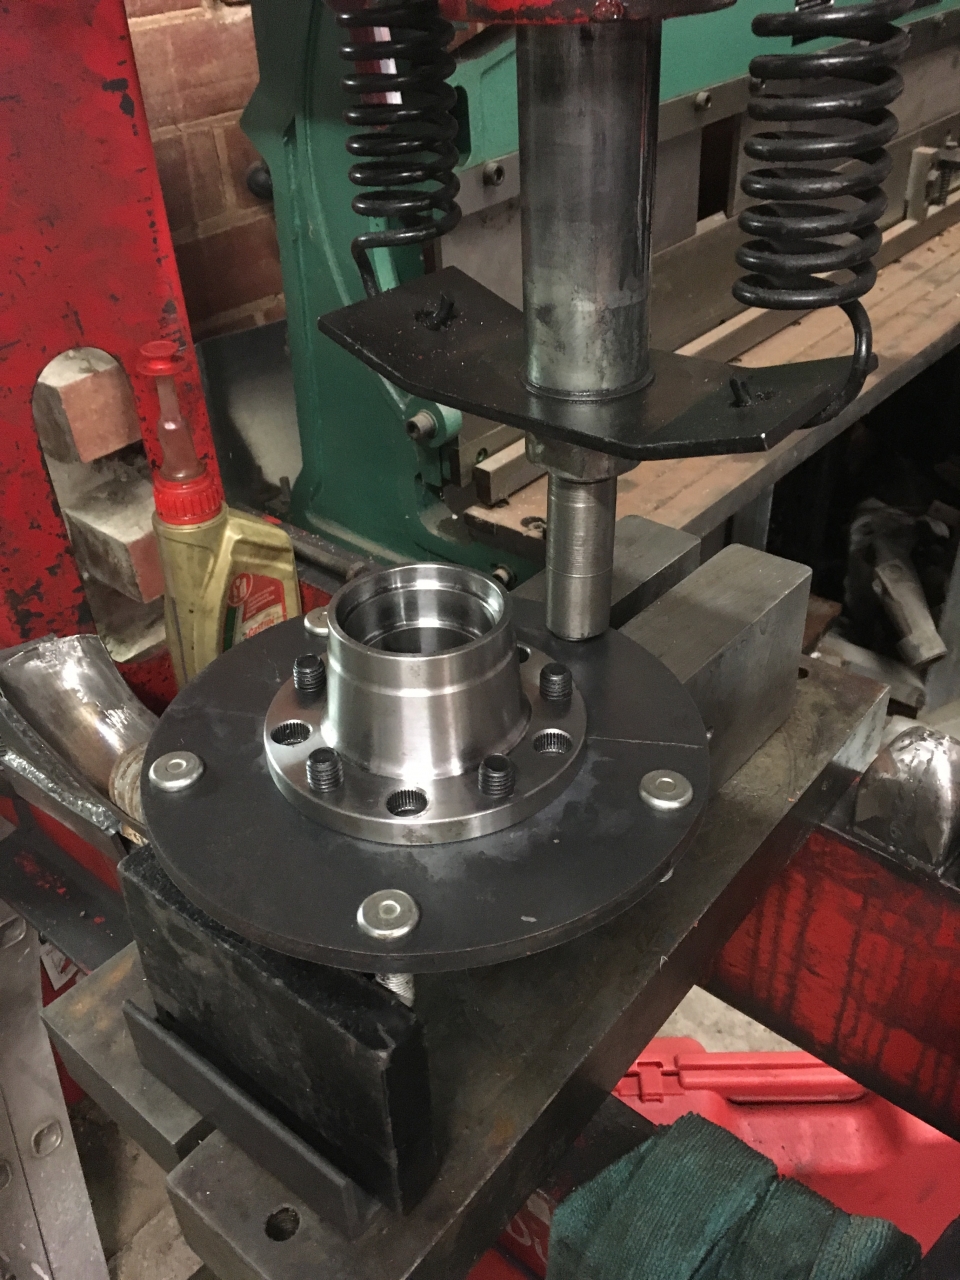
So basically the adaptor is a flat steel plate 10mm thick, the studs are pressed out of the original hub and refitted into the adaptor plate. The hub is then drilled and tapped for M14 bolts and the adaptor plate countersunk to accept the countersunk bolts. I used the 0.8mm spacer to allow the studs to clear the callipers but it could quite easily have been done by using a spacer between the disk and adaptor plate or by using a 12mm plate and machining a recess in the rear (probably a more elegant solution).
So all that's left to do now is fit them.Post is under moderationStream item published successfully. Item will now be visible on your stream. -
So the engine is back together and installed in the bus. After some pondering I decided to blend in the second plug but it didn't really give me too much more in the way of chamber cc's so I decided to assemble the engine and see how it works with the higher CR. The theory is high CR low boost.
So I reassembled the engine and hooked it up to one of my ignition systems as a test. The engine ran okay, if only for a short while as I did not have the oil cooler hooked up and there's no doghouse...So the engine is back together and installed in the bus. After some pondering I decided to blend in the second plug but it didn't really give me too much more in the way of chamber cc's so I decided to assemble the engine and see how it works with the higher CR. The theory is high CR low boost.More
So I reassembled the engine and hooked it up to one of my ignition systems as a test. The engine ran okay, if only for a short while as I did not have the oil cooler hooked up and there's no doghouse cooler installed.
I did a compression check on the engine and registered about 180 on each cylinder. So with confirmation that the heads were no longer leaking and I was getting compression it was time to install the engine.
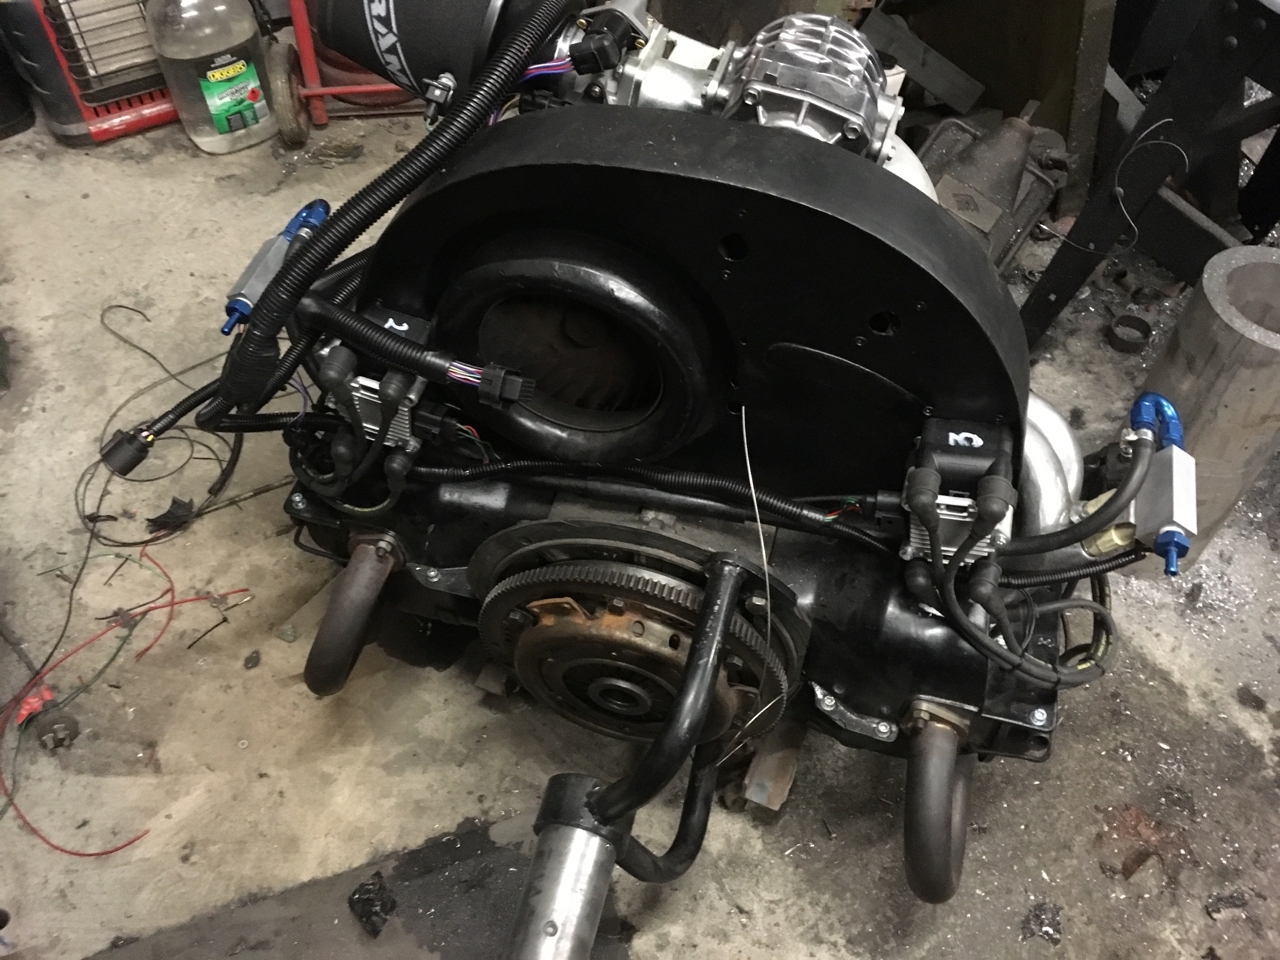
So I spent some of Friday installing the engine ready for today. So after getting a bit sidetracked with my aquarium I managed to get the engine started this arvo. There's still a lot to sort out before I can start on the tune - The wideband is not working which made it run like a smoke machine as the fuelling correction was turned on (oops), the wideband connector had ended up full of water from the rain last night and blowing it out with an airline obviously didn't fix it, I'll try swapping it out for anther one. I also fried an ignition driver. Evidently pairing up the igniters for the twin spark is not such a good idea
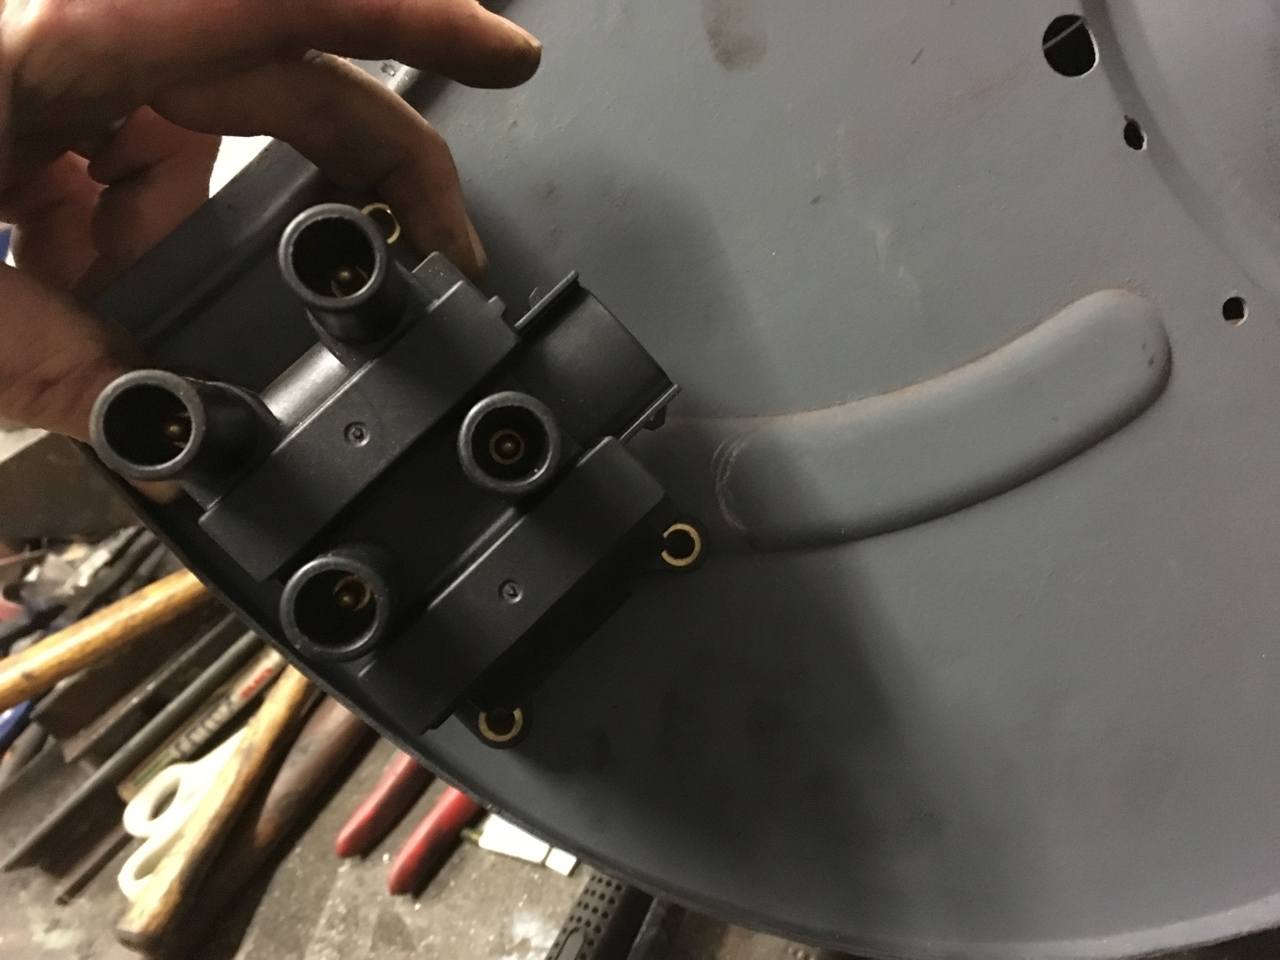
So this evening I soldered in new drivers, going to try and run two in parallel and see if that fixes it. If not I'll run some extra wires to the second coil pack and configure them wasted COP. Definitely some benefits to making your own ECUs 😎
In the rush to get the bus running, I was a bit lazy and didn't make up a smaller blower pulley as I had planned (time poor), so the one that's on there was previously making 10 psi on the carbureted set up. I'm undecided if this will be a problem with the 9.8 CR. Will see how it goes. I don't really want to grenade the engine if I can help it, but I'm happy to push the limits a little in the name of research (or is it laziness lol)
Although the idle is high its interesting to see that it's showing some boost at idle. The tell tale in tuner studio also shows 6psi when revving it. Will be interesting to see what it shows under load.
It seems nice and responsive, even with basic desktop mapping and running form three cylinders. Can't wait to get it running properly and take it for a spin.
Post is under moderationStream item published successfully. Item will now be visible on your stream. -
Spent Saturday pulling the engine out of the bus and stripping it down to get the heads off. The new oil line setup meant that removing the engine was much easier. Unplugging the loom was interesting, mostly as I had pre-fitted the loom to the engine prior to installing it. this made access to the hidden coil packs a little bit of a challenge, but not impossible.
With the heads removed the next part of the puzzle was getting my Bridgeport mill up and running. The mill is 3 phase powered and...Spent Saturday pulling the engine out of the bus and stripping it down to get the heads off. The new oil line setup meant that removing the engine was much easier. Unplugging the loom was interesting, mostly as I had pre-fitted the loom to the engine prior to installing it. this made access to the hidden coil packs a little bit of a challenge, but not impossible.More
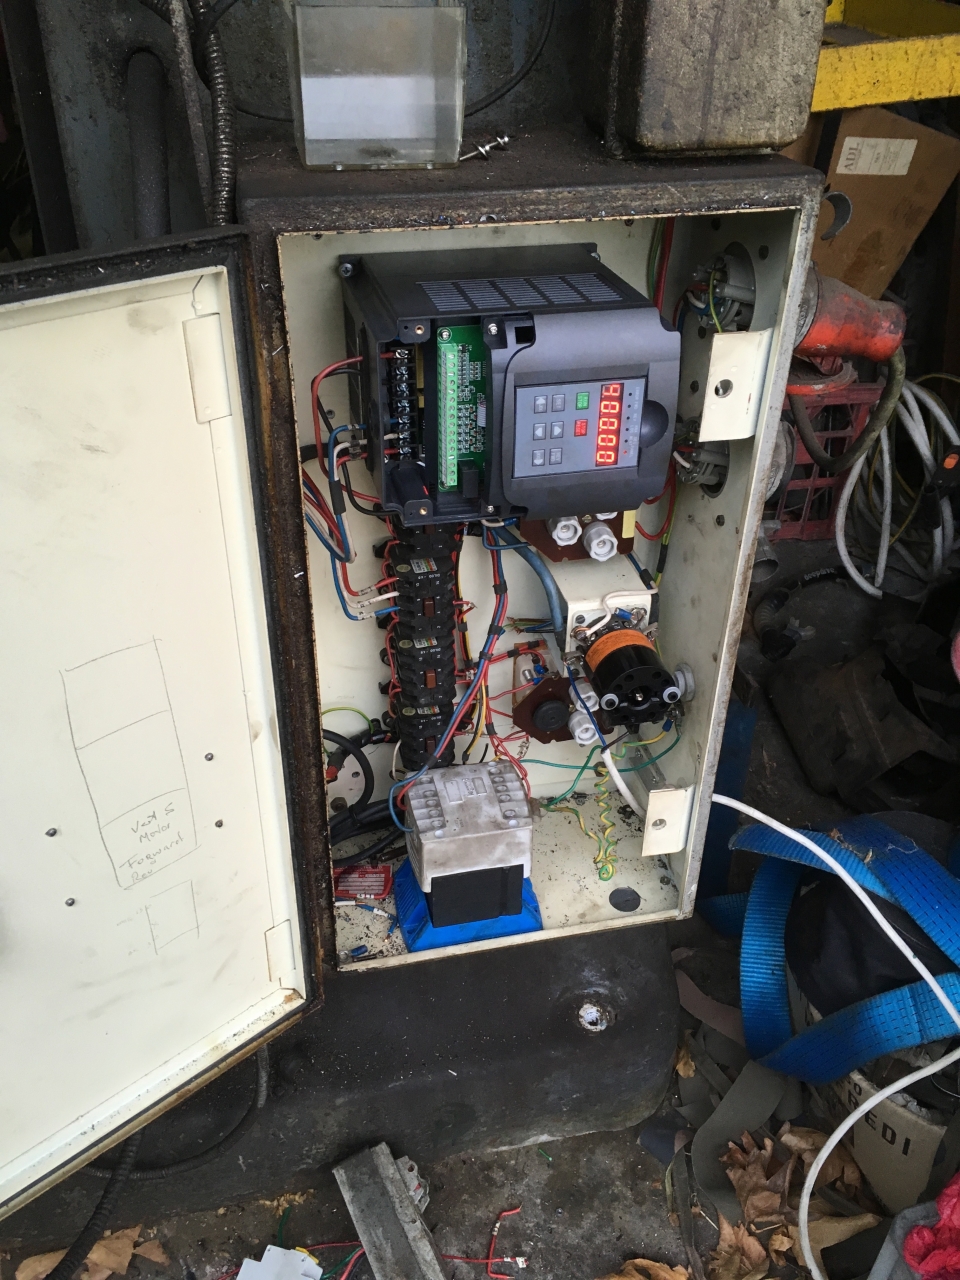
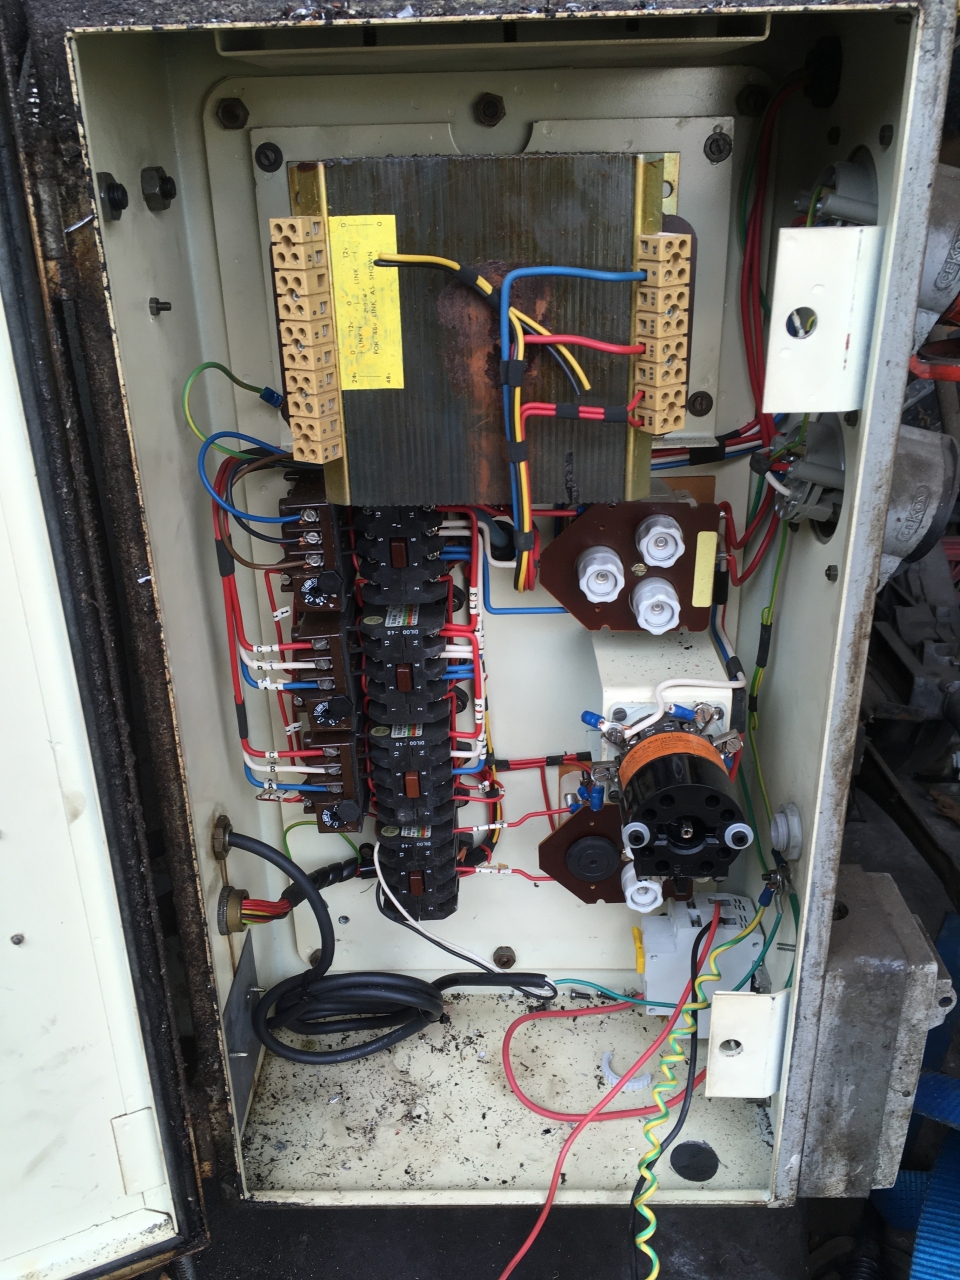
With the heads removed the next part of the puzzle was getting my Bridgeport mill up and running. The mill is 3 phase powered and so I needed to convert it to single phase before I could use it. Fortunately I had already bought the necessary parts (an inverter and 110v transformer) but up until this point hadn't had a valid excuse to install them. The conversion took me most of Sunday afternoon but by the end of it I had a working mill with power feed, power quill, working DRO and a light. (very important that part lol)
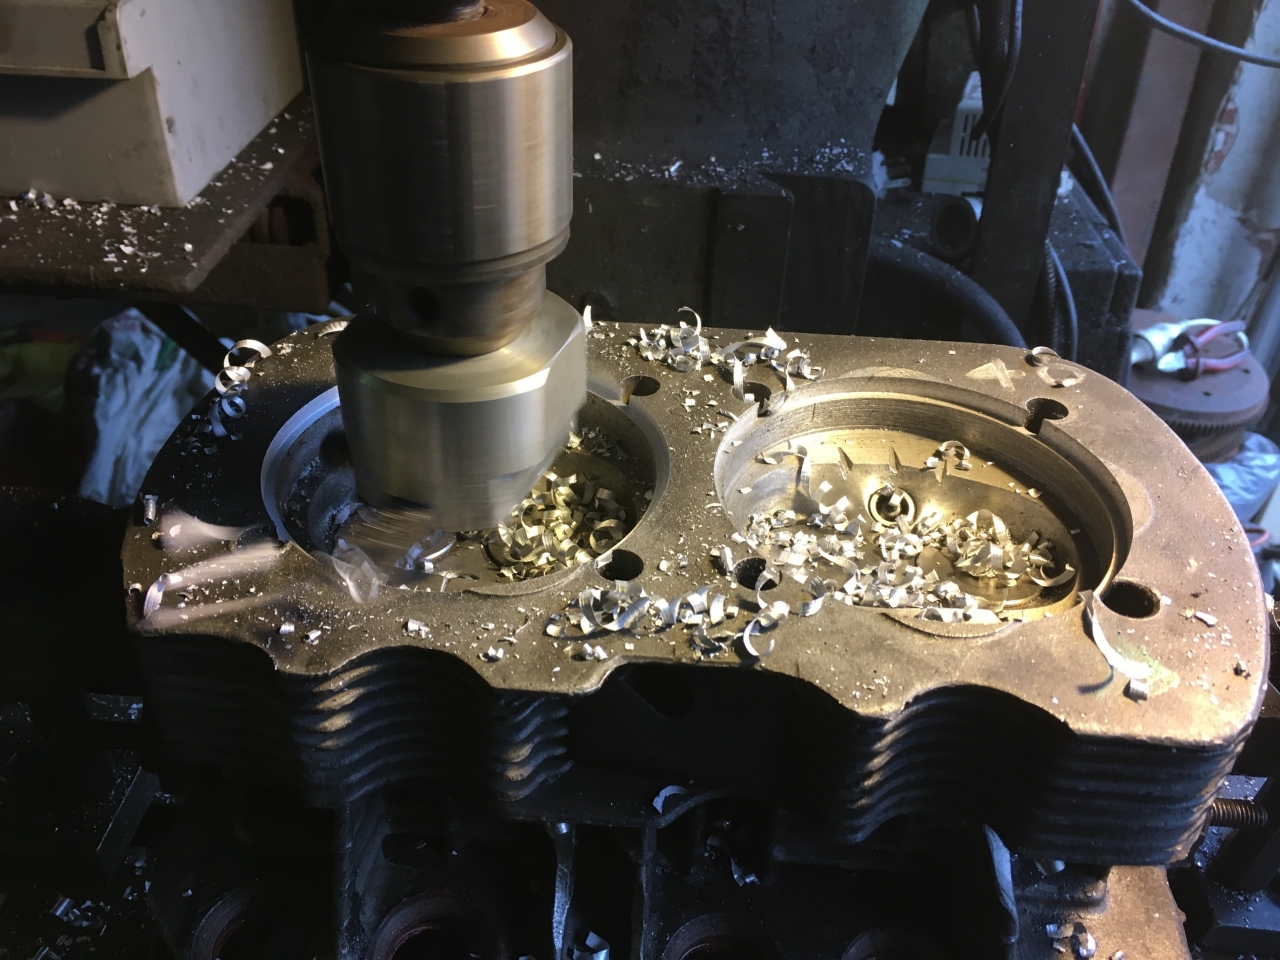
So todays task was to set the mill up and re-skim the heads. Setting the mill up involved carefully measuring the head orientation relative to the table. The head needs to be perfectly perpendicular or else any machining that you carry out will not be square. This is the issue I had on my smaller mill when I originally cut the heads. (or at least that's what I thought).
So with the mill set up I clamped the first head to the table and set it up ready to be machined. The great thing about this mill is that it has a power quill feed, which means that you can set the depth stop and the mill will automatically machine down to this depth and then stop. This makes undertaking a machining operation such as this a breeze.
So after machining both heads I offered up one of the barrels to see how it fitted. What I noted was that the barrel did not actually seat in the head properly, instead the mating surfaces were slightly apart, leaving a slight gap. Further inspection showed that there is a wider part of the barrel just before the fins that was preventing it from seating properly. I suspect that this may have even been the original issue that I had, but as the gap was so slight I never noticed it.
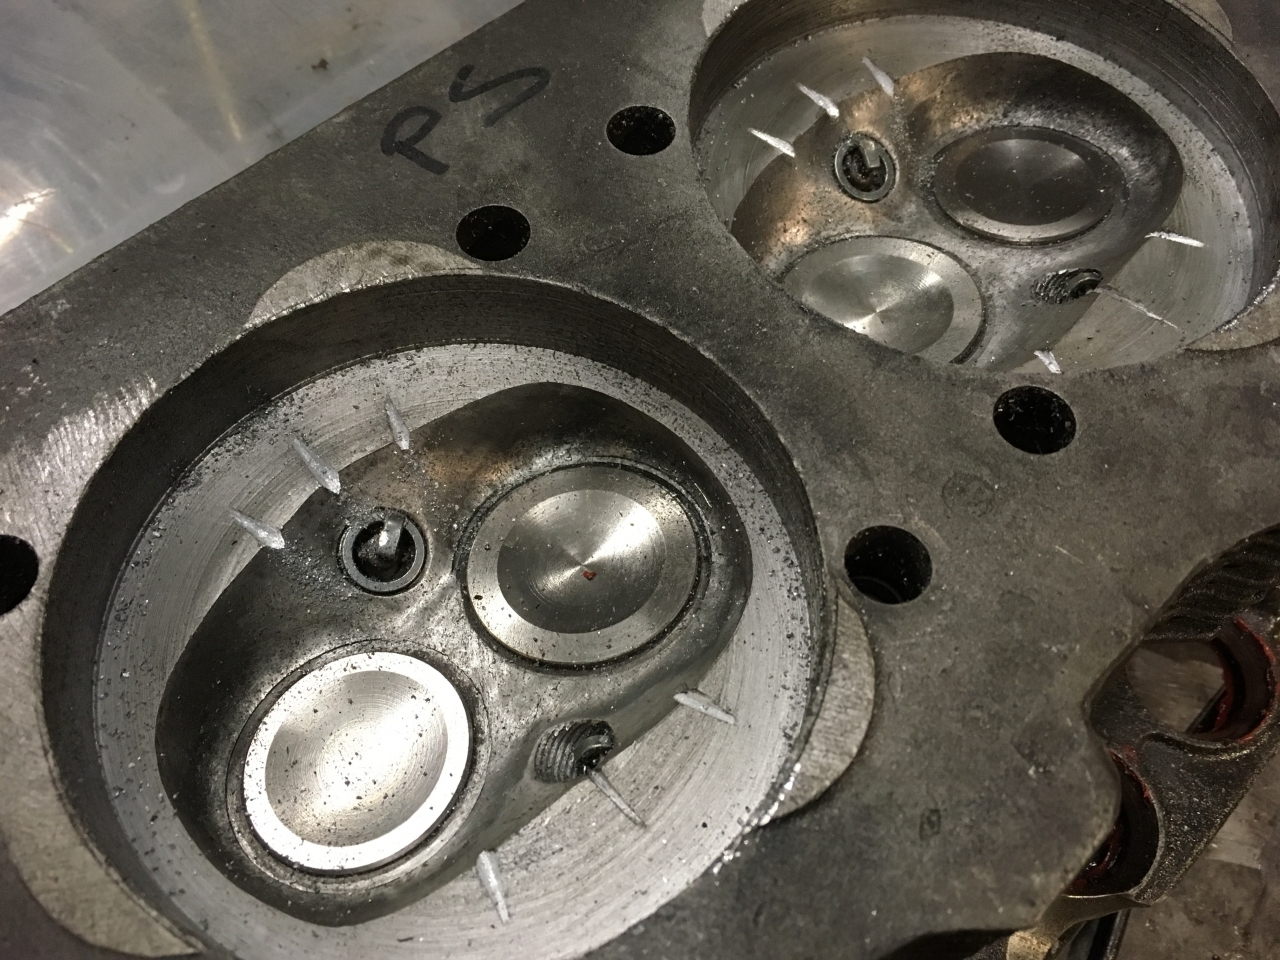
Generally when decking the head for high compression the first fin is machined off, this provides the extra clearance needed, I did not think that this was required when decking the head by a few thou but was obviously wrong. To remedy the issue I counterbored a step in the head to provide clearance for the barrel.
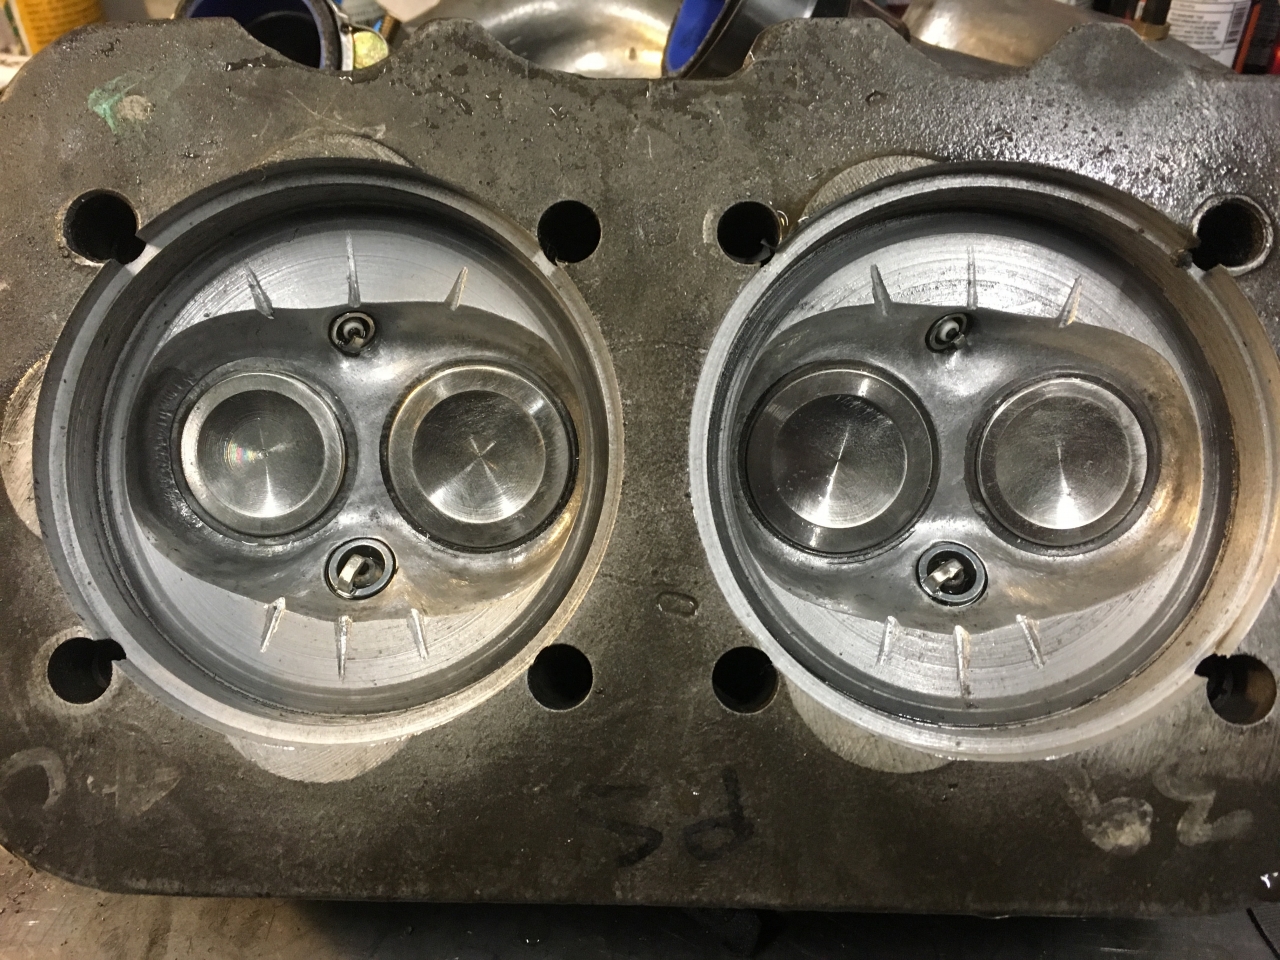
The only issue is that now, after all of the additional machining, my heads are only 39cc, which with my current deck height of 40 thou gives me a static compression ratio of about 9.8:1. With no boost this works out to a dynamic ratio of 8.9:1. When I factor for 8psi of boost my dynamic ratio increases to 13.9:1, which is way up there (general rule of thumb is max of 12.5 for pump gas.). So I now have some thinking to do...
Part of the reason for this build was to push things with the stock 1600, it's a bit of an experiment. The engine is basically made from junk pile parts and the goal was to see how far I could go with a blown 1600 utilising stock parts.
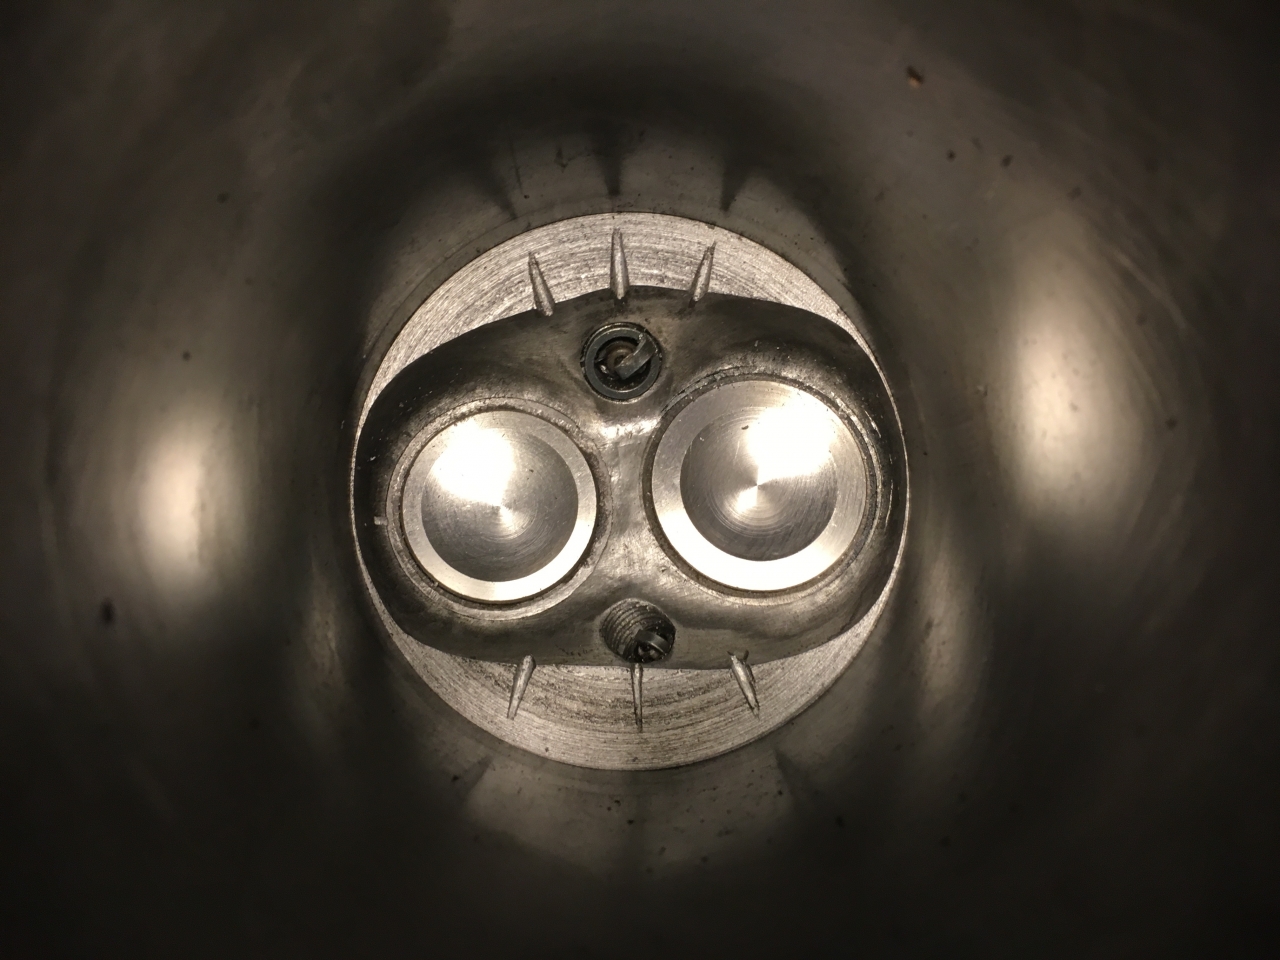
My original CR was about 8.7:1, which is pretty standard for a boosted car on pump gas running around 10psi. My original plan was to run higher boost and use twin plugs and singh grooves to help control detonation by reducing timing and improving squish / swirl. So one option is that I could leave the CR high as it currently is and run lower boost, this would give me plenty of room to see if the mods I've made to reduce detonation work as I can easily add more boost. The other option is to invest more time into modding the combustion chambers to lower the CR and have a 'safer' engine. Hard to determine which is the best option. Perhaps a bit of both,
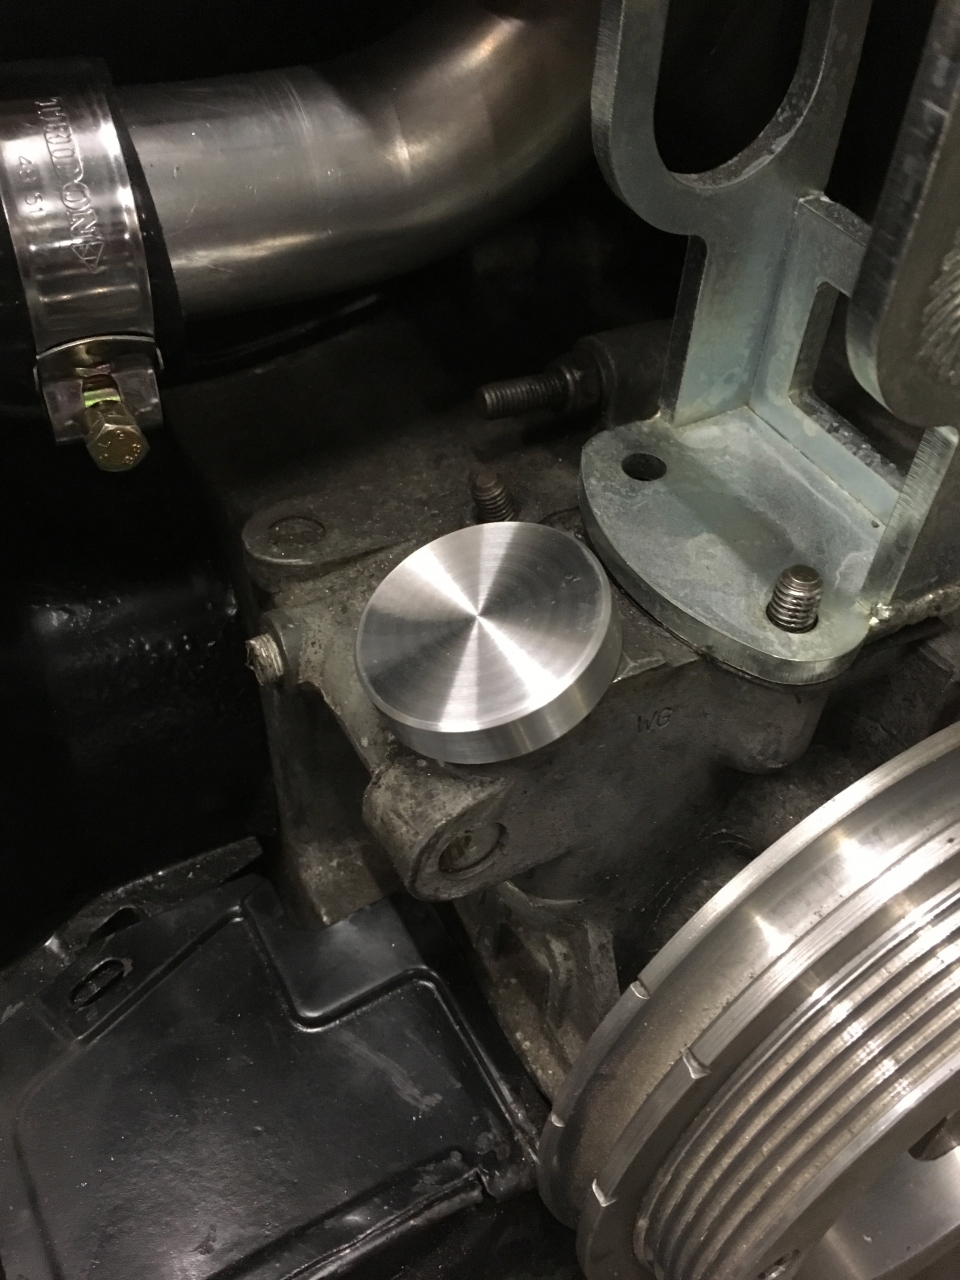
I would really like to blend the area around the second plug into the rest of the chamber as the plug is partially shrouded. I did not notice this before as I did not have the plugs fitted when I assembled the engine. Not sure how much this change will net me, but pretty sure it will not get me back down to 8.7:1. I don't really want to remove material from elsewhere as the chamber shape is good. Removal of more material would effectively mean losing some of the quench pads which I feel would have a detrimental effect as the singh grooves rely on the quench pad to work.
Will sleep on it and see what takes my fancy in the morning.
Post is under moderationStream item published successfully. Item will now be visible on your stream. -
Still managing to get some small jobs chipped off of the list. Finally managed to get one of my front hub adaptors finished off. These are made from 10mm steel plate, which is a bit heavy, but then this is not a race car so the sprung mass is not really that critical and it will make for a smoother ride, which is not a bad thing.
I had already had the plate laser cut and then drilled it out on my dividing head. If I was to do it again (which I might) I would do it a little differently, but...Still managing to get some small jobs chipped off of the list. Finally managed to get one of my front hub adaptors finished off. These are made from 10mm steel plate, which is a bit heavy, but then this is not a race car so the sprung mass is not really that critical and it will make for a smoother ride, which is not a bad thing.More
I had already had the plate laser cut and then drilled it out on my dividing head. If I was to do it again (which I might) I would do it a little differently, but as I had these I decided to use them. I pressed the studs out of the new bay hub and drilled it for M14 on the dividing head. I then drilled and countersunk the adaptor plate for the mounting bolts. I then faced the adaptor plate off to make is flat and true. Next I drilled out the adaptor plate to accept the press in studs that I had removed from the hub and pressed them in on my shop press. For anyone thinking of doing this themselves it took about 5 tons to press them in so a small 10/12 ton shop press should easily do the job.
One down, one to go. Then I will send them off to get zinc plated. All I need now is to find some suitable lug nuts.Post is under moderationStream item published successfully. Item will now be visible on your stream. -
So I managed to finish off the ECU installation and verify everything was working but could not get the engine started. Assuming that it was an issue with the ECU / wiring, I worked through everything to eventually discover that the problem was a lack of compression. Stumped that I was getting practically a zero reading across all four cylinders I went out and bought another compression tester as it seemed more likely that the tester was busted, but the result was the same. On further...So I managed to finish off the ECU installation and verify everything was working but could not get the engine started. Assuming that it was an issue with the ECU / wiring, I worked through everything to eventually discover that the problem was a lack of compression. Stumped that I was getting practically a zero reading across all four cylinders I went out and bought another compression tester as it seemed more likely that the tester was busted, but the result was the same. On further inspection I could see that there is a leak between the heads and barrels.More
I need to pull the engine and tear it down to find out what's going on. The only thing that I can think of is that the mill head was out of tram when I decked the cylinder heads, causing the chambers to be out of square. This is the only logical reason why all four barrels should be the same.
It's also made me wonder how I can prevent this in the future. I'll obviously check the mill for tram before machining the heads, but a leak down test would have also highlighted this before I wasted any time building up the long block and installing it in the car.
So I'm a little bit disappointed, but it's also a valuable lesson. Apart from getting the engine out of the bus and tearing it down I also need to decide what to do with the motor. If I'm correct on the cause, I will need to re-skim the heads, which will also raise the CR a little, which in turn will mean some more work on the chambers to bring it back down again. I could negate this by installing copper gaskets but 85.5mm copper gaskets seem to be like hens teeth. I guess I could always make some.
Will see what the verdict is when I pull the engine.Post is under moderationStream item published successfully. Item will now be visible on your stream. -
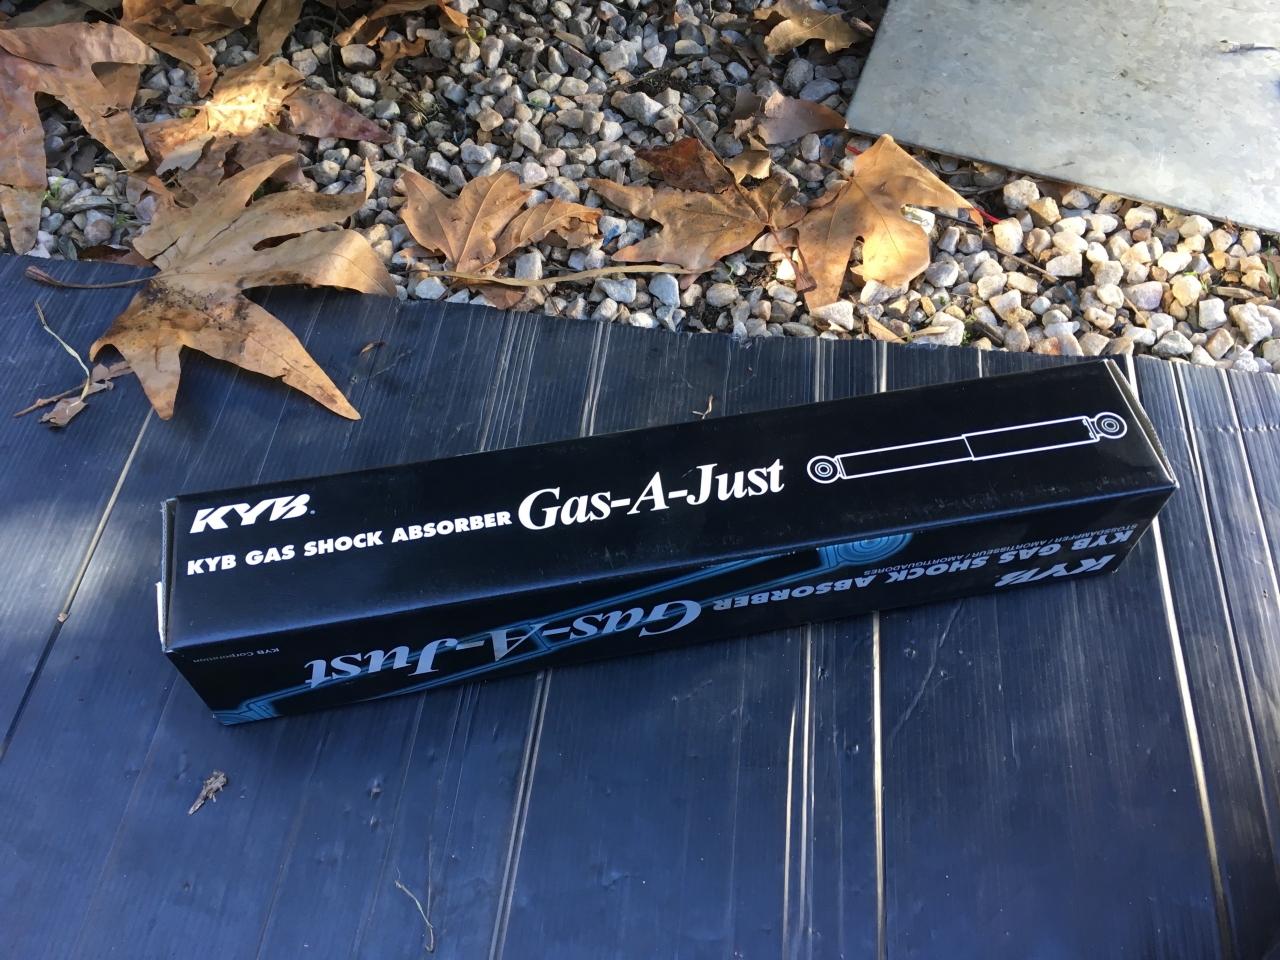
Another productive day working towards getting the bus finished. Got the new rear shocks installed and the throttle cable hooked up. I've installed KYB gas-adjust on the rear as from what I have read this will give a smoother ride. I've got straight oil style Empi lowered shocks for the front as in my experience gas shocks are simply too bouncy when fitted up front.
I adjusted the rear ride height and finished bolting the spring plates up. Had to make up an accelerator return spring as the...Another productive day working towards getting the bus finished. Got the new rear shocks installed and the throttle cable hooked up. I've installed KYB gas-adjust on the rear as from what I have read this will give a smoother ride. I've got straight oil style Empi lowered shocks for the front as in my experience gas shocks are simply too bouncy when fitted up front.More
I adjusted the rear ride height and finished bolting the spring plates up. Had to make up an accelerator return spring as the 36hp shroud fouled the cable a little. Ideally it needs a new hole drilled in it to straighten out the throttle cable route so that it doesn't drag on the fan shroud, but that'll just have to wait until later as I just want to get it running. Also adjusted the clutch cable up but could not top up the brake fluid as I seem to have run out Did manage to adjust the rear brakes tho, so that's a bonus at least.
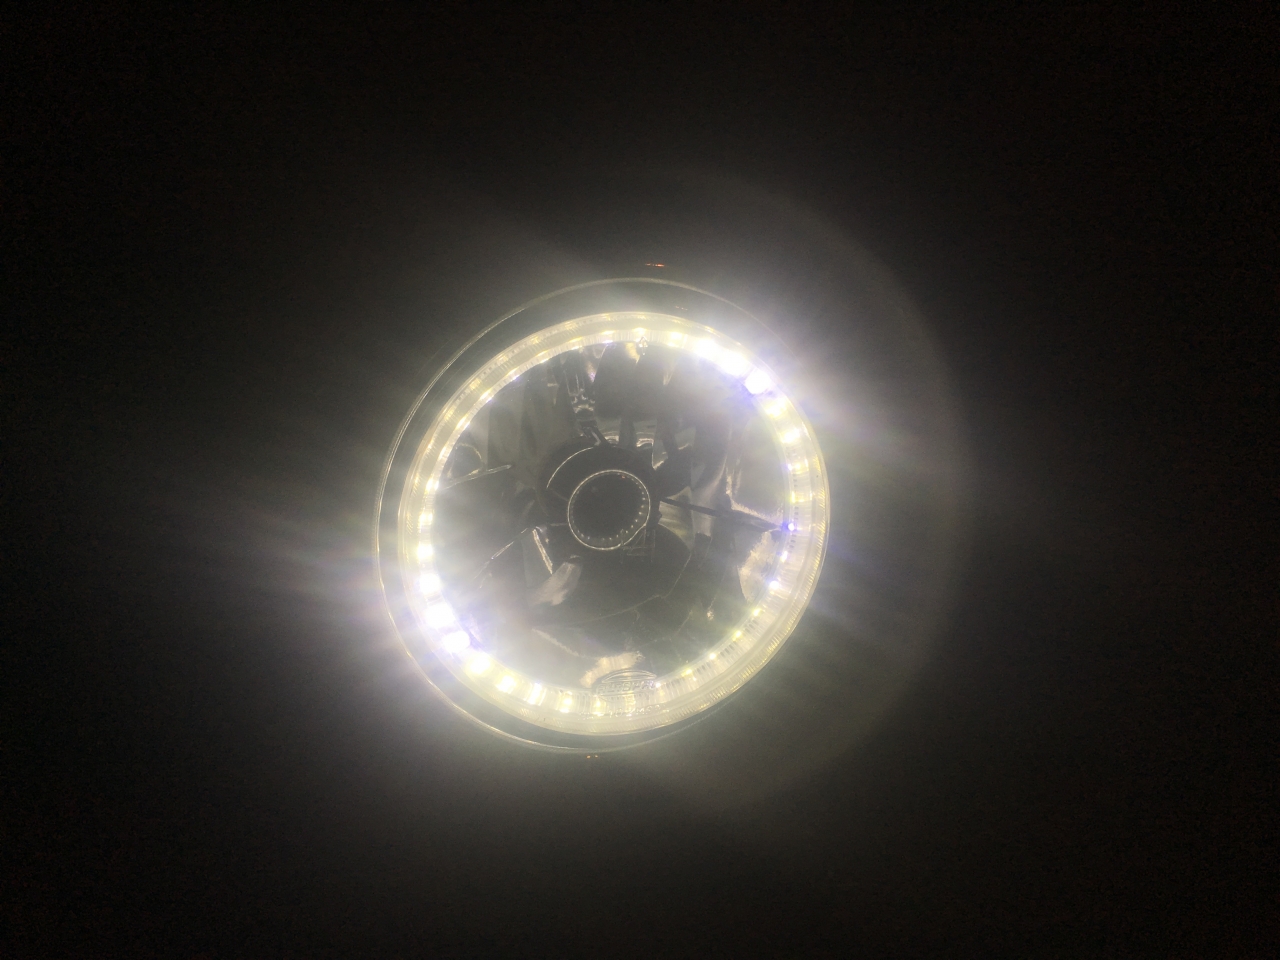
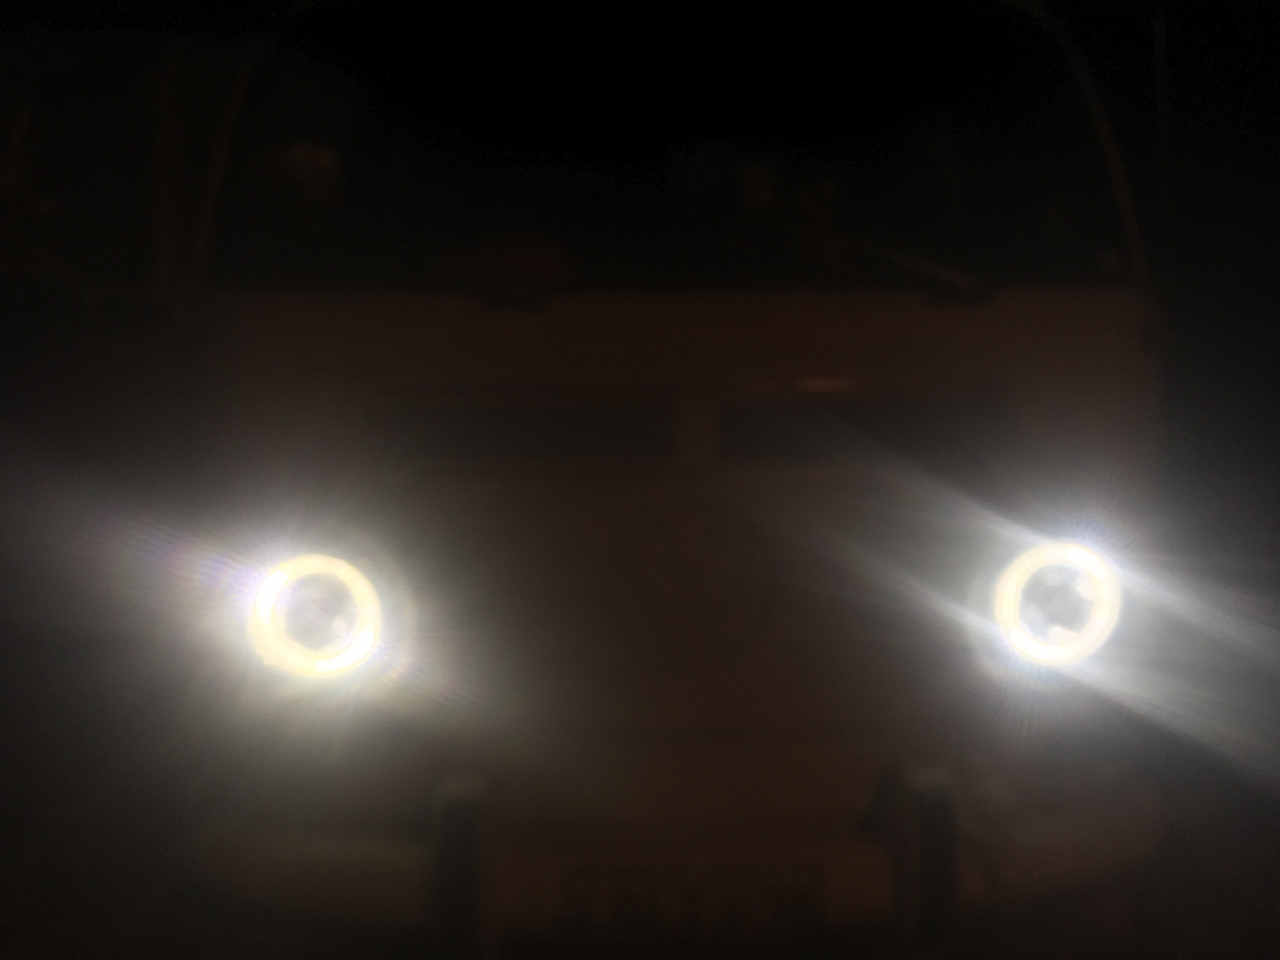
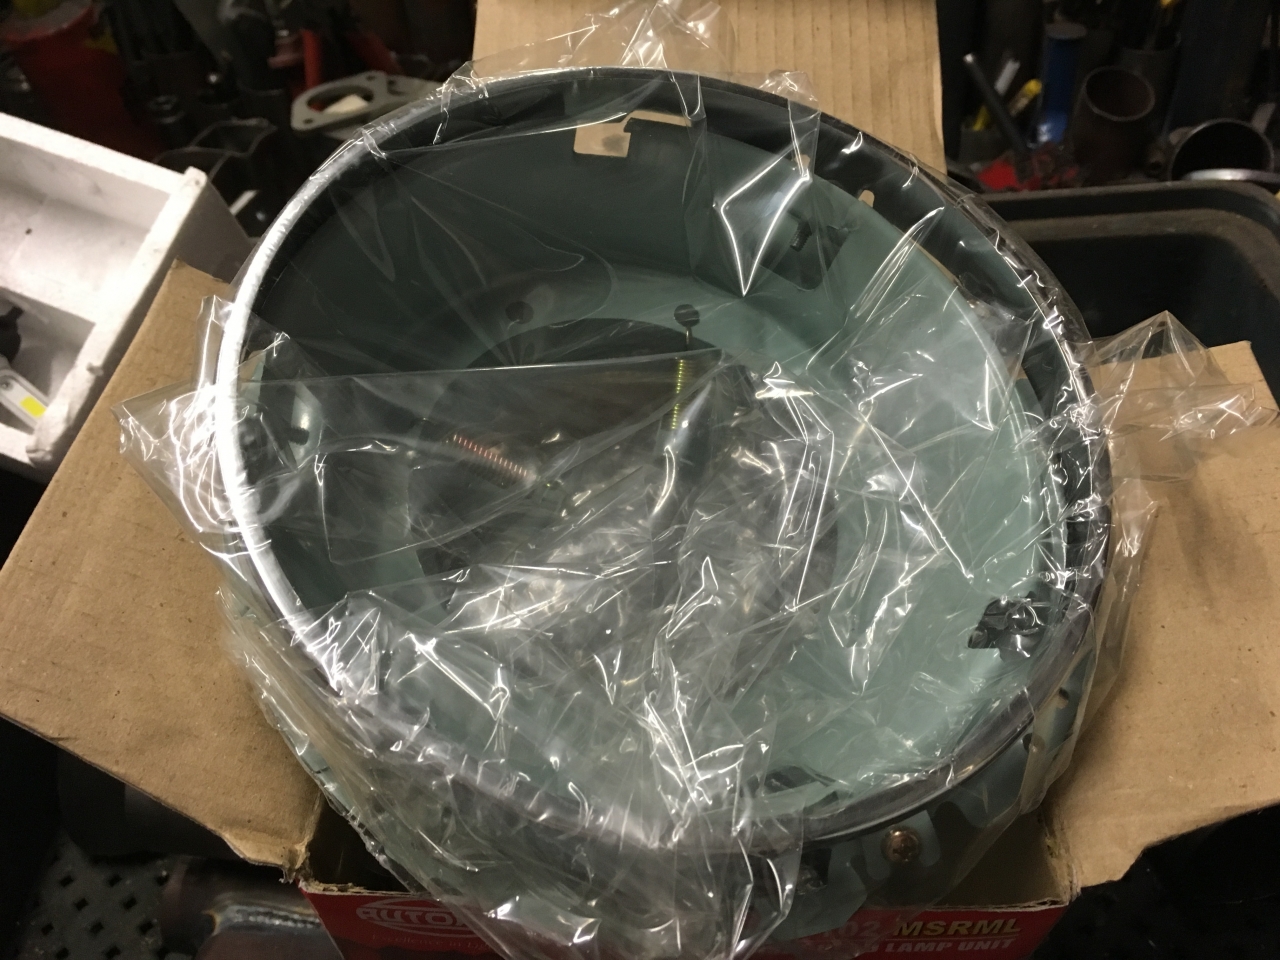
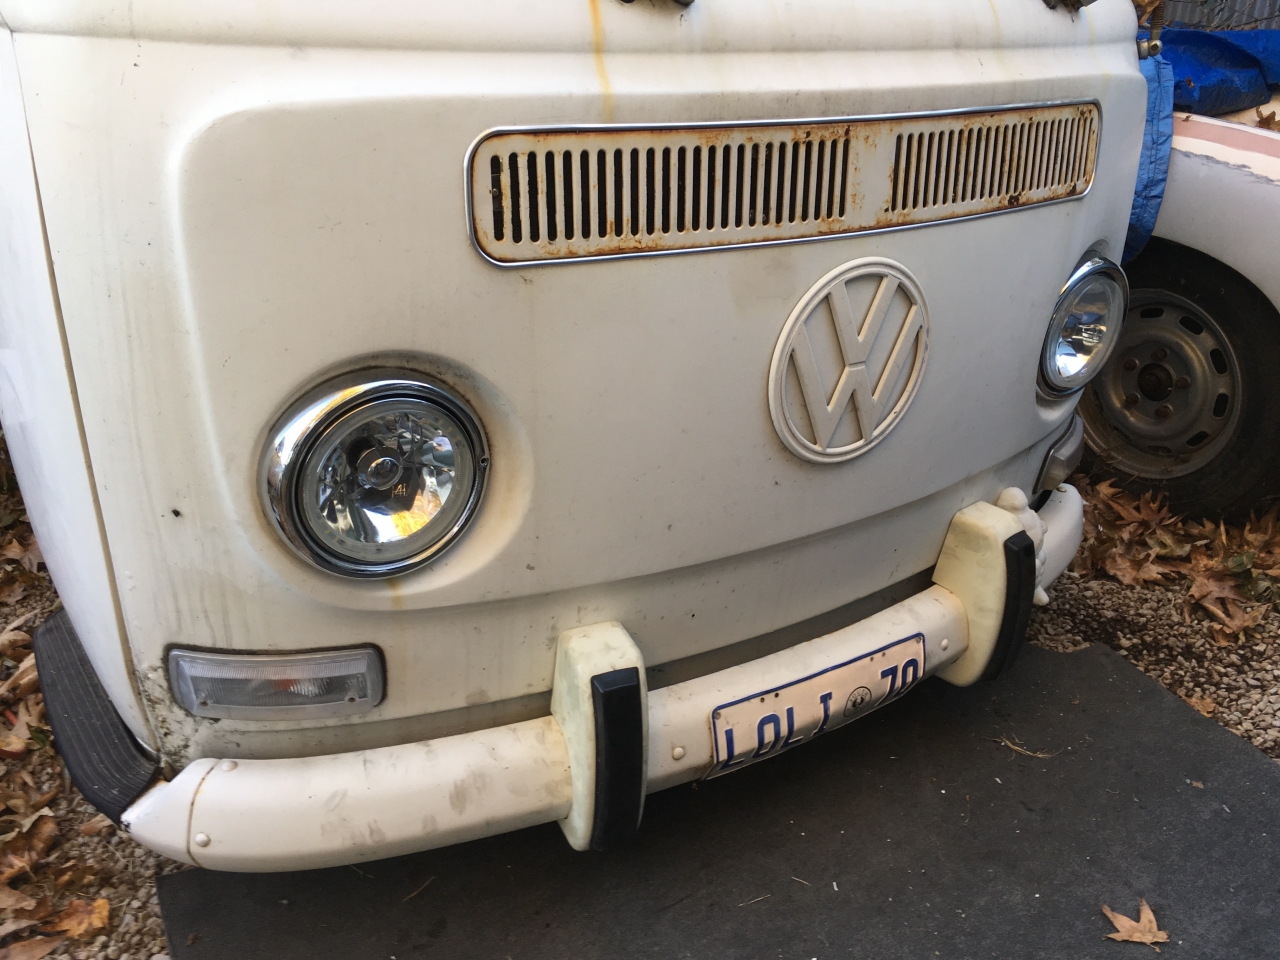
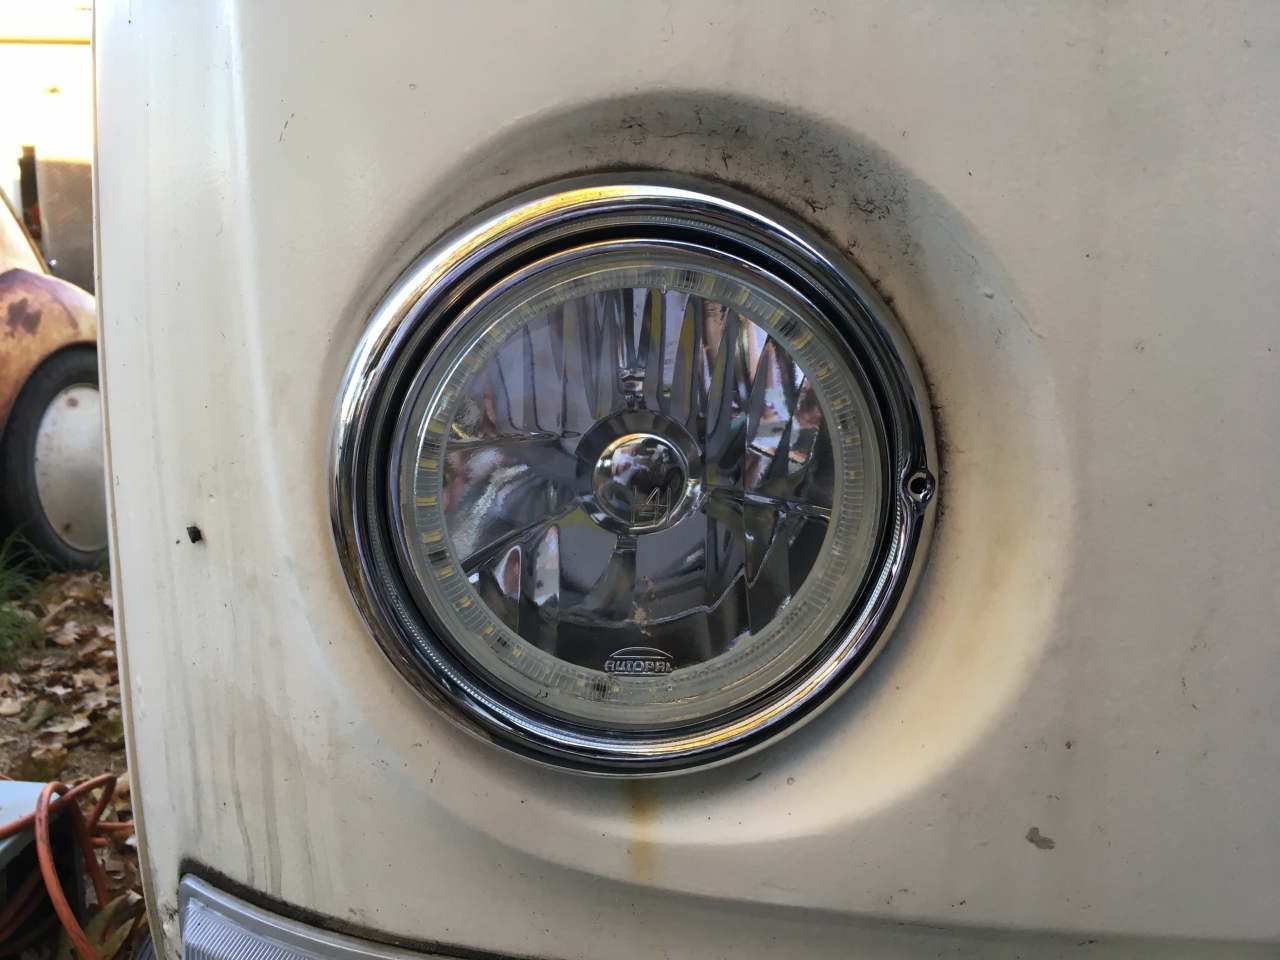
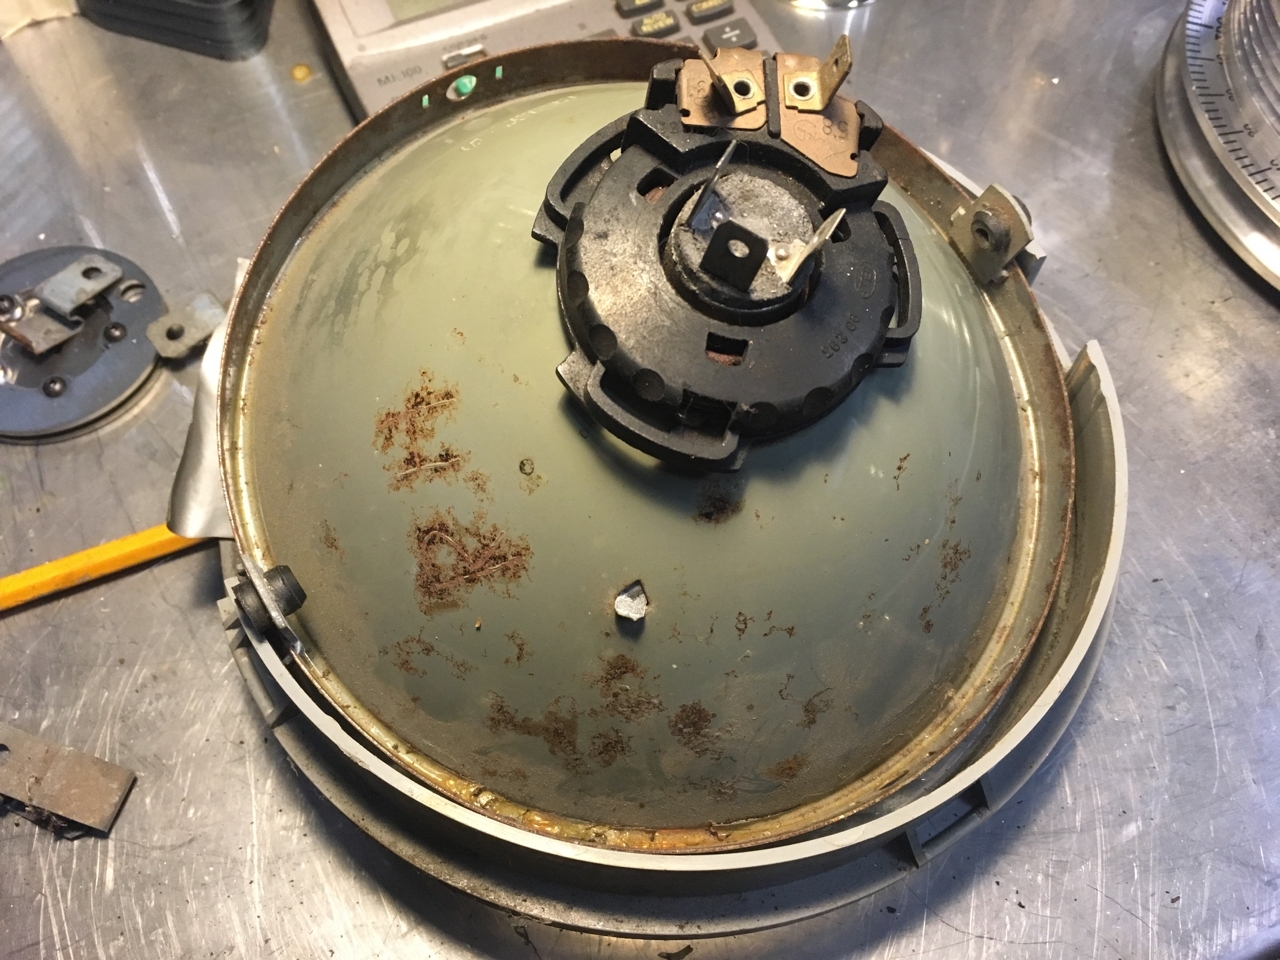
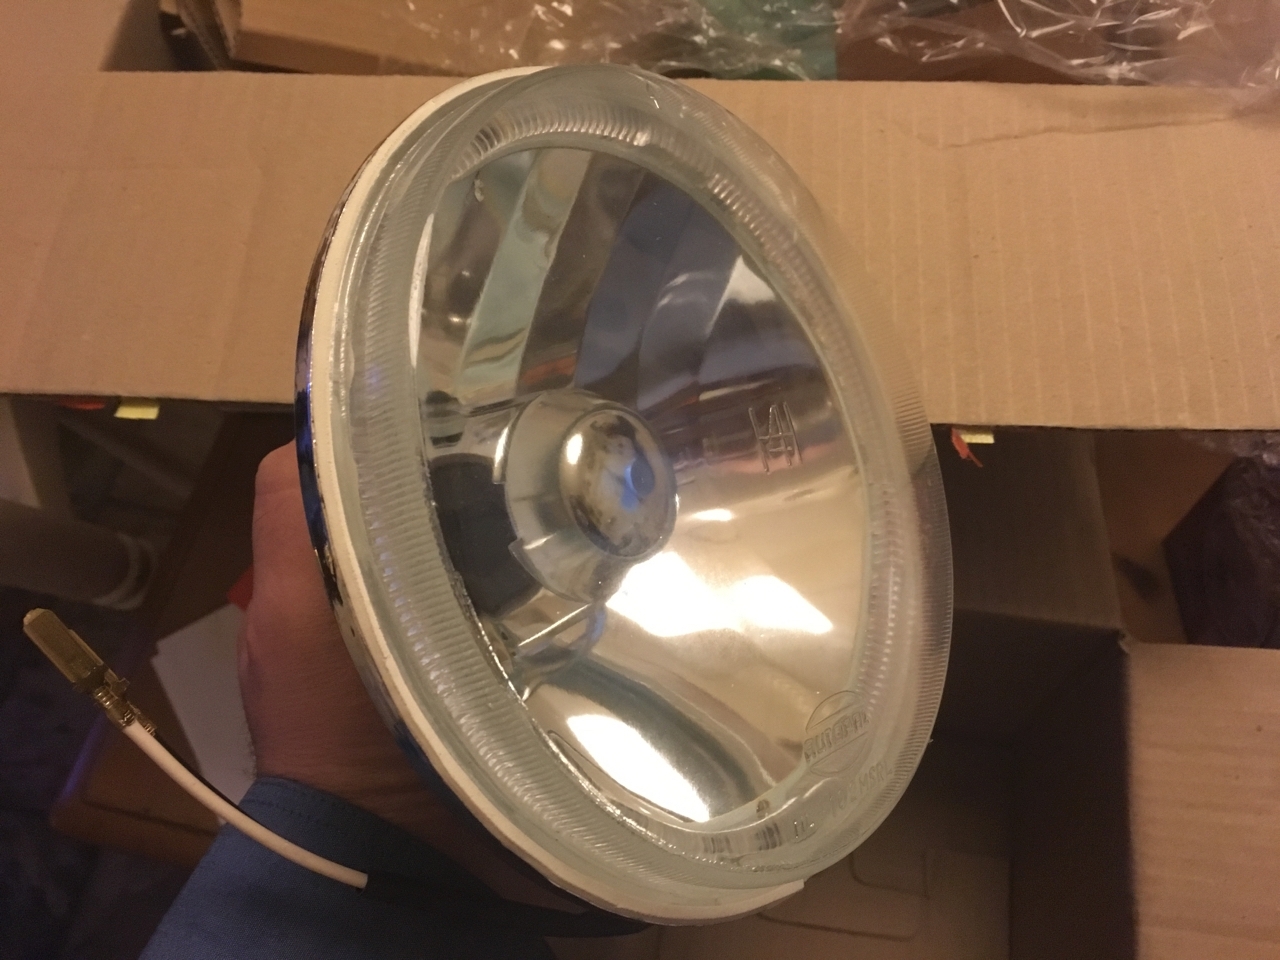
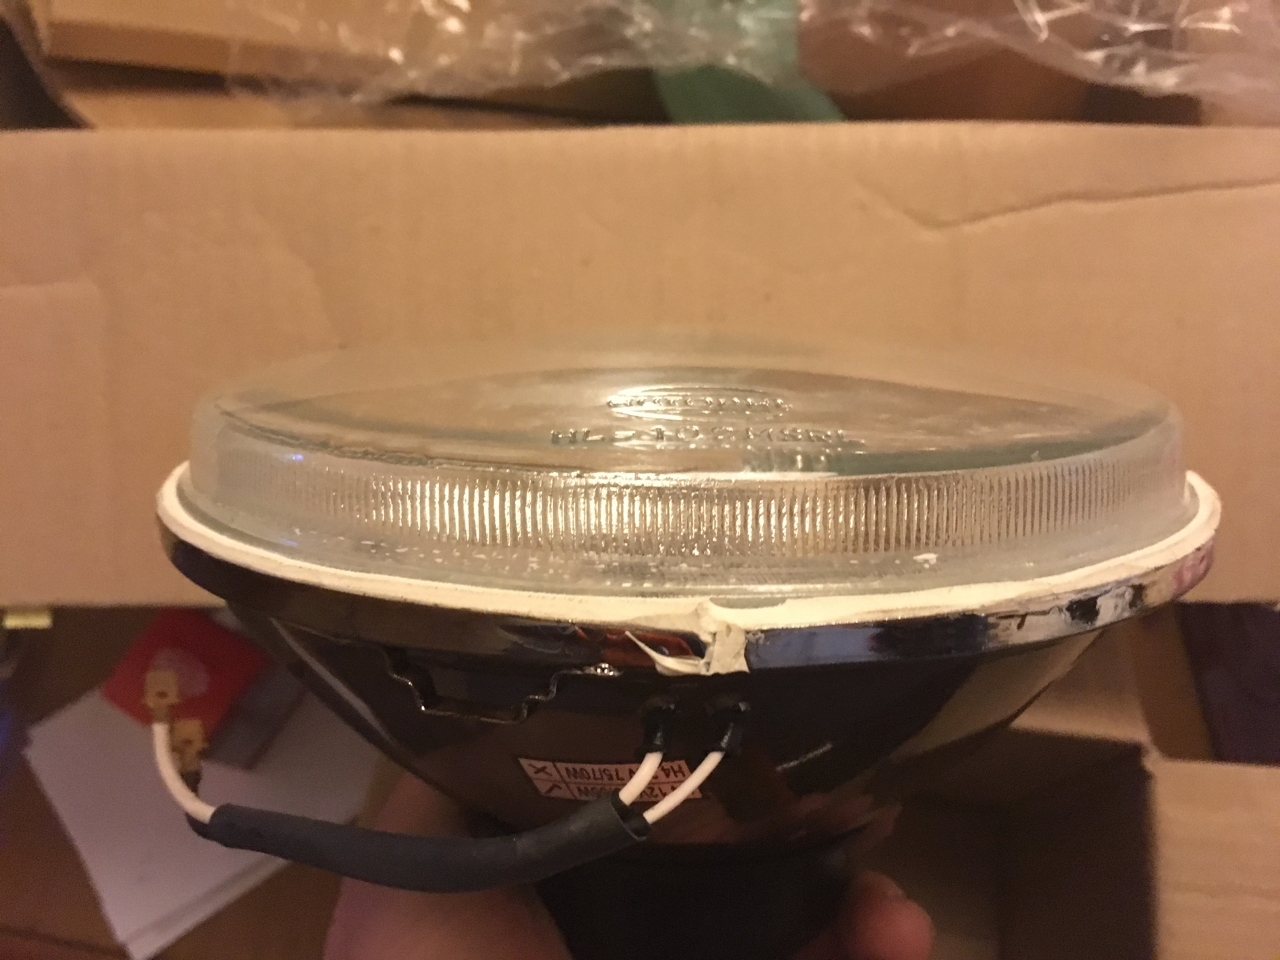
After setting up the throttle cable I moved on to installing the new front headlights. I bought these an age ago but had never got around to installing them properly. The job was a simple one as I had already made up the brackets, I just needed to weld them into place. I then hooked them up electrically and tested them. I'm pretty pleased with the results.
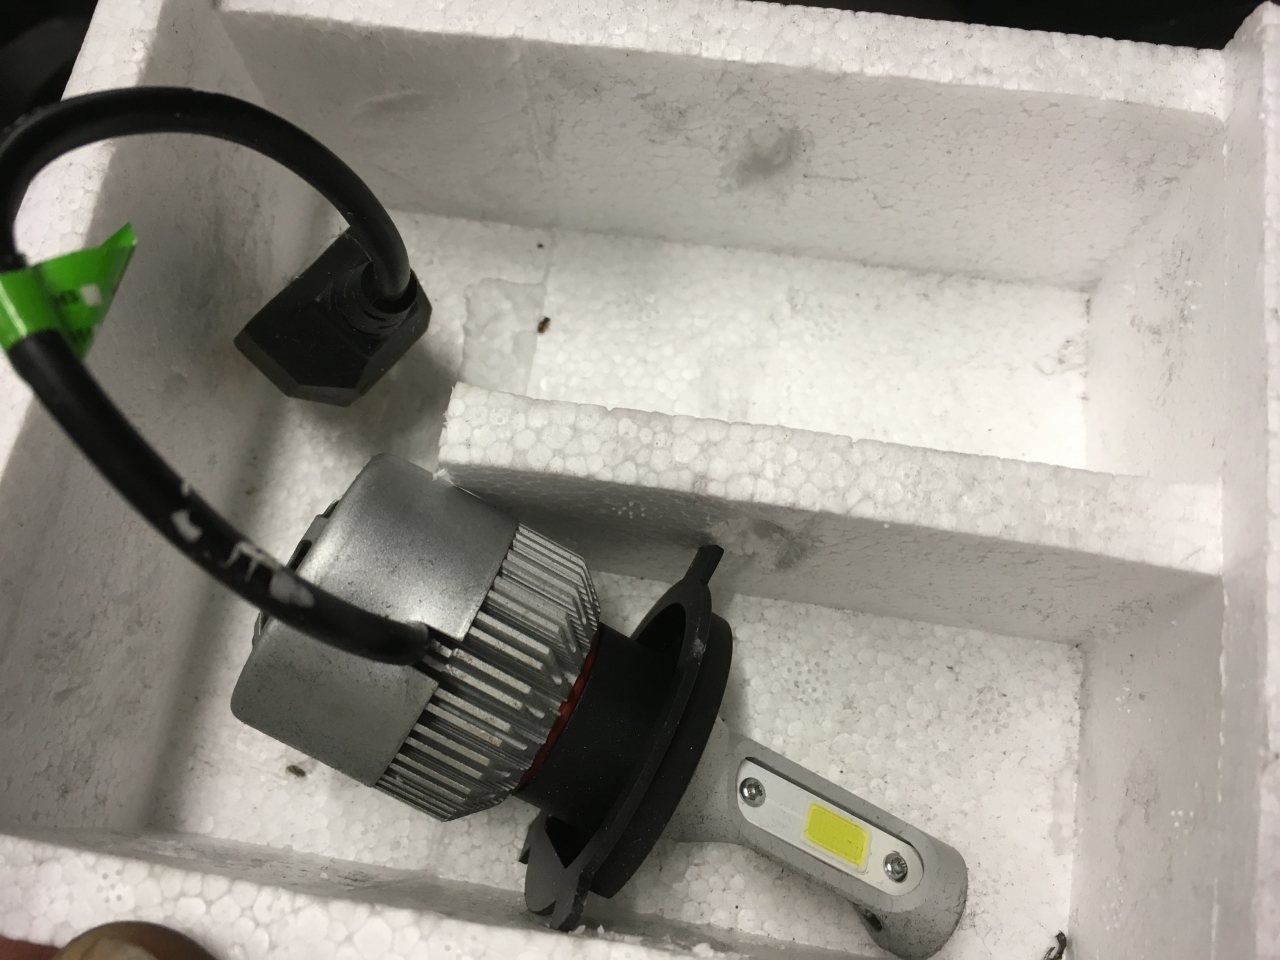
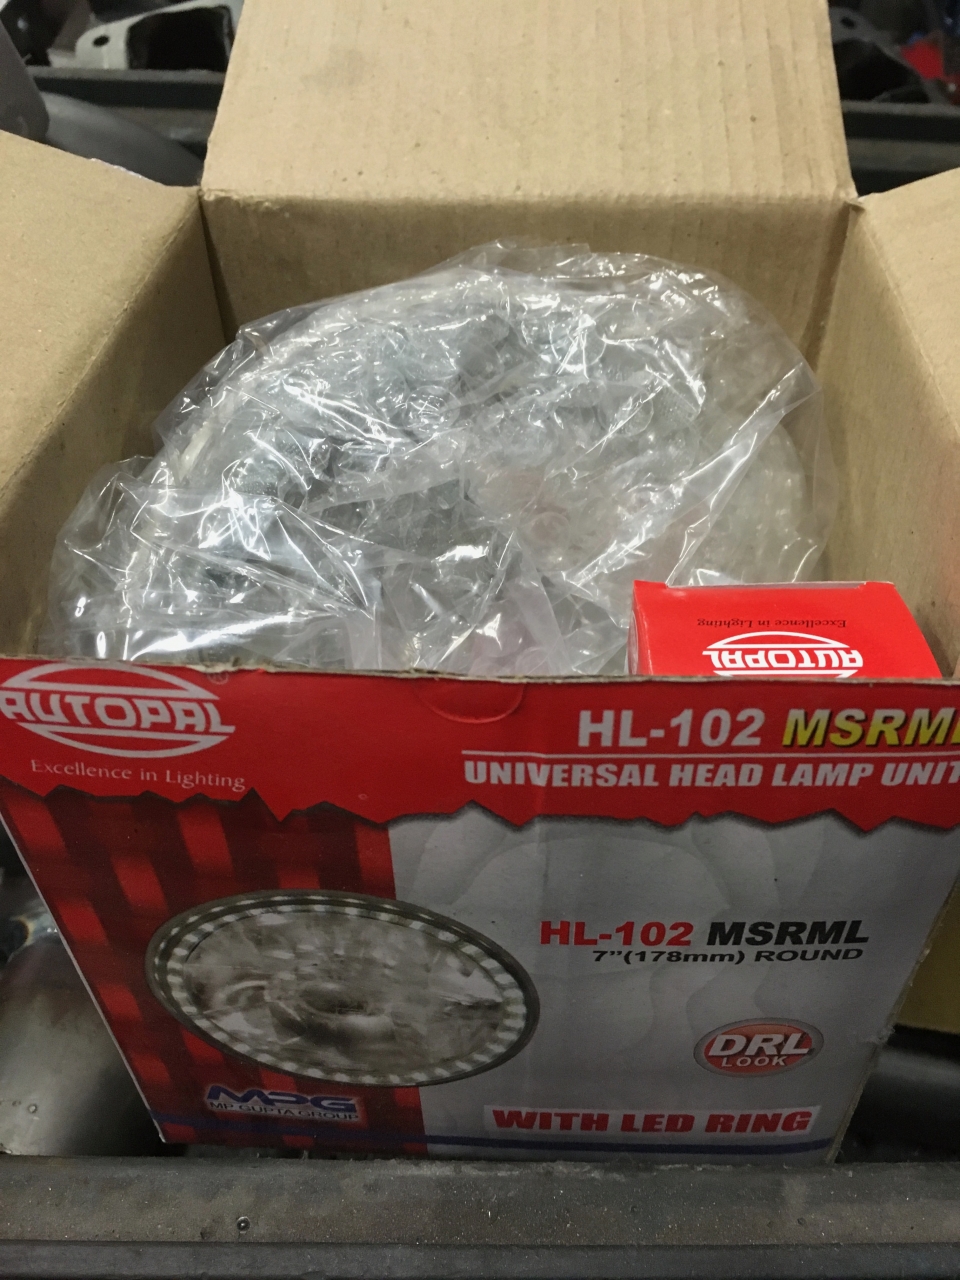
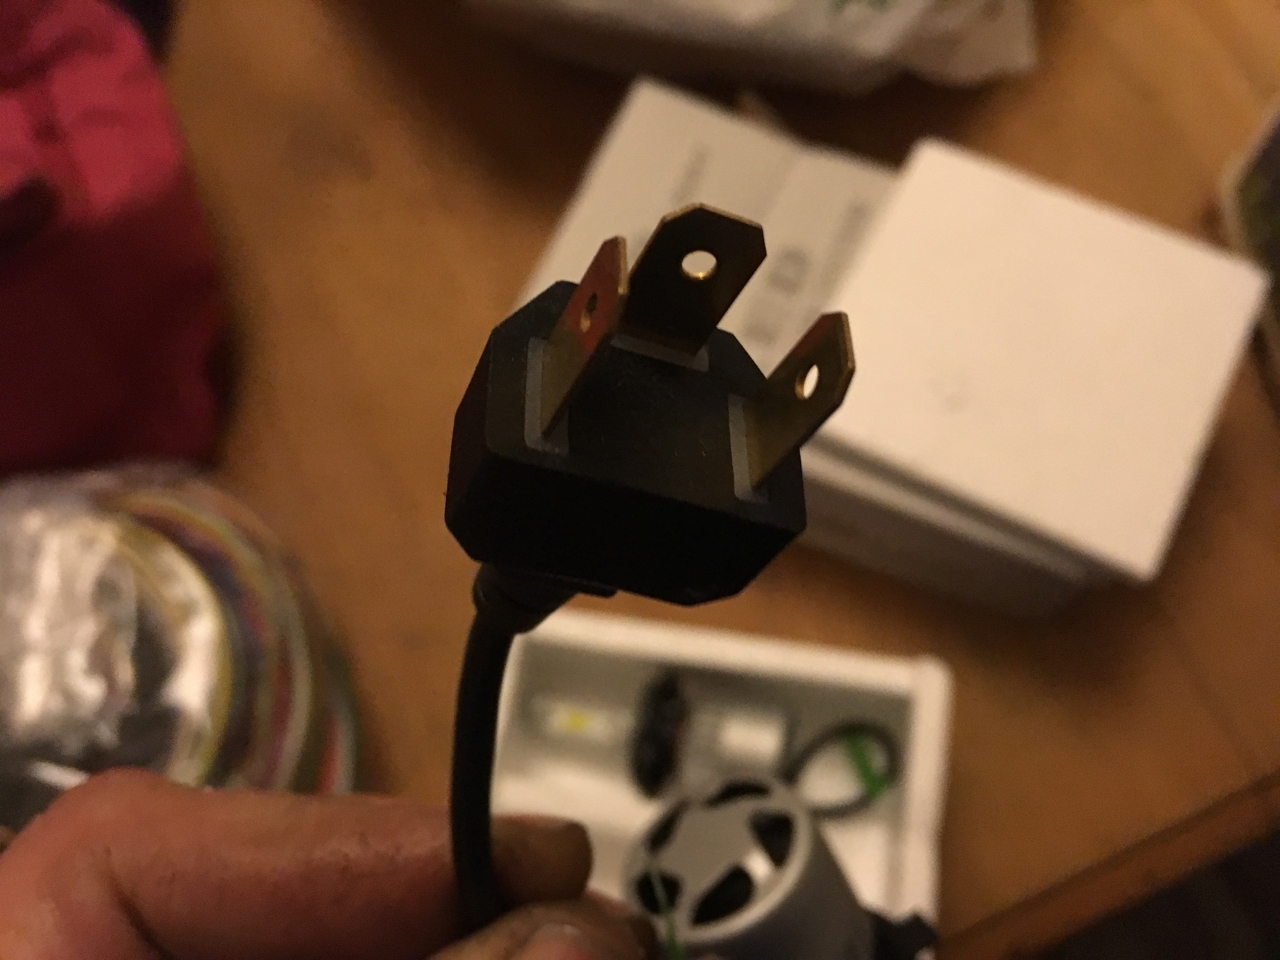
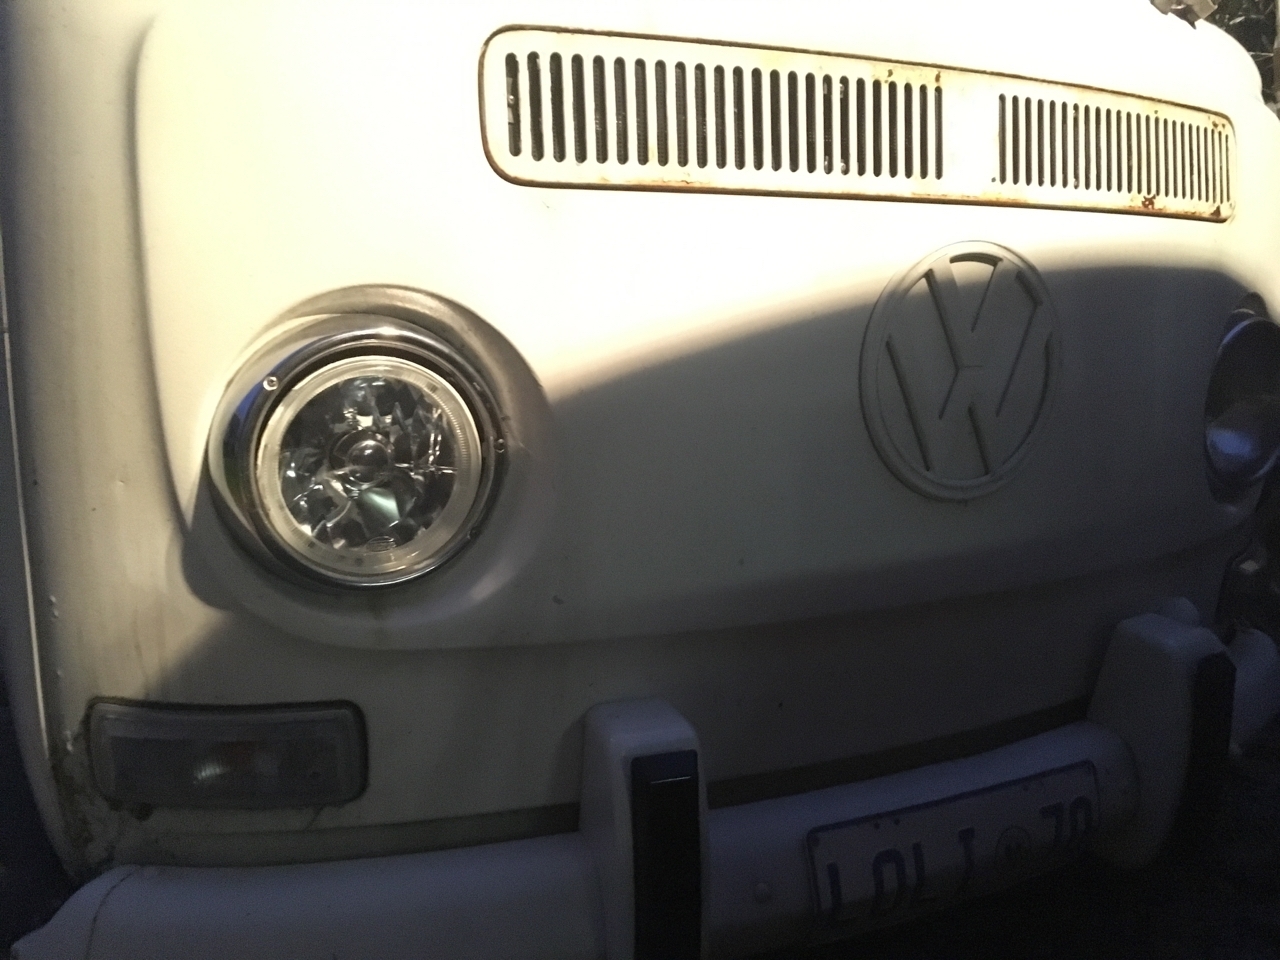
The headlight units have an LED halo around the outside of the lens for the sidelight - similar to an Audi / BMW. I also swapped the main halogen lamp for an LED version. A worthwhile swap as the light is noticeably better. They obviously look a little different to normal lights but the light is a lot brighter too.
With the headlights hooked up I then connected up the oil pressure switch and the oil pressure / temp gauges. This only left the ECU to hook which did not take too long as I had documented everything on a schematic. I tidied up the loom a little with some saddles. This only leaves the tacho to hook up, which I will do later.
I'm now pretty much at the stage where I'm ready to start the engine and get the tuning underway. But that's a job for tomorrow.
Post is under moderationStream item published successfully. Item will now be visible on your stream. -
So another day of slowly chipping away at all of those little jobs needed to get the bus back on the road again. I started off by making up a new oil feed pipe to replace the one I crushed with the engine jack. The hardest part was removing the old pipe with the moustache bar in place. It was originally installed before the moustache bar went on and whilst the engine was on the engine stand so access was not an issue, trying to do the same thing with the engine in the bus with practically...So another day of slowly chipping away at all of those little jobs needed to get the bus back on the road again. I started off by making up a new oil feed pipe to replace the one I crushed with the engine jack. The hardest part was removing the old pipe with the moustache bar in place. It was originally installed before the moustache bar went on and whilst the engine was on the engine stand so access was not an issue, trying to do the same thing with the engine in the bus with practically zero clearance underneath was not exactly my idea of fun. Anyhow's, the inevitable happened and I crushed my finger undoing one of the fittings (ouch). No pain, no gain as they say.More
So with the oil hard line replaced I hooked up the flexi lines and decided to add some oil. I had already filled the filter up with oil when I installed it (it takes over a litre of oil alone) and just needed to fill the engine. To help with filling the oil with a supercharger installed I made a useful contraption some years back; basically an old plastic oil container with the bottom cut out and a rope tied through it to hang it from the gutter. On it's outlet is a length of hose that can be run into the filler neck. It's basically like a giant funnel with a hose on it. So I dig it out from the garage and give it a wipe out as it has a bunch of dust and stuff inside, and then hook it up to the engine. I look inside and see something in there, so I wipe it out some more and go get the remainder of the oil.
For the initial fill I'm using a diesel oil, Diesel oil has a higher proportion of detergents and so will give the engine a good clean out whilst I break in the new rings, otherwise it is the same as petrol based oils. It's also heaps cheaper than running an engine clean additive like Winns or whatever. My dad used to work at Mobil this was one of the handy tips he gave me.
Anyhow's, I digress, I get the oil and pour some in the 'contraption', but looking inside I see what looks like a slug. Wondering how it got in there I ponder for a second whether the slug would do any damage to the engine, I figure it would get mushed up by the oil pump gears so possibly not, but then consider that it could also get jammed in the oil pickup tube and cause an oil starvation issue and result in catastrophic failure so decide that it's best not to add it to the engine. So I remove the contraption and try to fish the slug out. Well, what I thought was a slug actually turned out to be skink (a small lizard about 4 inches long) Unfortunately he (or she) had met their maker drowning in dieseltec 20/50. So I remove the skink and pour in the remainder of the oil. The oil level is just over the max fill line but I know that once the air has bled out of the cooler it will pretty much be perfect. Funny how you get to know your car after a while (and regular oil changes.)
So with the oil in I move on to the next job, taking a look at the exhaust...
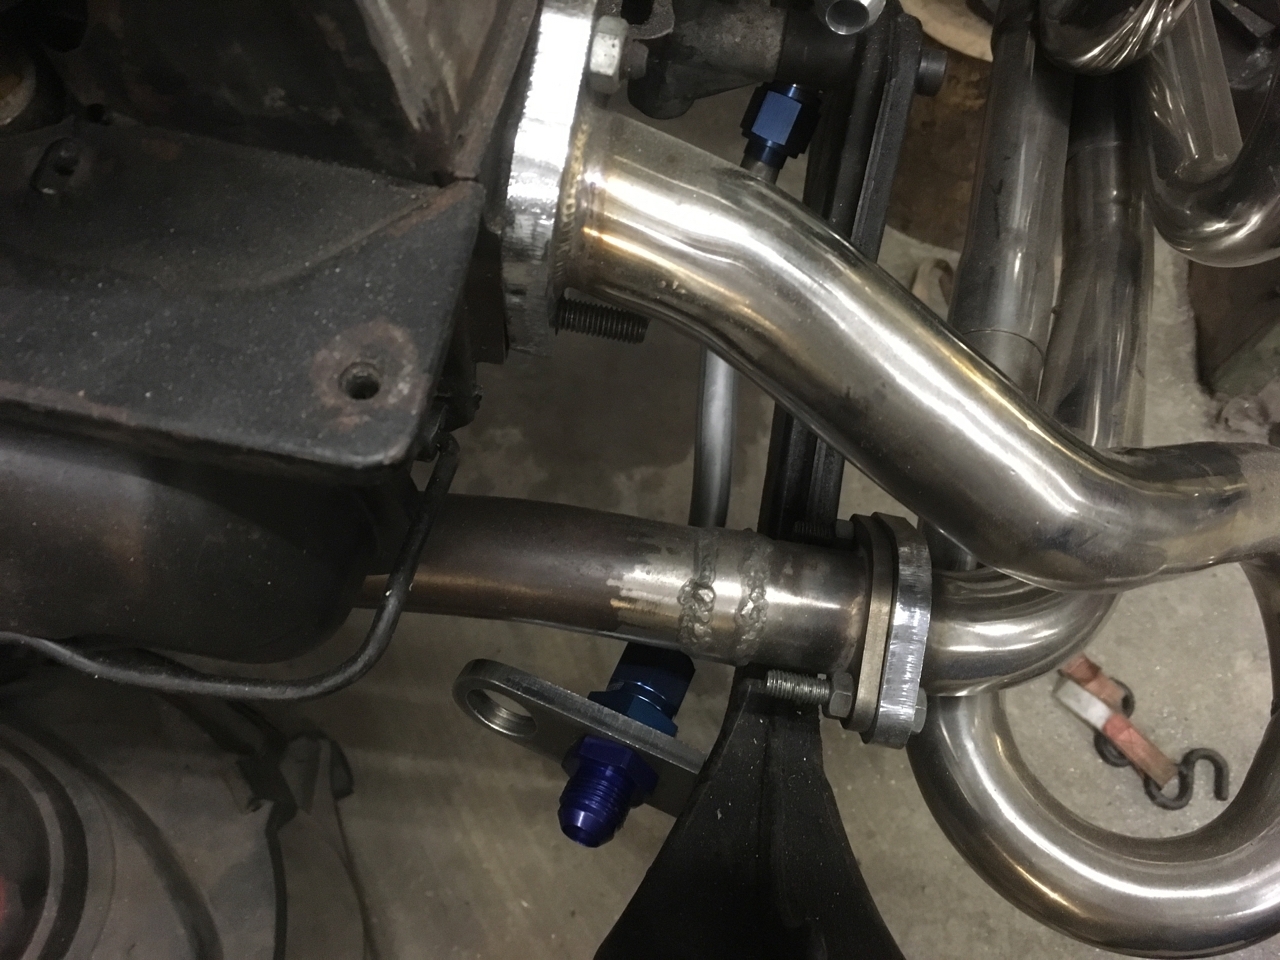
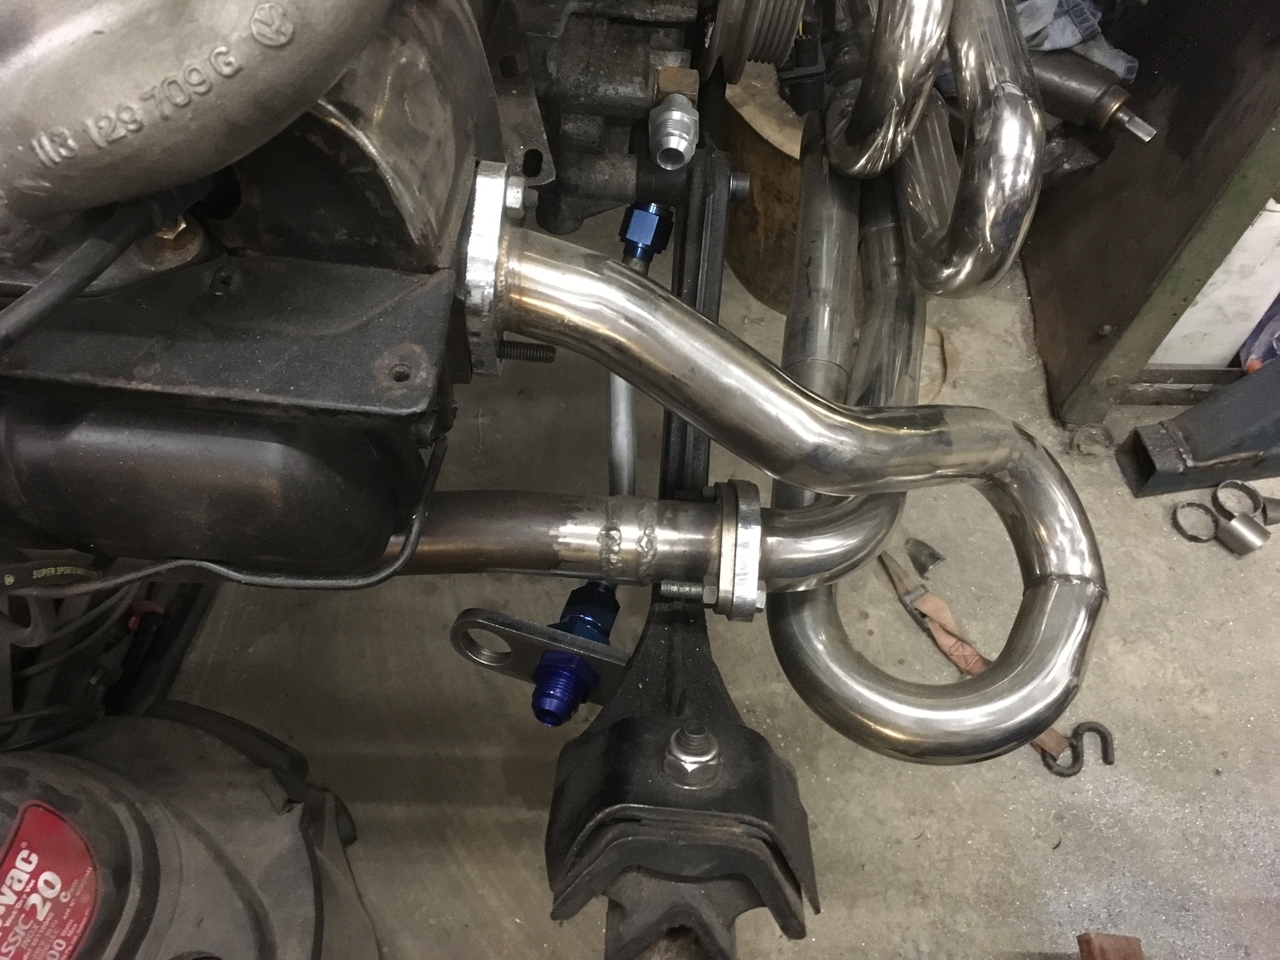
I messaged a buddy of mine in WA who also has a similar system fitted and he was kind enough to send me some photos of his install (thanks Humpty), he said he had to shorten his muffler and angle the muffler to gain extra clearance. So armed with a a plan of what I needed to do I set about hacking mine to try and achieve the same
First job was to disassemble the muffler, this involved cutting around the end cap at the tail pipe end. Once I had cut through the weld I was able to slide the inner and outer parts apart. The muffler is basically a perforated pipe, that is surrounded by kawool (a fireproof 'wool' often used in furnaces). I shortened the inner part and welded it back together.
The overall length of the muffler needed to be shortened by about 50mm so that it cleared the bottom shock mount so this is what I cut out of both the inner pipework and the outer cover. With everything shortened I reassembled it and welded it back up. *just a note here* I hate welding stainless, not only did I have the wrong gas, but I also do not have the correct equipment to gas purge the pipe which results in a buildup on the inside of the pipe opposite the weld. This means masses of grinding and a non-cosmetic weld. Of course, the bus is no show pony and I don't really care what it looks like, in fact the rattier, the better.
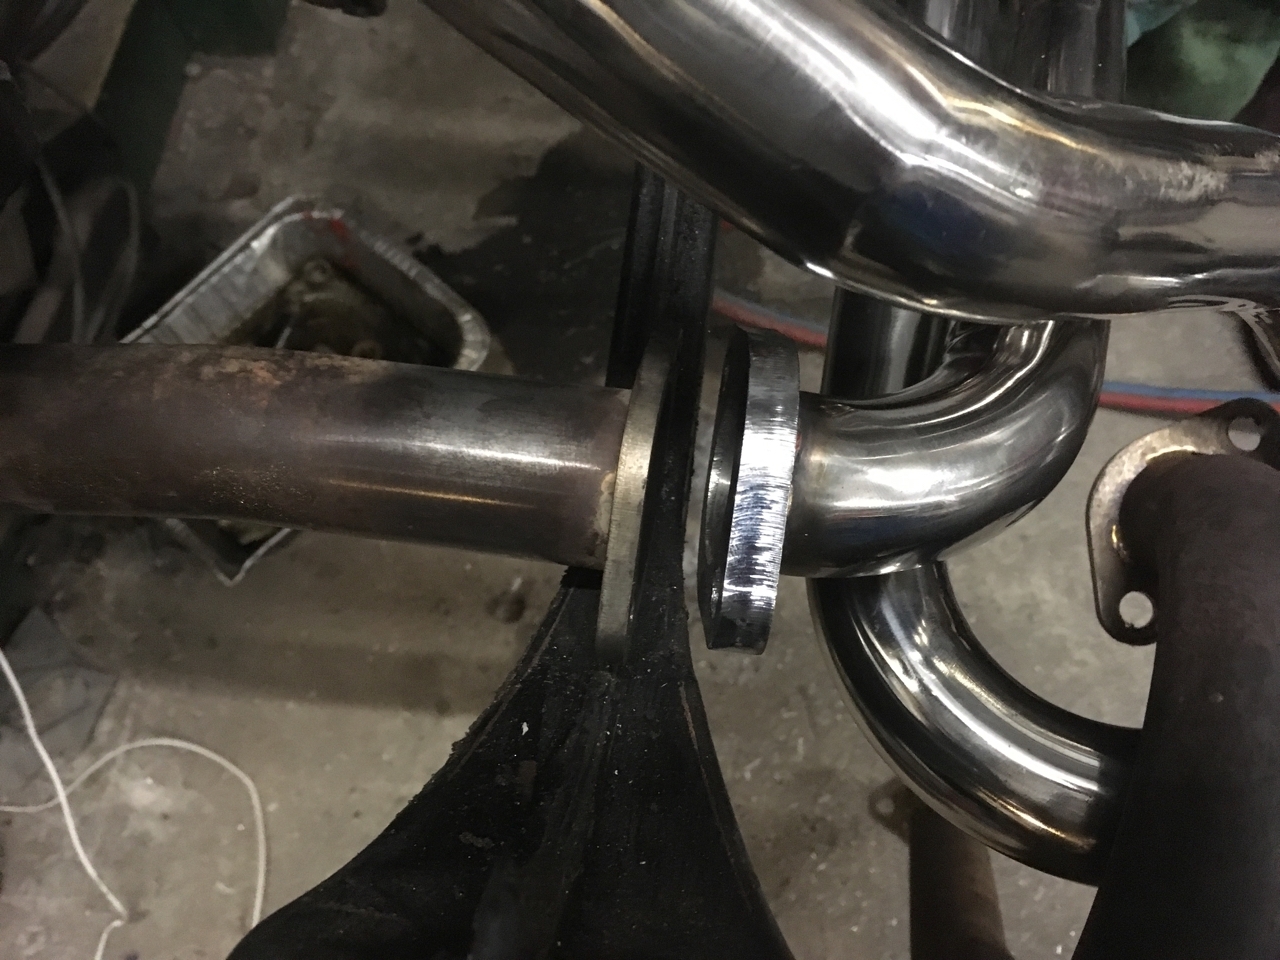
So with the muffler shortened the next stage was to relocate it to try and create some ground clearance. This basically involved cutting it at the muffler and cutting it at the collector flange and re-welding it back together so that the muffler was mounted at an upwards angle and tucked back in a little more. After tacking it together, offering it up, making some adjustments, re-tacking it together, offering it up, making some adjustments, re-tacking it together, offering it up again it was looking pretty good. So I welded it up. Muffler done! but probably easier to make one from scratch.
So next I pondered my next steps - fit the rear shocks, adjust the rear spring plates, fit the missing bolts in the rear hubs, adjust the brakes, finish running the loom, hook up the ECU, prime the oil system, fit the front shocks, fit the front ball joints, drop spindles, hub adaptors, mod the front roll bar...
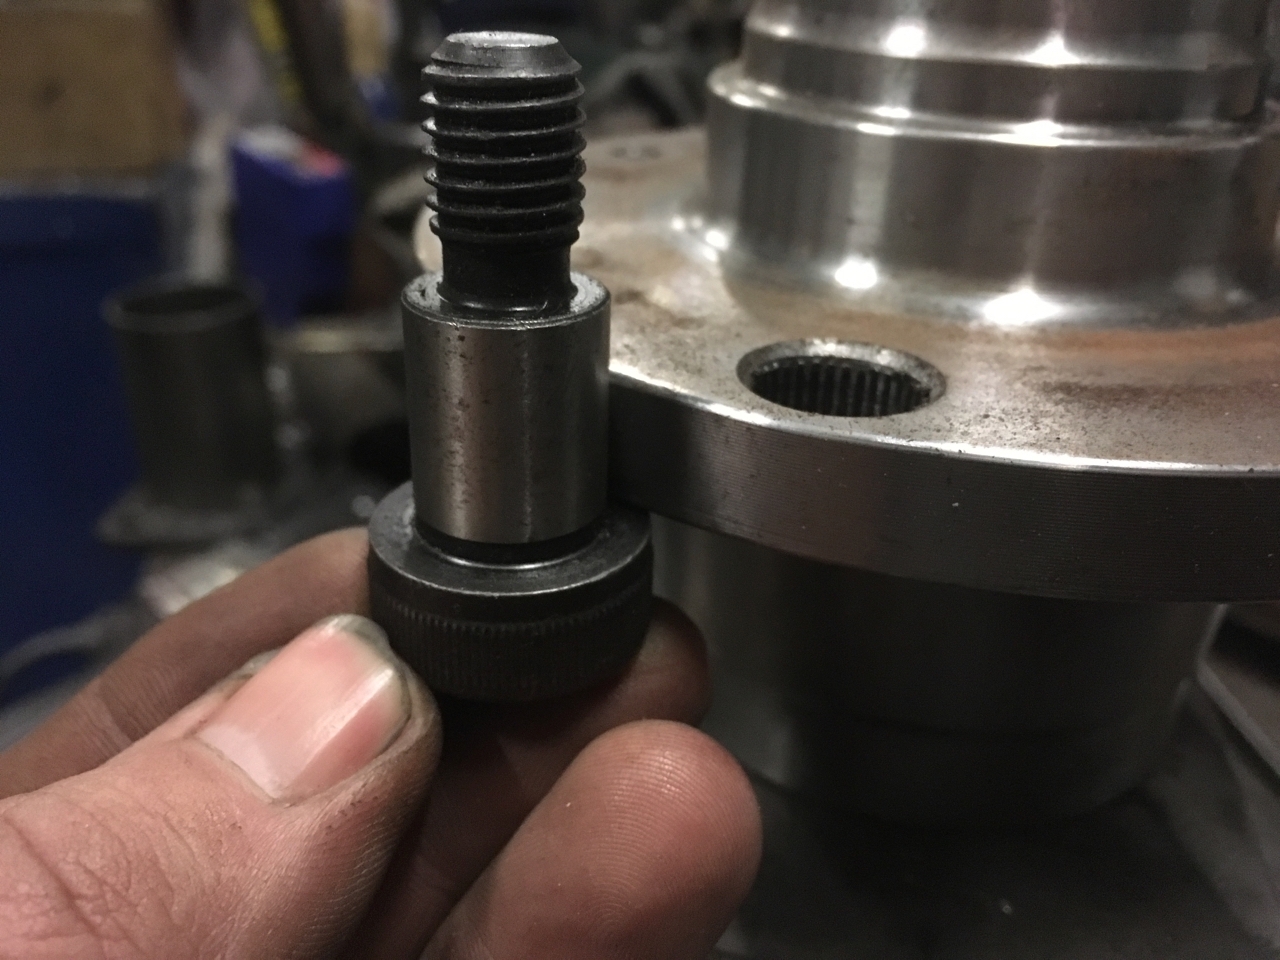
The list goes on, but whilst pondering I came up with a solution for the front adaptors I had made to convert the late bay drop spindles to wide 5. I had these made from a CAD drawing I was given but never really liked that the centres were a LOT larger than the hubs and so were not supported by the hubs (not good in my books). My brainwave was that I could use shoulder bolts to locate the hubs to the discs and adaptors - basically acting as dowels to ensure that the adaptors are perfectly hub-centric. This is cool for two reasons...
1. I can use the adaptors I had made up, saving some money
2. I already have the stuff so don't have to wait.
3. Yeah-right, like I've got the 'spare' time to just do this - lol
So, another piece of the puzzle slots into place. I'm kinda thinking at this stage that I'll just get the bus running and driving again and then maybe work through the list of other jobs. A bit like a rolling resto, after all the bus is starting to look a bit tired after sitting under my olive trees for the past 18 months and it could really do with some rust repairs and paint. I figure if I get the mechanical jobs out of the way and then take a look at the bodywork a panel at a time it will eventually get done.
Post is under moderationStream item published successfully. Item will now be visible on your stream. -
cheroxgdl reacted to this post about 7 years agoMade a start on plumbing things in and offered the silencer up to see how much ground clearance I had. (Not much at all.) The front of the silencer fouls the shock mount and it generally sits way too low (50mm), a lot lower than the header (90mm). Looks like I will have to do some more surgery on it to get it to fit better. I still need to dial in the rear ride height as I fitted adjustable spring plates, so might gain a few mm there.
Also have to make up a new oil feed pipe as I managed to...Made a start on plumbing things in and offered the silencer up to see how much ground clearance I had. (Not much at all.) The front of the silencer fouls the shock mount and it generally sits way too low (50mm), a lot lower than the header (90mm). Looks like I will have to do some more surgery on it to get it to fit better. I still need to dial in the rear ride height as I fitted adjustable spring plates, so might gain a few mm there.More
Also have to make up a new oil feed pipe as I managed to crush the previous one with the engine jack. Bloody ironic really considering that it was a crushed oil hose that was the reason the bus taken off of the road in the first place. D'OH!
Now that the engine is in it looks like my breather can will not fit so I'll have to make a custom one up. I've got a few ideas on what I want to do there - basically the same as I had before but tailored to the install. My original breather was a modified air cleaner so sat quite nicely in the engine bay. Unfortunately the fuel rails get in the way so I need to either modify it or make a new one. Making a new one is probably easier.
Still a bunch of stuff to do before I can start commissioning. I even pushed the bus out into the open and cut back the olive trees to get a bit of space to work in.
My goal is to take it to the next burger night which is only two weeks away. Fingers crossed.Post is under moderationStream item published successfully. Item will now be visible on your stream. -
Managed to get the engine in today. Finished up a few small jobs, like extending the loom for the sensors and relocating the oil filter, and then with a little help from my assistants (thanks @MelleMel) transferred the engine from the garage on to the engine jack. I even managed to get the engine mostly installed in the bus. I just need to finish off bolting it up, which I'll do tomorrow.
Then comes the fun part of dressing the loom in and cutting a hole in the rear bulkhead. I've already...Managed to get the engine in today. Finished up a few small jobs, like extending the loom for the sensors and relocating the oil filter, and then with a little help from my assistants (thanks @MelleMel) transferred the engine from the garage on to the engine jack. I even managed to get the engine mostly installed in the bus. I just need to finish off bolting it up, which I'll do tomorrow.More
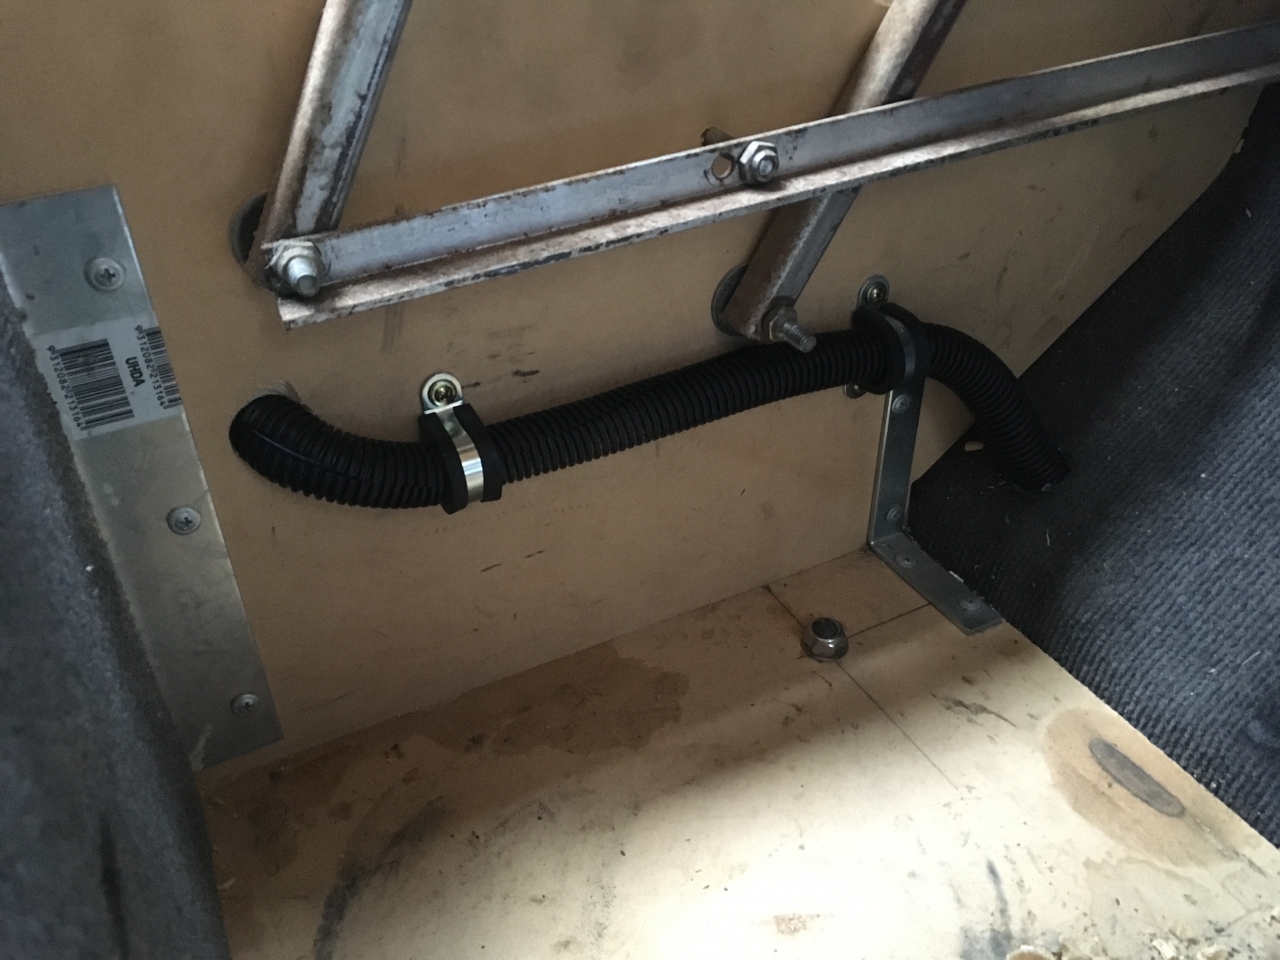
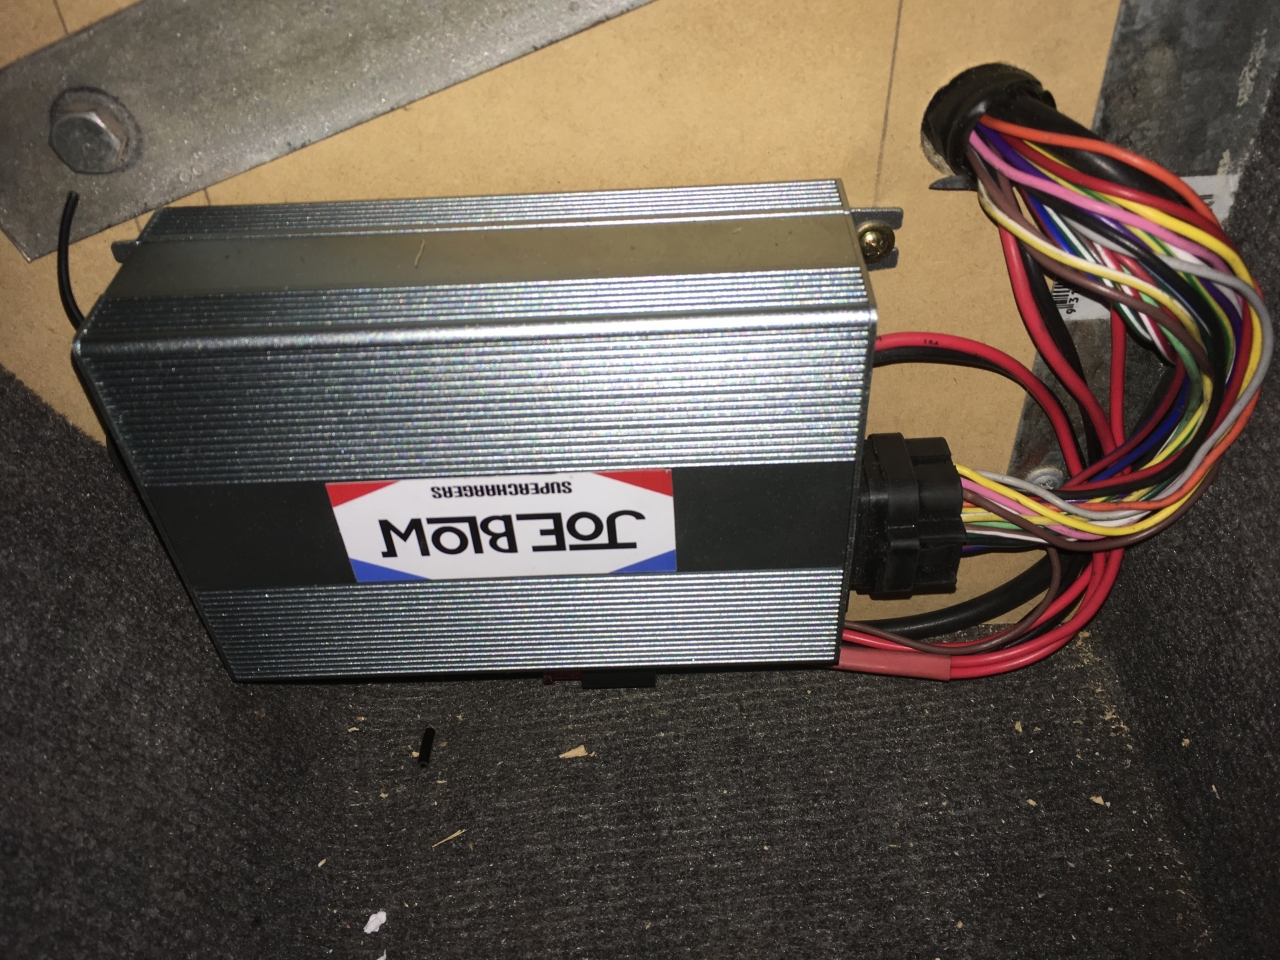
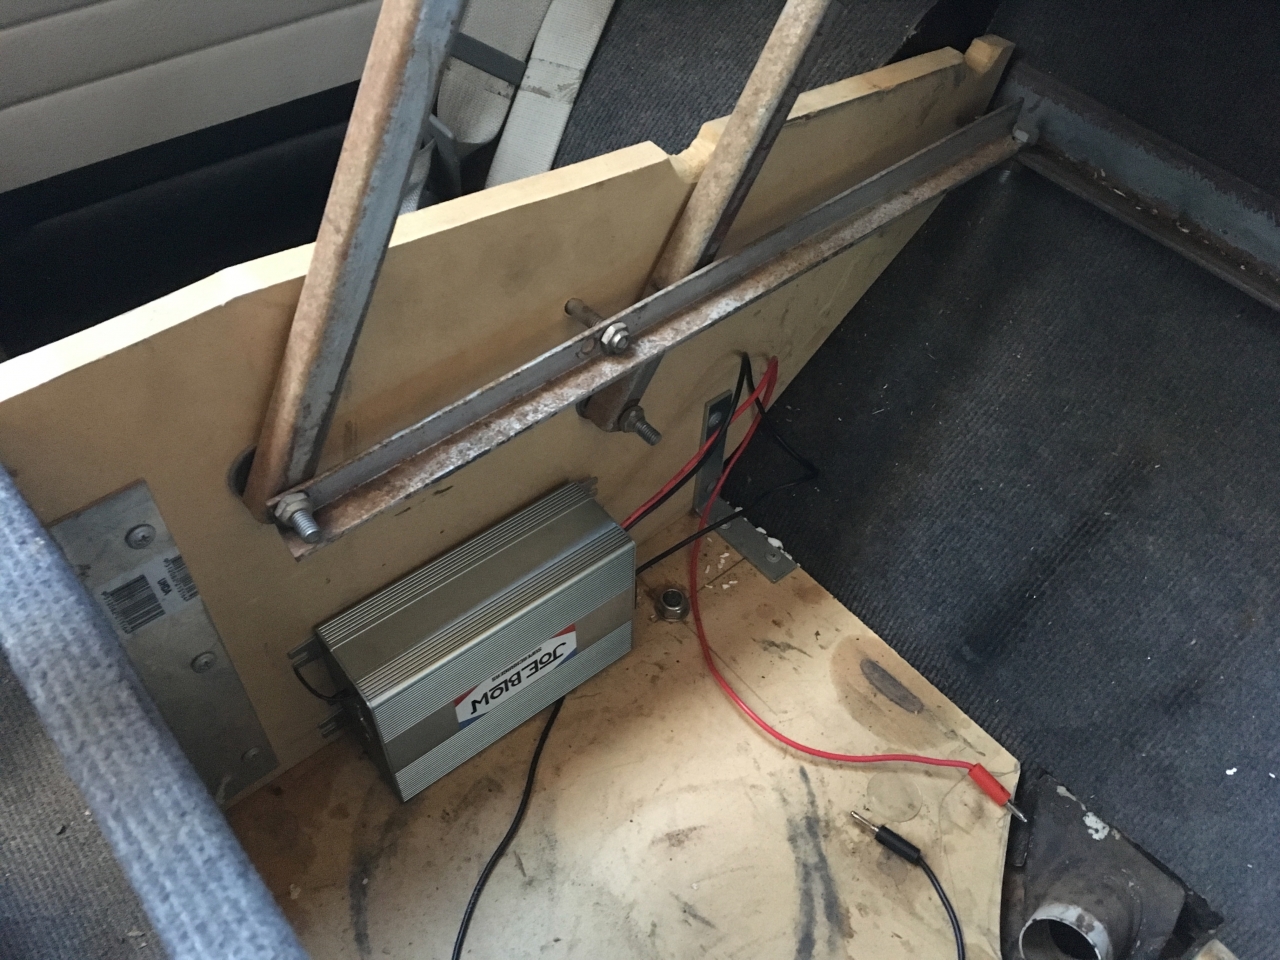
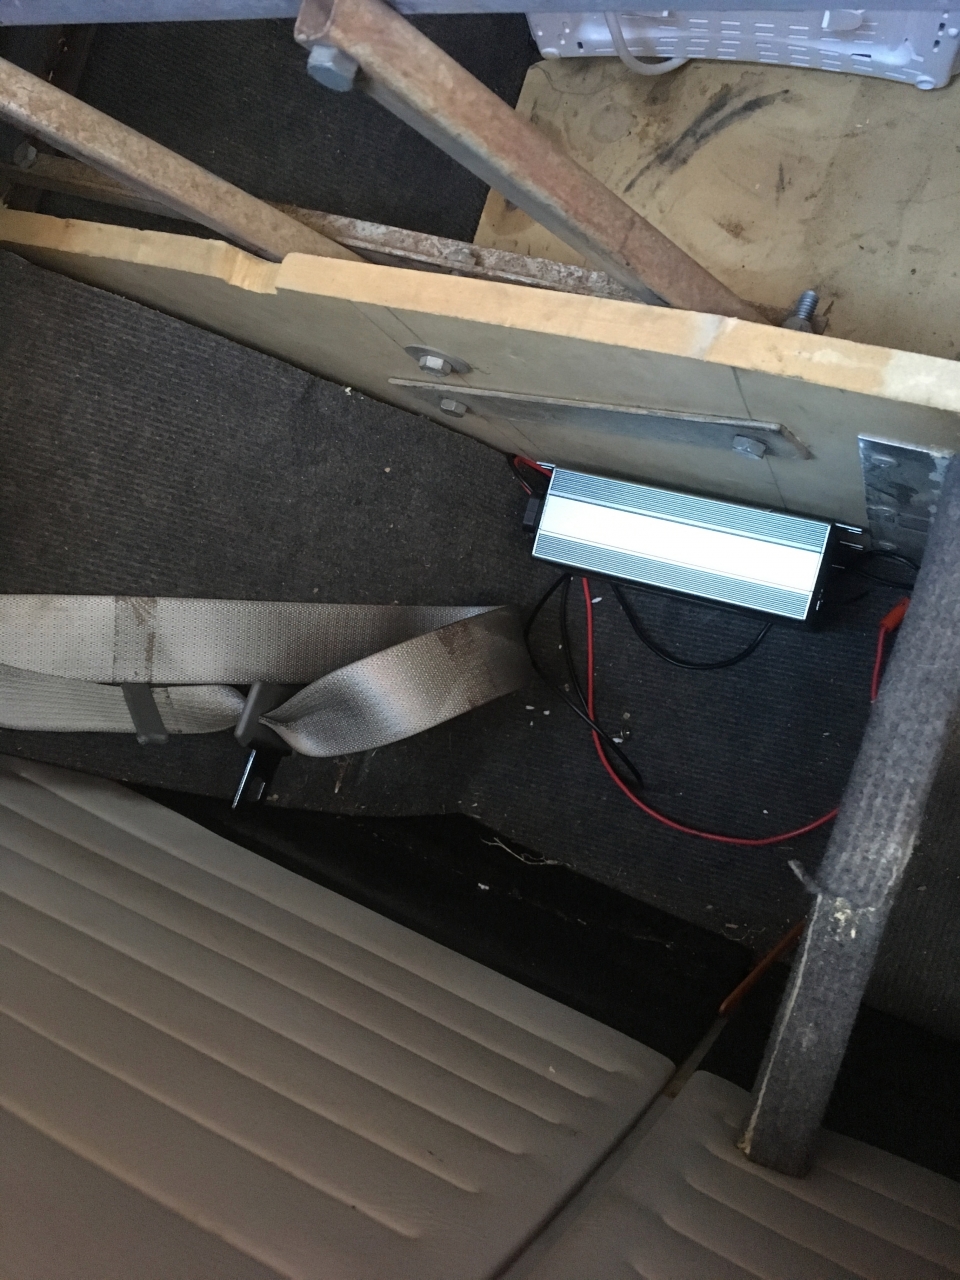
Then comes the fun part of dressing the loom in and cutting a hole in the rear bulkhead. I've already selected the location for the ECU - in the cubby to the side of the rear seat but will need to make up some kind of protective cover for it. Not really a big drama but something that I'll need to do before packing our camping gear back in there.
Than it's a case of pumbing it in and hooking it up. Not really too much to do there - Oil lines, fuel lines, then fluids, pressure tests for fuel system and fire her up. Not long now.Post is under moderationStream item published successfully. Item will now be visible on your stream. -
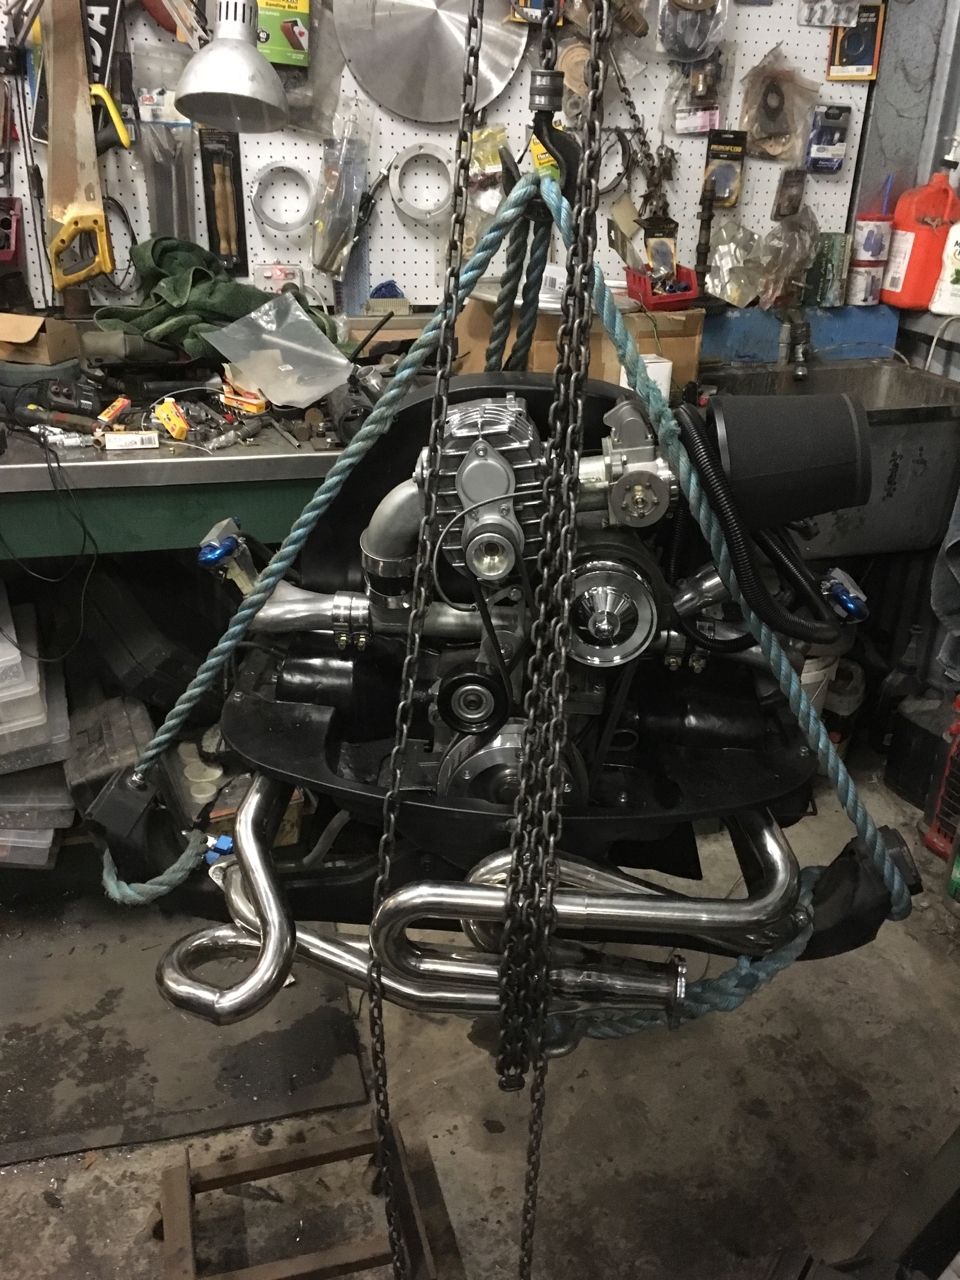
A bit of a milestone tonight - the engine is finally off of the engine stand. I finished off the last bit of testing (recording the current draw for injector and coil circuits) and removed the exhaust ready for moving the engine out to the bus. Installation is imminent. But before I put the engine in I need to confirm the location for the ECU and fit a bulkhead fitting for the wiring loom which will be heaps easier to do before the engine is in.
The ECU will be mounted under the rear seat...A bit of a milestone tonight - the engine is finally off of the engine stand. I finished off the last bit of testing (recording the current draw for injector and coil circuits) and removed the exhaust ready for moving the engine out to the bus. Installation is imminent. But before I put the engine in I need to confirm the location for the ECU and fit a bulkhead fitting for the wiring loom which will be heaps easier to do before the engine is in.More
The ECU will be mounted under the rear seat so I need to find an appropriate location to take the loom from under the seat out along the drivers side chassis rail into the engine bay.
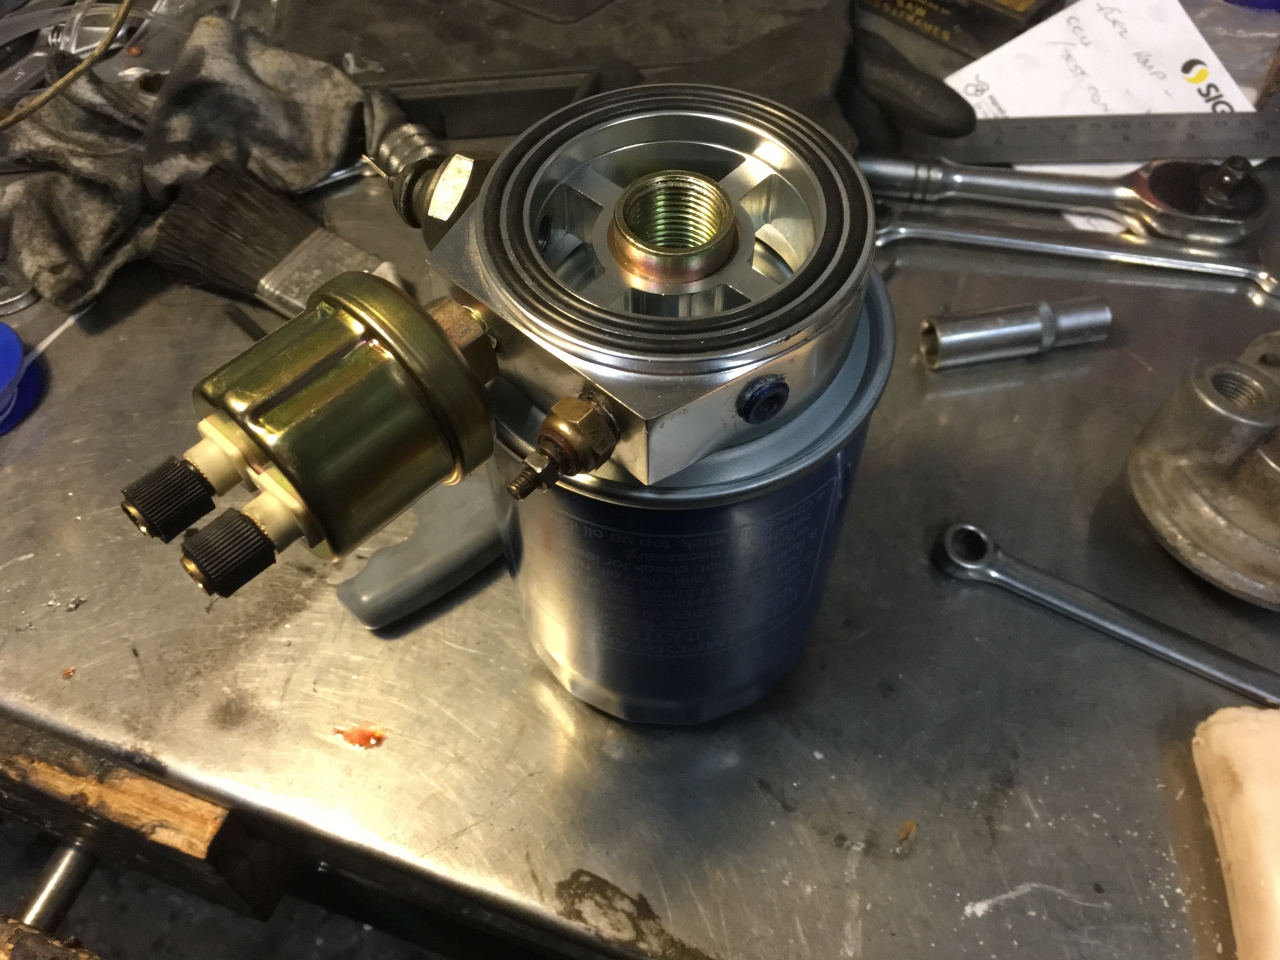
The only other 'major' thing to sort out is a new mount for the oil filter. I need to raise this up as I'm using a sandwich plate to add a couple of sensors. It's a relatively minor job but one that will consume a few hours as I also need to re-route the sensor wiring.Post is under moderationStream item published successfully. Item will now be visible on your stream. -
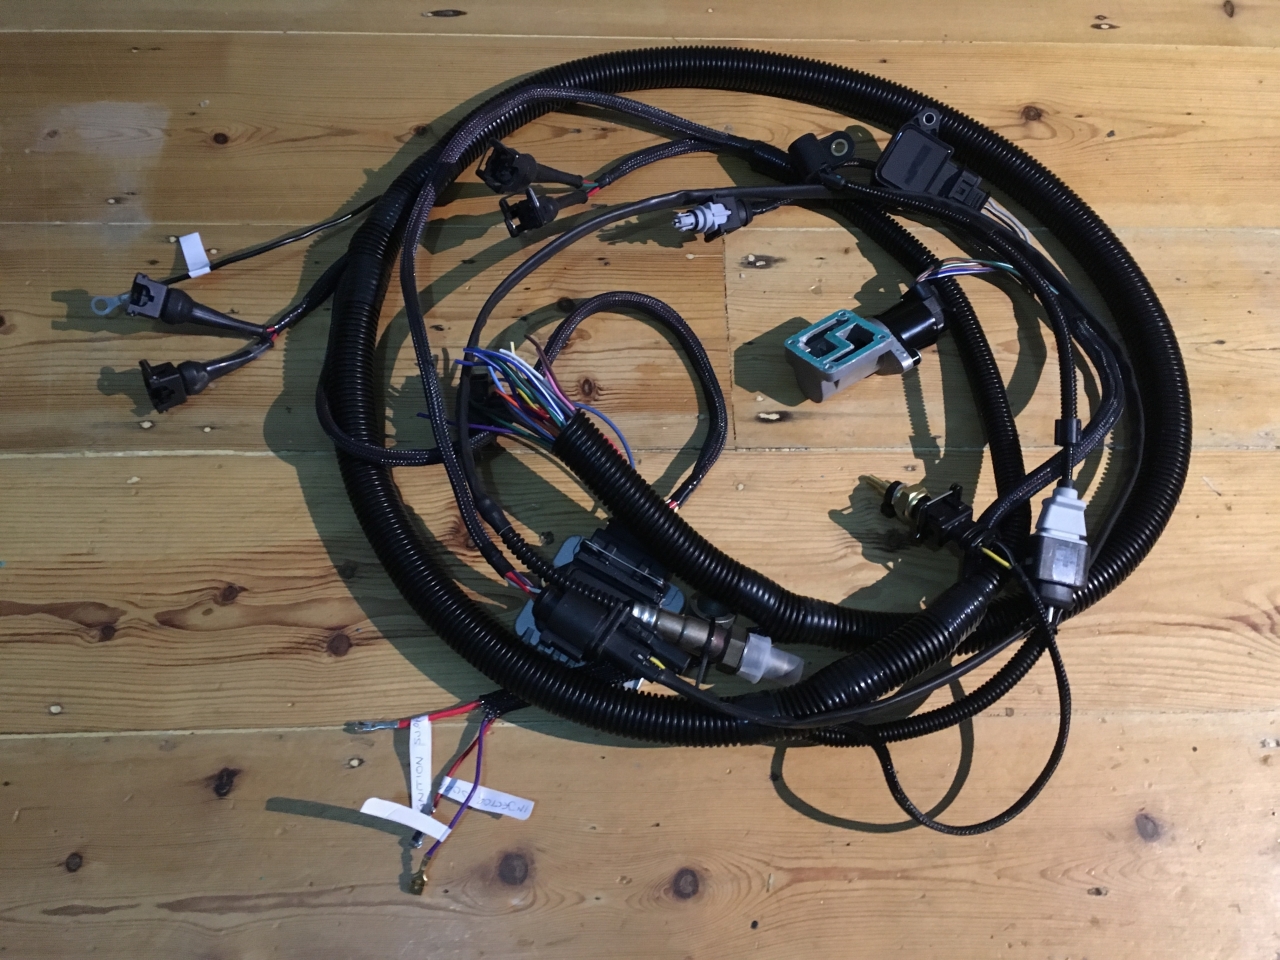
Finally managed to finish the wiring loom off for the bus. This allowed me to get the ECU hooked up and commission everything. I calibrated the wideband sensor, set the TPS limits, added in the three point references for the temperature sensors, tested the crank trigger and the Idle stepper, fired the injectors and coil packs and checked that everything was working as it should.
Now it's just a case of getting the engine back in the bus and seeing if she will start.
Not long nowPost is under moderationStream item published successfully. Item will now be visible on your stream. -
Mick's 70 Lowlight commented on this post about 7 years agoComments (2)
-
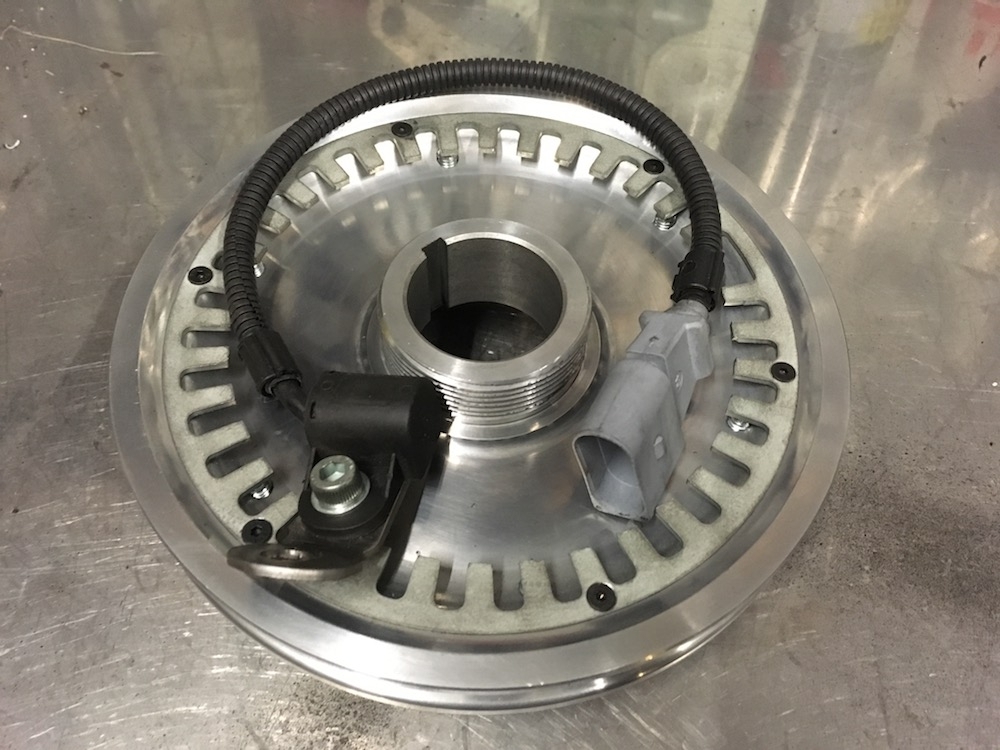
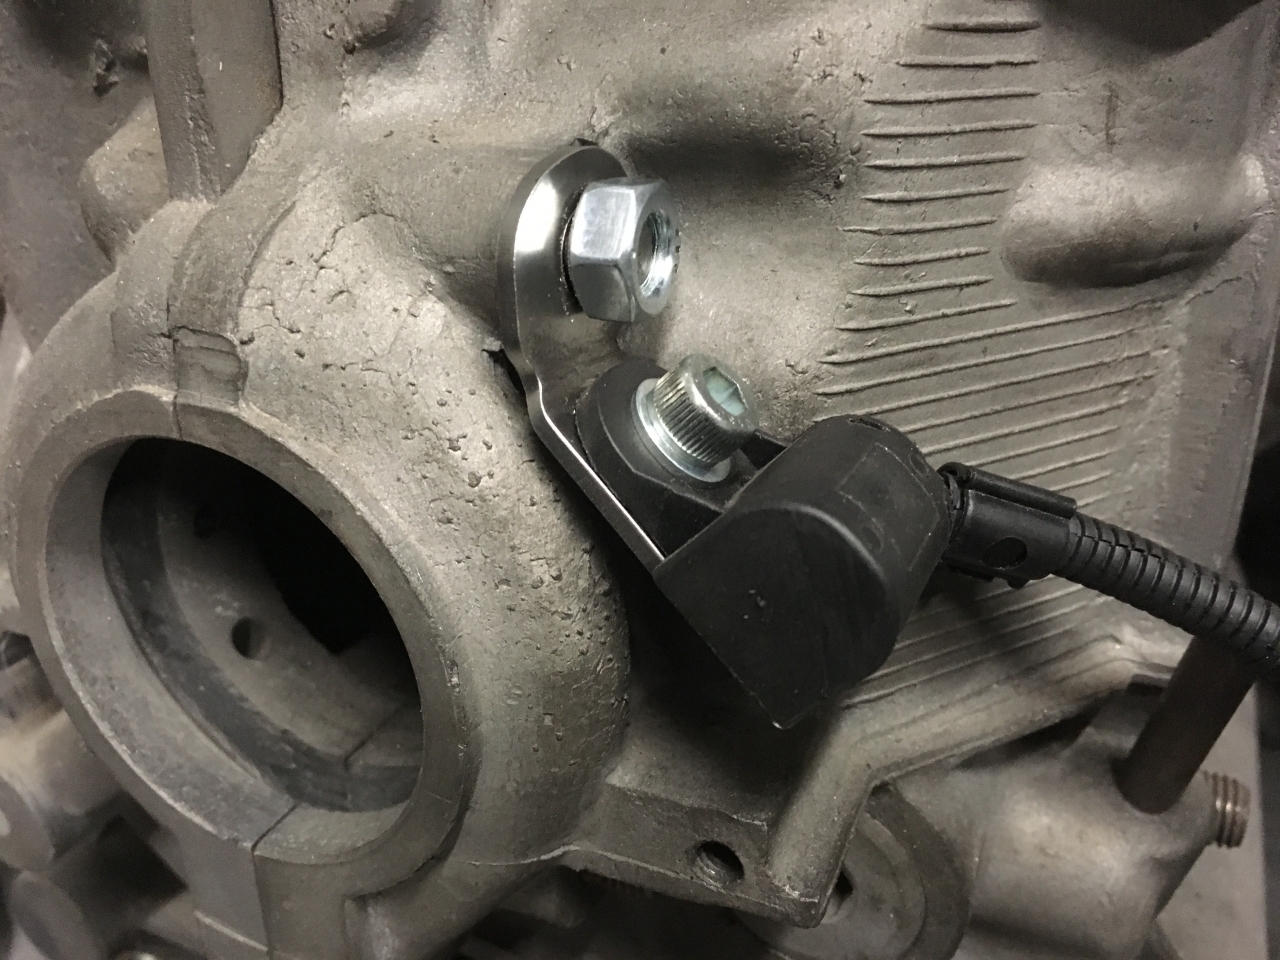
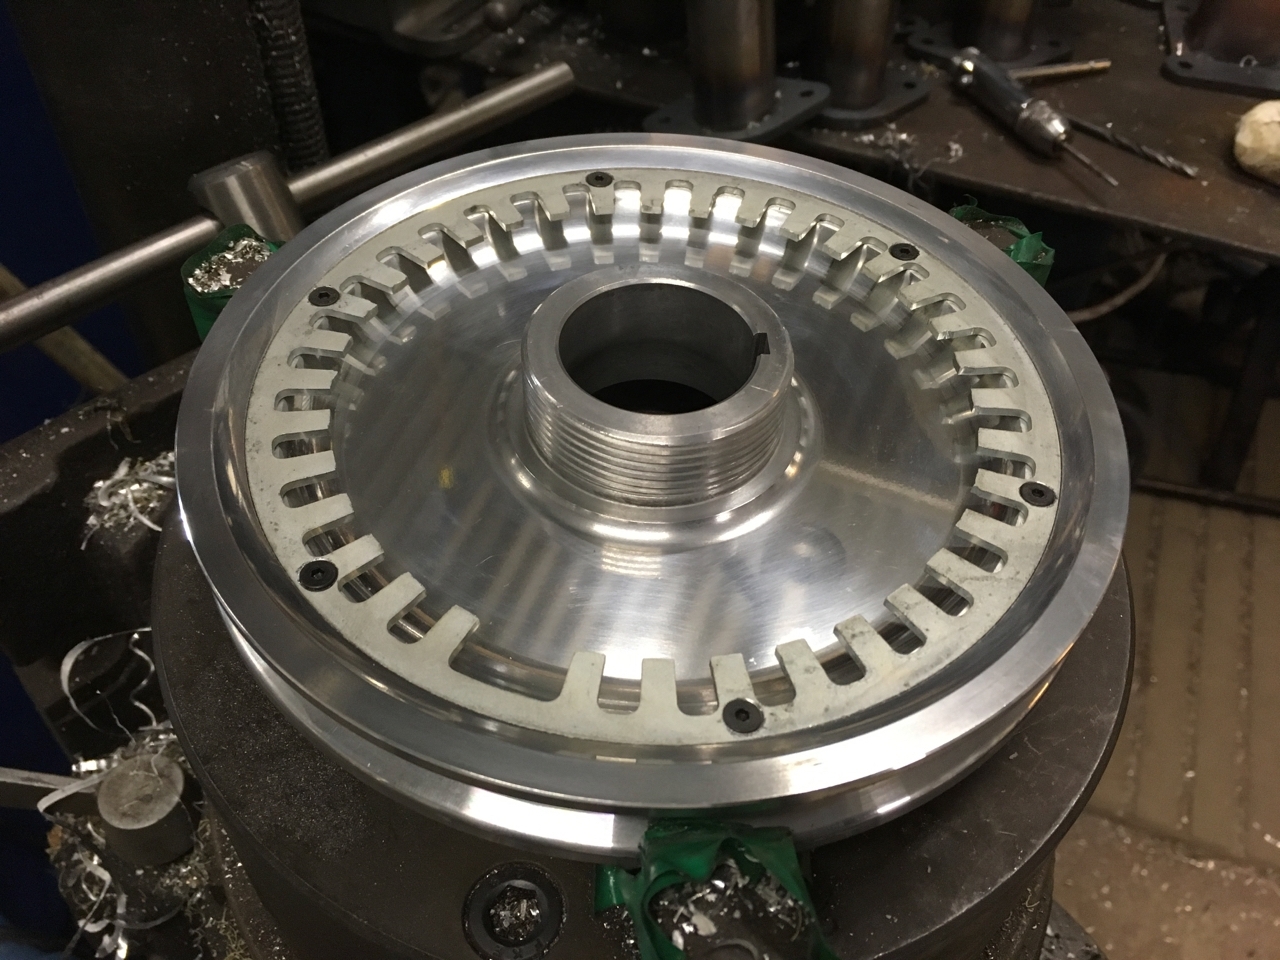
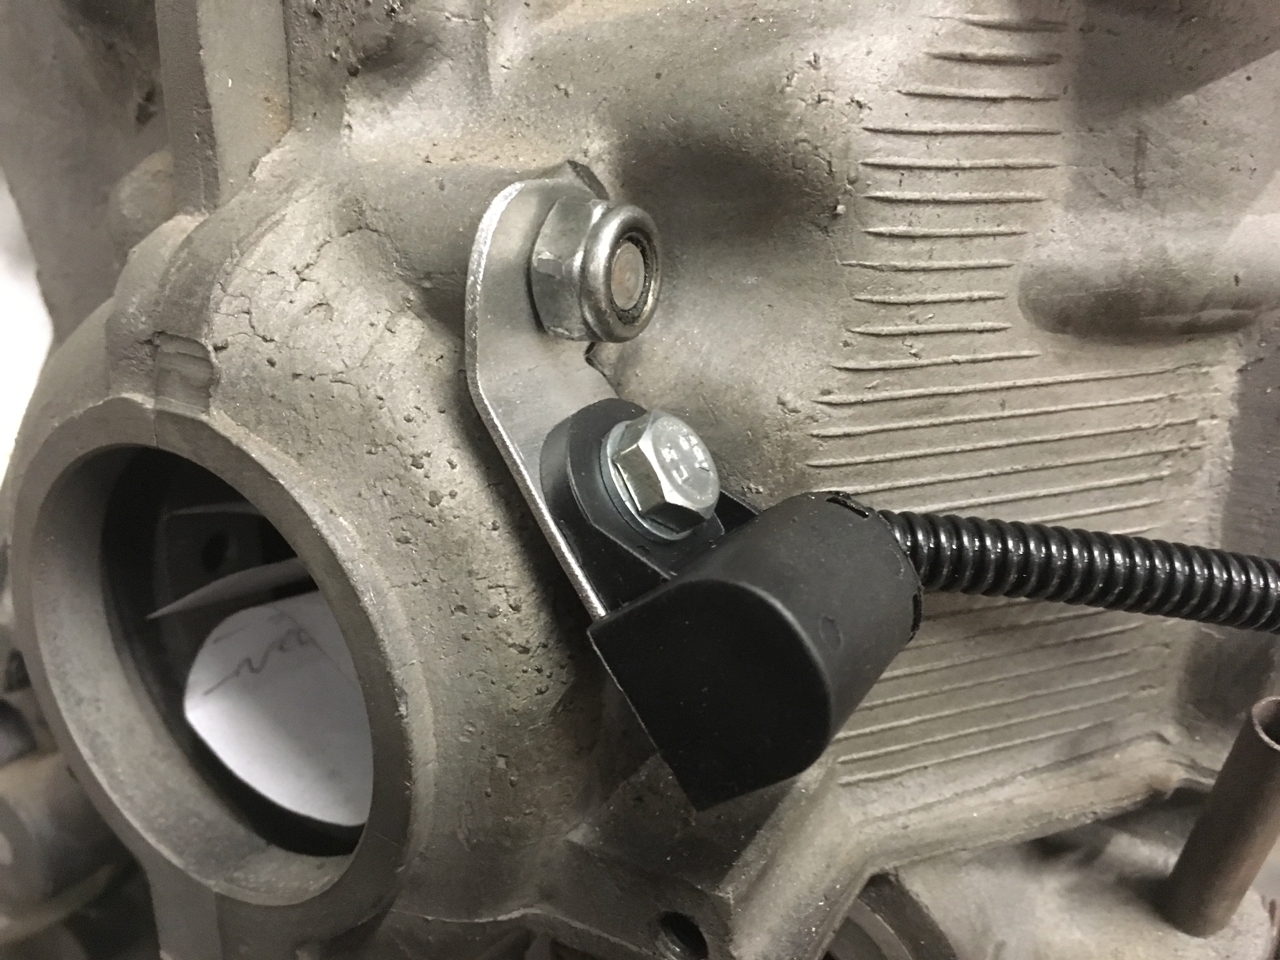
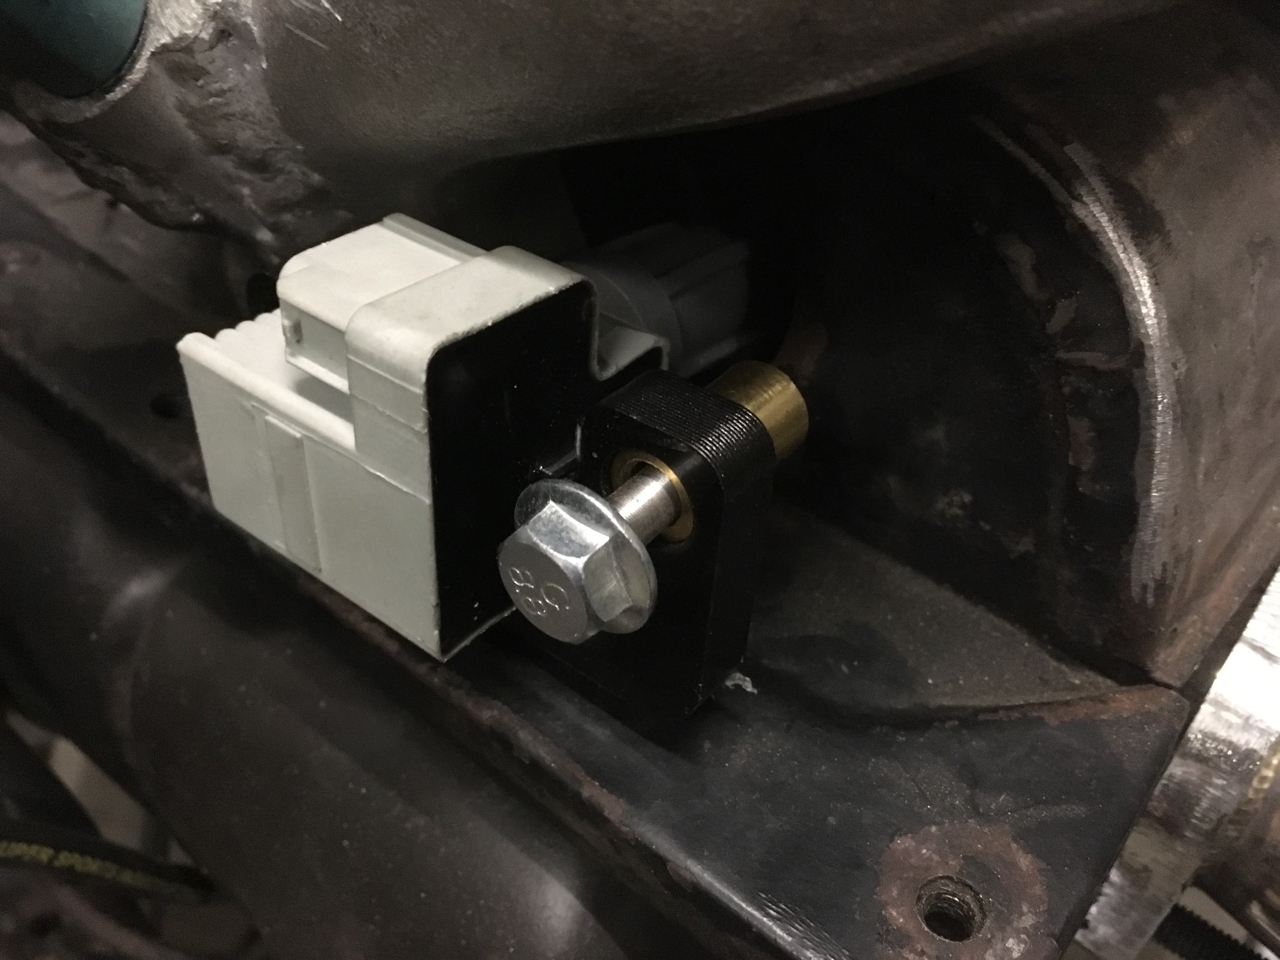
Spend some time today fitting the trigger wheel to my crank pulley and figuring out where and how to mount the VR sensor. I made up a quick bracket More ...
-
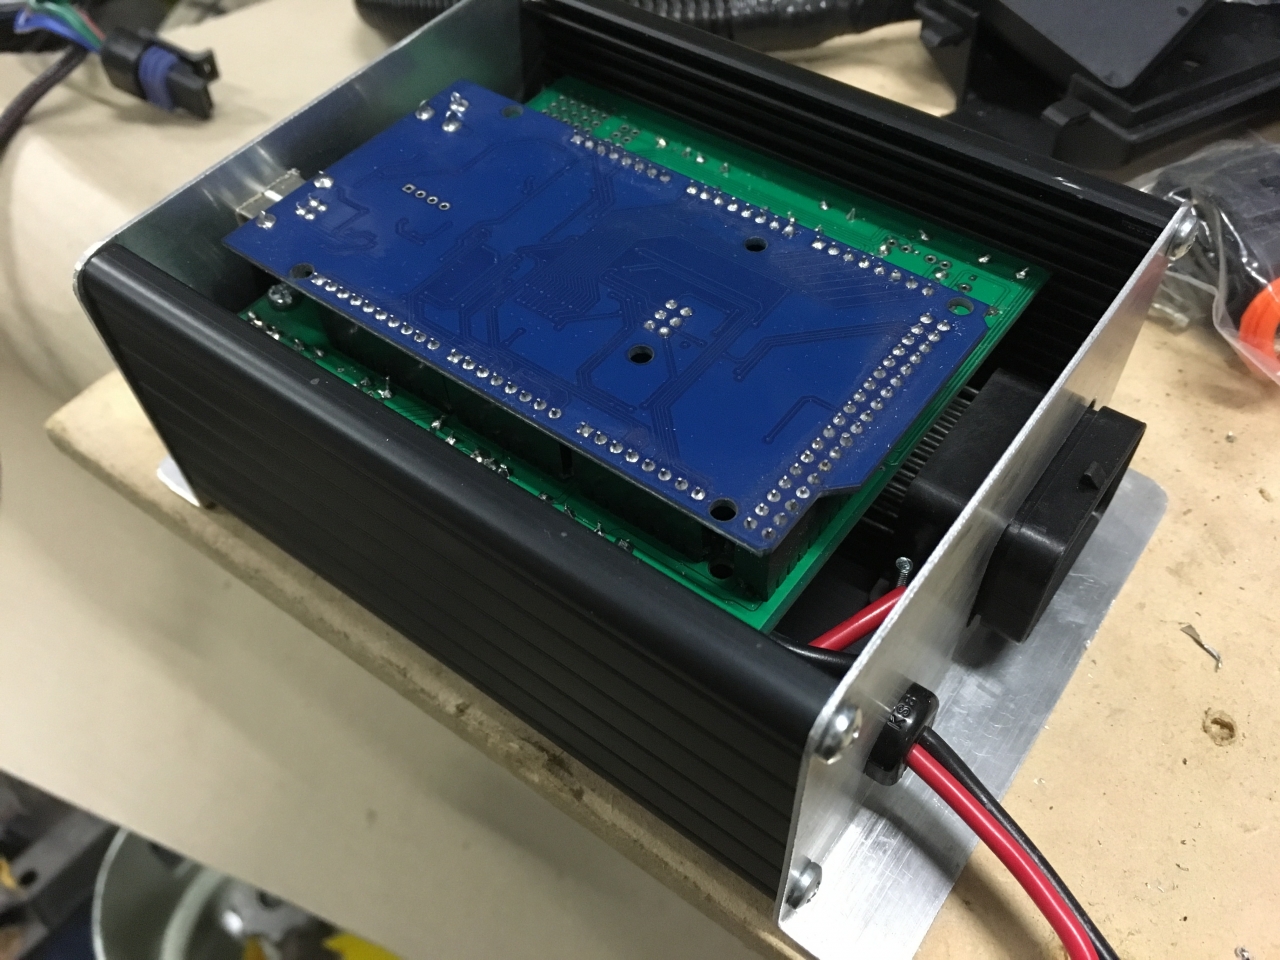
Have now junked Megasquirt in favour of Speeduino based solution using custom ECU designed by me. Features: integrated wideband, idle stepper More ...
Post is under moderationStream item published successfully. Item will now be visible on your stream. -
-
Stream item published successfully. Item will now be visible on your stream.
-
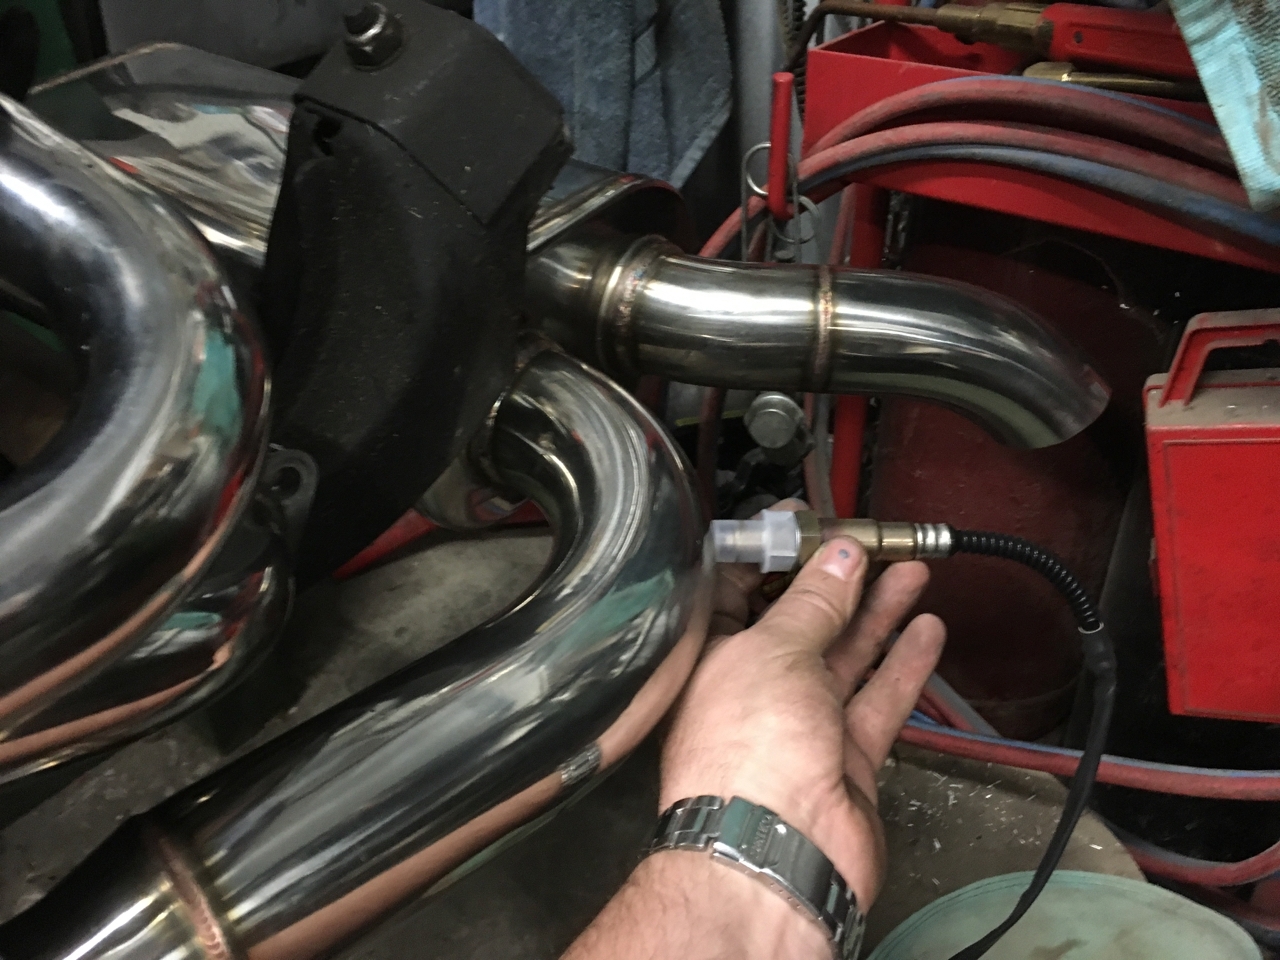
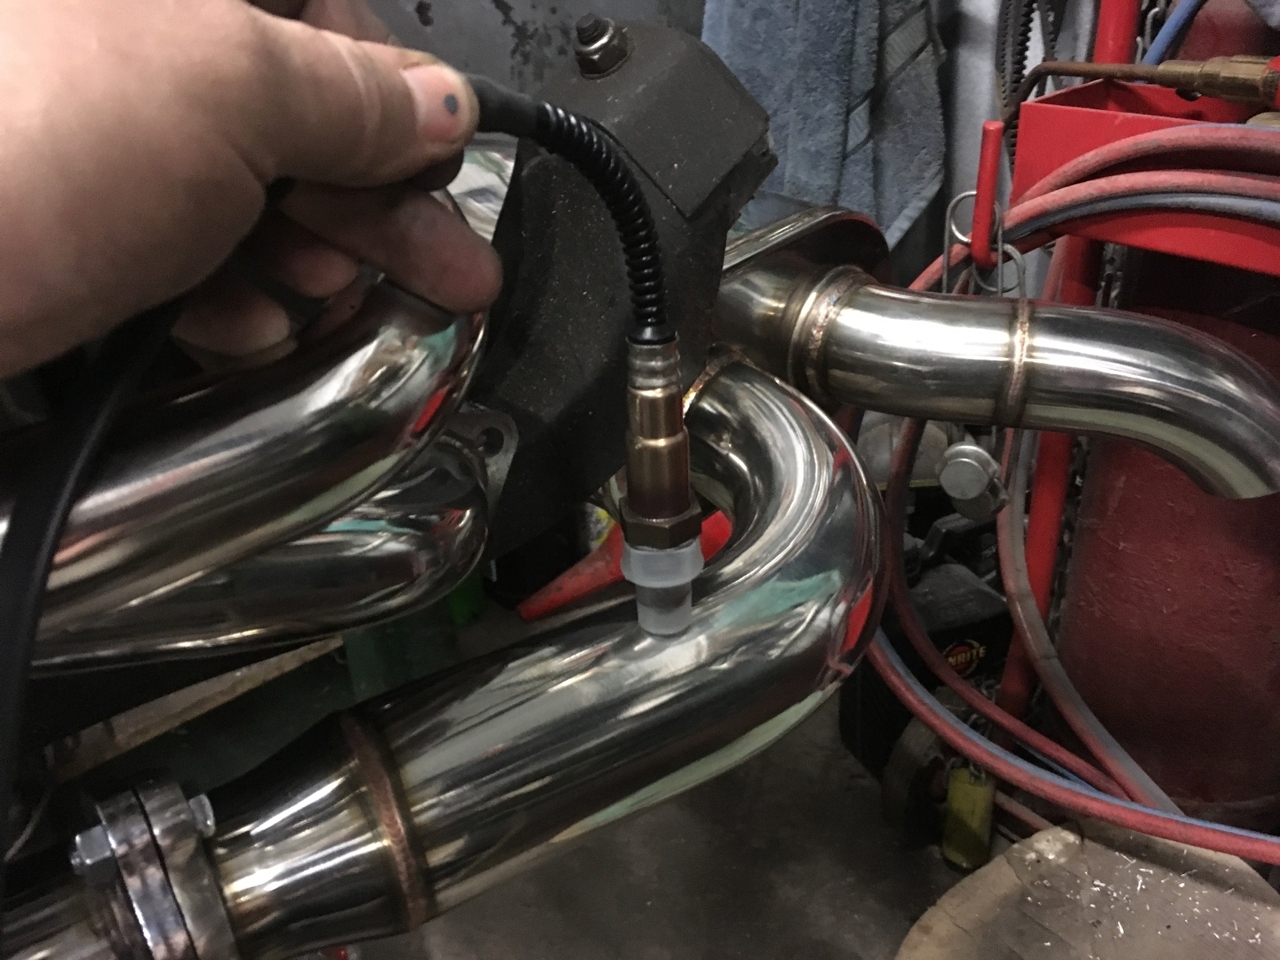
Been slowly chipping away at the bus. Modified the exhaust by relocating the rear hanger that the silencer is suspended from as the original location did not work that great. I simply cut off the old mount and re-welded it in a more suitable location. I also welded in the bung for my O2 sensor, I'm 95% sure it will not hit the rear valance but will have to wait and see. I also heated up and bent out the moustache bar to create a little clearance for the silencer. It's very close. The...Been slowly chipping away at the bus. Modified the exhaust by relocating the rear hanger that the silencer is suspended from as the original location did not work that great. I simply cut off the old mount and re-welded it in a more suitable location. I also welded in the bung for my O2 sensor, I'm 95% sure it will not hit the rear valance but will have to wait and see. I also heated up and bent out the moustache bar to create a little clearance for the silencer. It's very close. The silencer is also very close to the engine hanger. 85% sure it'll be okay on that oneMore

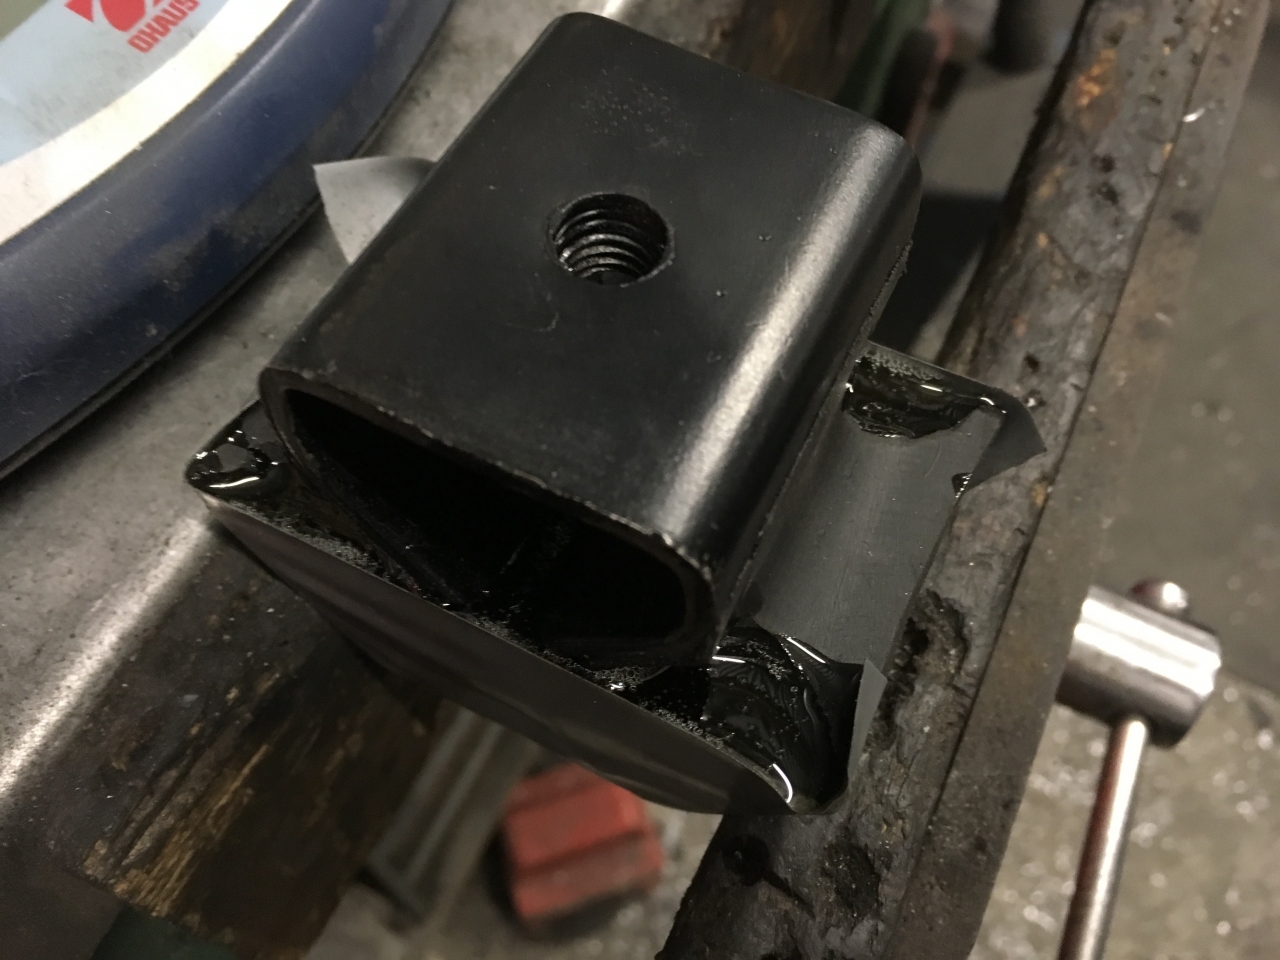
The old engine mounts were pretty badly cracked so I ordered some replacements. I tried looking for uprated / heavy duty mounts but found that there is nothing available for early bay busses. What i did find however, was that the DIY tuning crowd were making up their own uprated mounts using two-part urethane.
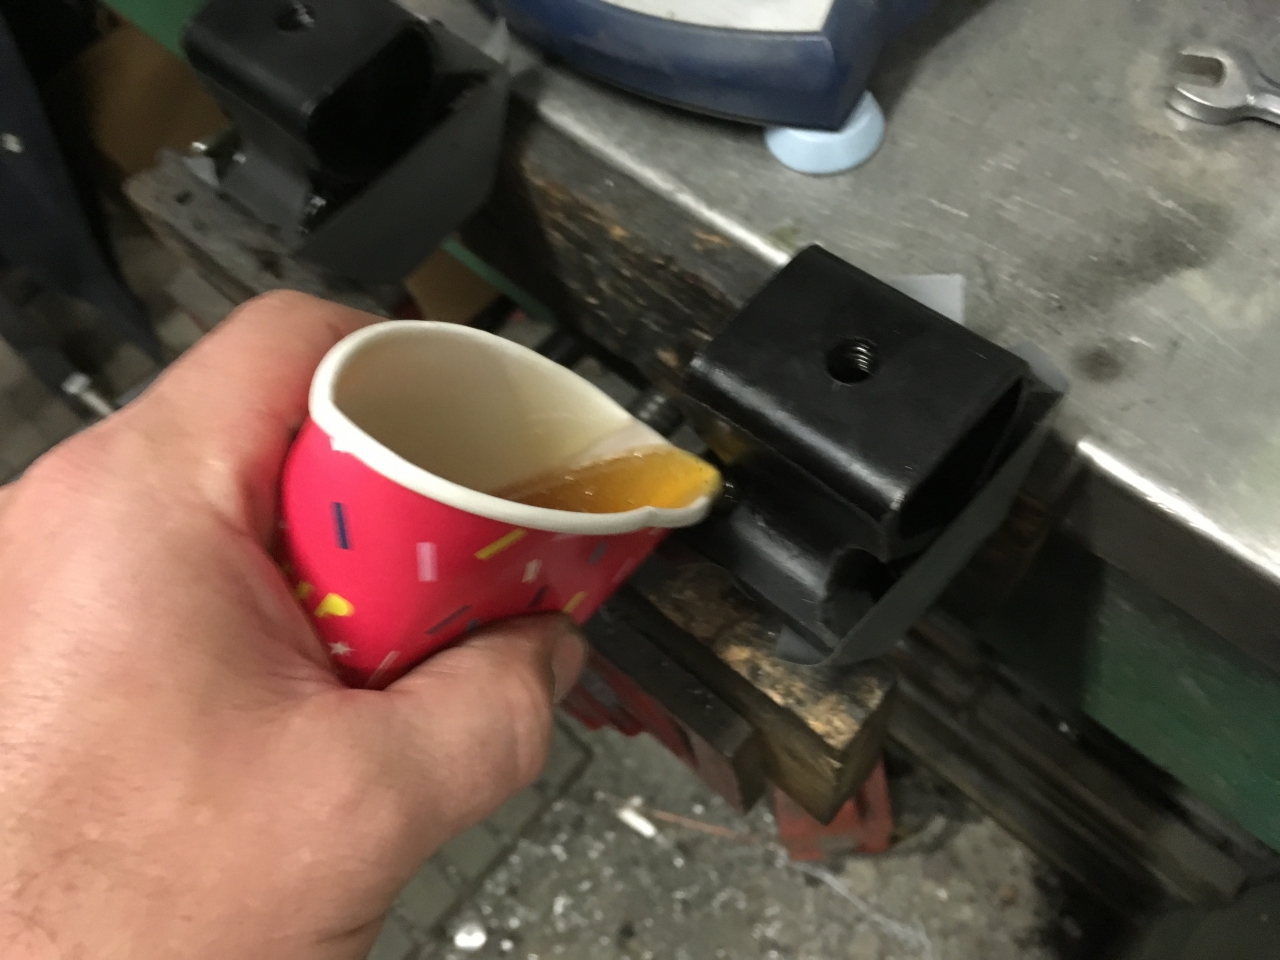
The idea is actually pretty simple. Use urethane to fill in the holes in the mounts, stiffening them up. This actually works quite well on an early bay mount. To do this I cleaned up the mounts (they were covered in paint) created a bit of a dam/mold using some gaffer tape, mixed up the urethane and poured it into the mount. 24 hours later it had completely cured. To I did a bit of a test by compressing both a stock mount and an 'uprated' one in my shop press and found that the uprated one hardly deflected at all.
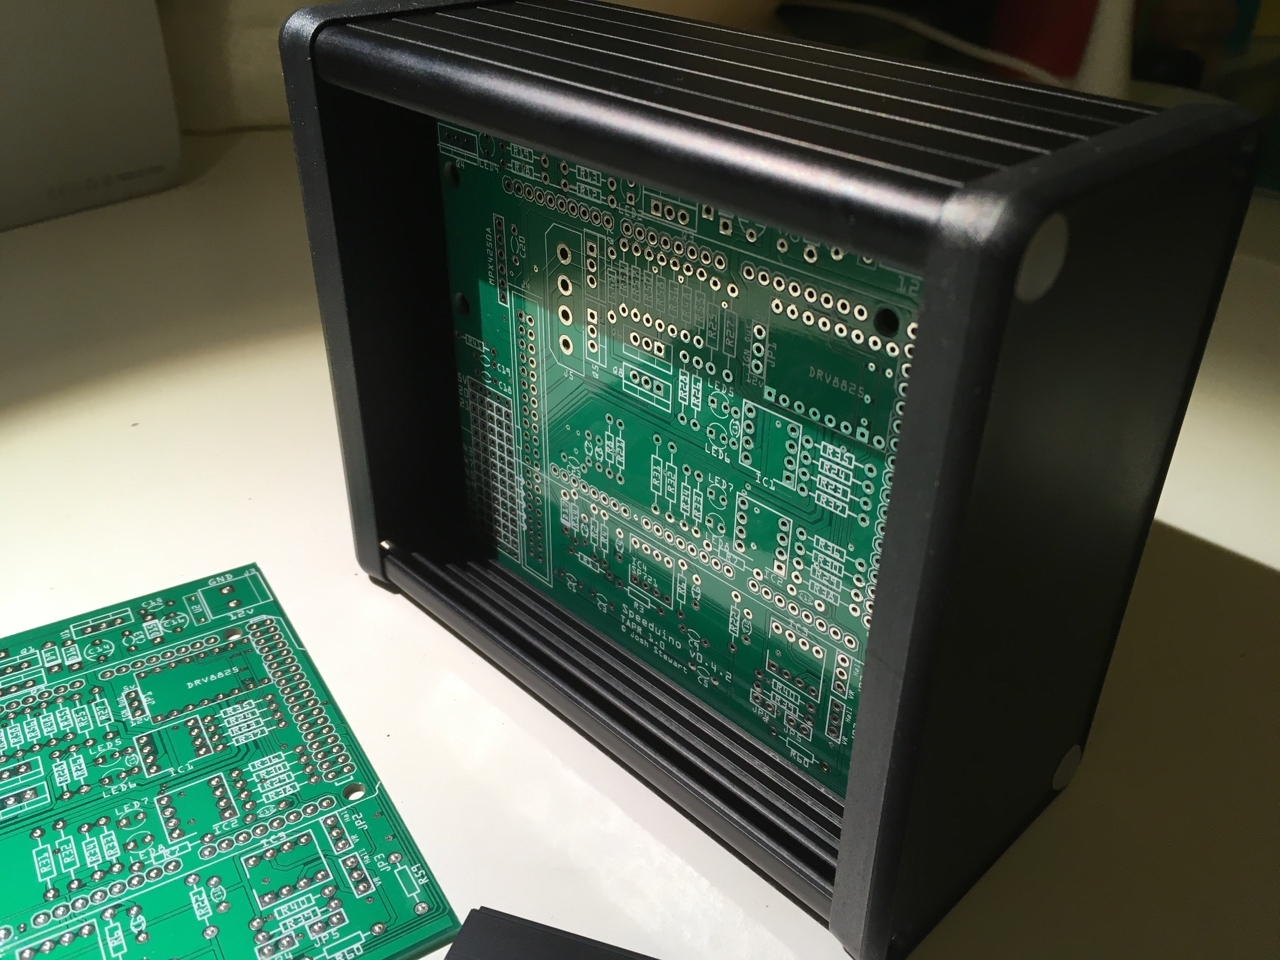
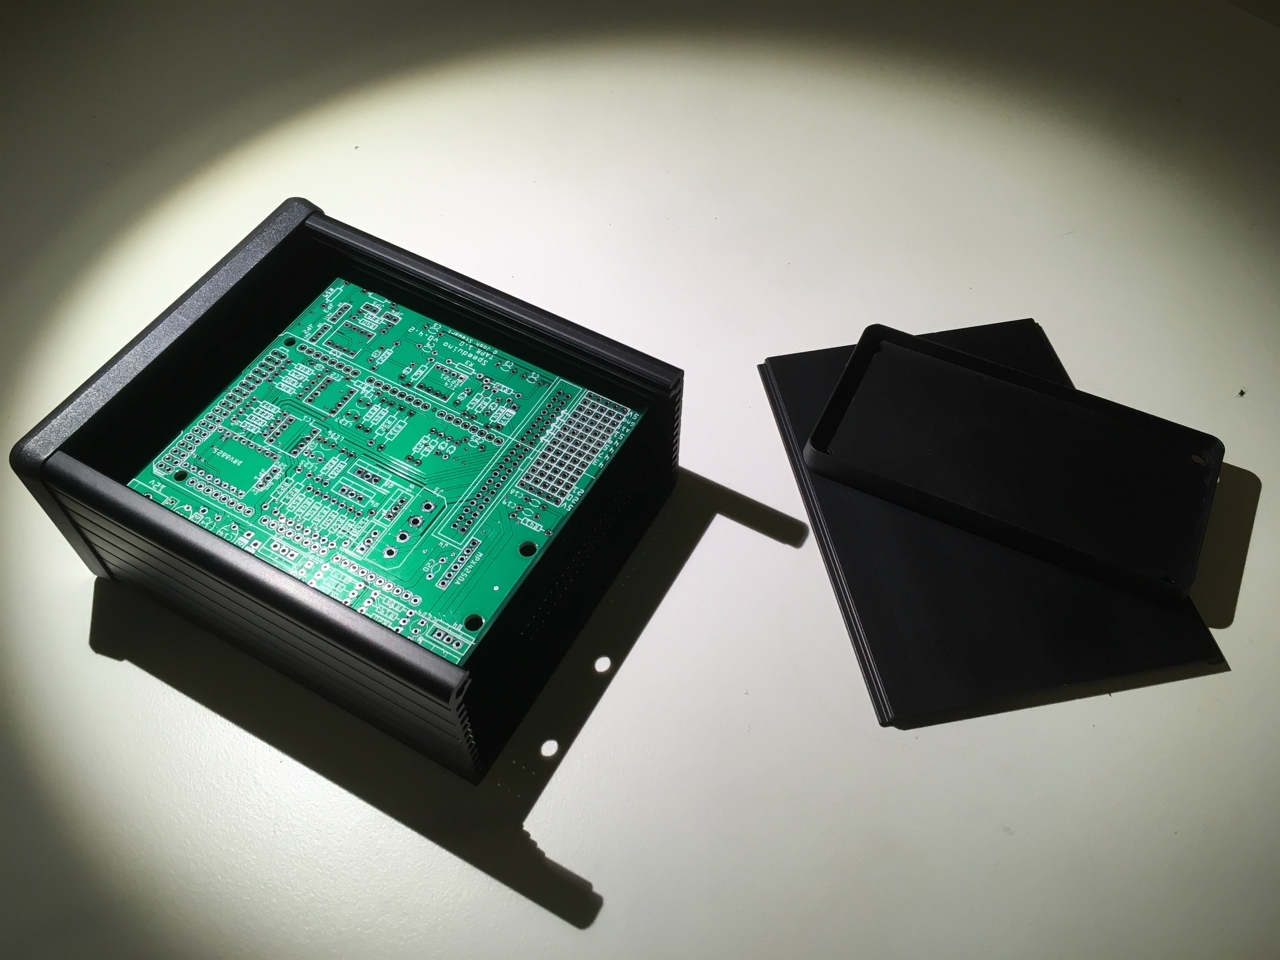
Another fairly major step in the project was the manufacture of some ECU adaptor boards. These are for the EFI ECUs that I supply and make manufacture and installation much simpler as they integrate the wideband controller and fuel and ignition relays onboard. The first prototype is now ready to be installed, after I make myself another ECU (they keep getting sold).
The final step is also underway, the wiring. I've started (and mostly finished) the wiring loom. There's only a few bits of soldering / splicing to finish and then the loom can be wrapped, and that is then pretty much it. Time to get the engine in.
Post is under moderationStream item published successfully. Item will now be visible on your stream. -
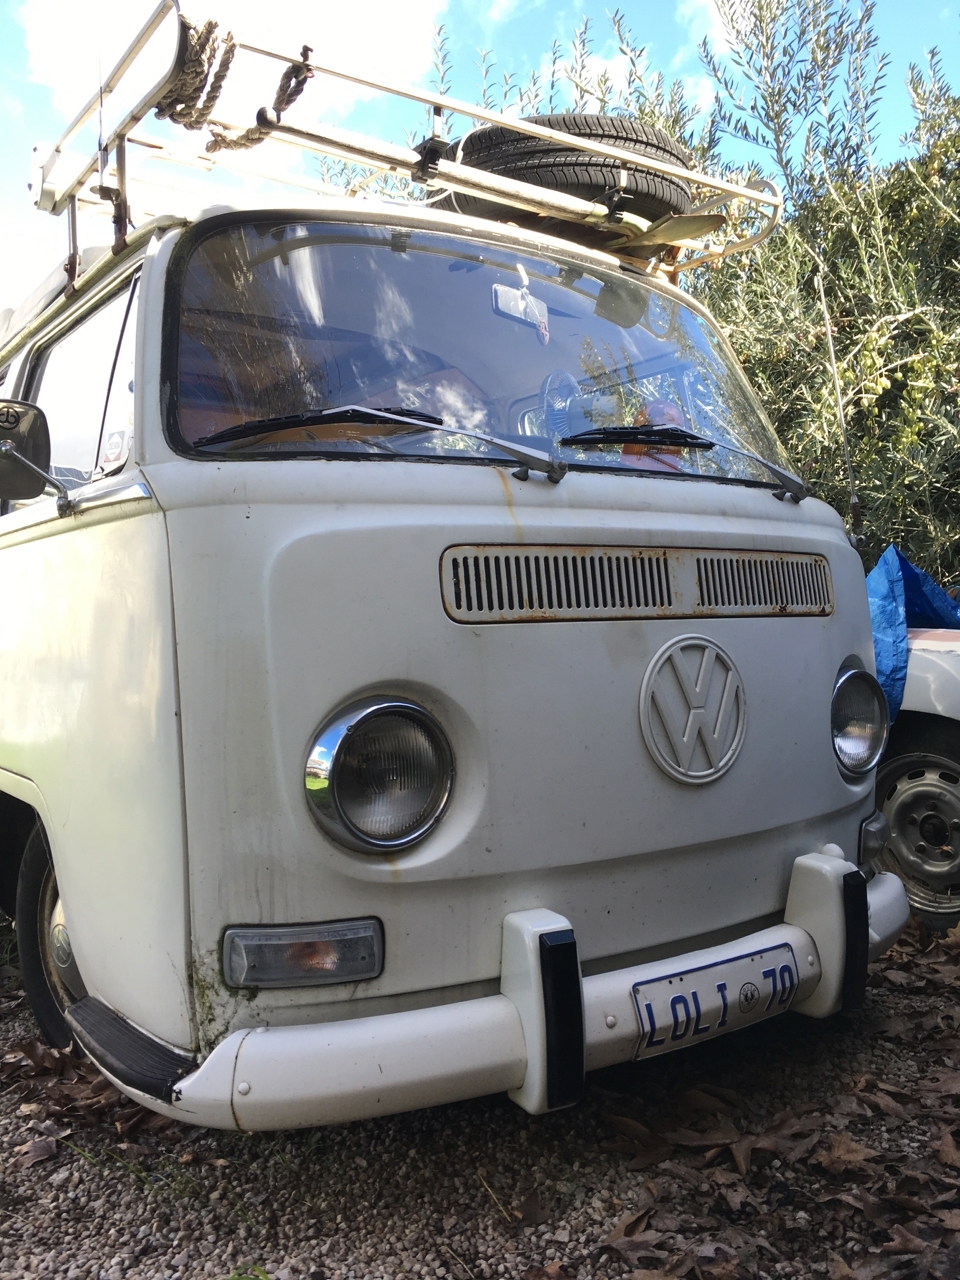
Harry Ganavas reacted to this post about 7 years agoThe new overriders and headlights (excuse the finger marks). The headlights have an integrated LED 'halo' around the edge for the sidelights. The headlights themselves use a modern clear lense and prismatic reflectors which help give a brighter light. They look a bit different to the old units but not so much that they stand out. I've also installed LED main bulbs, which come with a cool fan assisted heat sink on the back. For installation tips please refer to the previous post.Post is under moderationStream item published successfully. Item will now be visible on your stream.
-
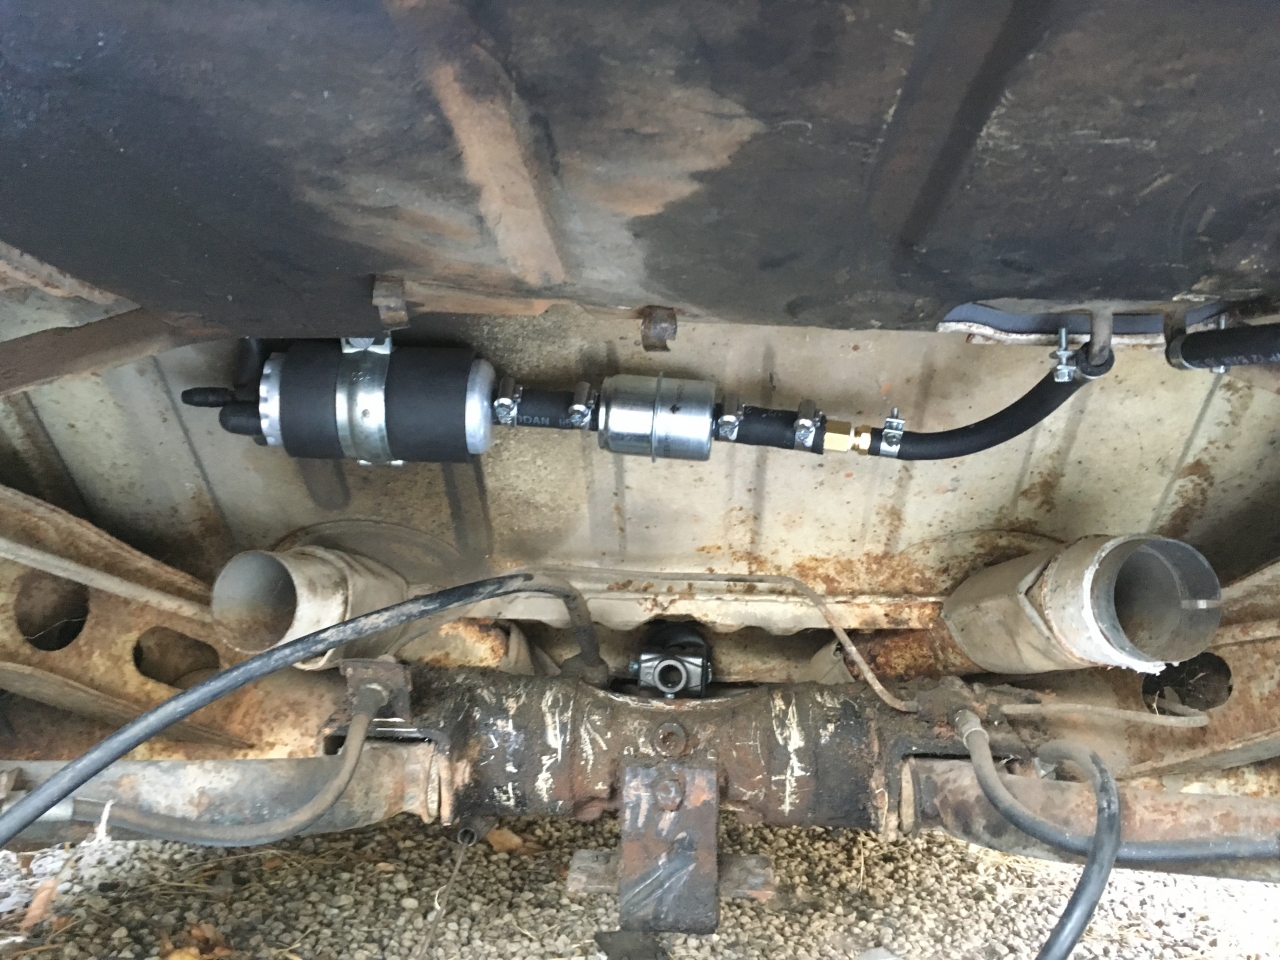
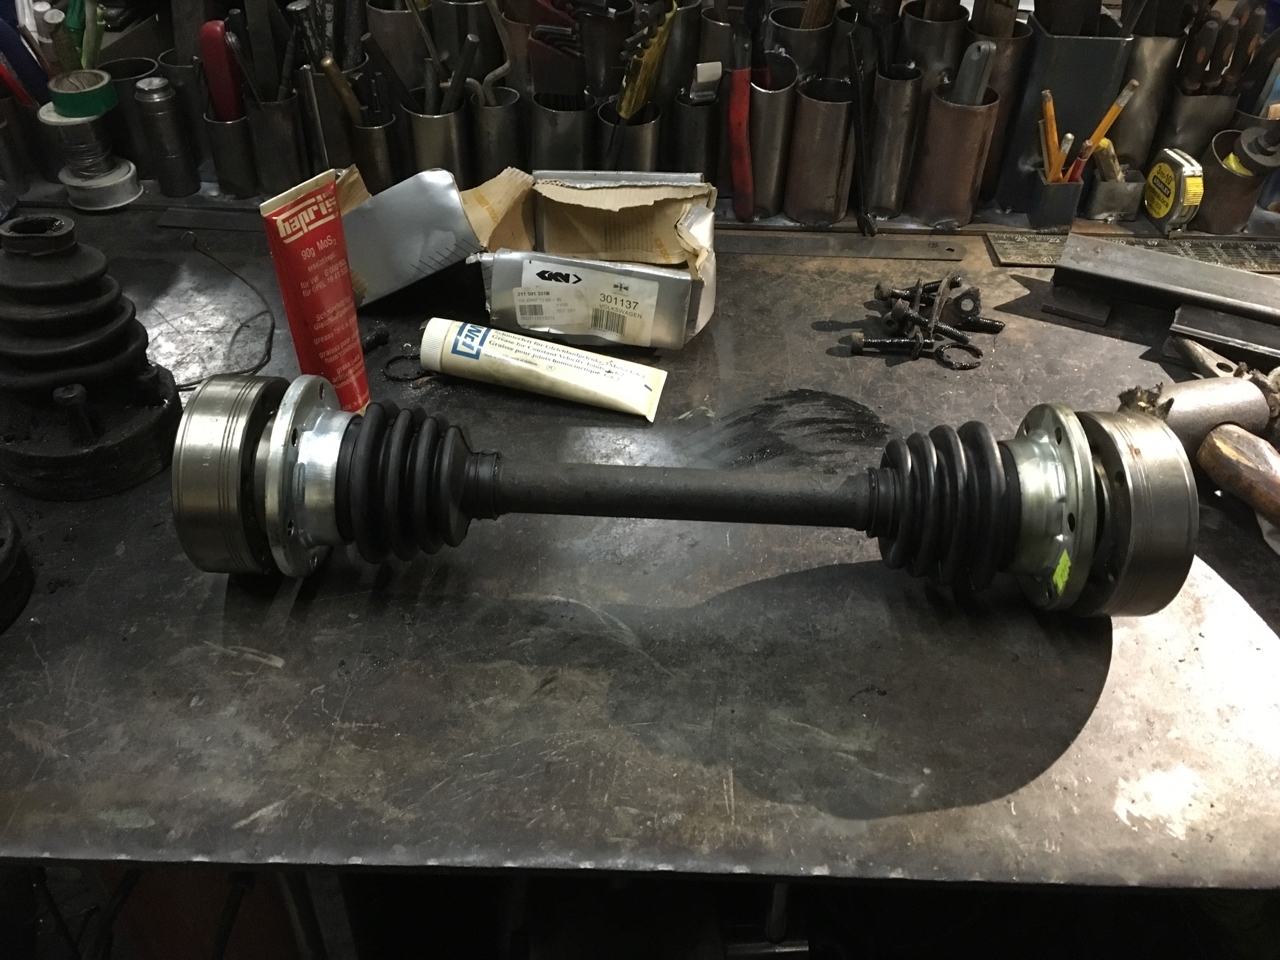
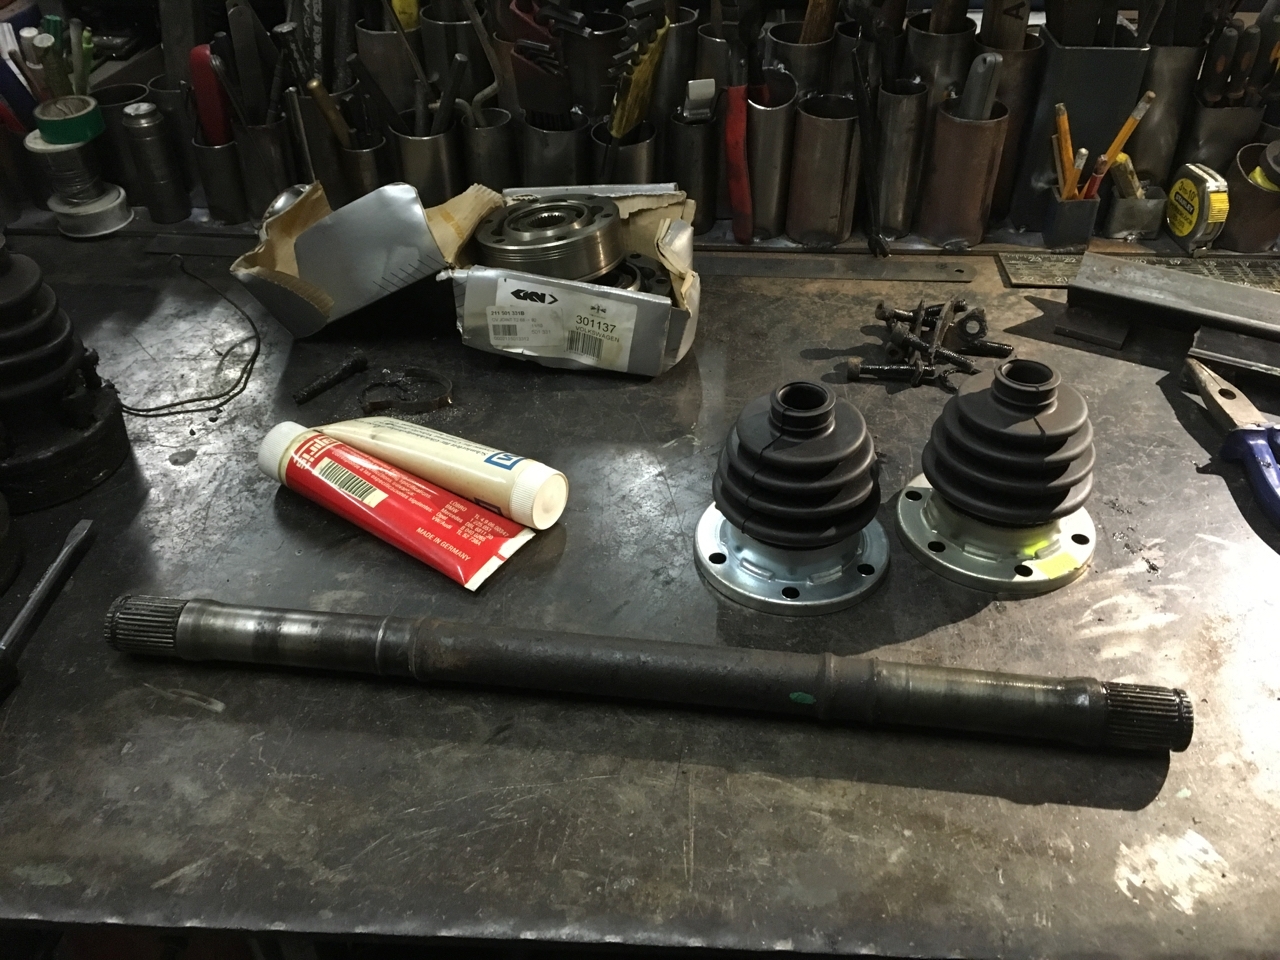
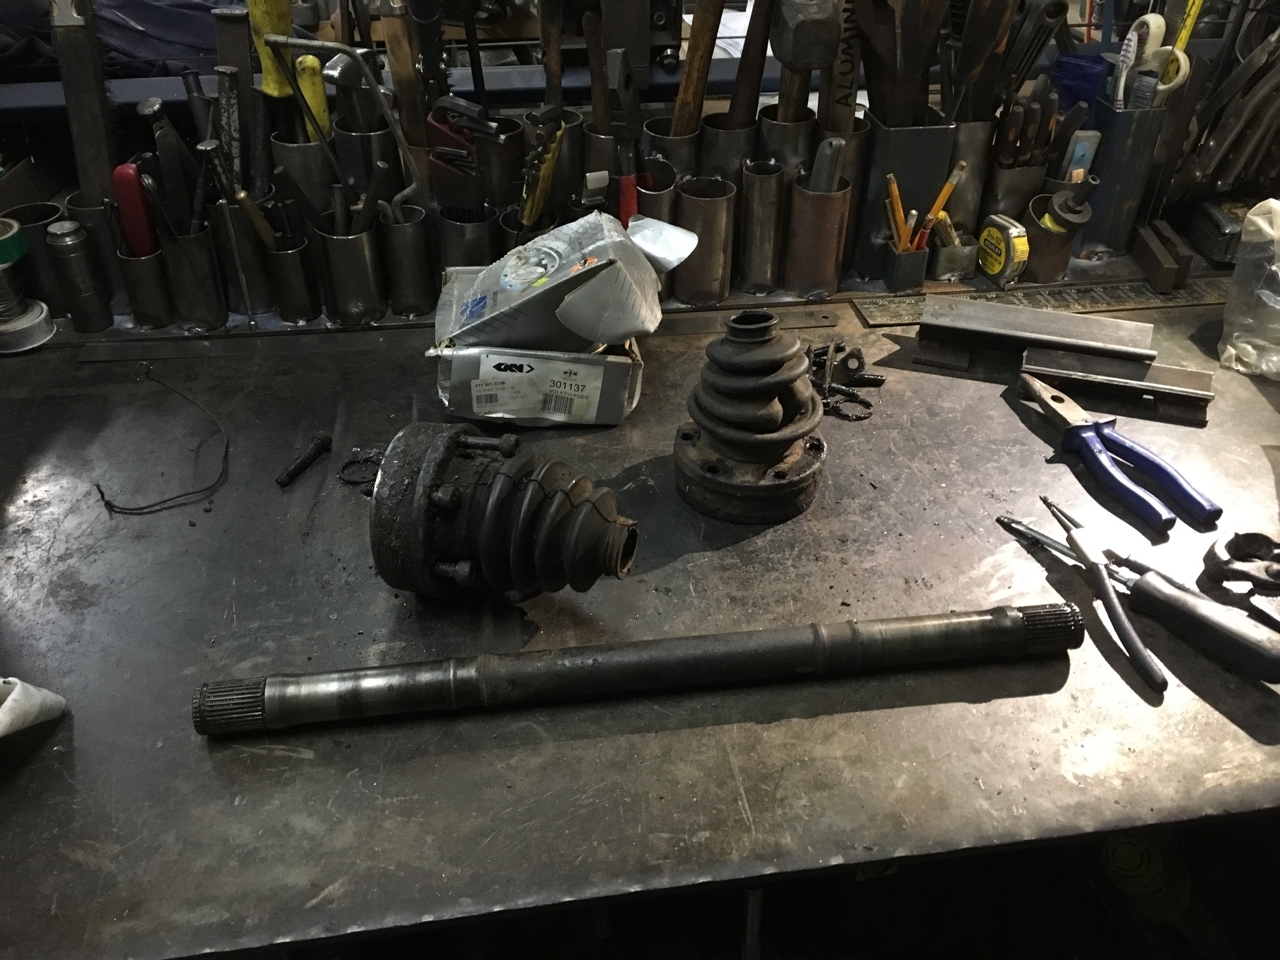
Been meaning to update the build thread for a while. Been making some steady progress on the bus, it's just a case of grabbing half an hour here and there when I can and trying to knock off some of those small jobs. The fuel system is now installed and basically ready for the engine to be hooked up. I've reinstalled the gearbox along with a new shift coupling as well as the driveshaft that I previously rebuilt with new CVs. I've reinstalled the starter motor and removed the old fuel pump and...Been meaning to update the build thread for a while. Been making some steady progress on the bus, it's just a case of grabbing half an hour here and there when I can and trying to knock off some of those small jobs. The fuel system is now installed and basically ready for the engine to be hooked up. I've reinstalled the gearbox along with a new shift coupling as well as the driveshaft that I previously rebuilt with new CVs. I've reinstalled the starter motor and removed the old fuel pump and wiring.More
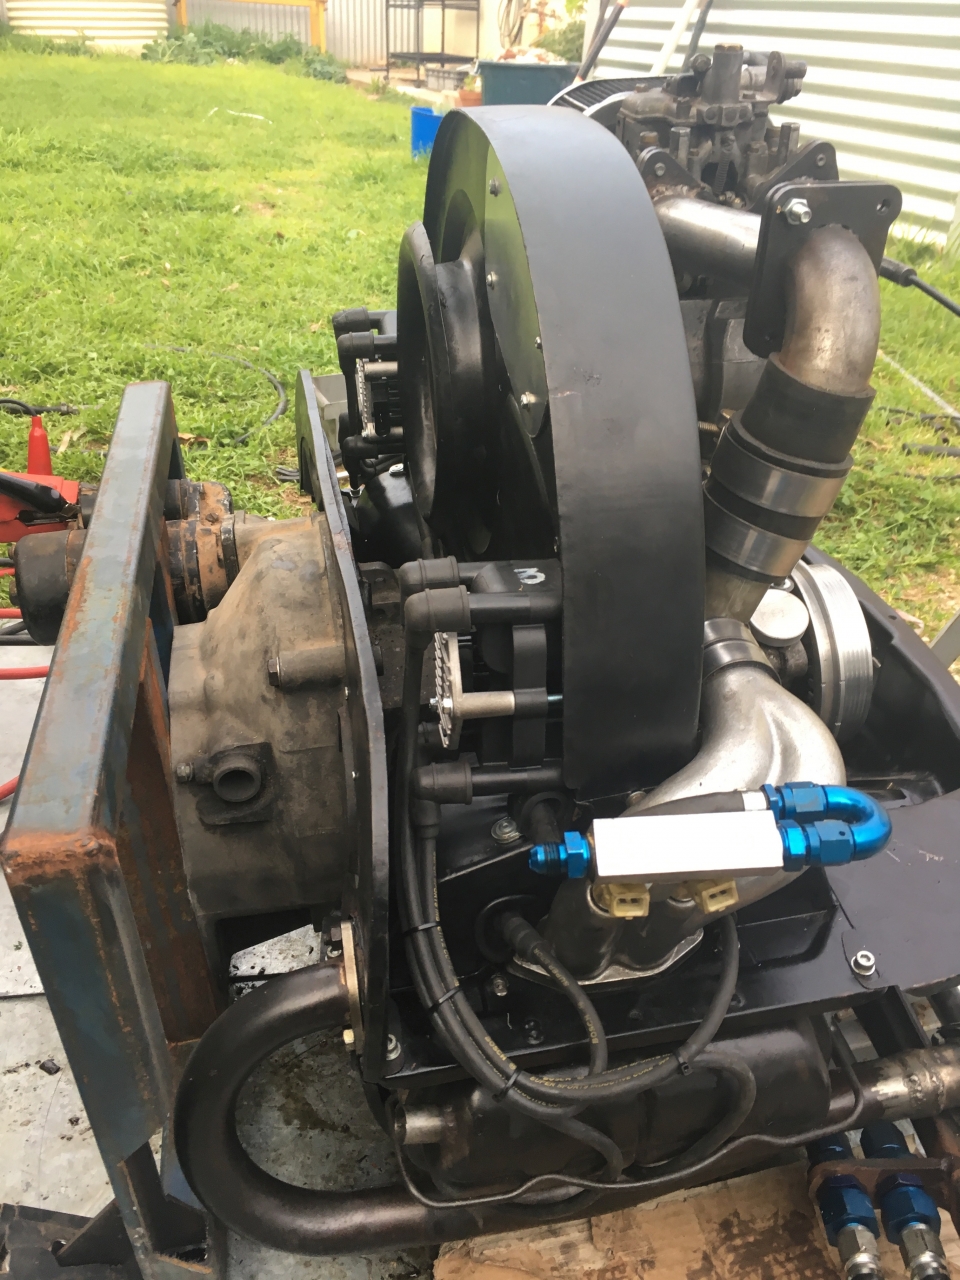
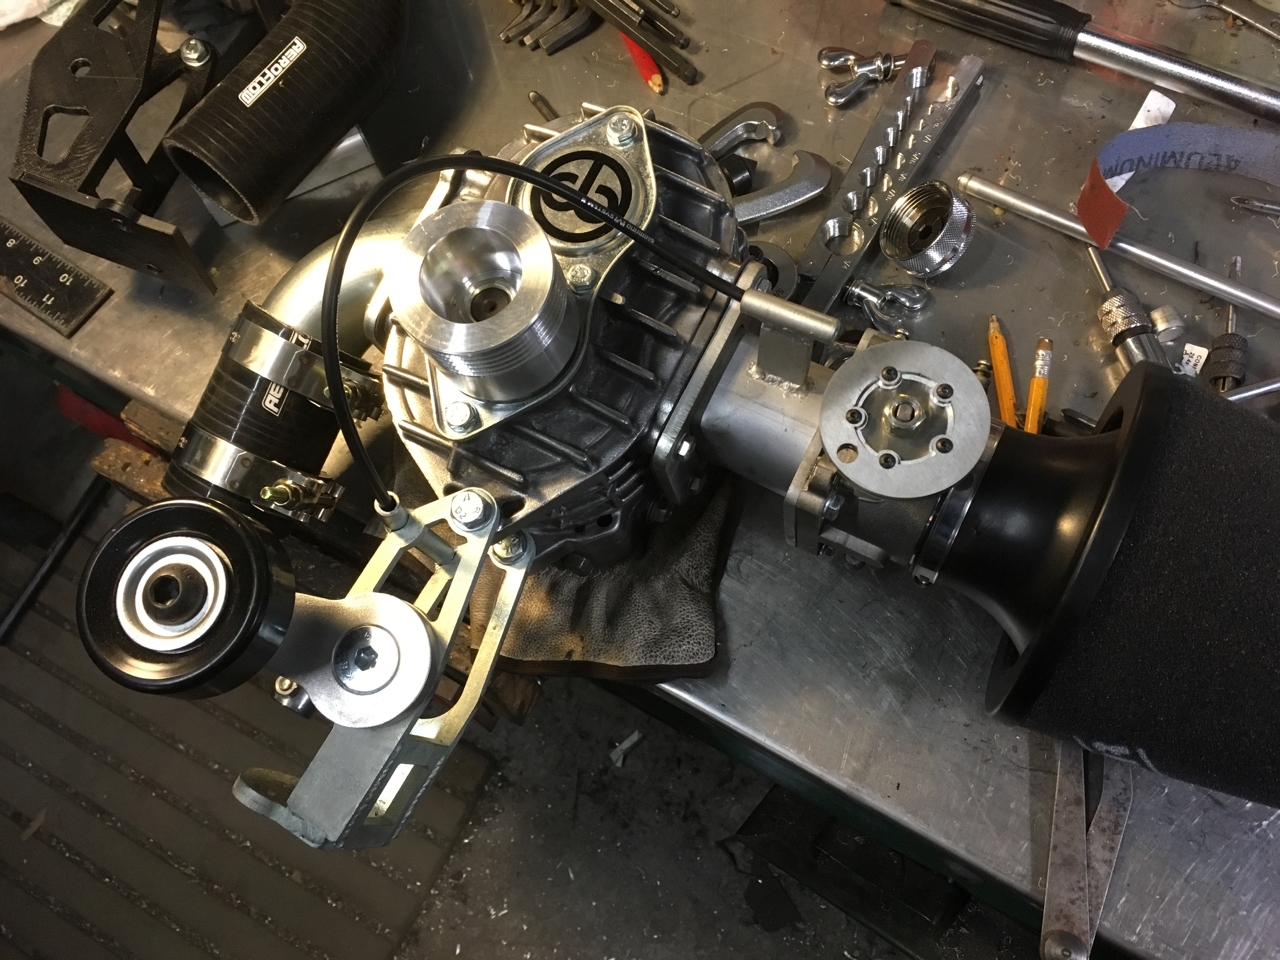
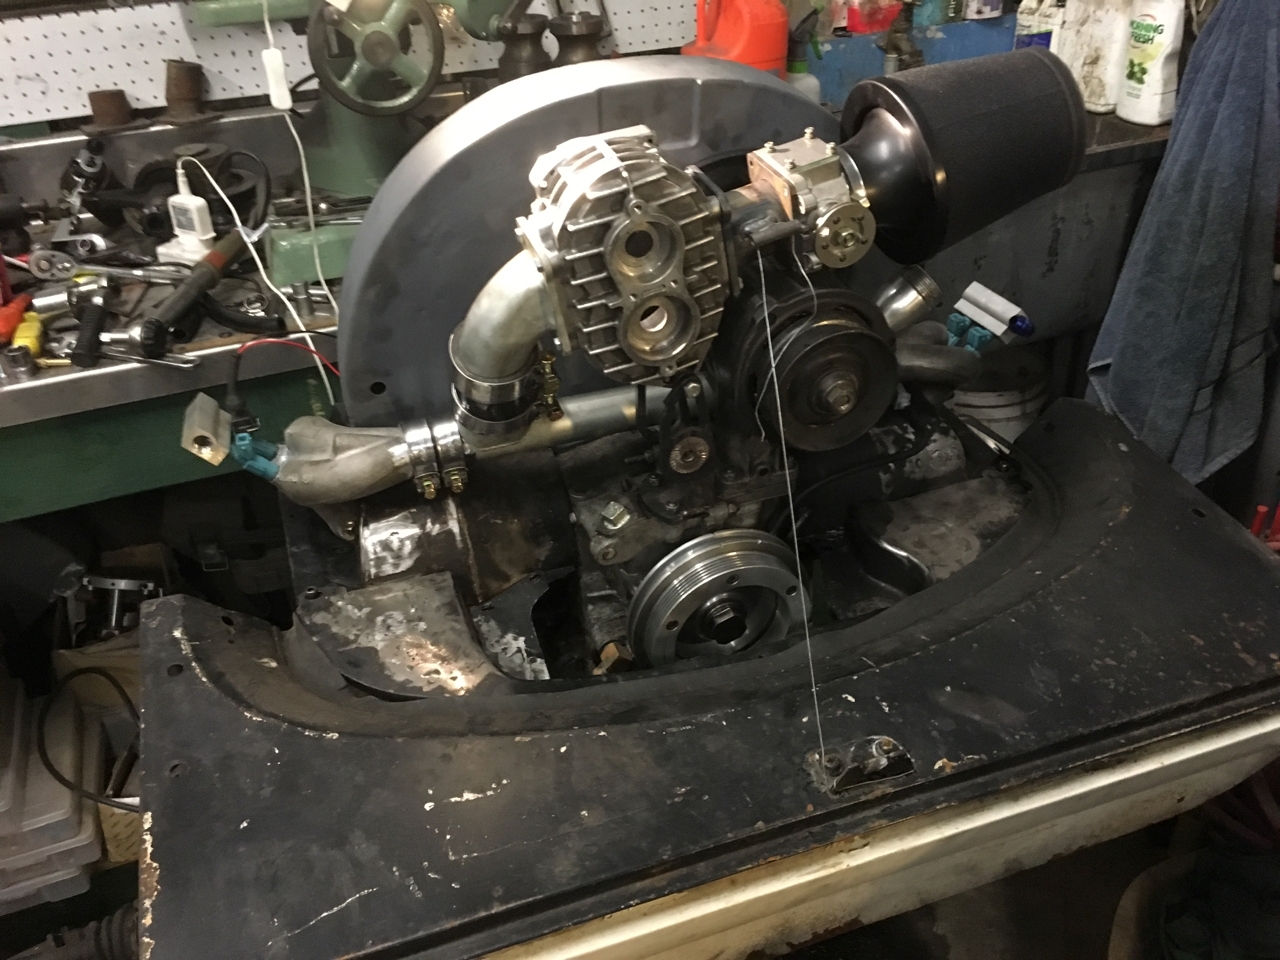
The engine is now assembled with a plethora of small jobs finally sorted out. I've ported the blower, whittled the throttle butterfly shaft, machined the throttle body to accept the air filter, made up some injector adaptors, fabricated some injector hold down clamps, finished off the fuel rails, fitted one of my new crank trigger sensor brackets, made up a new wider blower and crank pulley as well as properly installed the headers and tin-wear. There's a bunch of other stuff that I've probably forgotten too (ahh yeah - like reinstalling the clutch) well, you get the idea.
So the engine is basically ready to go in, the only thing that is really stopping me is that I want to finish the loom before I install it. Well, I think I do. I'm a bit unsure. I'll decide that when I get to it.
This weekend I finished off a couple of other small jobs that have been hanging around - Installation of the overriders and the LED headlamps. I still need to tack the headlights in place, but it got a bit too dark to do that this evening, plus I need to hook up the battery to double check the headlamp aim before I finalise their position.
Conversion of the bus to H4 style headlights meant changing from the early bay all-in-one style of headlight assembly where the headlamp mounting is fixed to the read of the trim ring to a seperate headlight mount and trim ring. The only issue with this approach is that there are no brackets to fit the new headlight mount to. I solved this by making up some small tabs which I bent 90 degrees and held to the mount by the use of some small self tapping screws. With the brackets fixed to the headlight mount it was fairly easy to push it into the headlight bowl, where it held itself in position. Once I have fitted the battery back in the bus I will confirm the aim of the lights and then weld them in position.
Having already converted the rear lights to LED I now have to change my flasher relay. The standard flasher relay works on a thermal strip and so needs a relatively high load to work. As the LEDs draw practically no power the flasher relay will not work and so needs to be changed for a solid-state (electronic) style of relay. Whilst I'm doing this I can also install the new fuse box mounting bracket as mine is missing.
Still heaps to do but I feel like its getting closer to actually getting the engine back in the bus. Some of the other jobs can wait until afterwards.
Post is under moderationStream item published successfully. Item will now be visible on your stream. -
Took a look at the drop spindle conversion yesterday. The idea is to fit late bay drop spindles and then make some adaptors to convert to wide 5. This way I get both drop spindles and discs.
I previously had some adaptor plates cut from 10mm steel but on fitting noted that the centres are way bigger then the hubs that I have (the hubs are brand new Empi versions) I'm guessing that the original hubs are a different diameter. At any rate I will need to get some more adaptors made up. This...Took a look at the drop spindle conversion yesterday. The idea is to fit late bay drop spindles and then make some adaptors to convert to wide 5. This way I get both drop spindles and discs.More
I previously had some adaptor plates cut from 10mm steel but on fitting noted that the centres are way bigger then the hubs that I have (the hubs are brand new Empi versions) I'm guessing that the original hubs are a different diameter. At any rate I will need to get some more adaptors made up. This time I will just get some blanks cut and then finish them off myself. The laser cutting was not great, it looks like they had the machine too fast as there was a lot of deflection in the cut. Not great when you need it to be accurate.
I will machine the new ones in my lathe and then drill the holes using my dividing head - this way I can ensure concentricity and make sure that the plate is a snug fit on the hub - this ensures that the load is transferred to the hub and is not taken up by the wheel studs. The countersunk bolts stop it from looking too much like a bolt on wheel adaptor.Post is under moderationStream item published successfully. Item will now be visible on your stream. -
A word from our sponsors...
-
Added some bling. Now I just need to decide if I want to chrome the badge...Post is under moderationStream item published successfully. Item will now be visible on your stream.
-
Post is under moderationStream item published successfully. Item will now be visible on your stream.
-
Haven't had a chance to do any more work on getting the engine installed but have spent a few dollars treating the bus to some new goodies.
One of the mods that I have planned for the bus was converting the front to use the new drop spindles available for late bays. The reason for this is to improve the ride a little as lowering the front solely by beam adjusters has left the bus with a bit of a bouncy ride. The issue with this conversion is that late bays run disks with a different bolt...Haven't had a chance to do any more work on getting the engine installed but have spent a few dollars treating the bus to some new goodies.More
One of the mods that I have planned for the bus was converting the front to use the new drop spindles available for late bays. The reason for this is to improve the ride a little as lowering the front solely by beam adjusters has left the bus with a bit of a bouncy ride. The issue with this conversion is that late bays run disks with a different bolt pattern to early bays (which run drums and wide 5.) So to get the wheels to fit you need to make up an adaptor plate to convert the late bay stud pattern to early wide-5 and run the disk brake set up. Unfortunately at this stage they do not do a drum brake version and it is not possible to fit drums to the late drop spindles without a lot of modification which is not something that I want to risk with my brakes.
I previously made up an adaptor plate (which needs machining) and purchased the drop spindles, and was looking for someone wrecking a late bay to get the rest of the parts that I needed. But after a couple of dead ends and failing at getting some sent from interstate I gave up on that idea. Somehow I recently stumbled across the fact the Rod Penrose stocks all of the necessary parts (new) for this conversion. Rods obviously had the foresight to realise that the hubs, bearings, etc are also needed so he keeps them in stock. So I've taken the plunge and ordered all of the parts required to finish the brake conversion including a new master cylinder and front brake lines.
This now takes the list of jobs that need doing up to several hundred - lol.
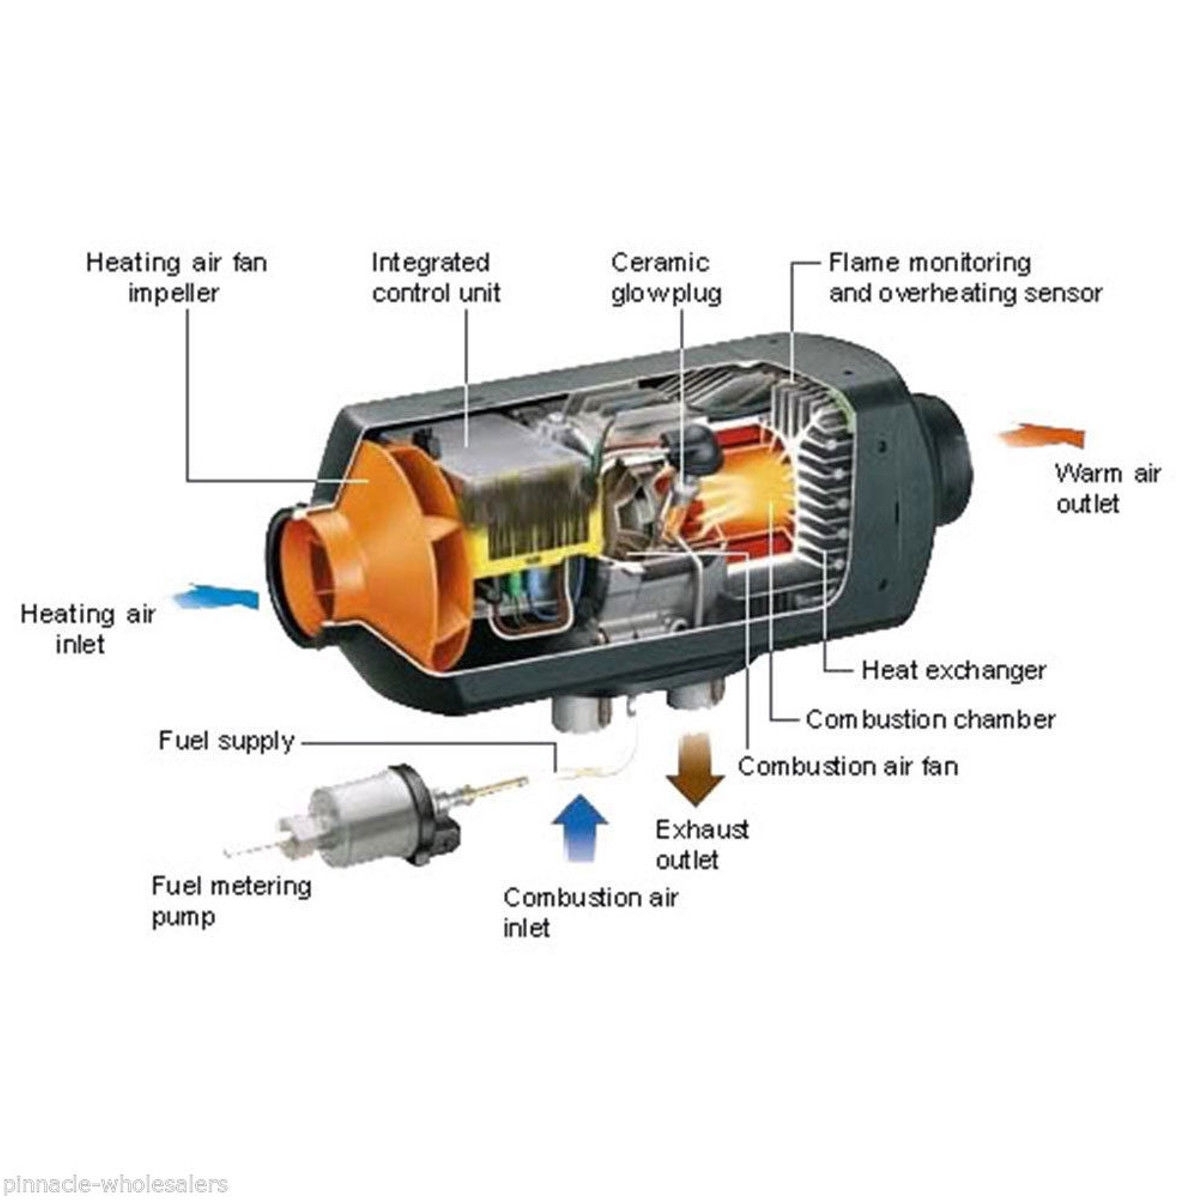
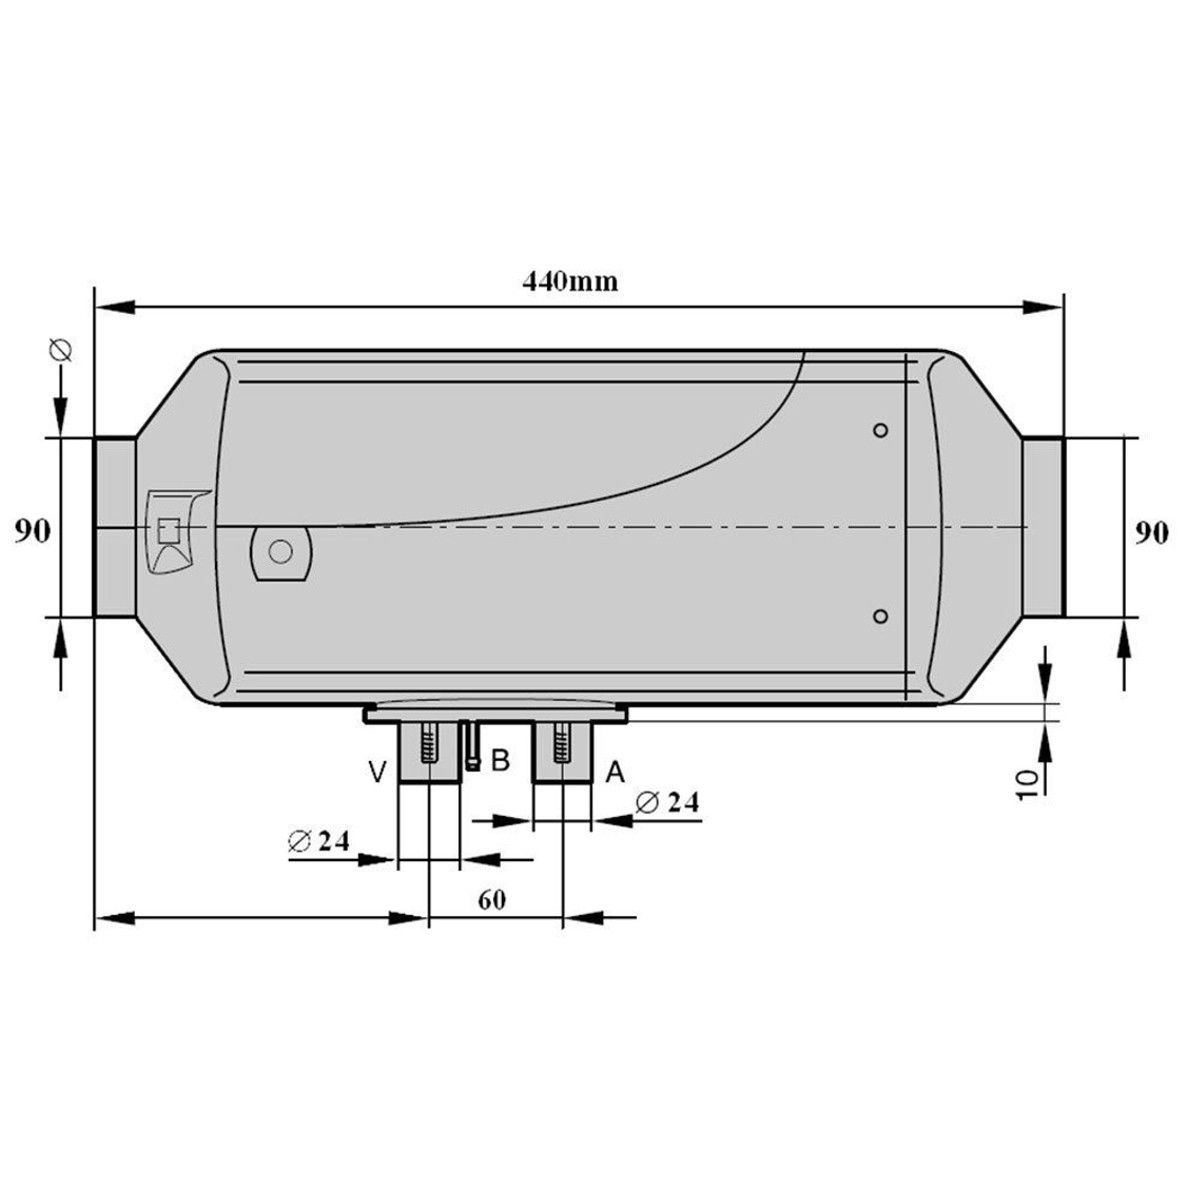
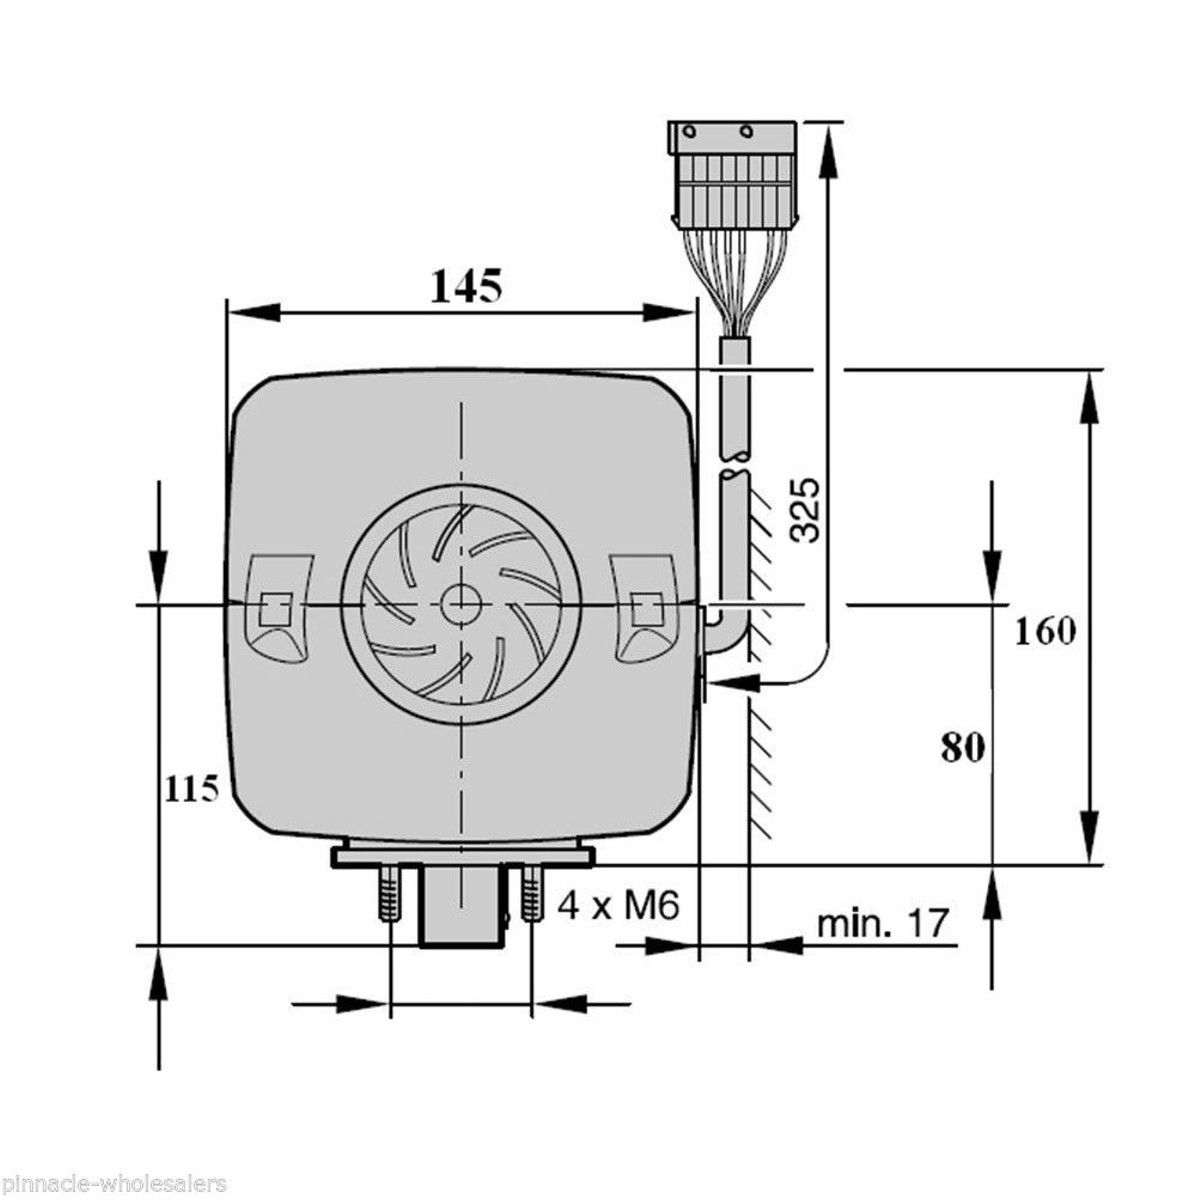
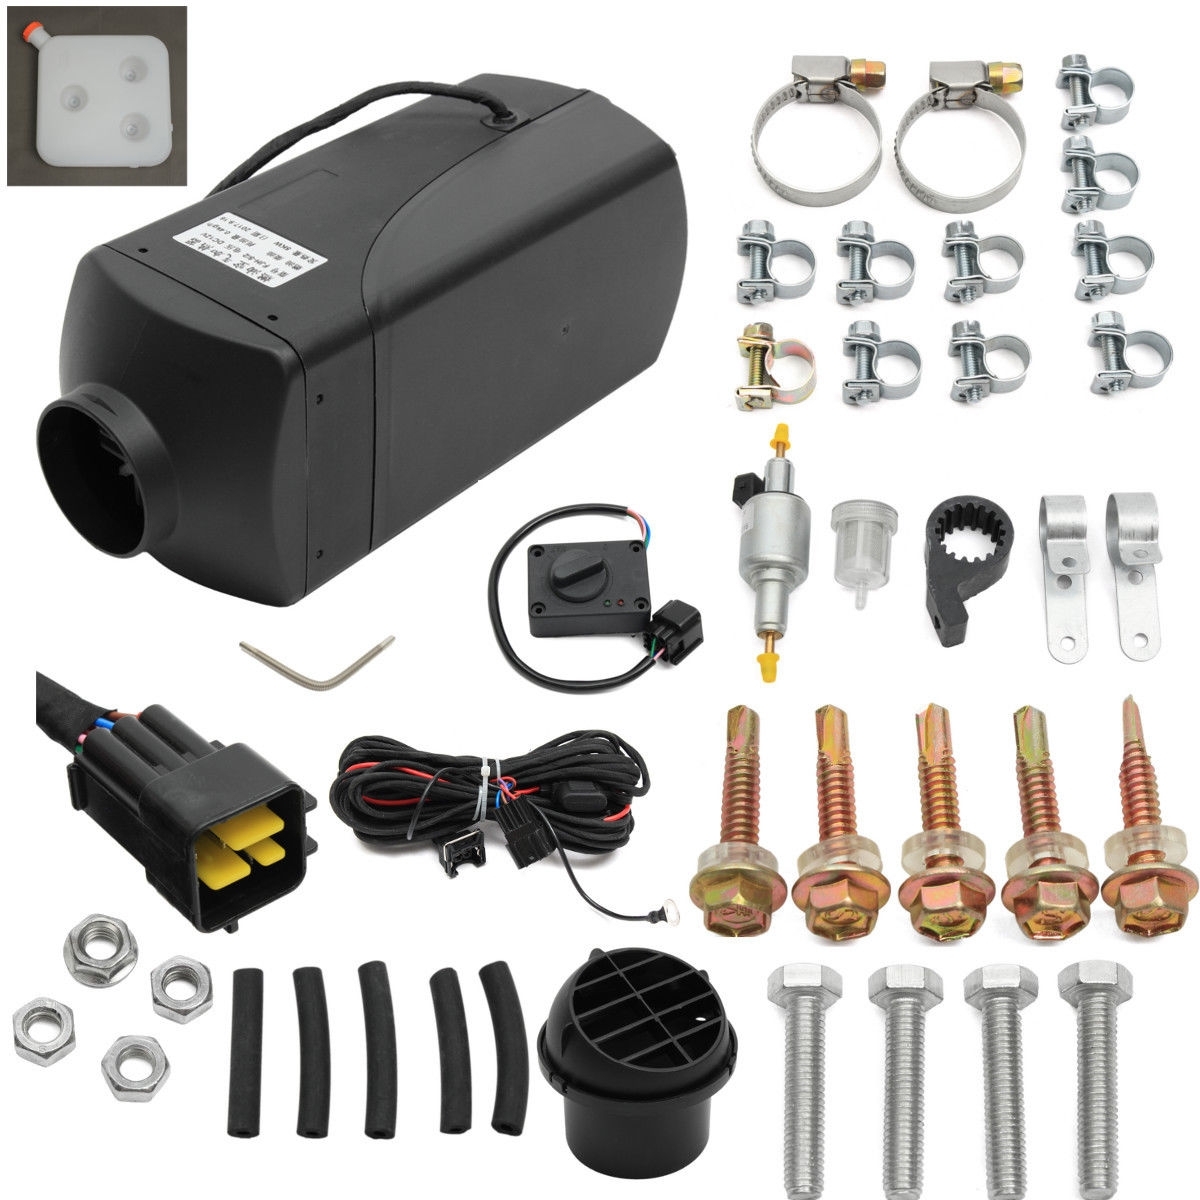
In addition to the brakes I've also pulled the trigger on a diesel space heater. Not exactly a necessity for the Australian summer but a nice bit of kit to have for those colder evenings and one to take the chill off the bus on a cold morning once I have sorted out a remote starter. I'll obviously post up about the install, as and when that happens. Next hurdle is to figure out where to install a diesel tank.Post is under moderationStream item published successfully. Item will now be visible on your stream. -
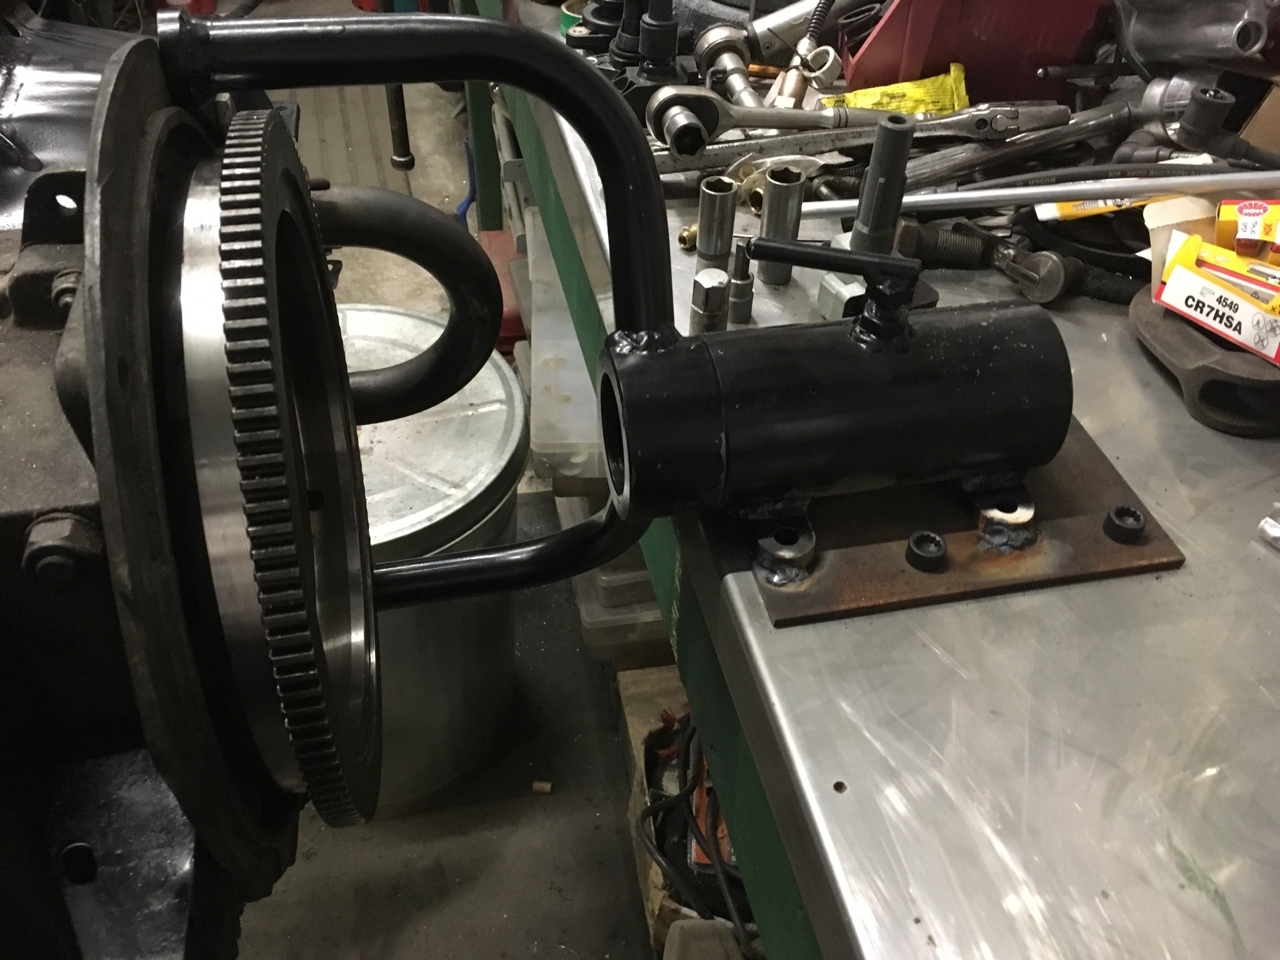
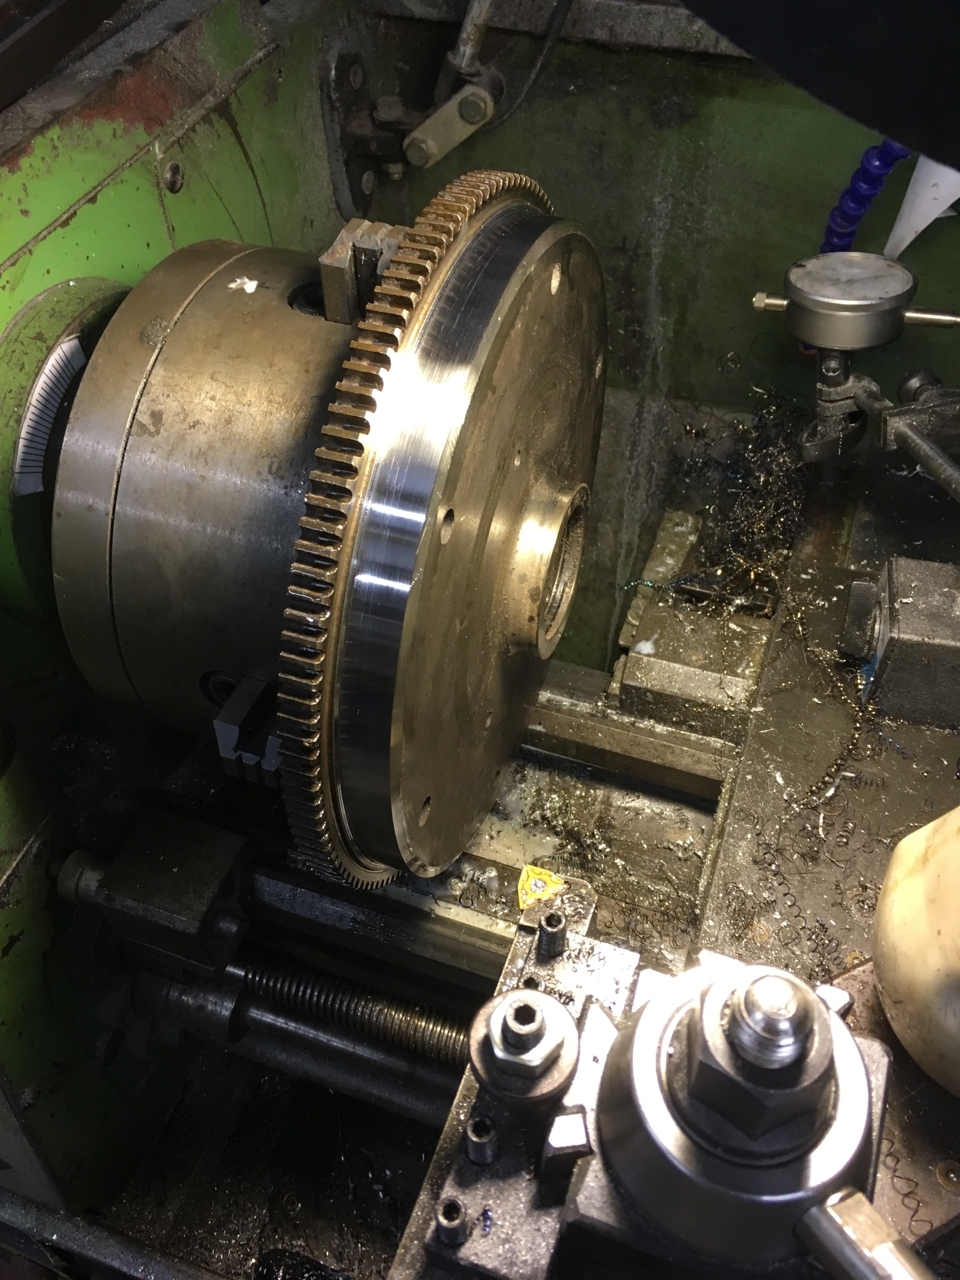
Finished off machining the flywheel. I've probably taken about a kilo off of the weight. I also 8 doweled the flywheel and crank. As I didn't have a jig, I used my indexing head to drill out the flywheel and then spotted through the flywheel to drill the corresponding holes in the crank.
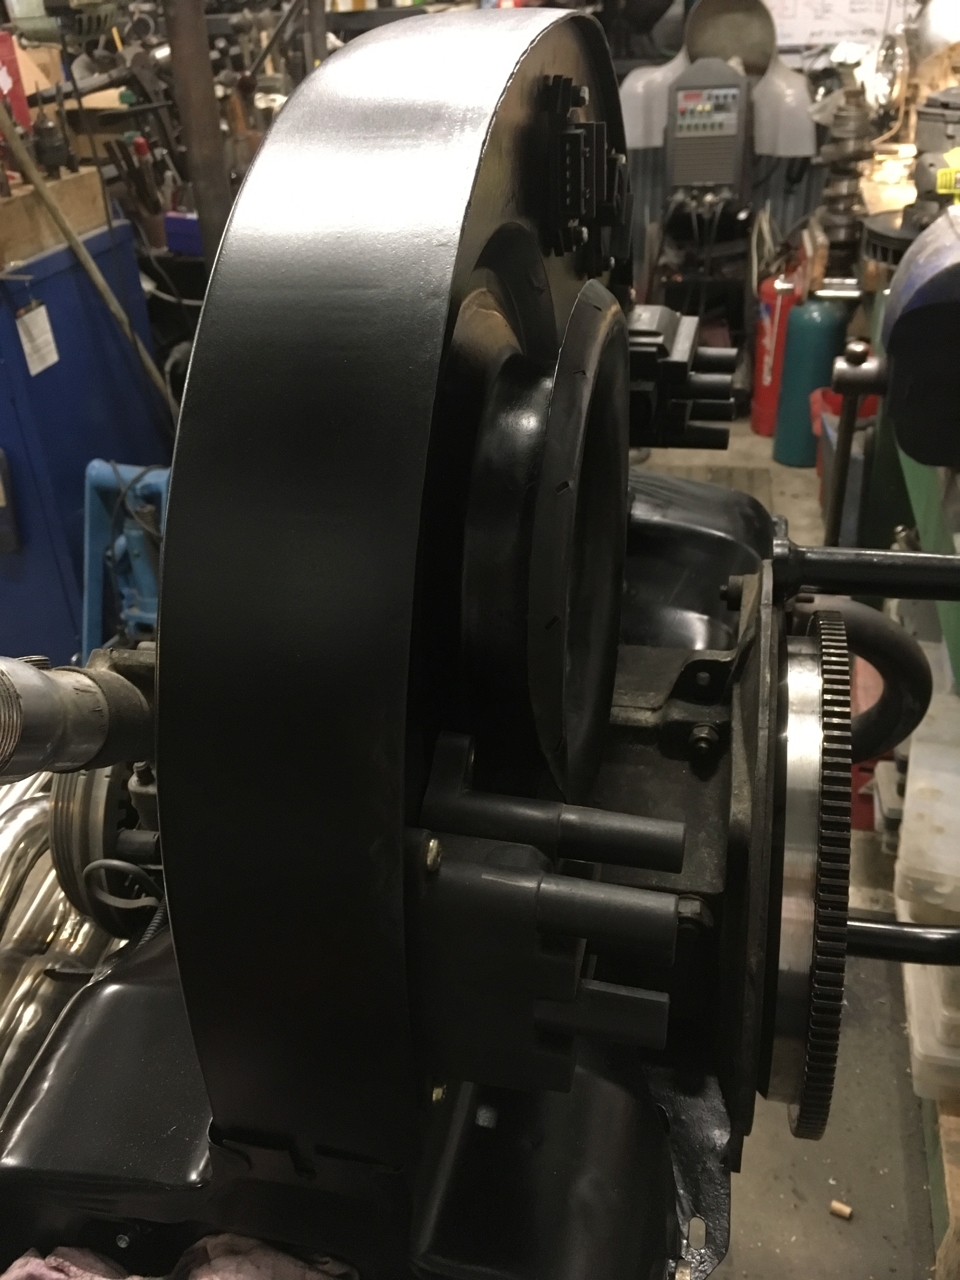
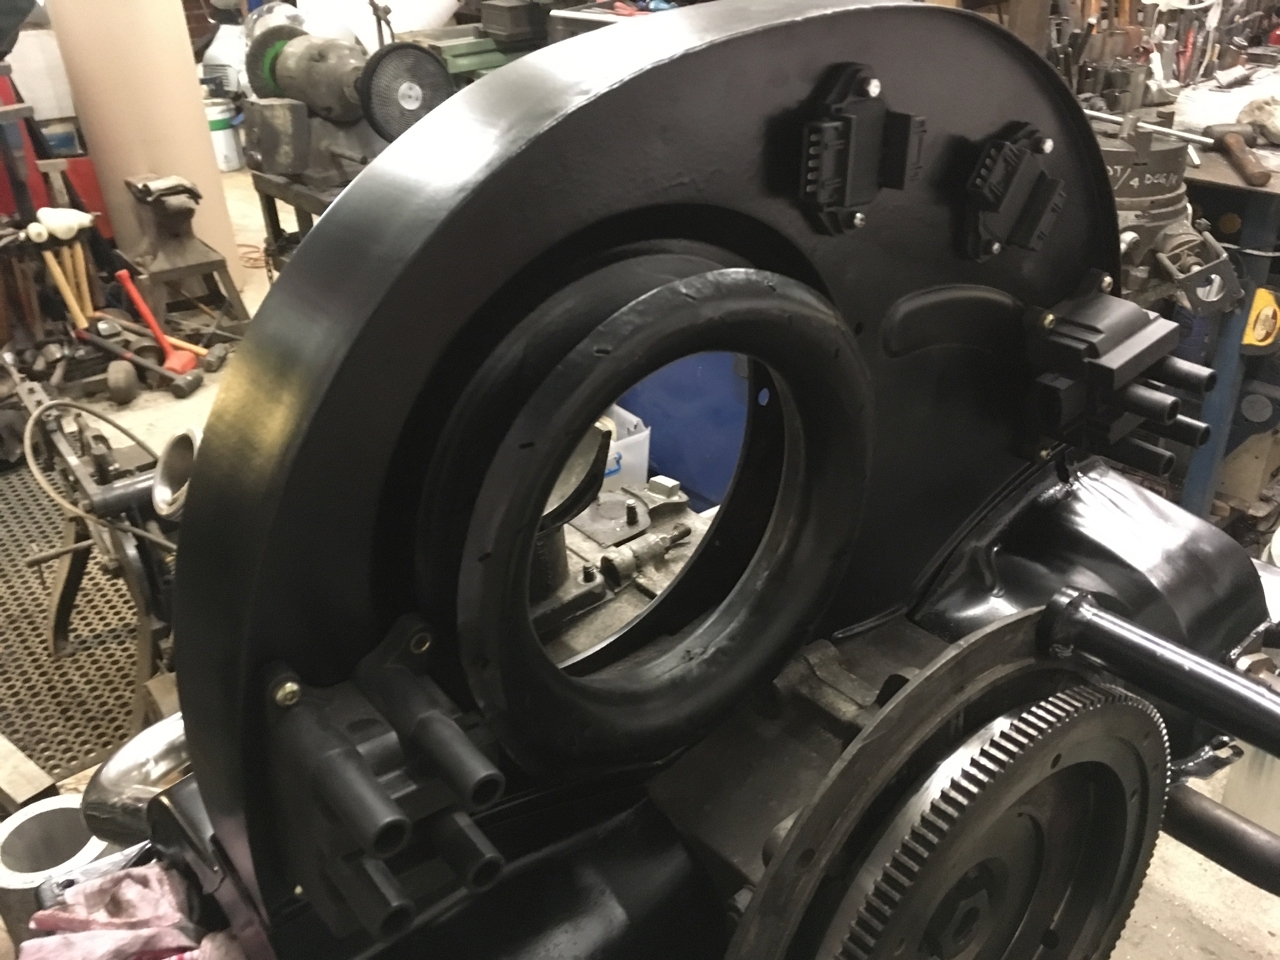
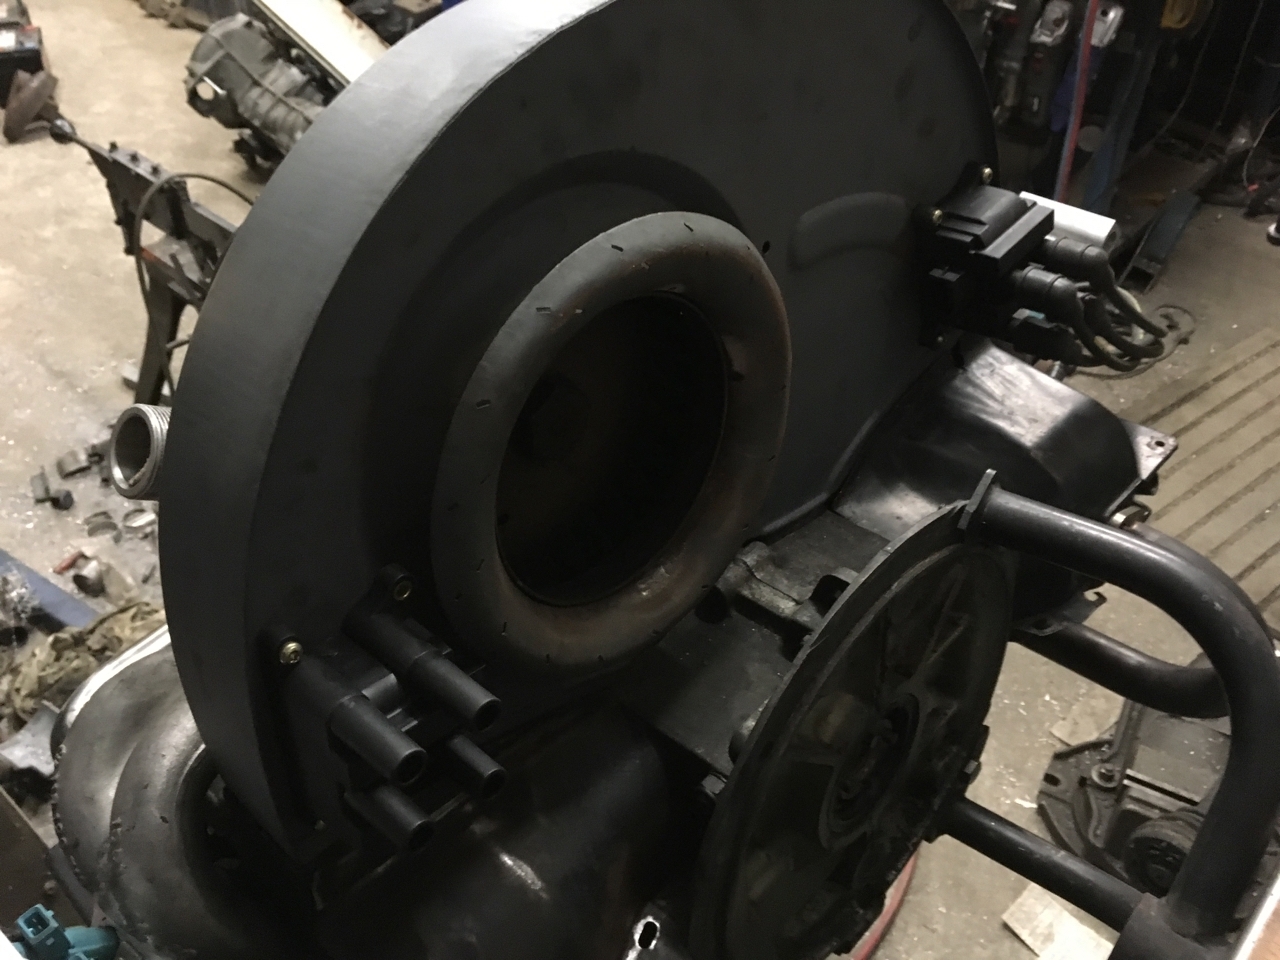
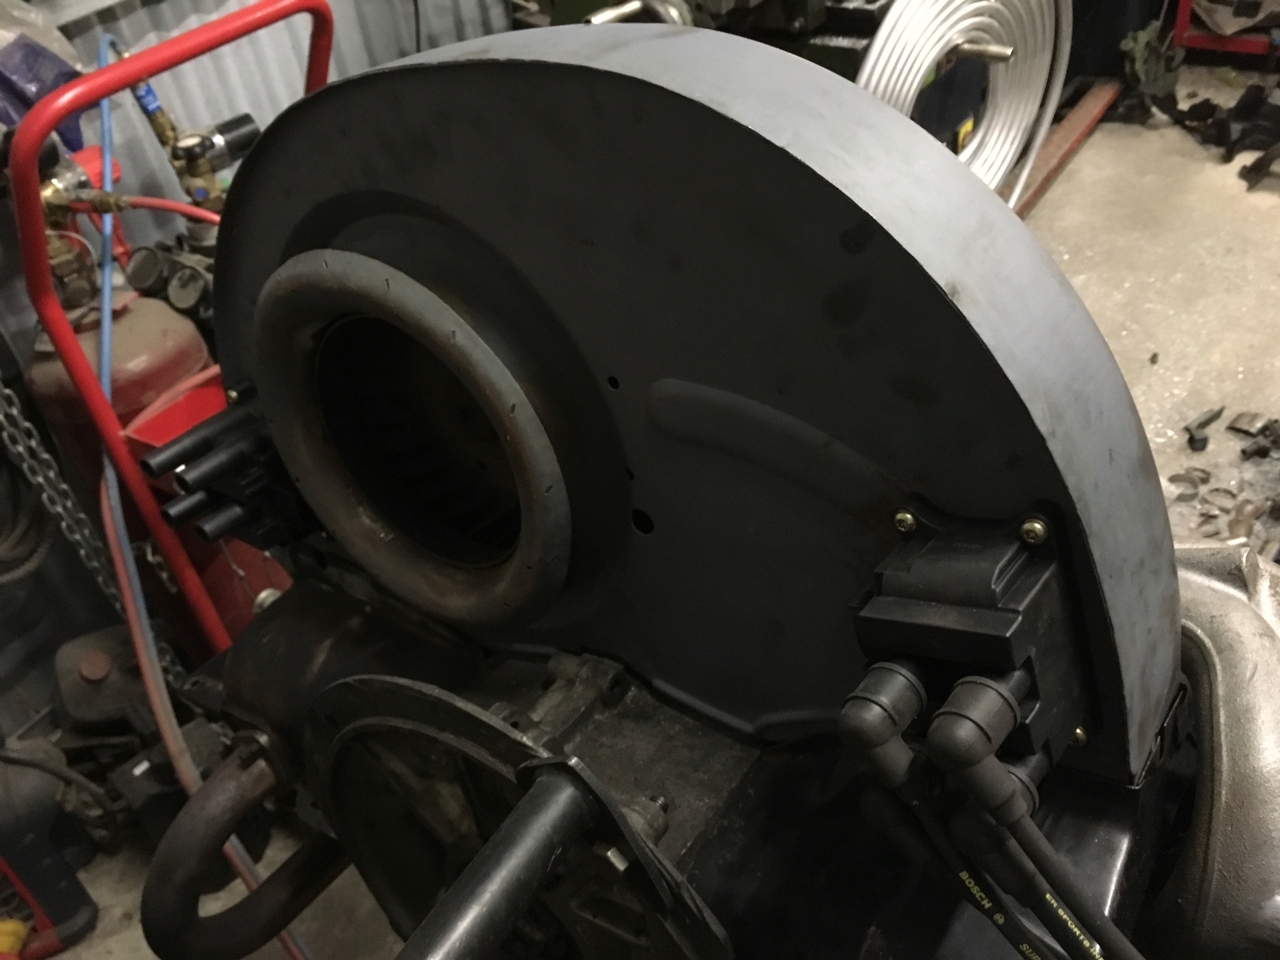
As the fan-shroud was dry, I fitted up the ignitor coil drivers and coil packs. You can see where I cut a hole behind the ignitors to allow air from the fan to cool the rear of the ignitor. This should work...Finished off machining the flywheel. I've probably taken about a kilo off of the weight. I also 8 doweled the flywheel and crank. As I didn't have a jig, I used my indexing head to drill out the flywheel and then spotted through the flywheel to drill the corresponding holes in the crank.More
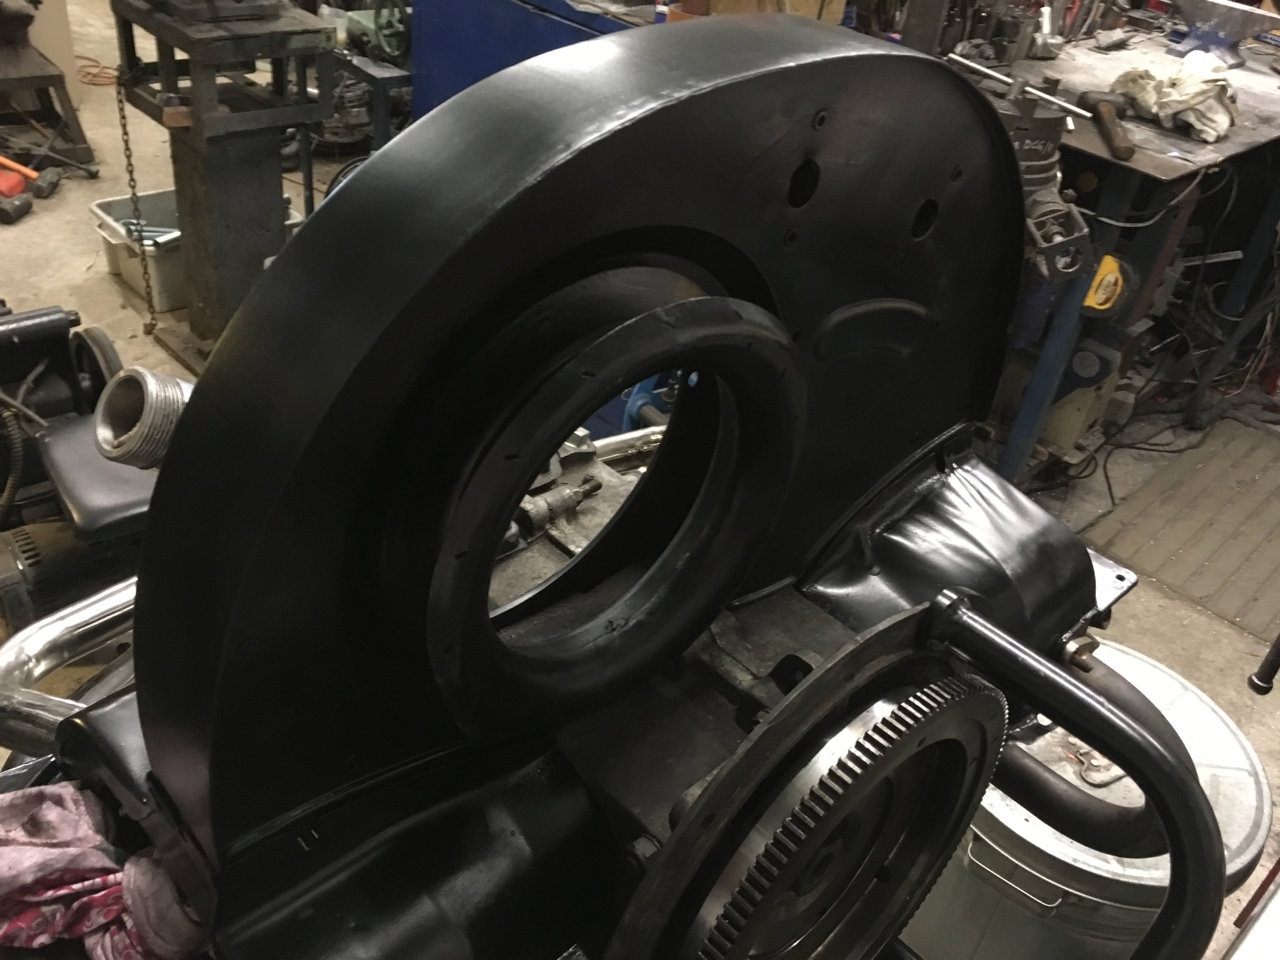
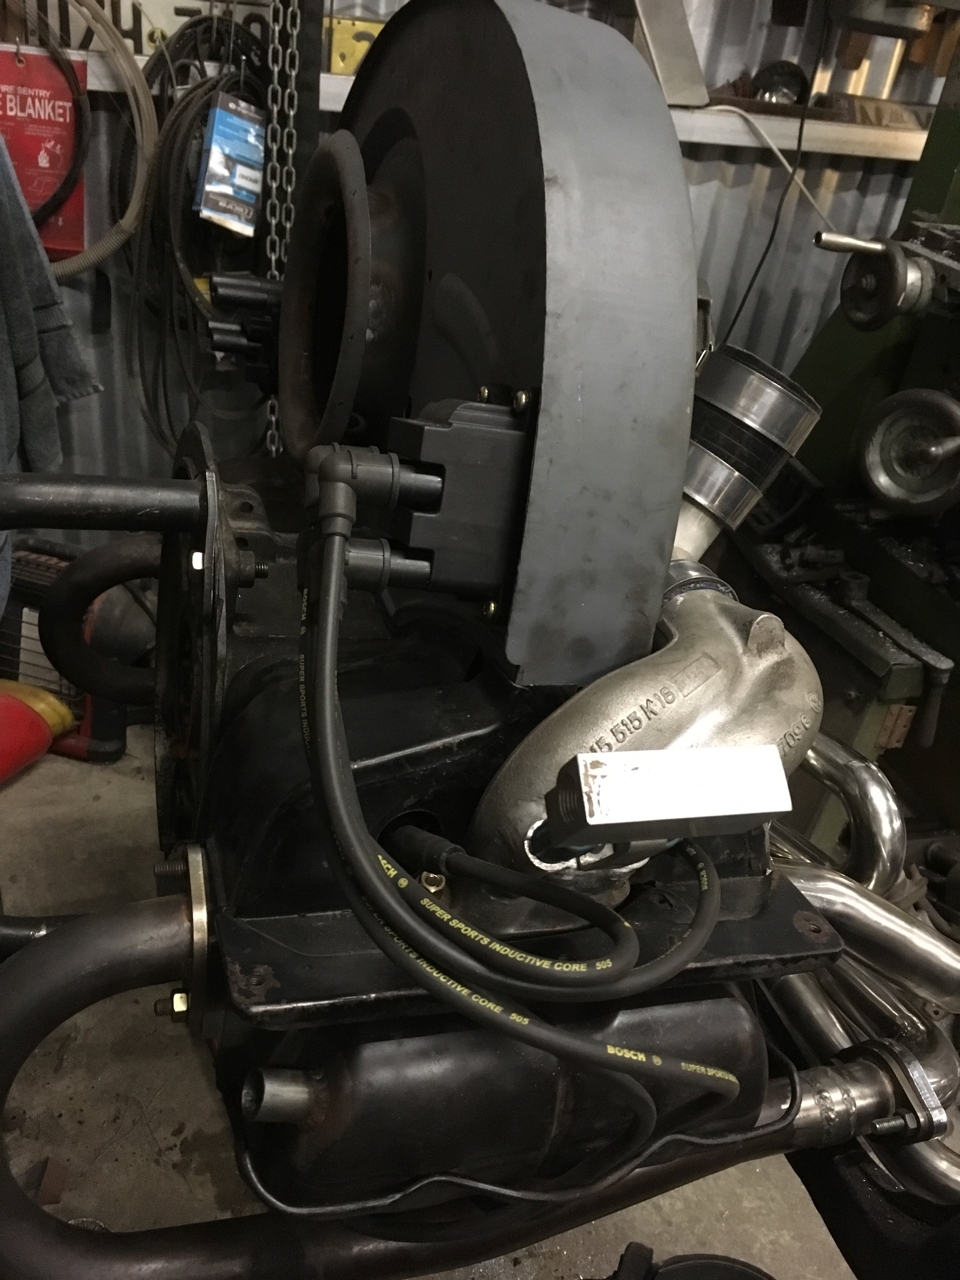
As the fan-shroud was dry, I fitted up the ignitor coil drivers and coil packs. You can see where I cut a hole behind the ignitors to allow air from the fan to cool the rear of the ignitor. This should work much better than just relying on a heat sink.Post is under moderationStream item published successfully. Item will now be visible on your stream. -
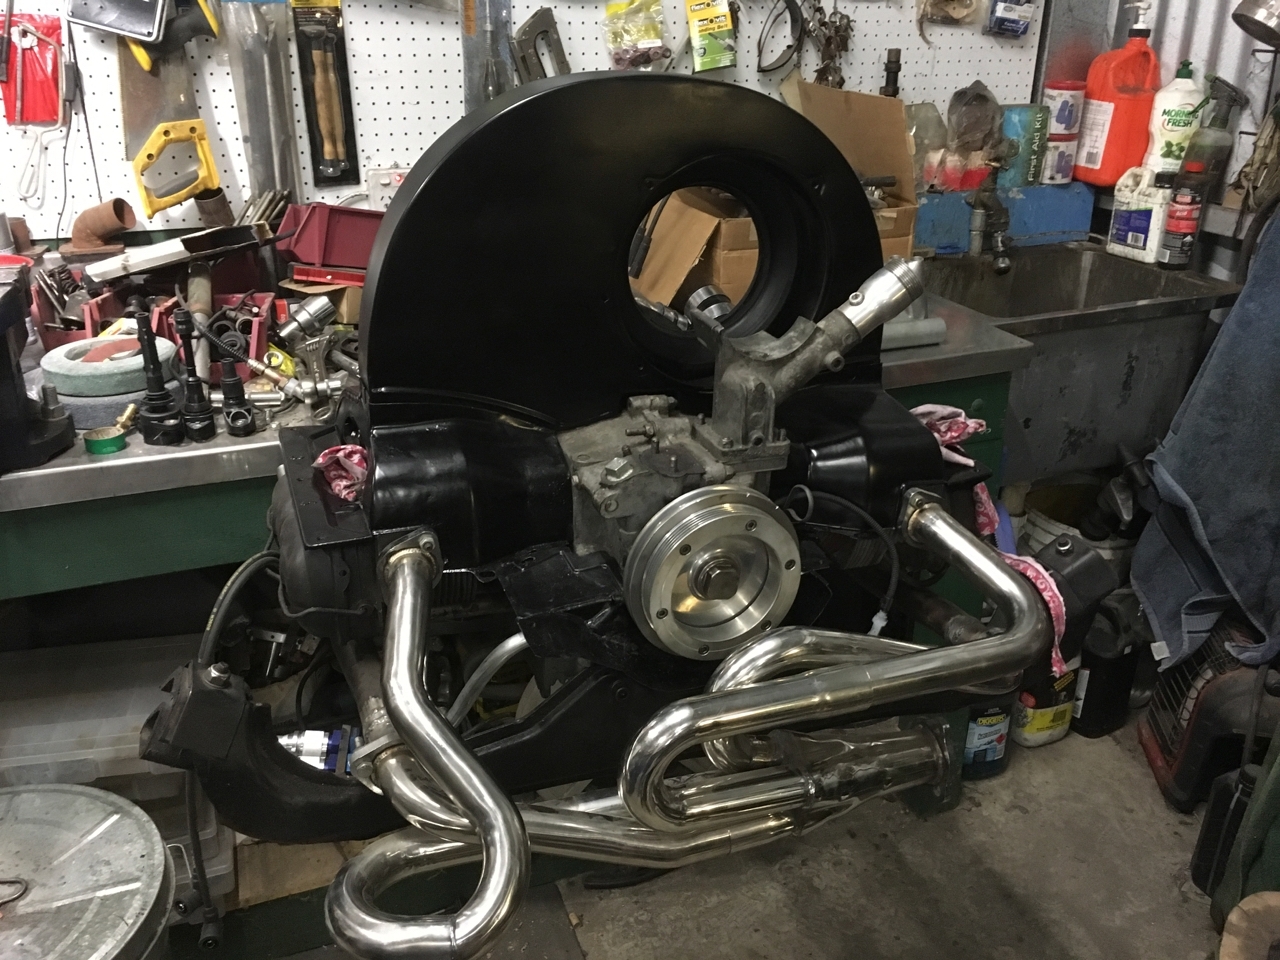
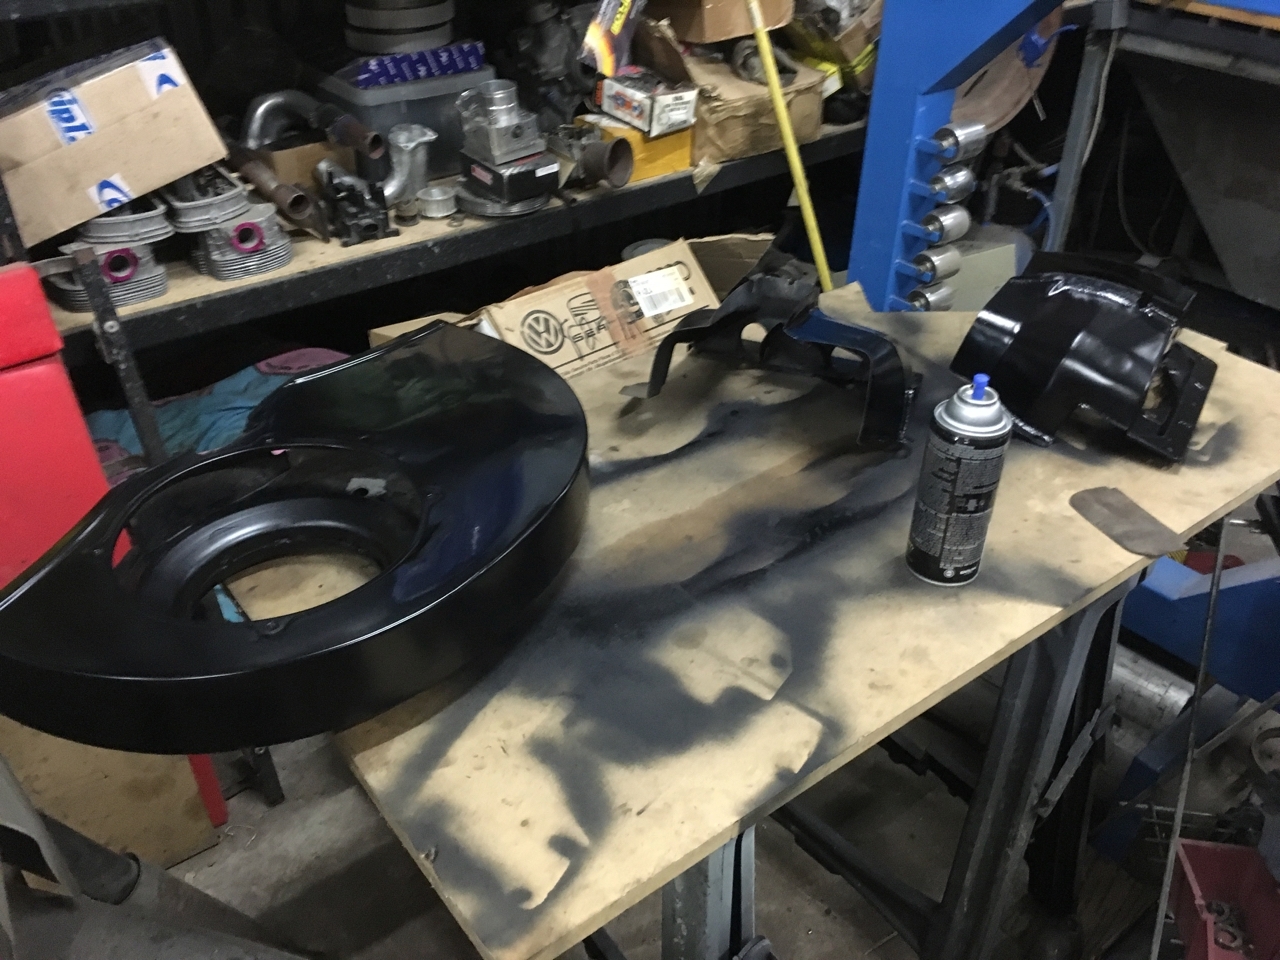
Finally got some time to do a bit of work on the bus. Decided to get the final outstanding little jobs on the engine finished off. Biggest one was putting some paint on the tin. To be completely honest, as time is thin I just gave it a quick rattle can to make it all the same colour. If I had a spare couple of days I might have elected to do a better job but at this stage I just want to get the bus back on the road.
The other jobs were mounting the ignitors for the twin coil packs and...Finally got some time to do a bit of work on the bus. Decided to get the final outstanding little jobs on the engine finished off. Biggest one was putting some paint on the tin. To be completely honest, as time is thin I just gave it a quick rattle can to make it all the same colour. If I had a spare couple of days I might have elected to do a better job but at this stage I just want to get the bus back on the road.More
The other jobs were mounting the ignitors for the twin coil packs and putting the IACV and TPS onto the throttle body. With the ignitors I decided to forgo fitting heat sinks and make them air-cooled instead. A 20mm hole and a couple of washers behind them is enough to space them out a little and get some air flow over them.
The IACV (Idle Air Control Valve) is a stepper based unit which is compatible with most modern ECU's I also have a two wire PWM style IACV that is compatible with Megasquirt units. The TPS is a generic unit that should work with all ECUs.
The other thing that I started to do but ran out of time with is taking a little weight off of my flywheel. The aim here is to lighten it by a kilo or so. The stock flywheel is about 7.5kg, and the lightened ones available off of the shelf are about 5.5kg (12.5lb). If I can get it somewhere between 6 - 6.5kg I will be happy.
Next job is to make a jig to 8 dowel the flywheel and crank.Post is under moderationStream item published successfully. Item will now be visible on your stream. -
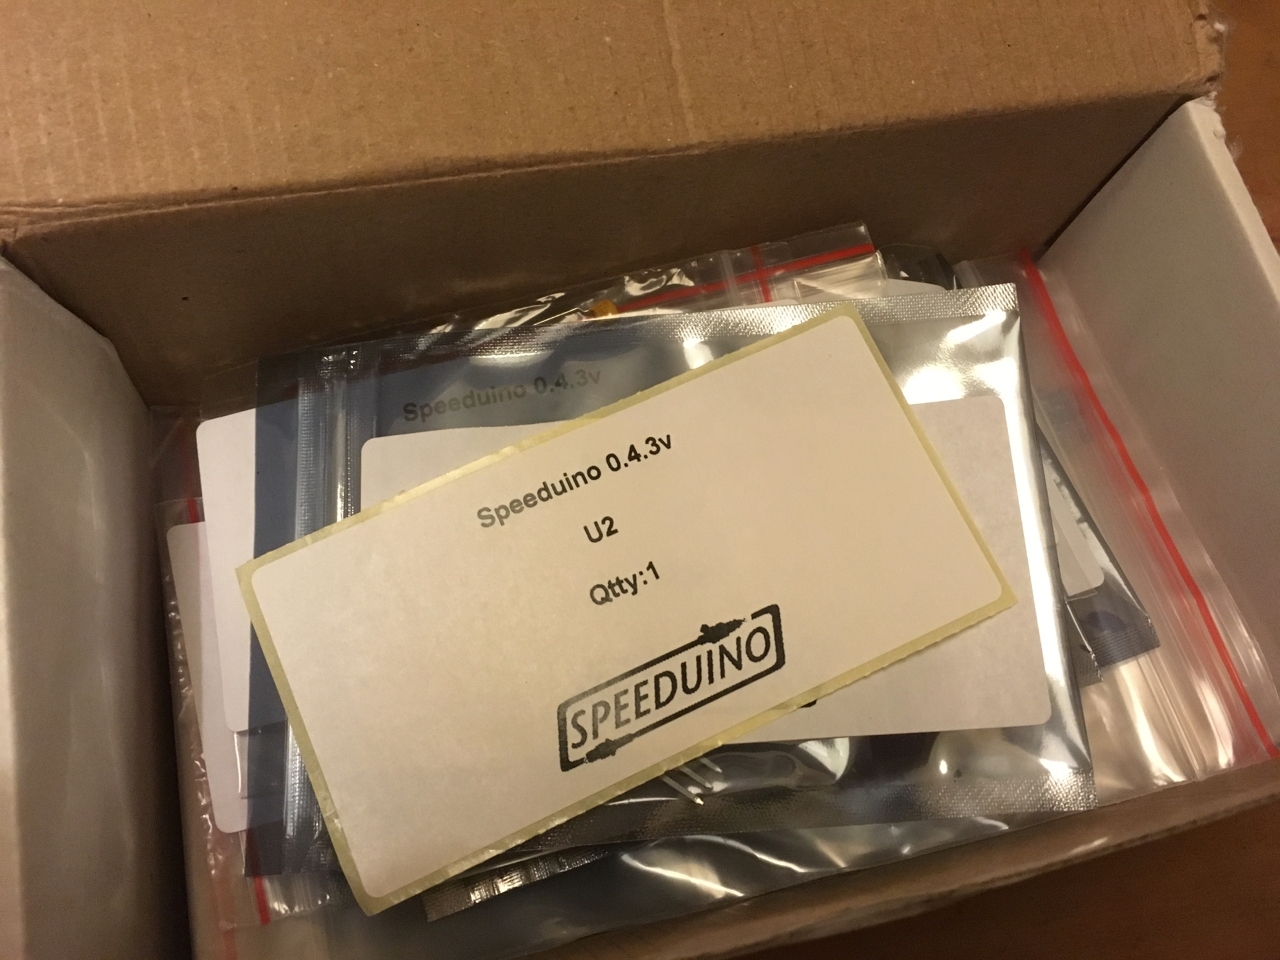
After a fair bit of a wait the components finally arrived for the Speeduino build. Also received the remainder of the parts for the fuel rail setup. On this build I elected for some U type fittings for the fuel rail to put the feed and return hoses on the rear of the fan shroud. Also spent some time sorting out the trigger wheel and sensor positioning...Post is under moderationStream item published successfully. Item will now be visible on your stream.
-
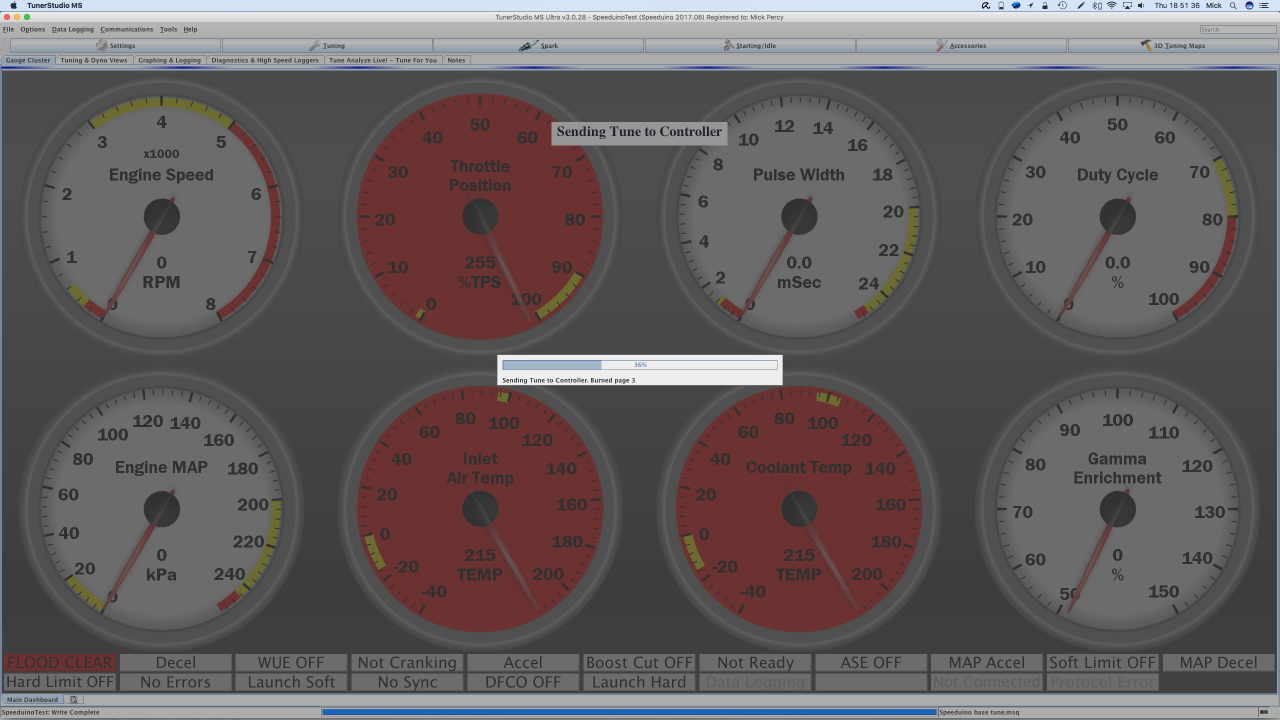
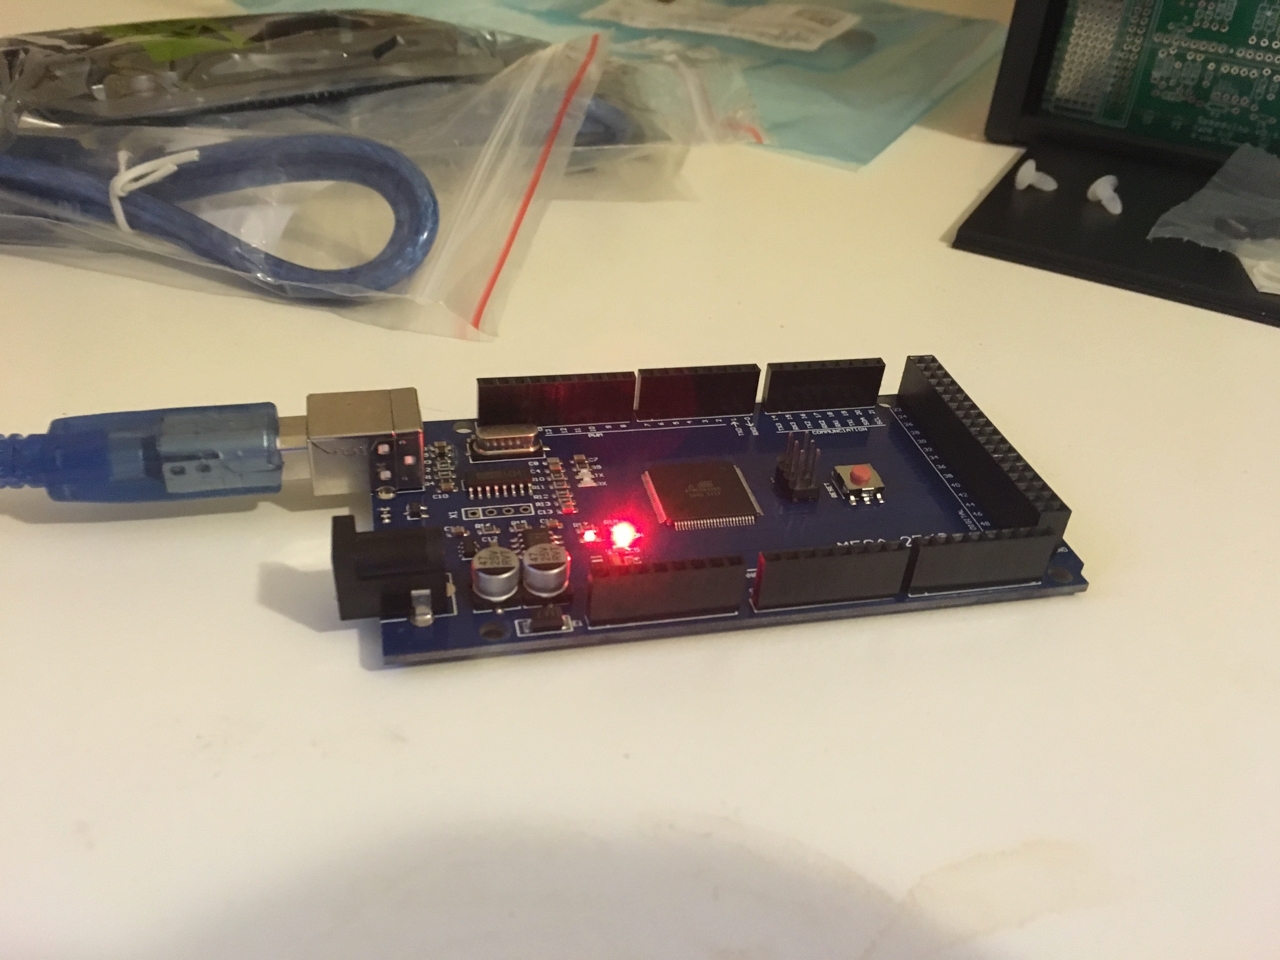
My Arduino Mega boards have arrived so I spent a bit of time establishing communication and uploading the firmware and baseline tune to the boards. I also connected Tuner Studio to the board. Still waiting for the components for the Speeduino before I can make it up.
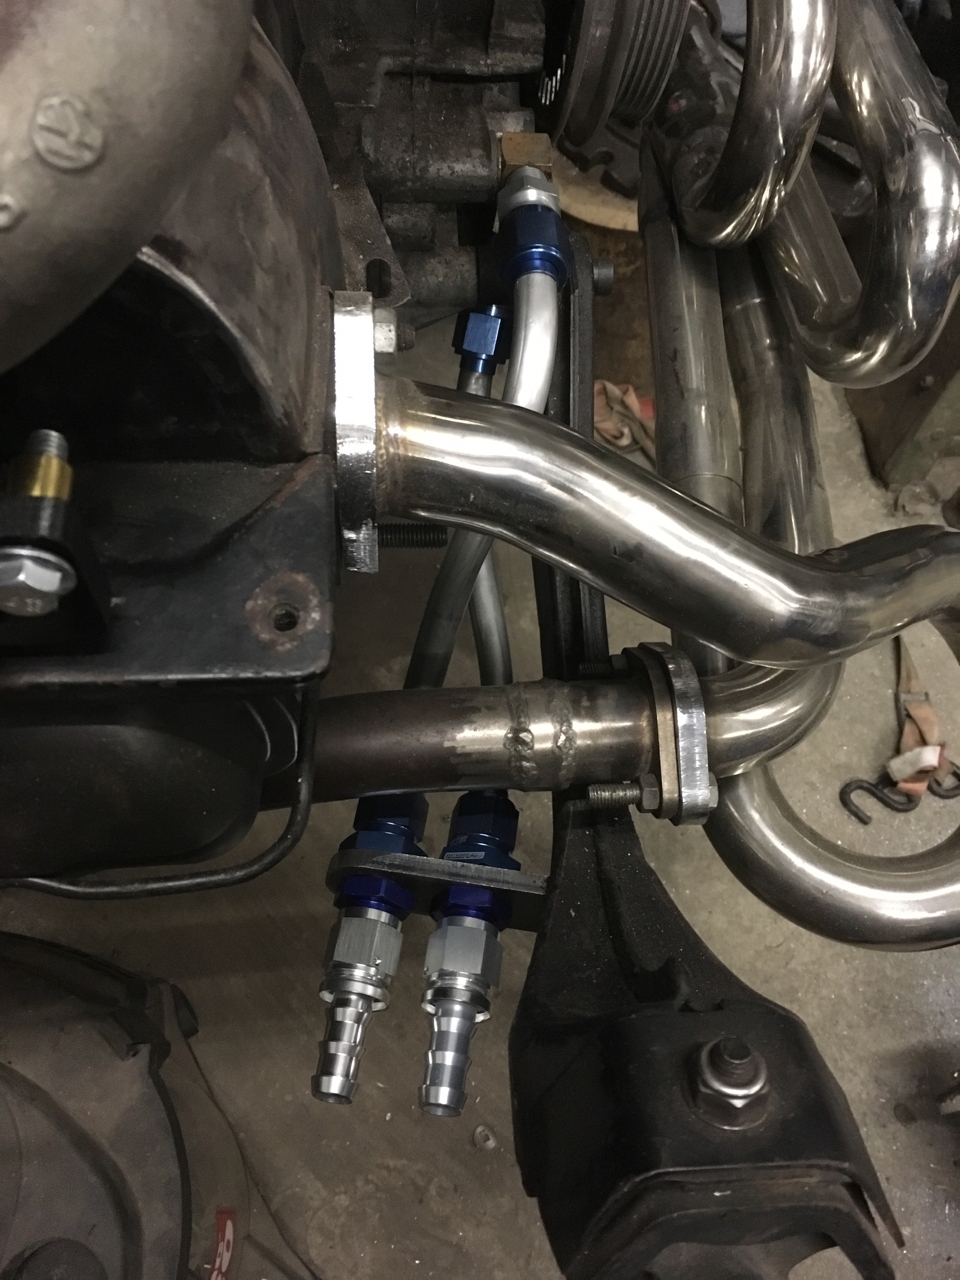
I also finished the hard piping between the engine and the disconnects that I mounted to the moustache bar. There will be a small flexible line that runs between the these lines and similar lines mounted to the chassis that...My Arduino Mega boards have arrived so I spent a bit of time establishing communication and uploading the firmware and baseline tune to the boards. I also connected Tuner Studio to the board. Still waiting for the components for the Speeduino before I can make it up.More
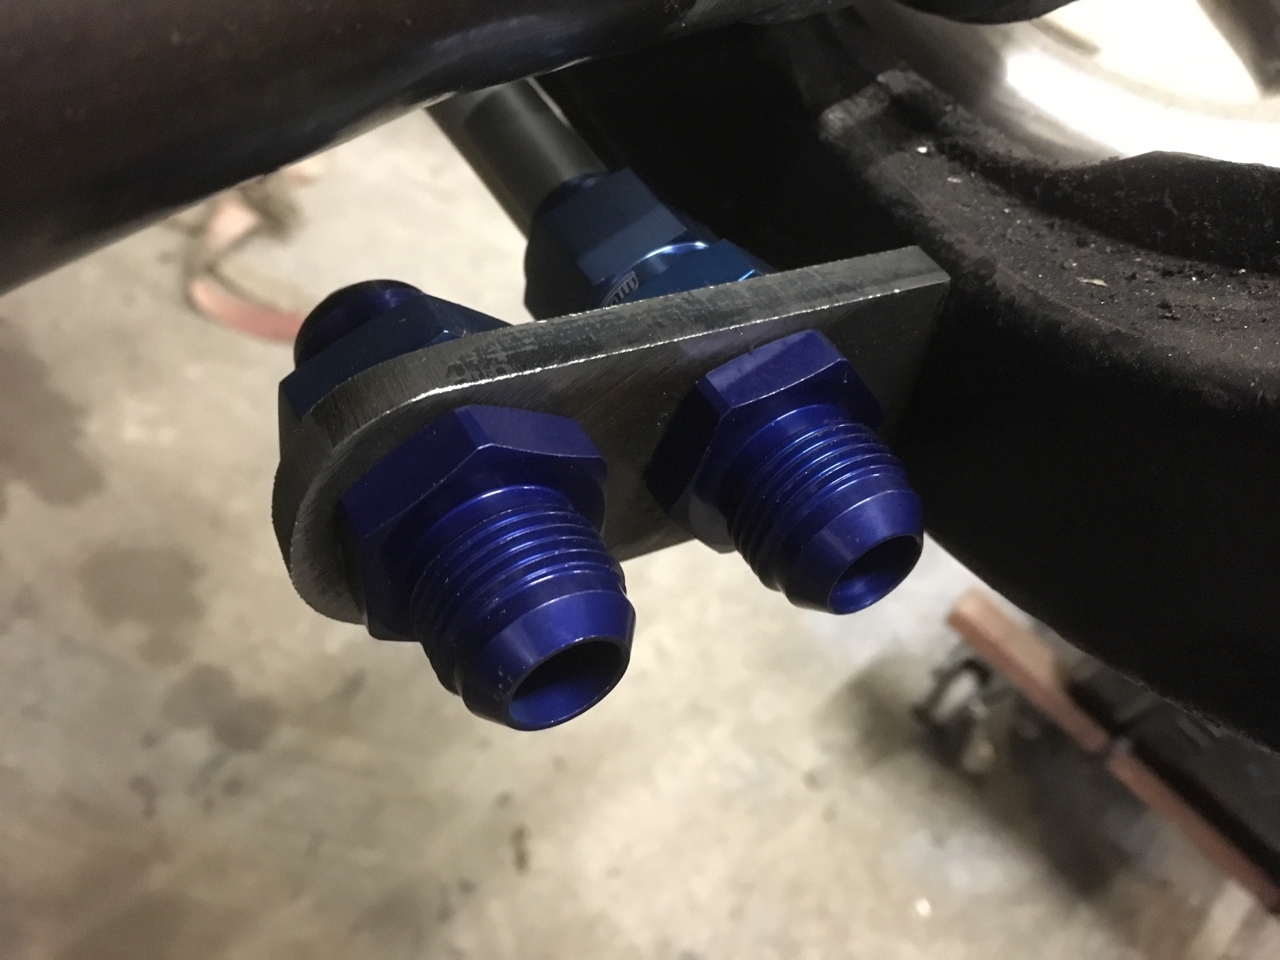
I also finished the hard piping between the engine and the disconnects that I mounted to the moustache bar. There will be a small flexible line that runs between the these lines and similar lines mounted to the chassis that run forwards to the oil cooler and filter. I'm hoping that these will be less vulnerable than the old flexi lines that they have replaced.
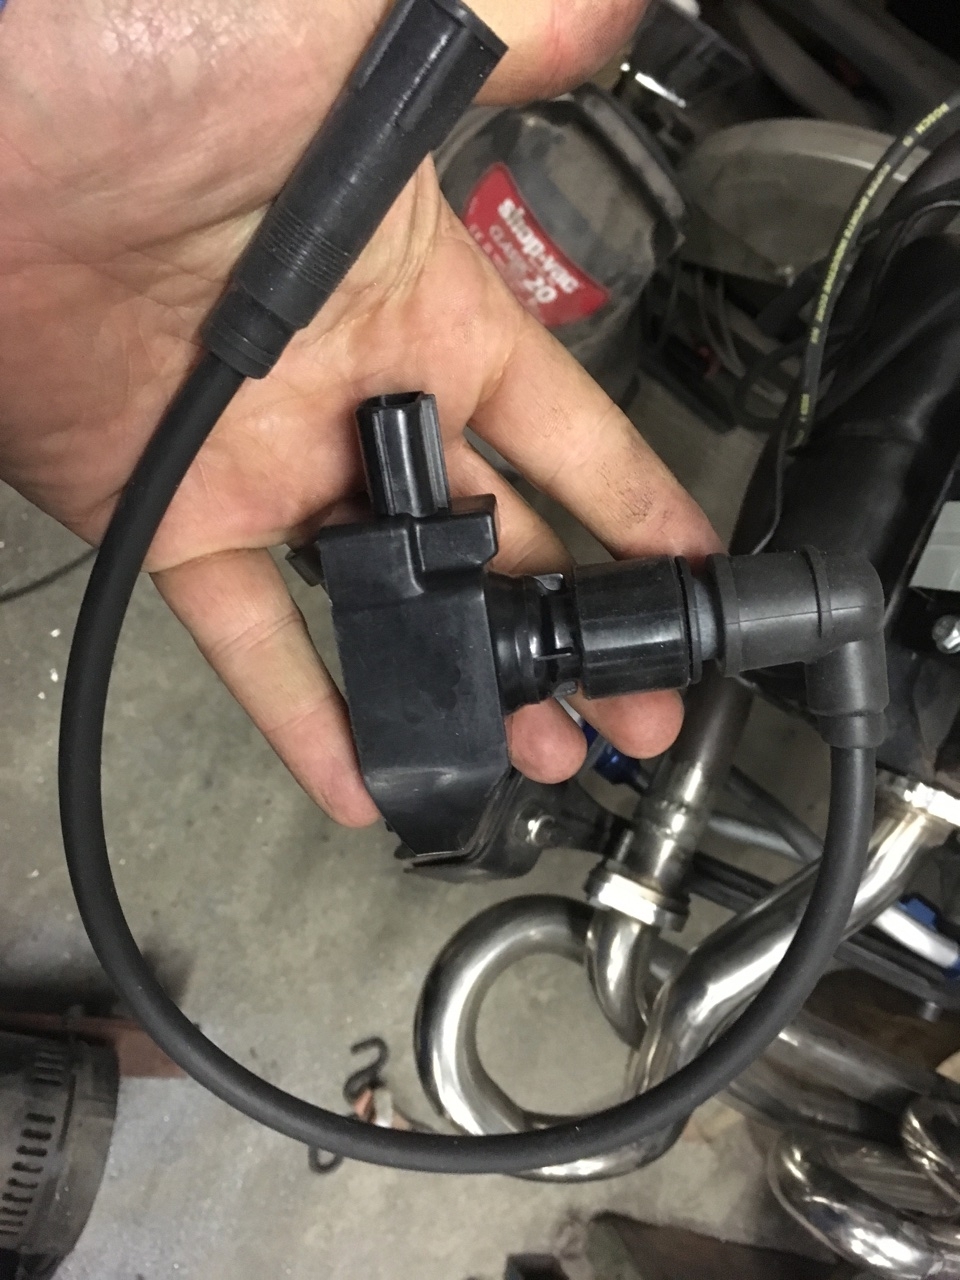
I've also been playing around with some COP solutions and have found one that works pretty well. I've been trying out a variety of different COP's trying to find one that fits the Type 1 setup. I've still got a few more on order and will try them out before I decided on which one I want to use but one works very well as COP and the other works well as a CNP solution.Post is under moderationStream item published successfully. Item will now be visible on your stream. -
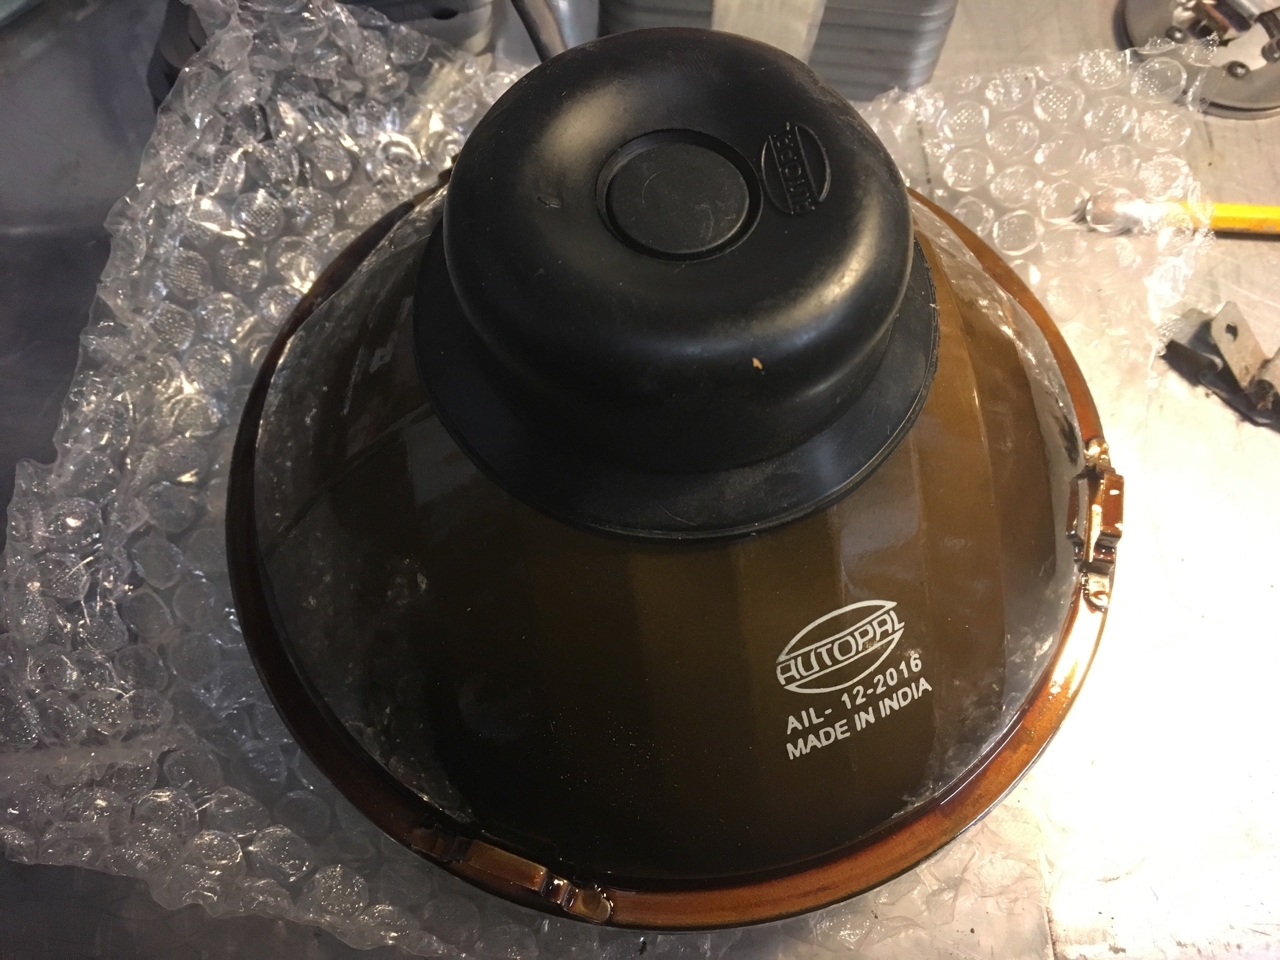
My LED headlight bulbs arrived today. These are a direct swap for H4 bulbs and plug straight in. Just waiting for some new headlamp mounting assemblies to arrive before I can finish installing the new headlight units.
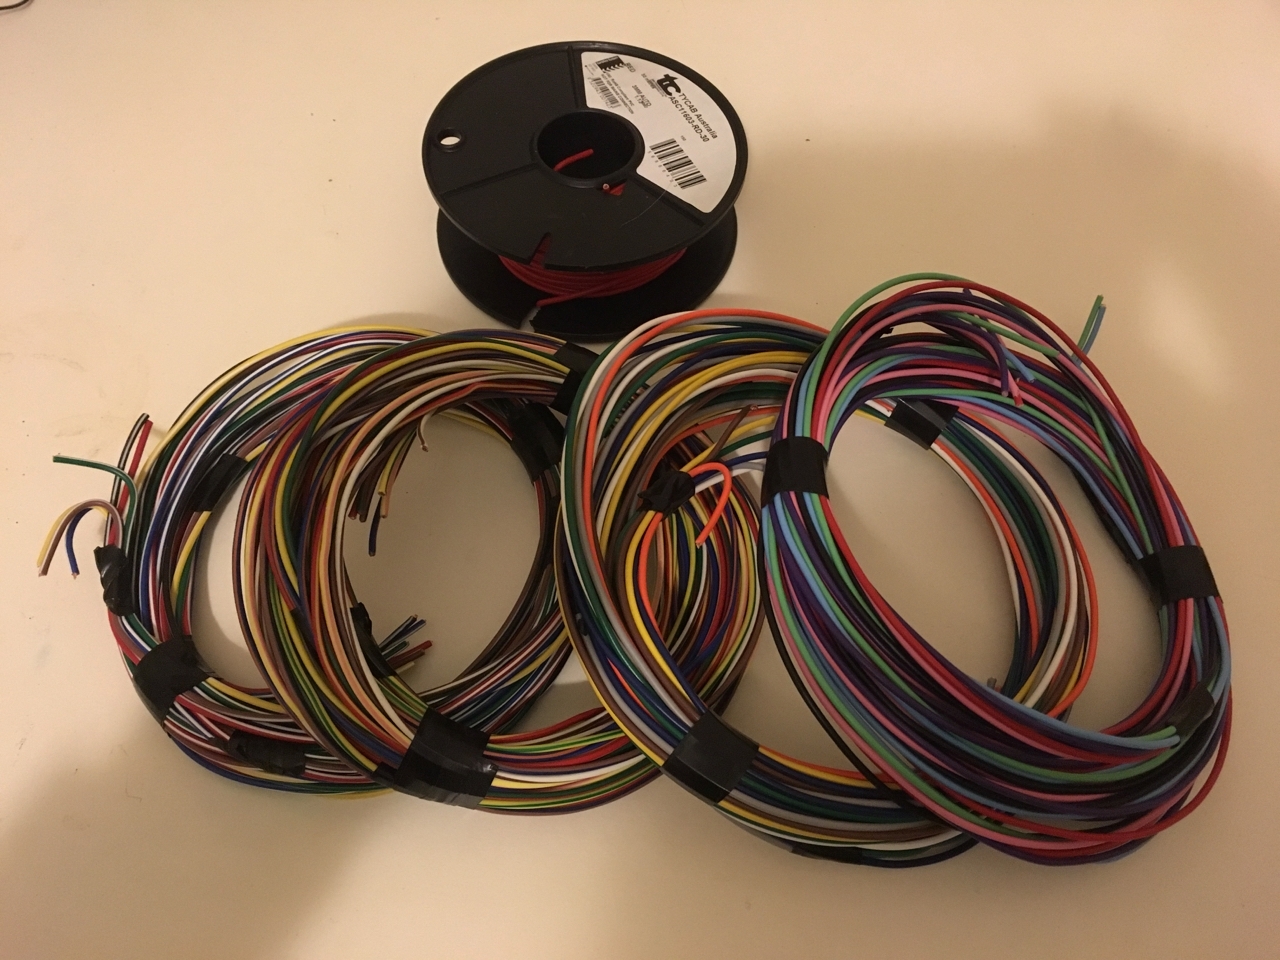
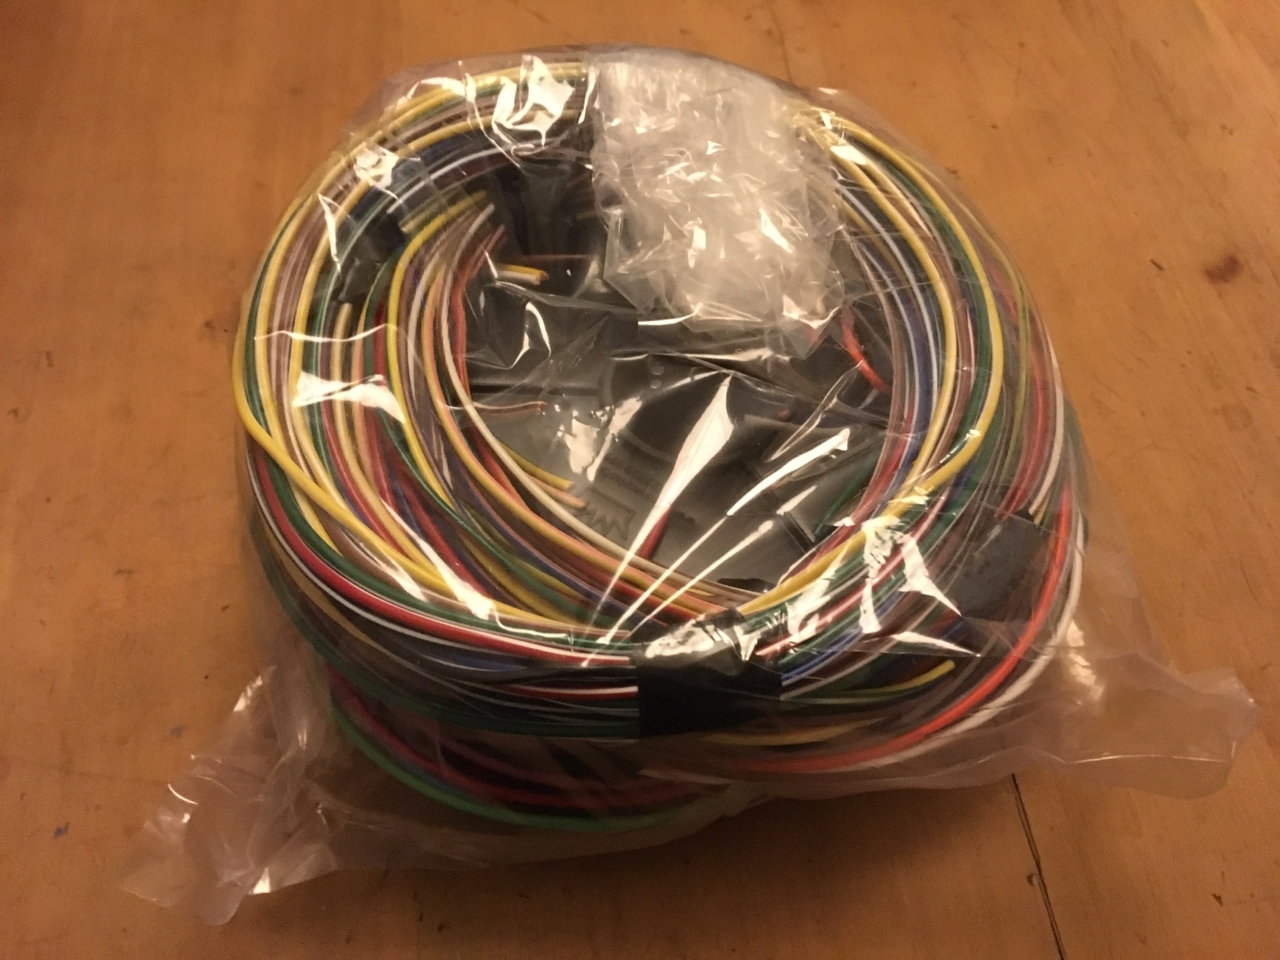
Also received the wire for my wiring loom and the case for the Speeduino ECU. Hopefully the rest of the components are not too far away.
Post is under moderationStream item published successfully. Item will now be visible on your stream. -
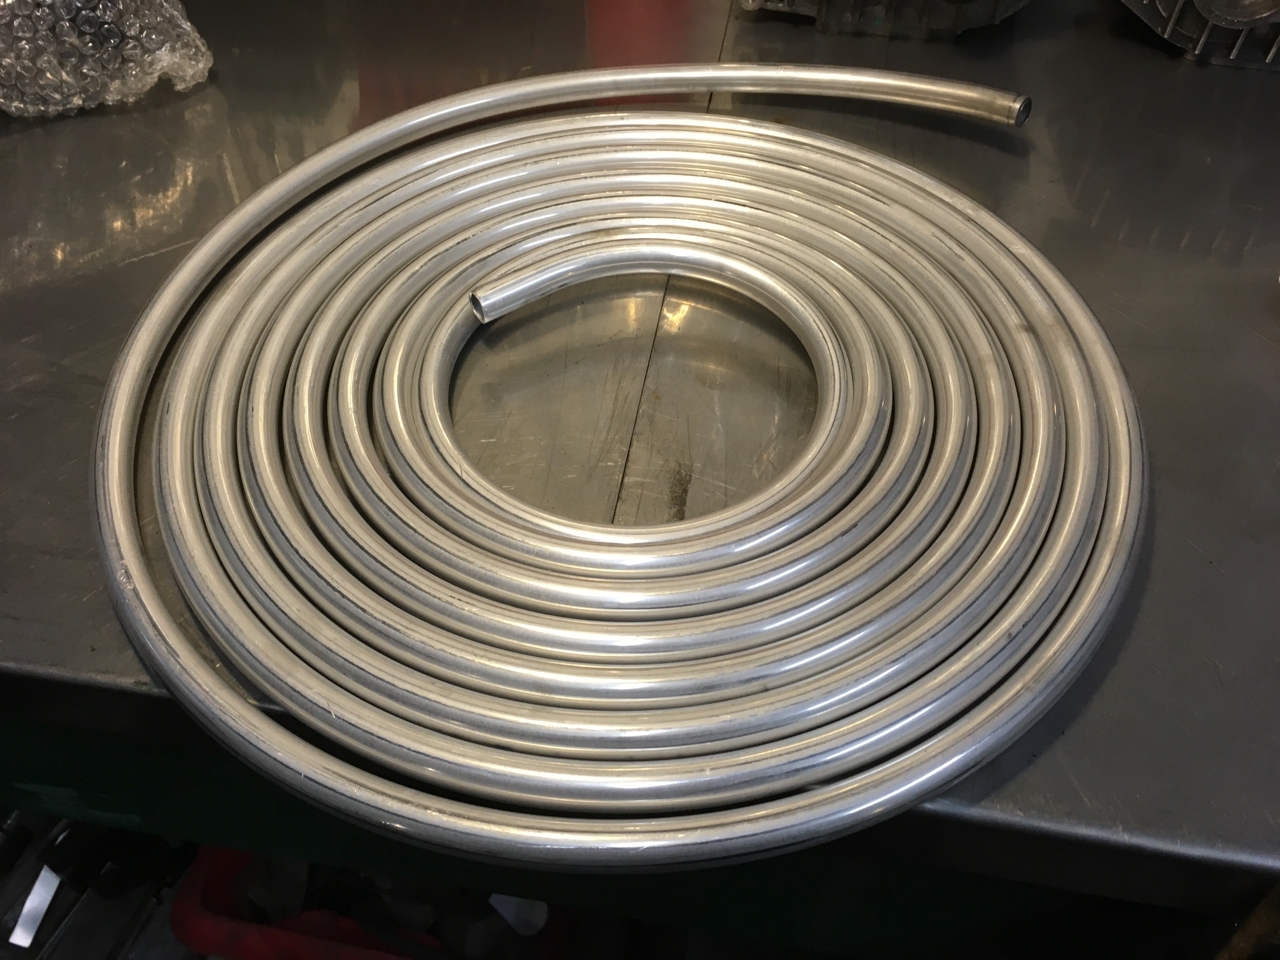
Managed to get an hour or so on the bus today. Started to make up the hard lines for the oil system. Need to get these done before I can get the gearbox installed as they will be a pig to got done afterwards. I made up a bracket to terminate the hard lines into and provide a solid mounting point for the bulkhead fittings. From this bracket there will be flexi-lines running across to another bracket mounted to the chassis. The bracket will be welded onto the rear bar. Need to pick up a bender...Managed to get an hour or so on the bus today. Started to make up the hard lines for the oil system. Need to get these done before I can get the gearbox installed as they will be a pig to got done afterwards. I made up a bracket to terminate the hard lines into and provide a solid mounting point for the bulkhead fittings. From this bracket there will be flexi-lines running across to another bracket mounted to the chassis. The bracket will be welded onto the rear bar. Need to pick up a bender as mine only goes up to 1/2".MorePost is under moderationStream item published successfully. Item will now be visible on your stream.
-
Bought some new headlights for the bus but now need to convert the mountings to work with sealed beam units (D'OH!). If anyone has some they want to sell...Post is under moderationStream item published successfully. Item will now be visible on your stream.
-
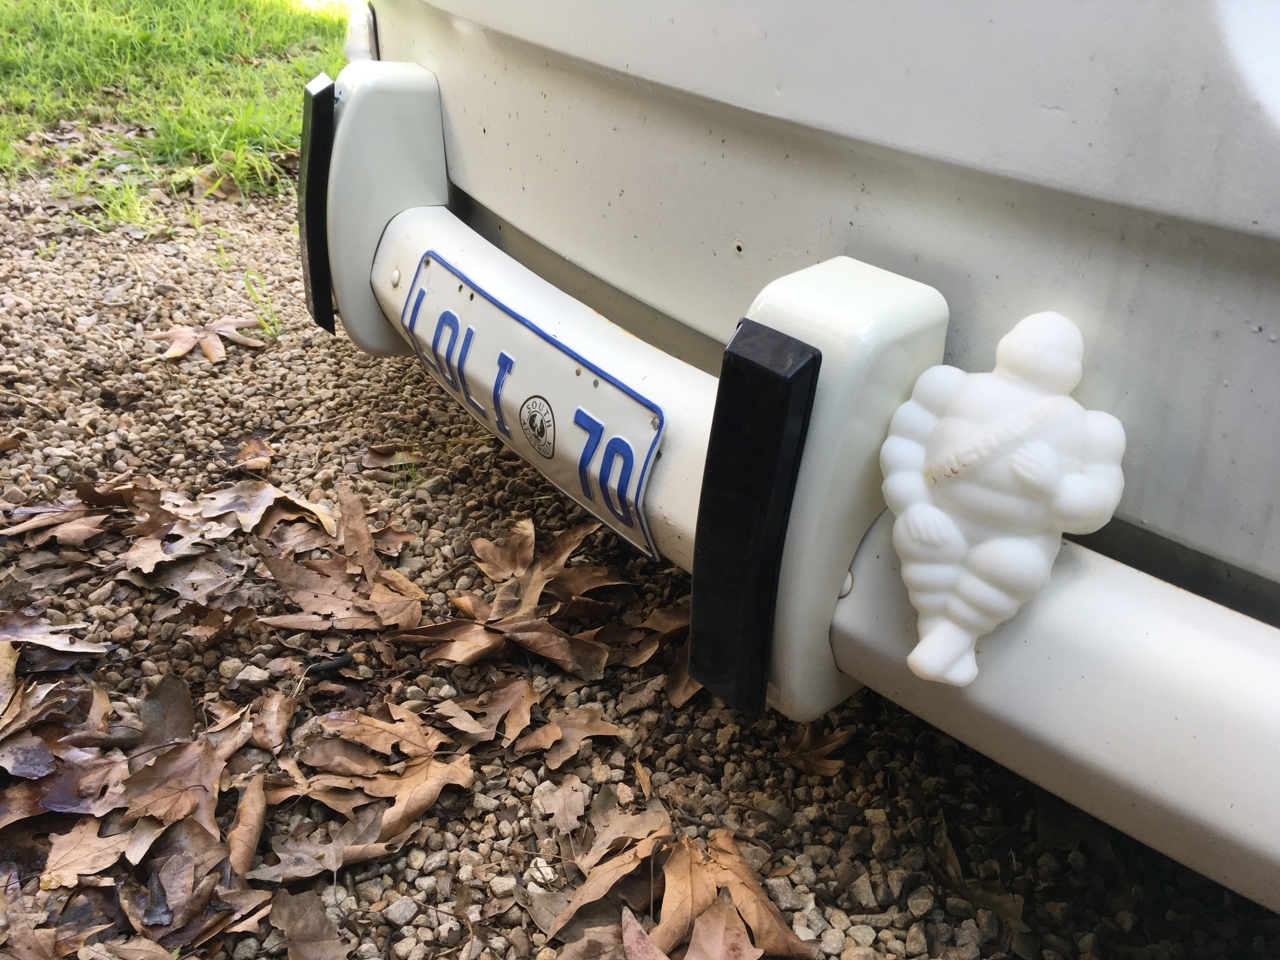
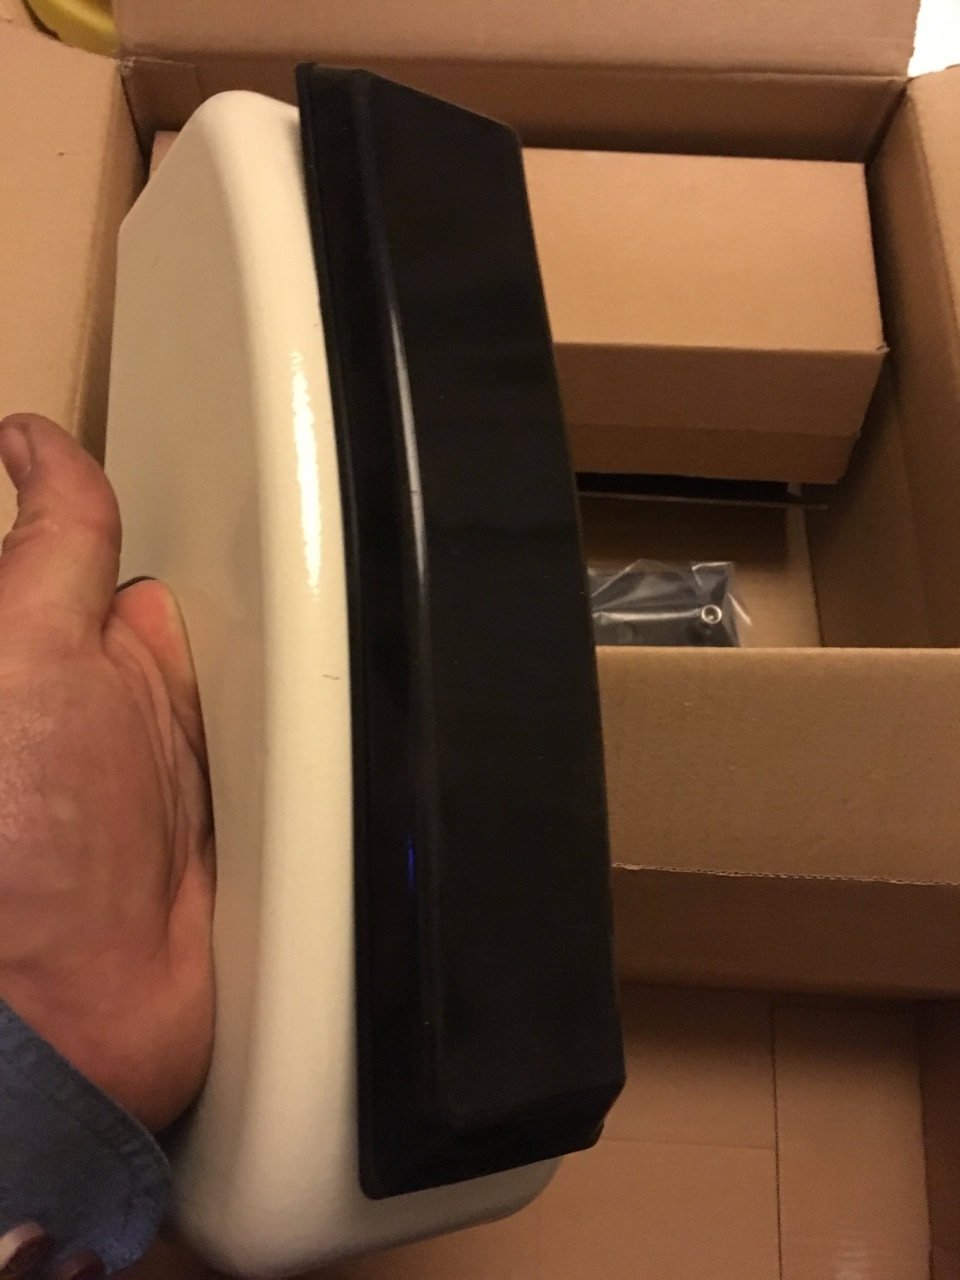
Trial fitted my new overriders today, well I just kinda hung them on the bumper to see what they looked like.

Need to move Mr Bibendum over a bit to make room for them but they will have to wait until I take the bumper off. There's a few other jobs ahead on the list (like fitting the engine and gearbox).Post is under moderationStream item published successfully. Item will now be visible on your stream. -
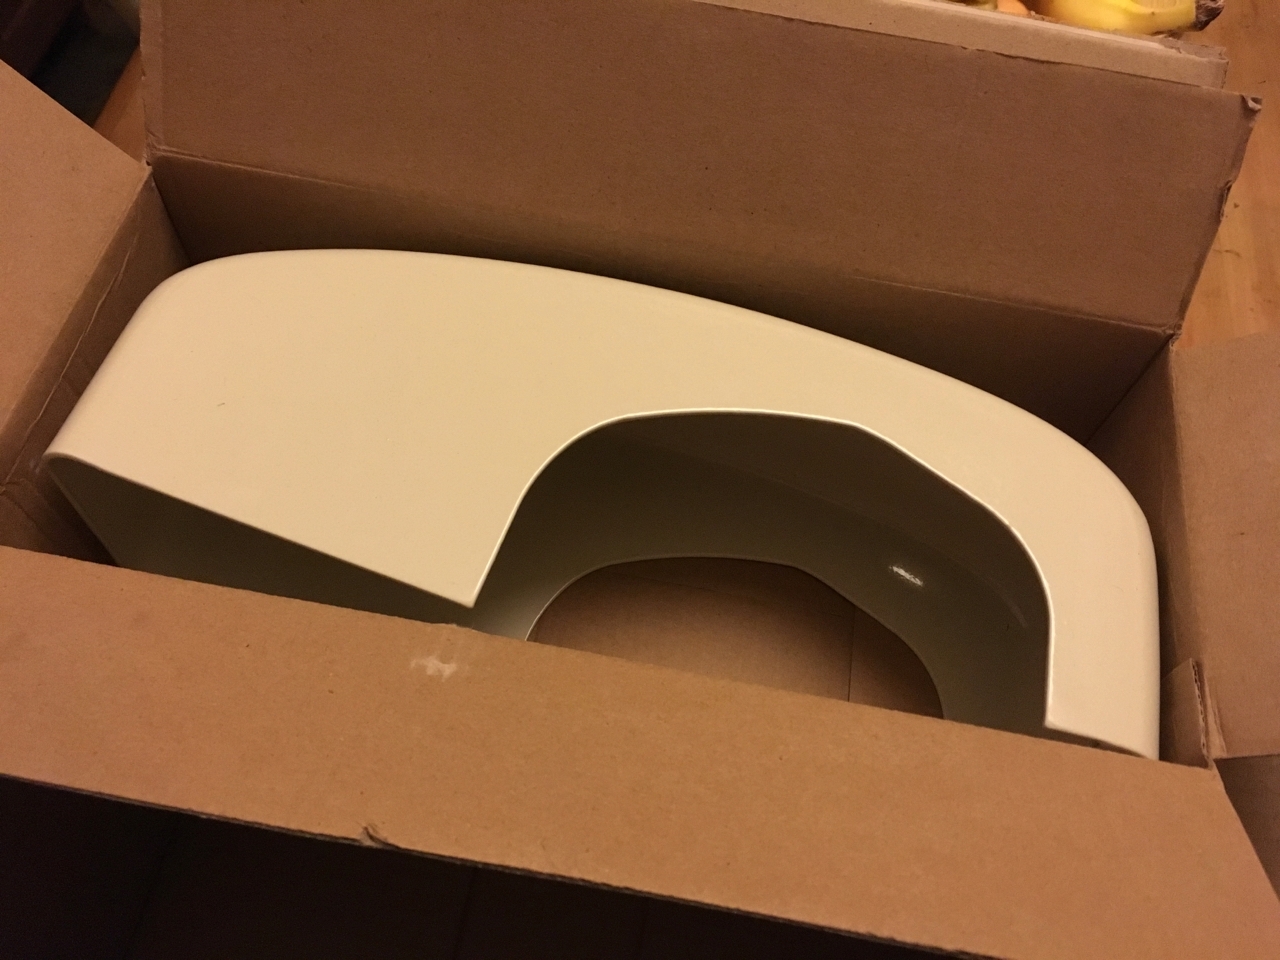
TrevortonBuggy reacted to this post about 8 years agoGot a nice treat in the post today, a pair of overriders for the front of my bus. Got a super good deal on these as Jez from #TheEarlyBay arranged a group buy from Just Kampers. Top Bloke, cheers mate. ?Post is under moderationStream item published successfully. Item will now be visible on your stream.
-
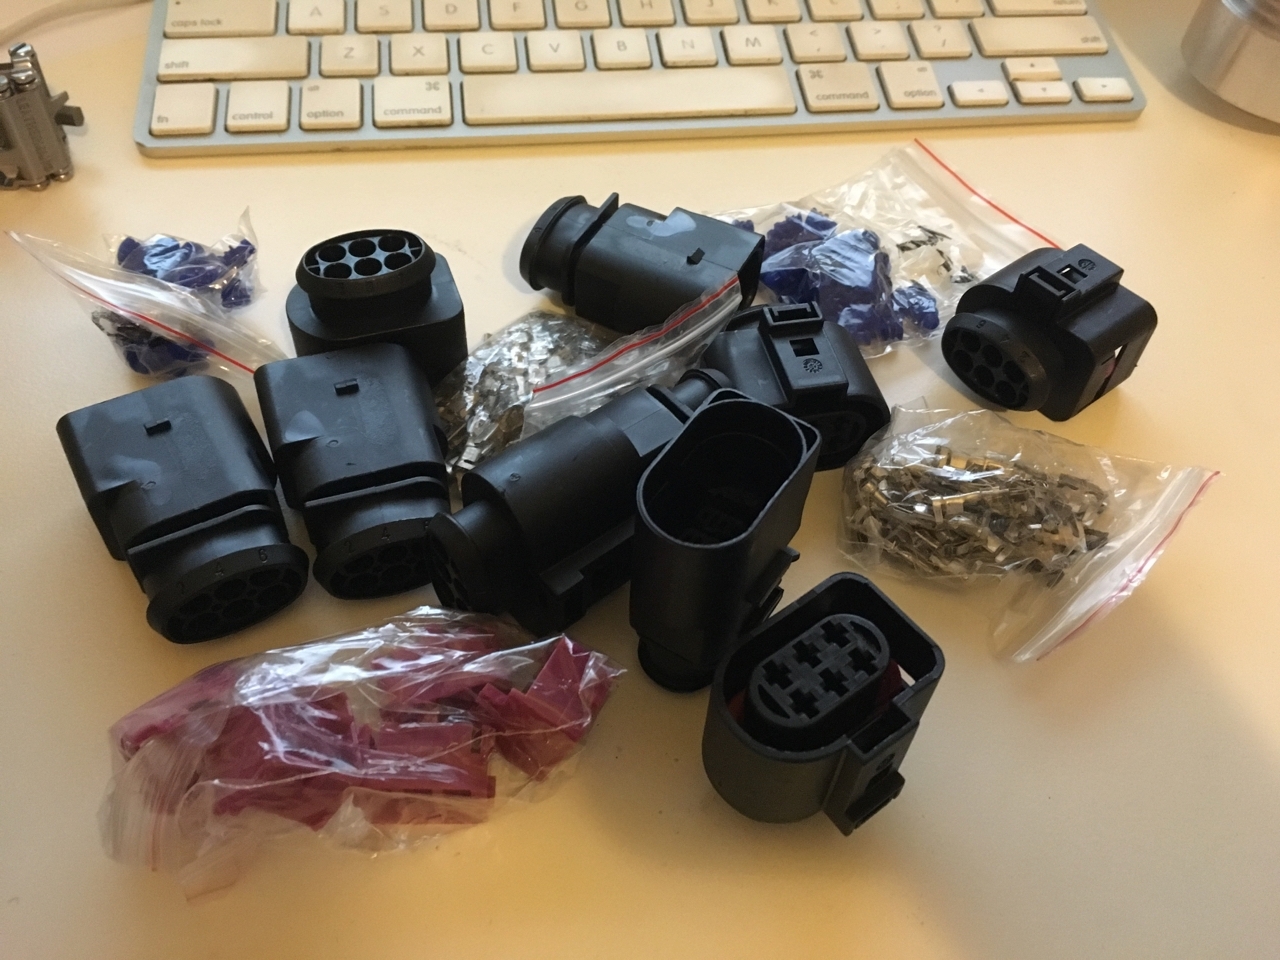
More electrickery. Received the connectors for my wideband sensor the other day. I ordered some extra (male and female) connectors so that I can also make up an extension cable for my Innovate LM2 wideband unit. The stock length LM2 cable is not quite long enough for a bus which means that road pulls need to be done looking at the LM2 in the rear mirror which is not exactly the ideal setup.Post is under moderationStream item published successfully. Item will now be visible on your stream.
-
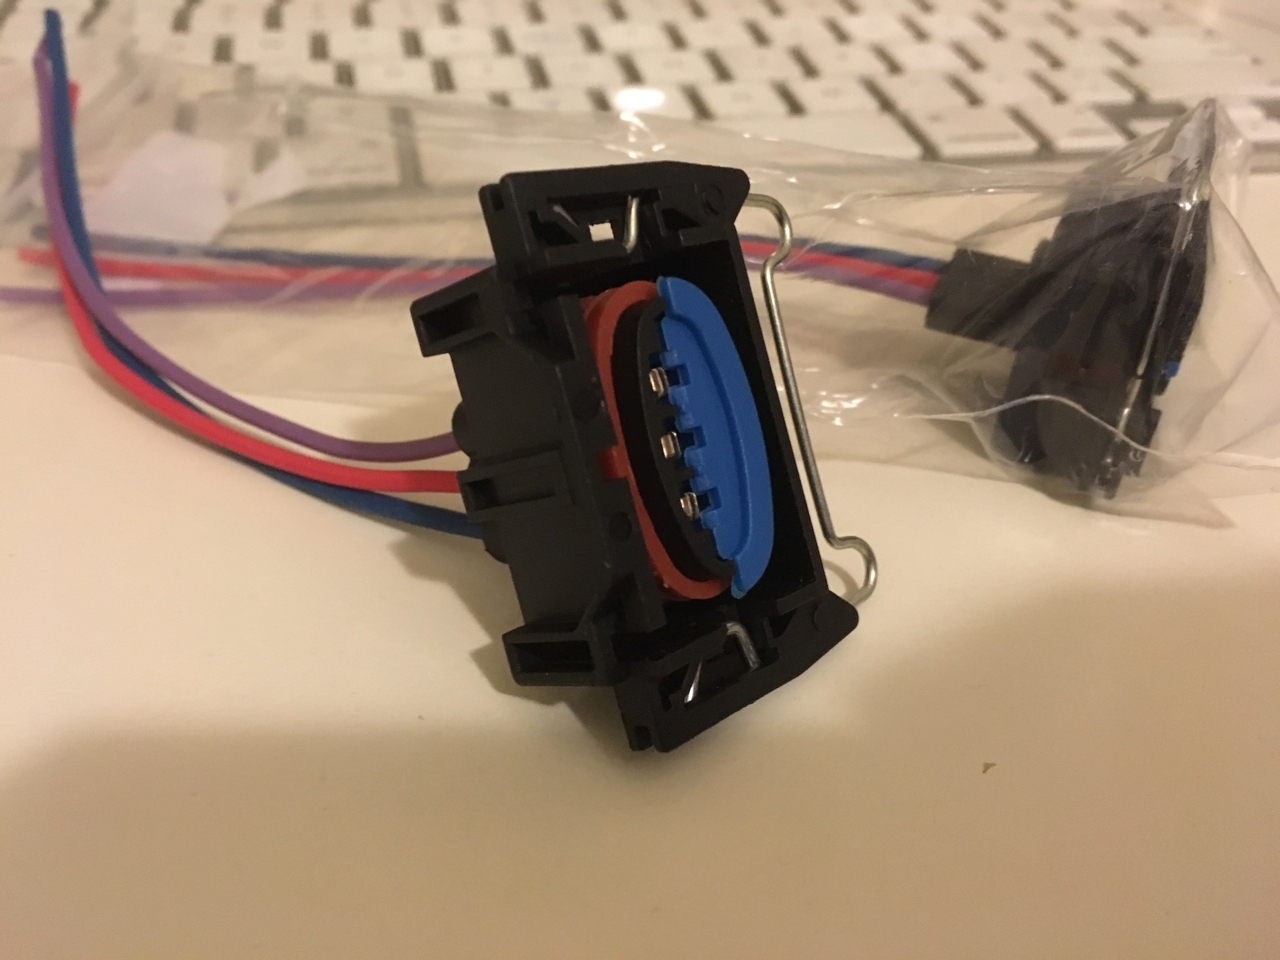
One more small step towards the goal; received some coil pack connectors for the twin coil packs.
I'm kinda not looking forwards to making up the loom, which is kind ironic considering that my background is electrical engineering and I'm a qualified A-class sparky. Go figure. Guess it's too much like a busmans holiday. Still need to source cabling and overbraid and am waiting on the plugs for the O2 sensor.
Still haven't done any work on the bus as I've been tied up making blower kits....One more small step towards the goal; received some coil pack connectors for the twin coil packs.More
I'm kinda not looking forwards to making up the loom, which is kind ironic considering that my background is electrical engineering and I'm a qualified A-class sparky. Go figure. Guess it's too much like a busmans holiday. Still need to source cabling and overbraid and am waiting on the plugs for the O2 sensor.
Still haven't done any work on the bus as I've been tied up making blower kits. Hoping that I'm going to get the bus running in time for #dubsbytheriver
Post is under moderationStream item published successfully. Item will now be visible on your stream. -
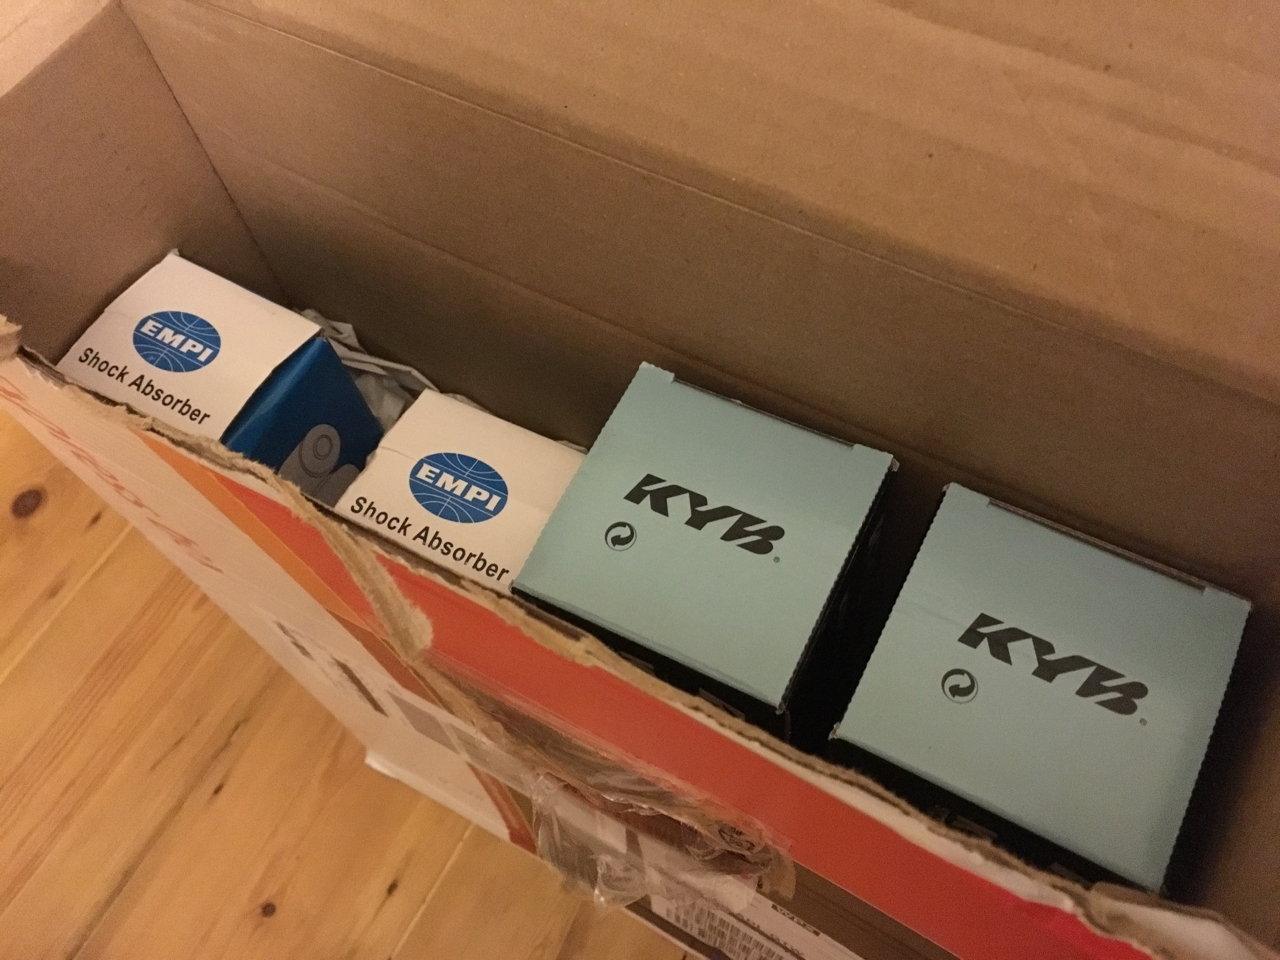
No work on the bus this weekend as I've been busy making supercharger kits. Did receive my new lowered shocks tho. Decided to go for gas-adjust on the rear and regular oil on the front as running gas on the front tends to make it a bit bouncy.Post is under moderationStream item published successfully. Item will now be visible on your stream.
-
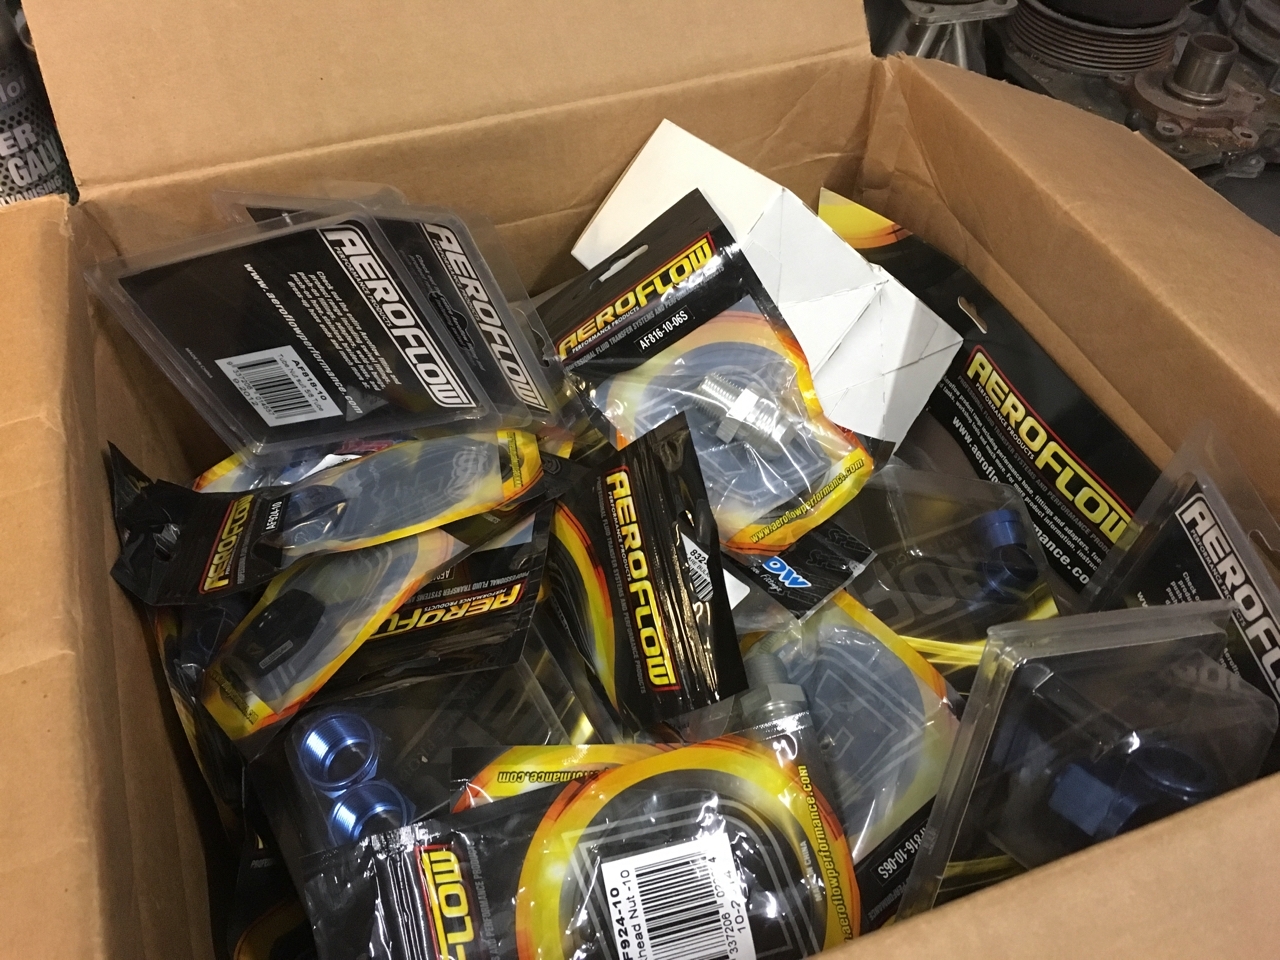
Picked up some fittings to run my replacement oil lines with. I'm going for hard lines this time as my previous flexible line got pinched when I bottomed out on a pot hole. Basically hard lines from the engine along the moustache bar, then flexible hose across to the chassis and hard lines from there through the filter and cooler. Should be a lot more durable and means that there will only bet two small flexi-hoses in the entire system which will be very easy to swap out, which I generally...Picked up some fittings to run my replacement oil lines with. I'm going for hard lines this time as my previous flexible line got pinched when I bottomed out on a pot hole. Basically hard lines from the engine along the moustache bar, then flexible hose across to the chassis and hard lines from there through the filter and cooler. Should be a lot more durable and means that there will only bet two small flexi-hoses in the entire system which will be very easy to swap out, which I generally do every few years.More
It's worth noting that normally oil hose only has a working temperature of up to 200 degrees (F) which is pretty close to the normal operating temps that air cooled run at. This means that it degrades a lot faster than it would on a water cooled car. The hose gets hard and can fatigue and crack. It's worthwhile checking and changing your oil hoses every few yearsPost is under moderationStream item published successfully. Item will now be visible on your stream. -
Been busy building superchargers this weekend so not much progress on the bus. Did manage to get the drive shaft rebuilt tho. Small victories. Just need to fit it now (along with the gearbox).Post is under moderationStream item published successfully. Item will now be visible on your stream.
-
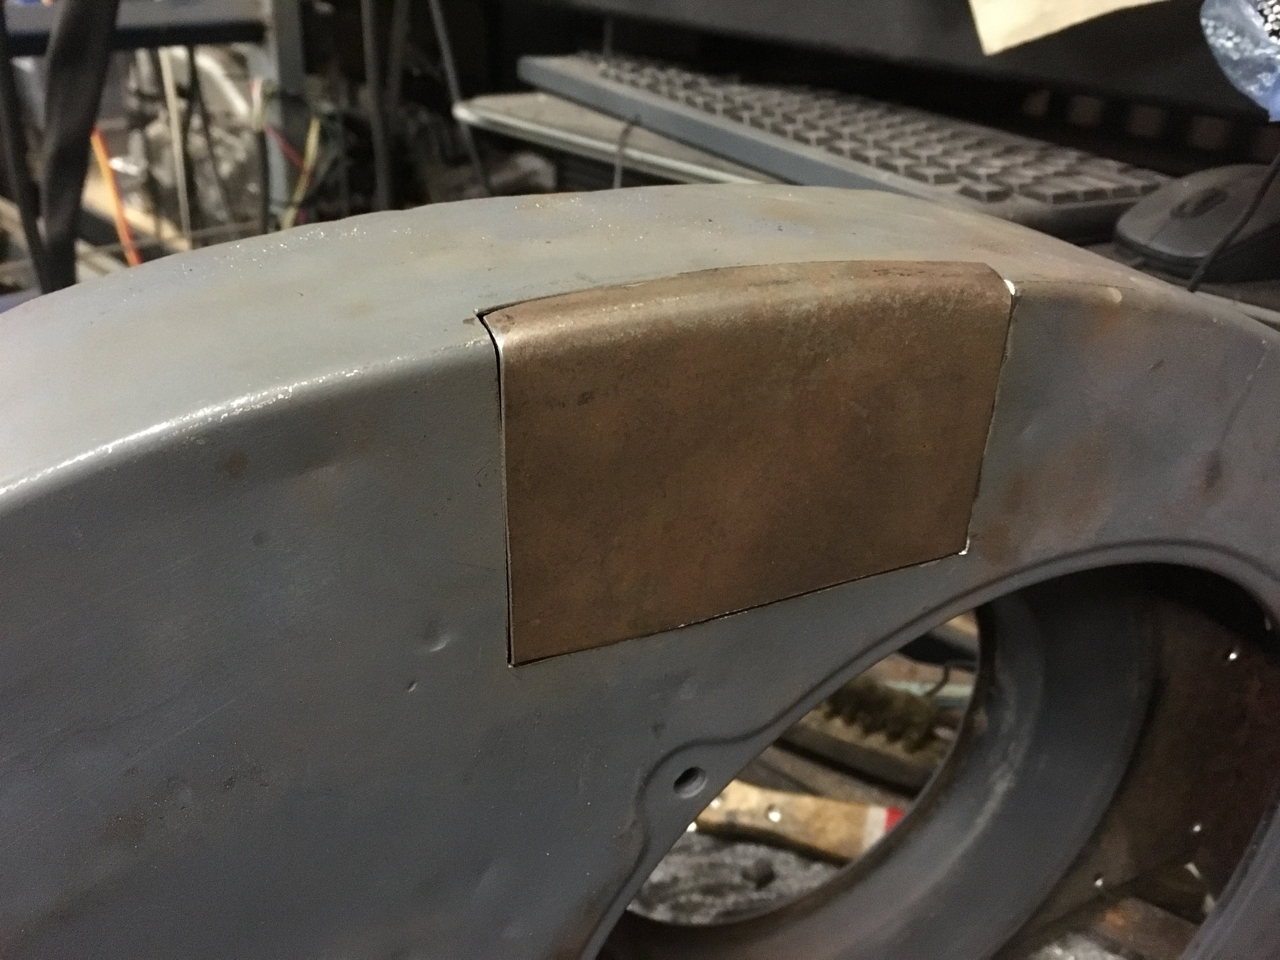
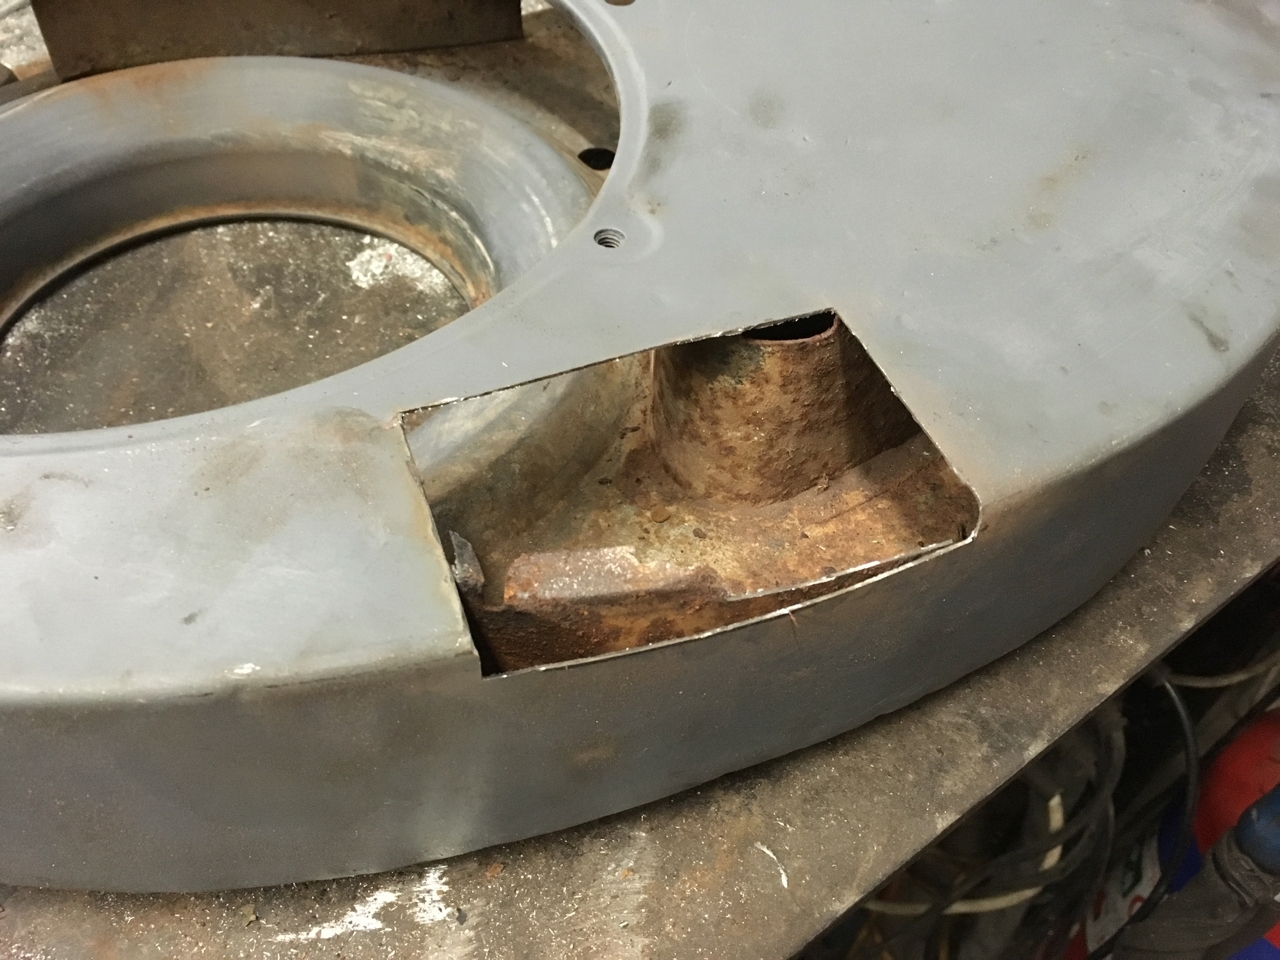
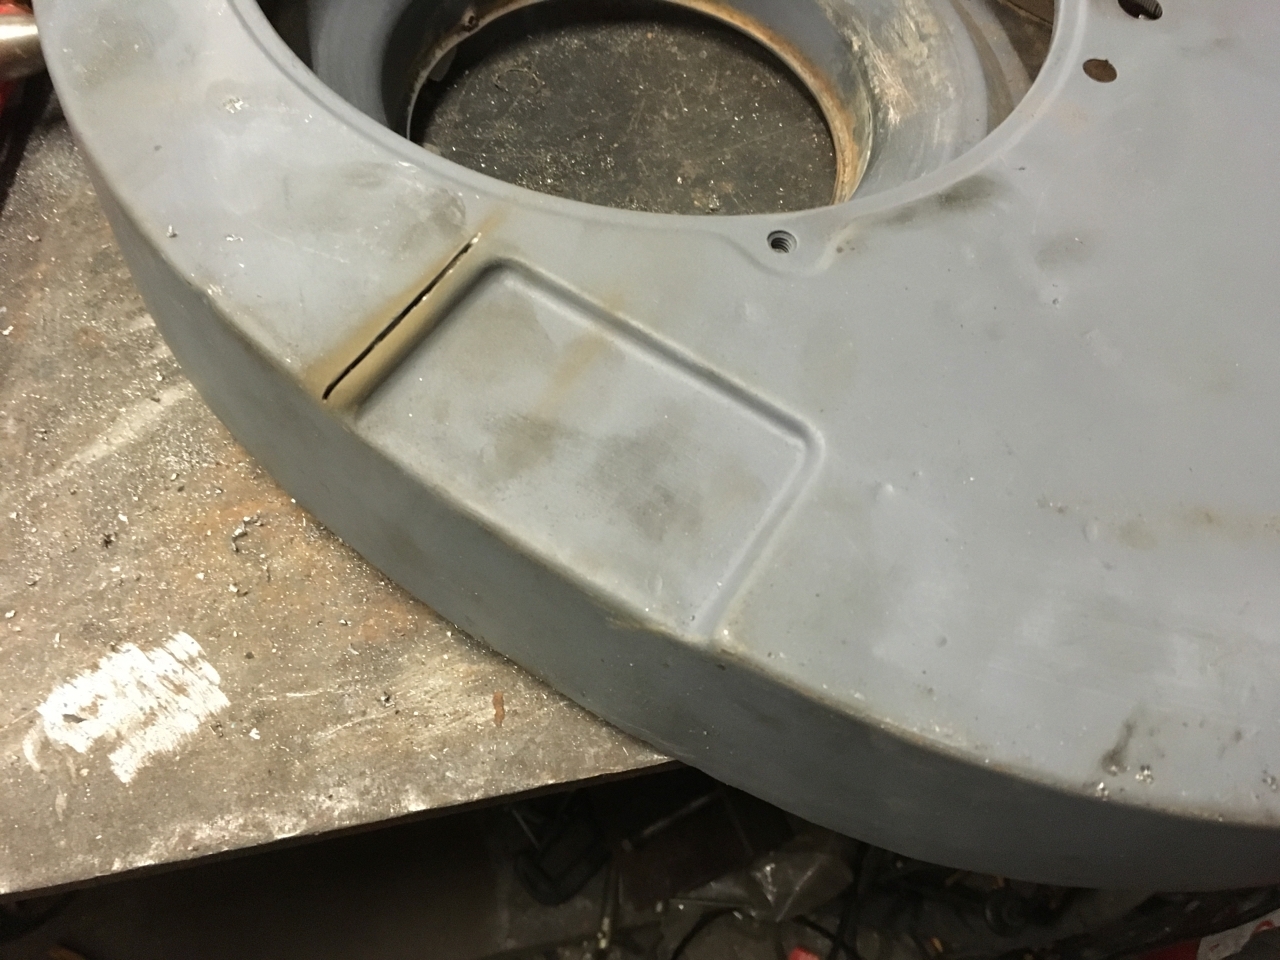
Finished off the fan shroud yesterday. Welded in the patch to get rid of the air filter pressing and welded on the 'venturi' to the rear. I also had to change the fan from a doghouse fan to a non-doghouse type of fan. I was hoping to run the doghouse fan for the improved air flow but is was just a couple of mm too wide to fit the fan housing. I also took the time to close up the gap between the fan and the rear inlet as this will allow air pressure to bleed out of the fan housing back into...Finished off the fan shroud yesterday. Welded in the patch to get rid of the air filter pressing and welded on the 'venturi' to the rear. I also had to change the fan from a doghouse fan to a non-doghouse type of fan. I was hoping to run the doghouse fan for the improved air flow but is was just a couple of mm too wide to fit the fan housing. I also took the time to close up the gap between the fan and the rear inlet as this will allow air pressure to bleed out of the fan housing back into the air inlet path ruining the flow of air into the fan, effectively making the addition of the 'venturi' worthless.More
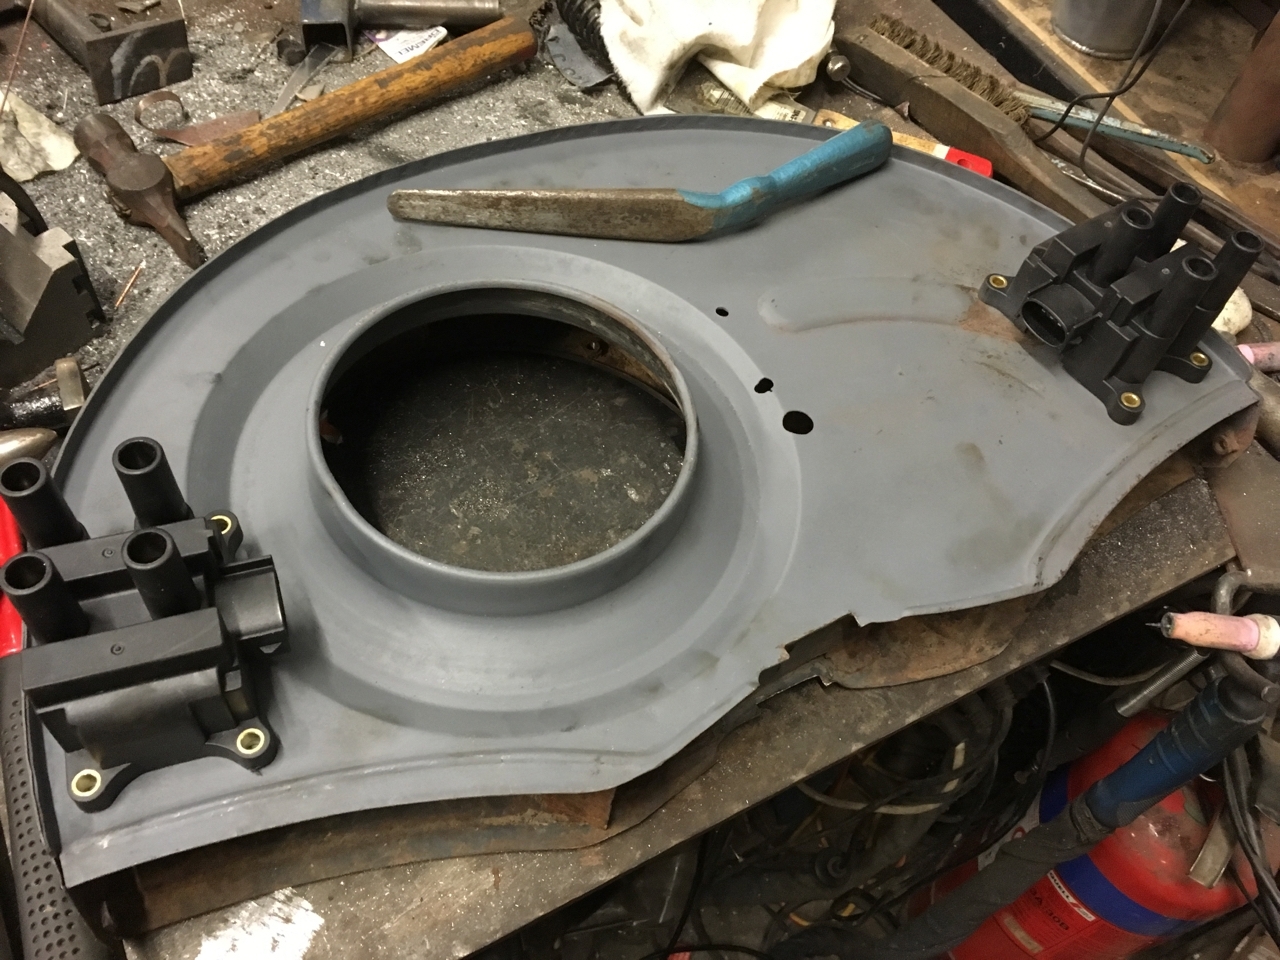
I mounted the coil packs up and fitted the fan shroud to the engine to check the plug lead fit. I'm pretty happy with the way the plug leads sit and will not need to trim the lengths down to suit. The lower plug leads fit nicely under the clips for the rocker covers and once dressed in with the top leads will sit well enough away from the exhaust.
There's still a few bits to sort out with the lower tin before it's ready to prep and paint.
Then there's only 100 other jobs to do before it can go in. Post is under moderationStream item published successfully. Item will now be visible on your stream.
 -
Decided on a location for the coil packs today - on the rear of the fan shroud. Had to flatten part of the pressing on the rear to allow the left coil pack to sit flush. I've drilled out the mounting holes and will use some riv-nuts once the shroud is painted. With the coil pack location sorted I was also able to buy the plug leads - all 8 of them!!! Still need to source some heat proof braid for the bottom plug leads.
I also made up some tie down brackets for the fuel injectors / fuel...Decided on a location for the coil packs today - on the rear of the fan shroud. Had to flatten part of the pressing on the rear to allow the left coil pack to sit flush. I've drilled out the mounting holes and will use some riv-nuts once the shroud is painted. With the coil pack location sorted I was also able to buy the plug leads - all 8 of them!!! Still need to source some heat proof braid for the bottom plug leads.More
I also made up some tie down brackets for the fuel injectors / fuel rail. Originally I wanted to make a bracket that fitted to the underneath but after taking a look at the injector spacing I could not get two fixings side by side to keep the fuel rail square, so I decided to change the design to a more traditional type bracket.
With the fan shroud out I decided to finish off getting it ready for paint. There's a couple of mods to do to it before it is ready such as welding up the holes for the plug lead clips, welding the rear 'venturi' onto the inlet and getting rid of the air cleaner recess.I also need to sort out fitting the 50 horse fan into the 40 horse shroud as there are a few air gaps that I'm not happy about.Post is under moderationStream item published successfully. Item will now be visible on your stream. -
Stream item published successfully. Item will now be visible on your stream.
-
A word from our sponsors...
-
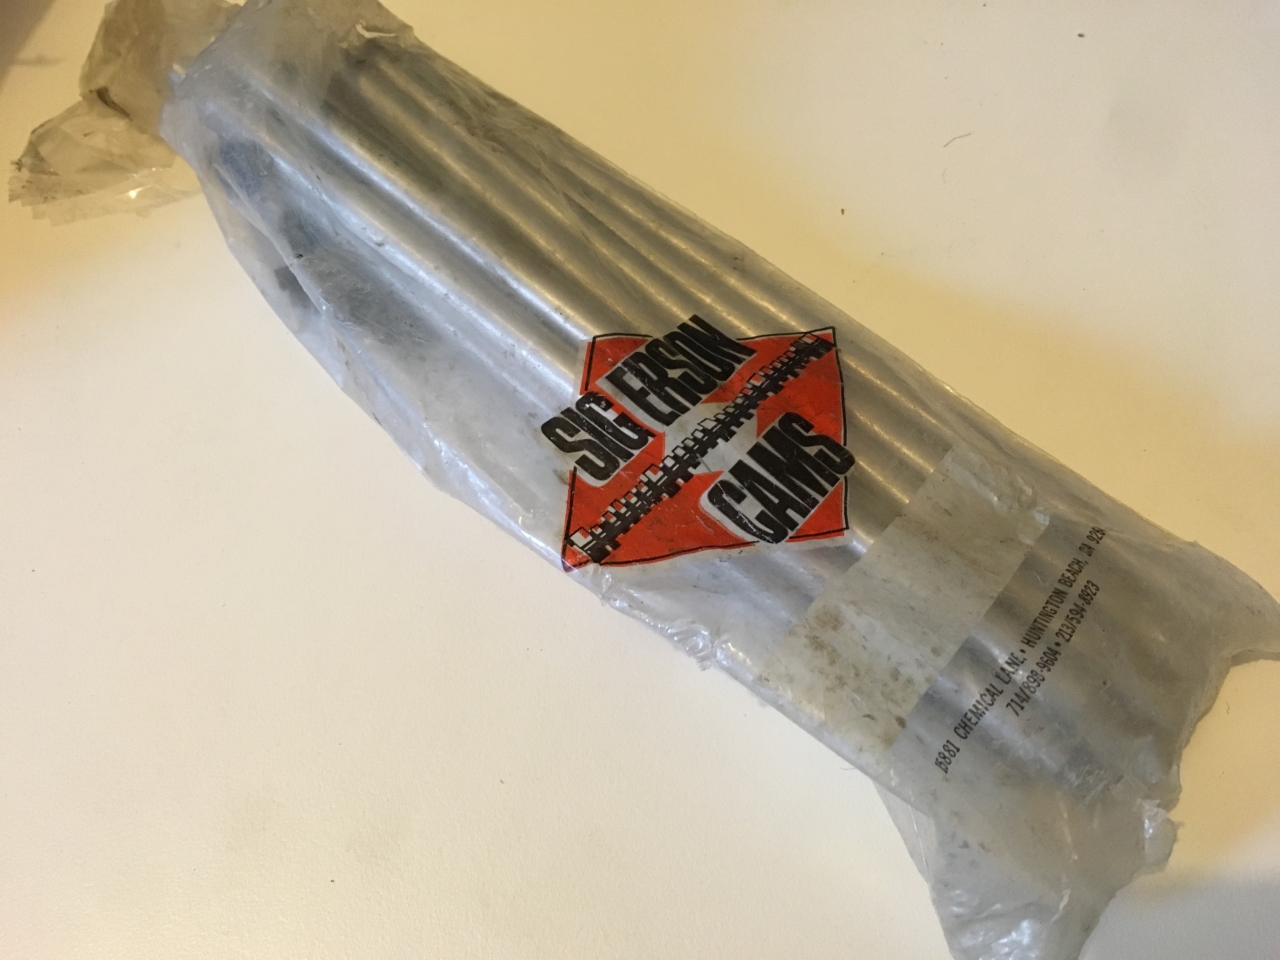
Got the valve train geometry sorted out today. Had to make up a custom adjustable pushrod for the Sig Erson ratio rockers as they have a cup style end instead of the normal ball end, this unfortunately meant sacrificing a pushrod. The Sig Erson pushrods were too short to use so I decided to cut one of those up, I had a set of aluminium cut to length pushrods for another engine build so used those instead.
Setting the pushrod and rocker geometry is a job that requires a little patience to...Got the valve train geometry sorted out today. Had to make up a custom adjustable pushrod for the Sig Erson ratio rockers as they have a cup style end instead of the normal ball end, this unfortunately meant sacrificing a pushrod. The Sig Erson pushrods were too short to use so I decided to cut one of those up, I had a set of aluminium cut to length pushrods for another engine build so used those instead.More
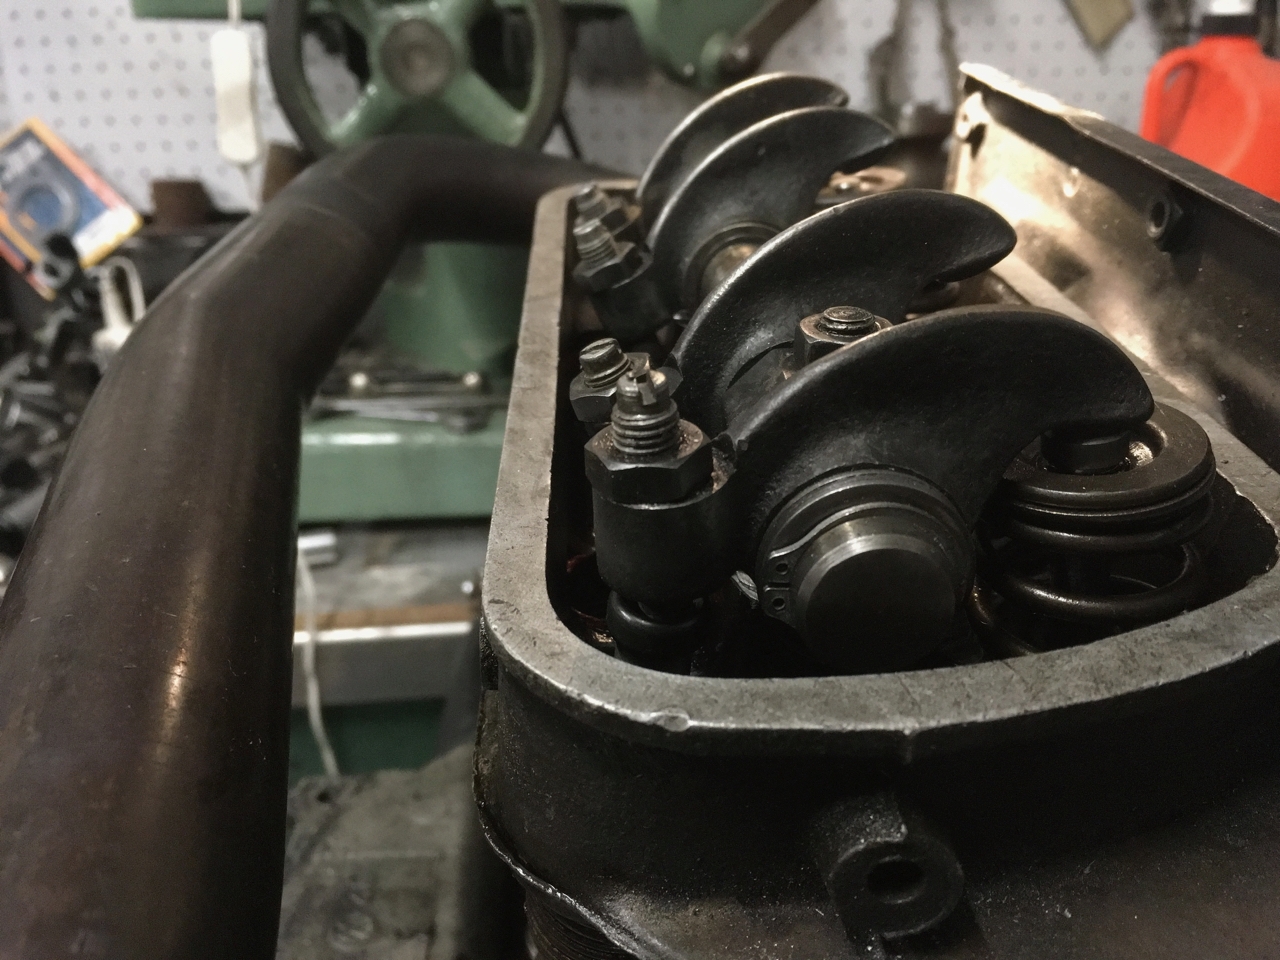
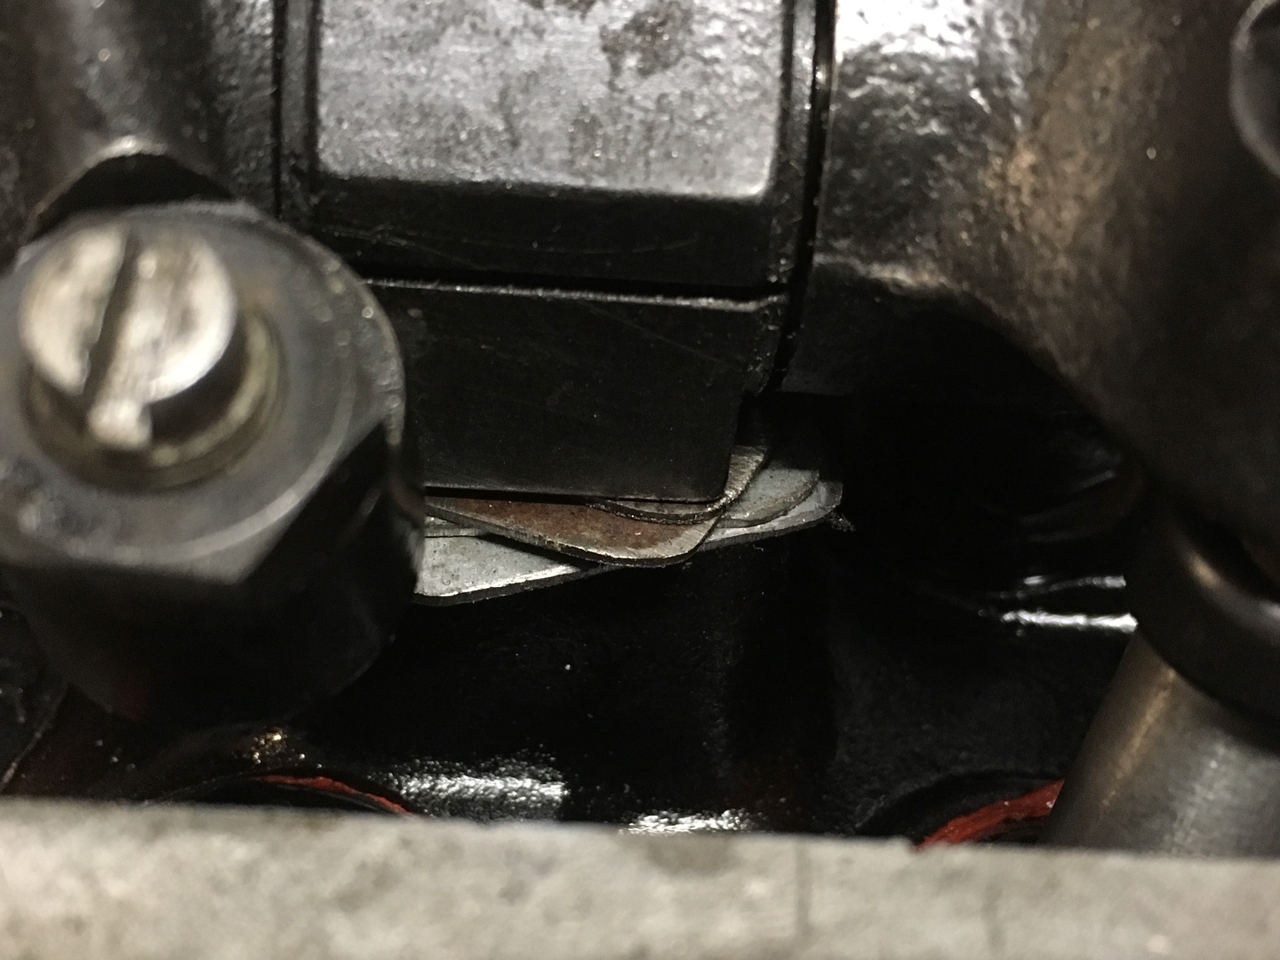
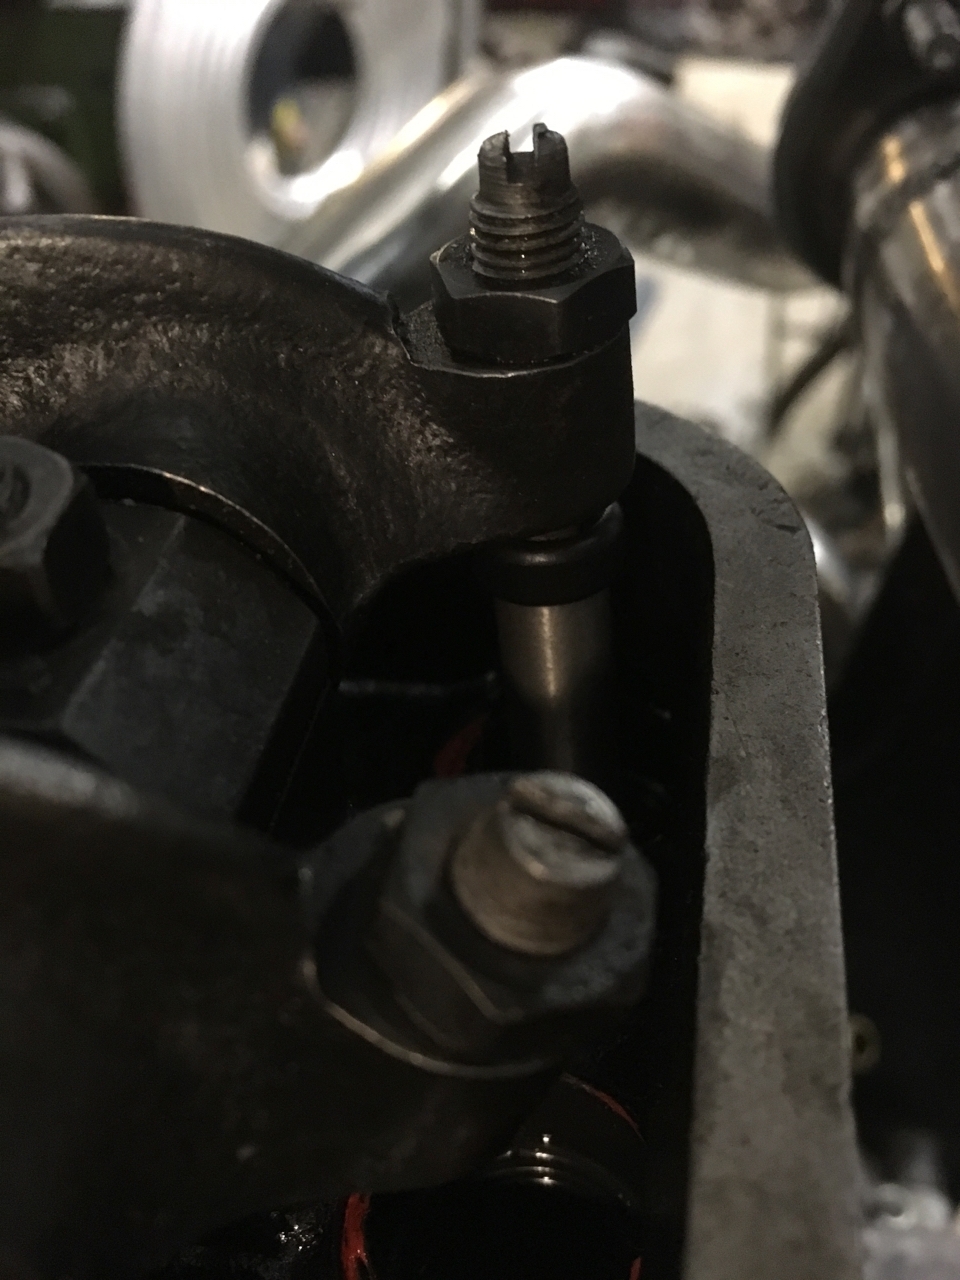
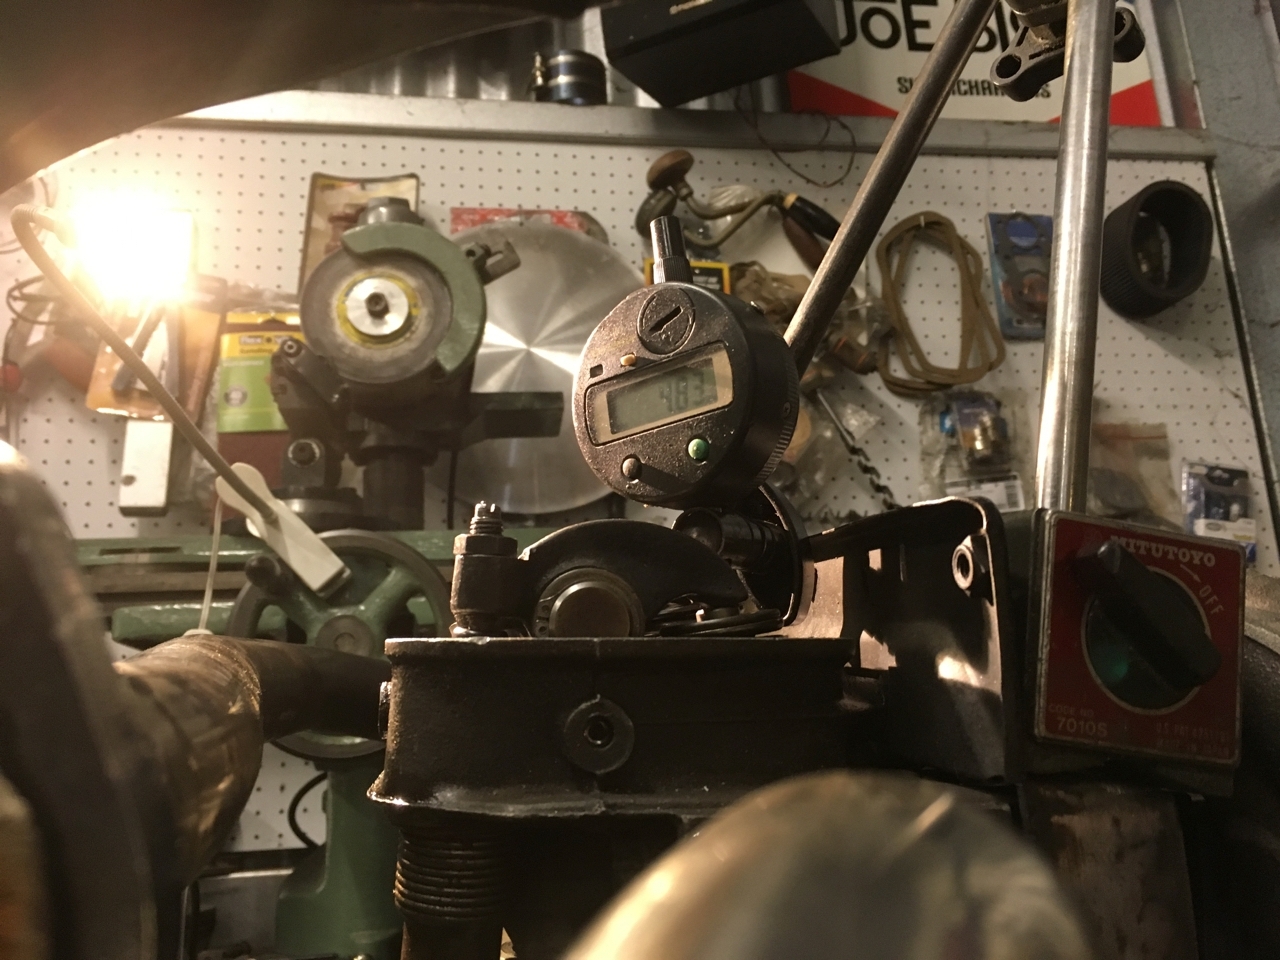
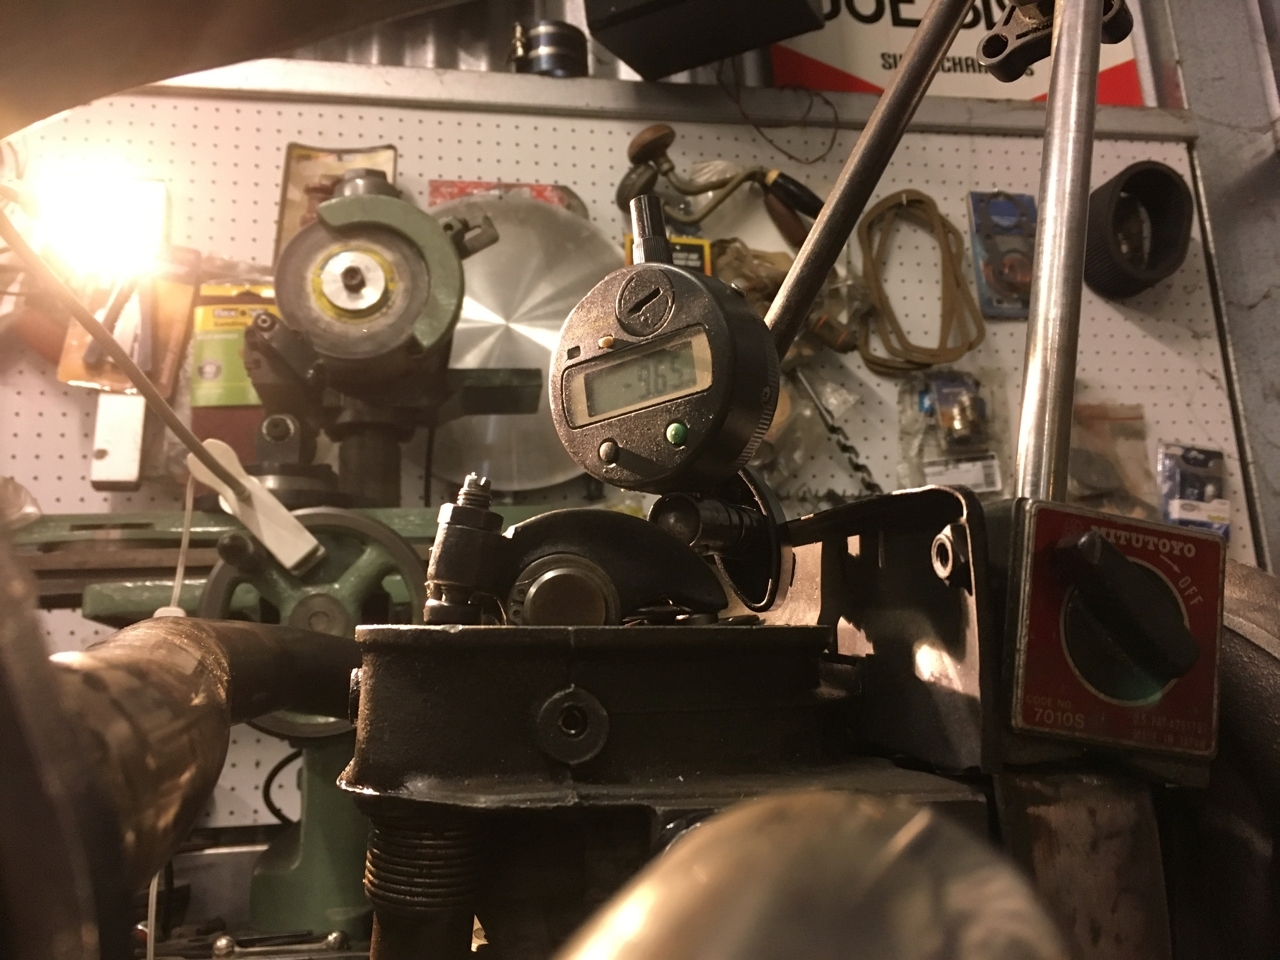
Setting the pushrod and rocker geometry is a job that requires a little patience to get the best results, and after making up a number of different thickness shims I found the perfect setup. Overall lift is 9.9mm which is 0.389" a definite improvement over stock but not as good as I had hoped given that I'm using a 1.4:1 ratio rocker. Ahh well. Will just have to see how it performs. Really need to get that dyno built so that I can start to verify some of these mods. Post is under moderationStream item published successfully. Item will now be visible on your stream.
 -
Another small but vital part of the puzzle, my Sig Erson pushrods arrived today. This means I can set up my valve geometry this weekend, Yay.Post is under moderationStream item published successfully. Item will now be visible on your stream.
-
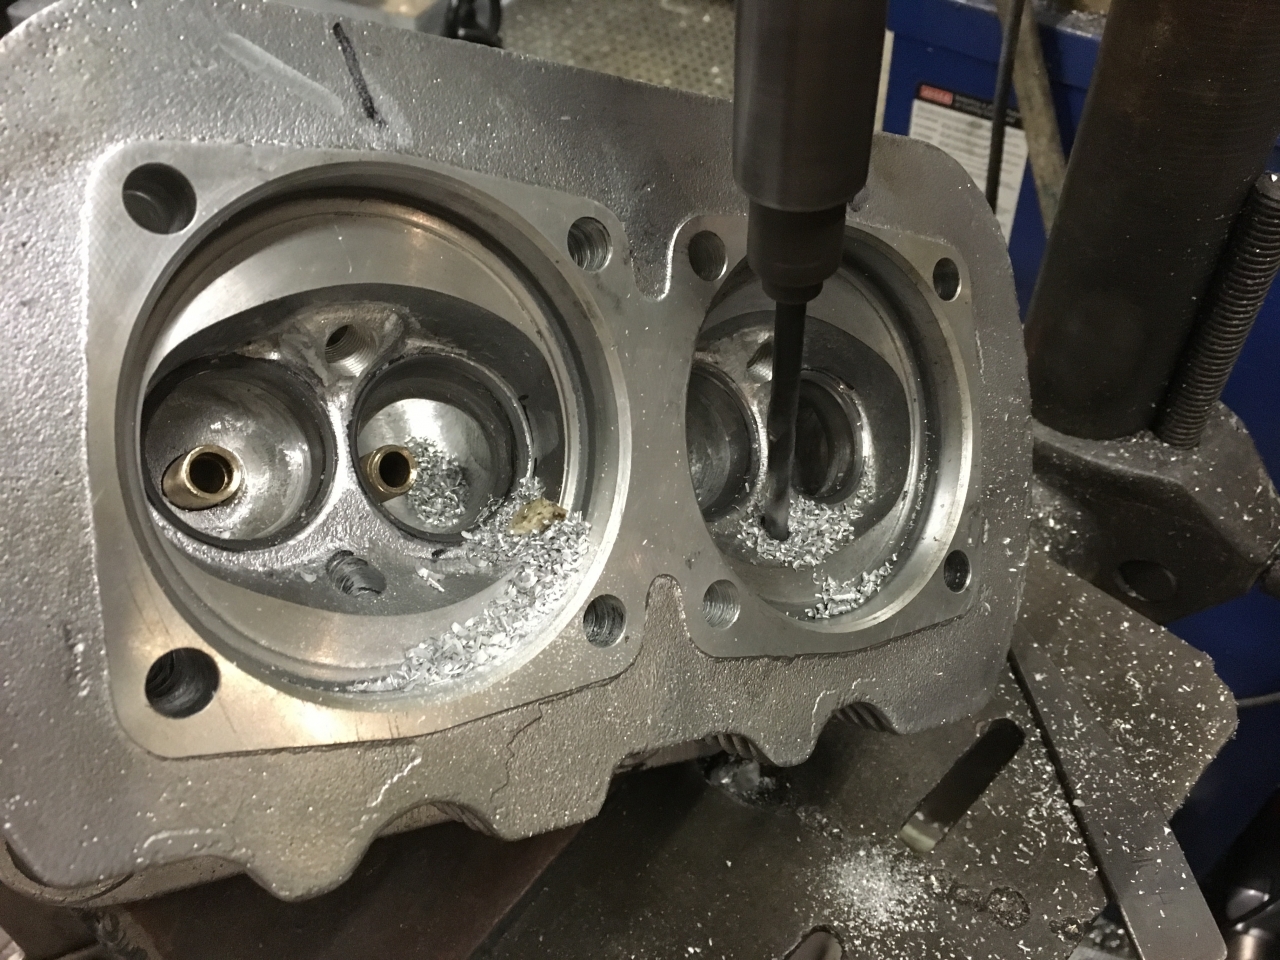
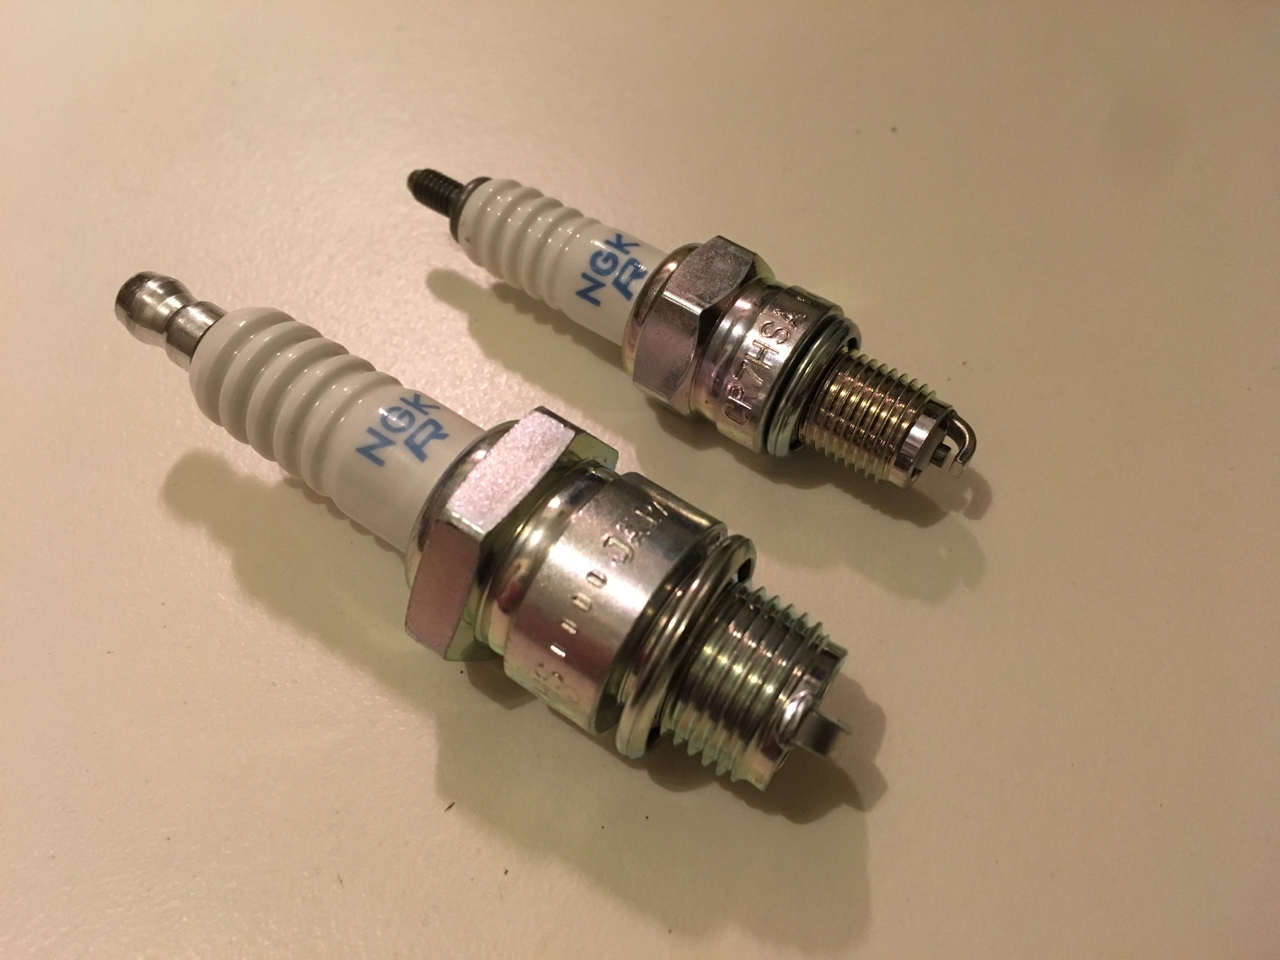
Another small step towards the end goal. I made up a small calliper to measure the thickness of the cylinder head at the second plug location so that I could select the correct length spark plugs. The second plug is a smaller 10mm plug. Next task on the agenda is to make up a spark plug indexing tool. The idea behind spark plug indexing is to face the electrode bridge away from the chamber to aid in flame travel. Ideally electrode gap wants to point towards the densest part of the charge....Another small step towards the end goal. I made up a small calliper to measure the thickness of the cylinder head at the second plug location so that I could select the correct length spark plugs. The second plug is a smaller 10mm plug. Next task on the agenda is to make up a spark plug indexing tool. The idea behind spark plug indexing is to face the electrode bridge away from the chamber to aid in flame travel. Ideally electrode gap wants to point towards the densest part of the charge. The location of the charge is determined by reading the spark ignition point on the plugs (small clean area on the electrode). Alternatively facing the gap towards the exhaust valve is stated to help improve the burn.More
This may be taking things to extremes but as I am running twin plugs I want to make sure that the flame fronts from each plug travel in the same direction and at the same rate. If one is obscured by the electrode bridge it could result in an uneven burn.
I also want to get into the habit of indexing the plugs as the next incarnation of development is to run a squish piston design which will totally enclose the plug except for a very small burn chamber. In this case indexing the plugs will be very important.Post is under moderationStream item published successfully. Item will now be visible on your stream. -
Stream item published successfully. Item will now be visible on your stream.
-
Carried out repairs to the rear moustache bar mounts today. Unfortunately the threads had stripped out, probably when the bus grounded out in the same pot hole that tore through my oil line. Repairing them involved drilling the holes out larger and tapping them to accept helicoils. With the rear bar fitted I made a start on modifying the exhaust to fit properly. Fortunately I've got some stainless pipe of the correct size so it's a simple case of cutting and extending the J Tubes, I can...Carried out repairs to the rear moustache bar mounts today. Unfortunately the threads had stripped out, probably when the bus grounded out in the same pot hole that tore through my oil line. Repairing them involved drilling the holes out larger and tapping them to accept helicoils. With the rear bar fitted I made a start on modifying the exhaust to fit properly. Fortunately I've got some stainless pipe of the correct size so it's a simple case of cutting and extending the J Tubes, I can rotate the flanges to line up with the header at the same time. I'm tempted to cut and shut the header so that it sits a bit better too. Will see how I get on tomorrow.MorePost is under moderationStream item published successfully. Item will now be visible on your stream.
-
Had plans on getting a bit more done on the bus today but got a bit sidetracked by the Speedster. Did manage to get the exhaust offered up to see how it fits. I opted for an el-cheapo sidewinder in stainless to replace the vintage speed that I had been running previously. Mostly as it's better flowing than the VS unit but also as the tail pipe on the VS unit scrapes on my driveway (you can just see it in the banner photo above).
Another thing I wanted to check out was the fit of the...Had plans on getting a bit more done on the bus today but got a bit sidetracked by the Speedster. Did manage to get the exhaust offered up to see how it fits. I opted for an el-cheapo sidewinder in stainless to replace the vintage speed that I had been running previously. Mostly as it's better flowing than the VS unit but also as the tail pipe on the VS unit scrapes on my driveway (you can just see it in the banner photo above).More
Another thing I wanted to check out was the fit of the exhaust with the rear moustache bar and also whether the J-pipes that I have would work with the new exhaust. After getting the exhaust loosely fitted it was clear that the angle of the flanges on the J tubes would need to be reorientated as the holes did not line up. The flanges would also need a little persuading to align properly. The moustache bar pretty much fits with no dramas, it slightly fouls the silencer, but nothing that a little clearancing cannot solve.
One thing that was clear, which is quite unfortunate, is that the system sits quite low. In fact it is level with the moustache bar, which I was actually hoping to replace with a custom made one to give me some more ground clearance (previously the moustache bar was the lowest point). This means that I don't gain any ground clearance by fitting this style of system.
That said, it looks like the tail pipe sits a lot further forwards so my issue with the tail pipe scraping the driveway should hopefully be resolved.
I also trial fitted the rear valence to see how the system fitted up behind it. To be honest there is a heap of room behind the valence that that system could tuck up into if it was modified. At this stage I don't think I will do this. I rarely had ground clearance issues as the moustache bar sits 100mm from the ground. It might be something that I look into if I decide to go lower.
There's a couple of things to sort out - namely the flanges on the J tubes and I also need to make up a bracket to support the rear of the silencer. I also need to weld in a bung for the O2 sensor. As there is a heap of room behind the valence I am tempted to mount it on the top as this is nicely tucked out of the way but I'm not 100% sure if this will clash with the rear valence mountings. I guess I will leave this until after the engine is installed just to be sure.Post is under moderationStream item published successfully. Item will now be visible on your stream. -
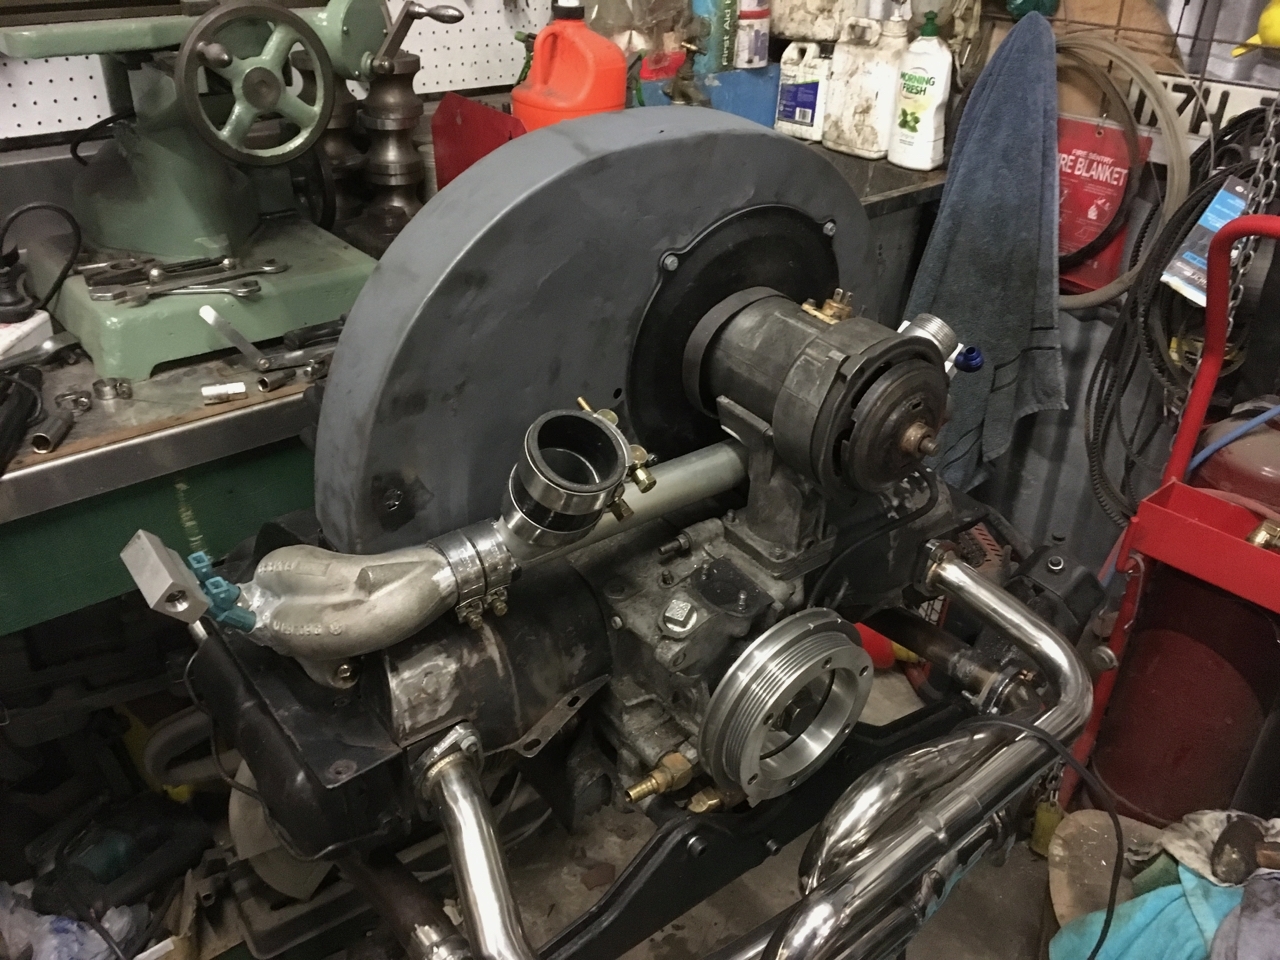
Spent some time having a trial go at putting the engine together. Discovered a few bugs with the new setup that required some fettling to make fit. Made up the inlet manifold for the throttle body, modified the alternator stand for the new larger manifold to fit and made a new bracket to hold the crank sensor. Also removed the distributor drive and made up a plug for the hole. Goodbye distributor and hello coil packs.
Being twin spark, trying to find a location for two coil packs is a bit...Spent some time having a trial go at putting the engine together. Discovered a few bugs with the new setup that required some fettling to make fit. Made up the inlet manifold for the throttle body, modified the alternator stand for the new larger manifold to fit and made a new bracket to hold the crank sensor. Also removed the distributor drive and made up a plug for the hole. Goodbye distributor and hello coil packs.More
Being twin spark, trying to find a location for two coil packs is a bit of a challenge. Ideally I would like to have one each side behind the fan shourd, but it looks like there may not be enough room on the 1/2 side of the engine. The cool thing about going twin spark is that I can run one pack for each side which enables shorter plug leads.
Still have a bunch of stuff to do before taking it all apart again for painting including making up the fuel rail tie downs, modifying the fan shroud, making up some coil pack brackets, making up a spacer for the alternator backing plate, trial fitting the exhaust, welding in a bung for the O2 sensor helicoiling the rear engine bar mounting holes and a bunch of other stuff. The list seems to be never ending.Post is under moderationStream item published successfully. Item will now be visible on your stream. -
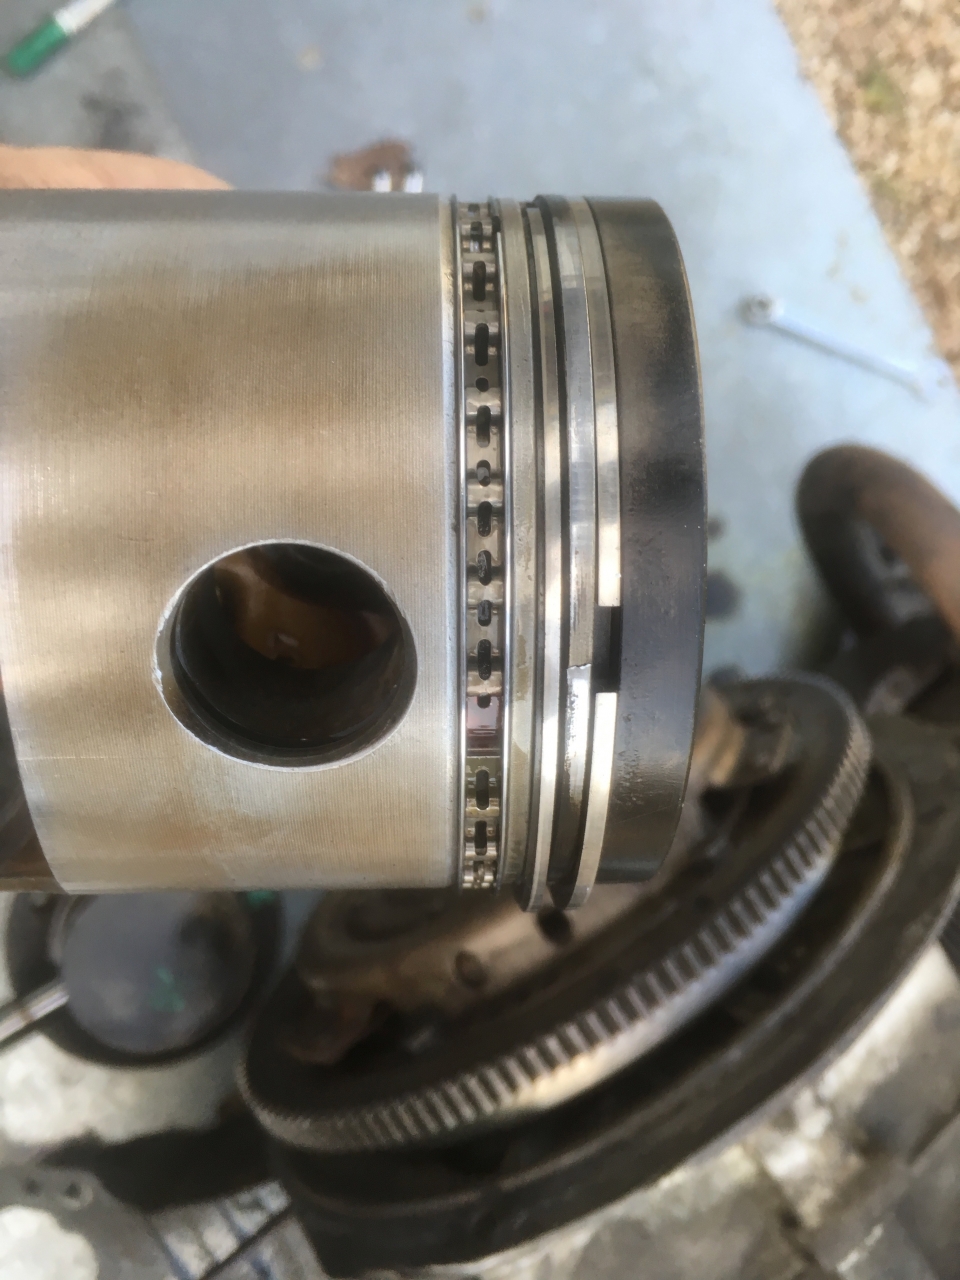
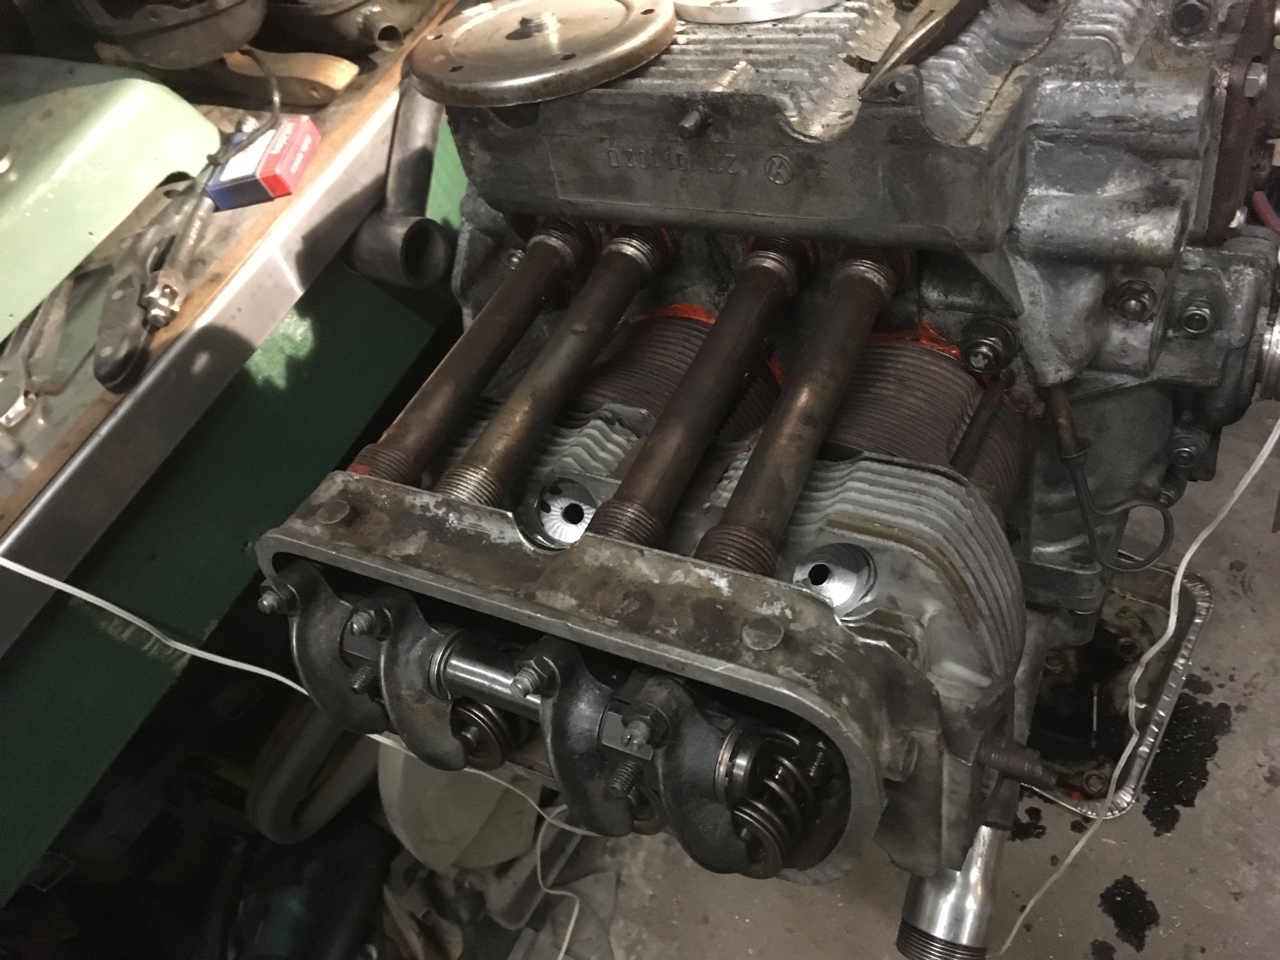
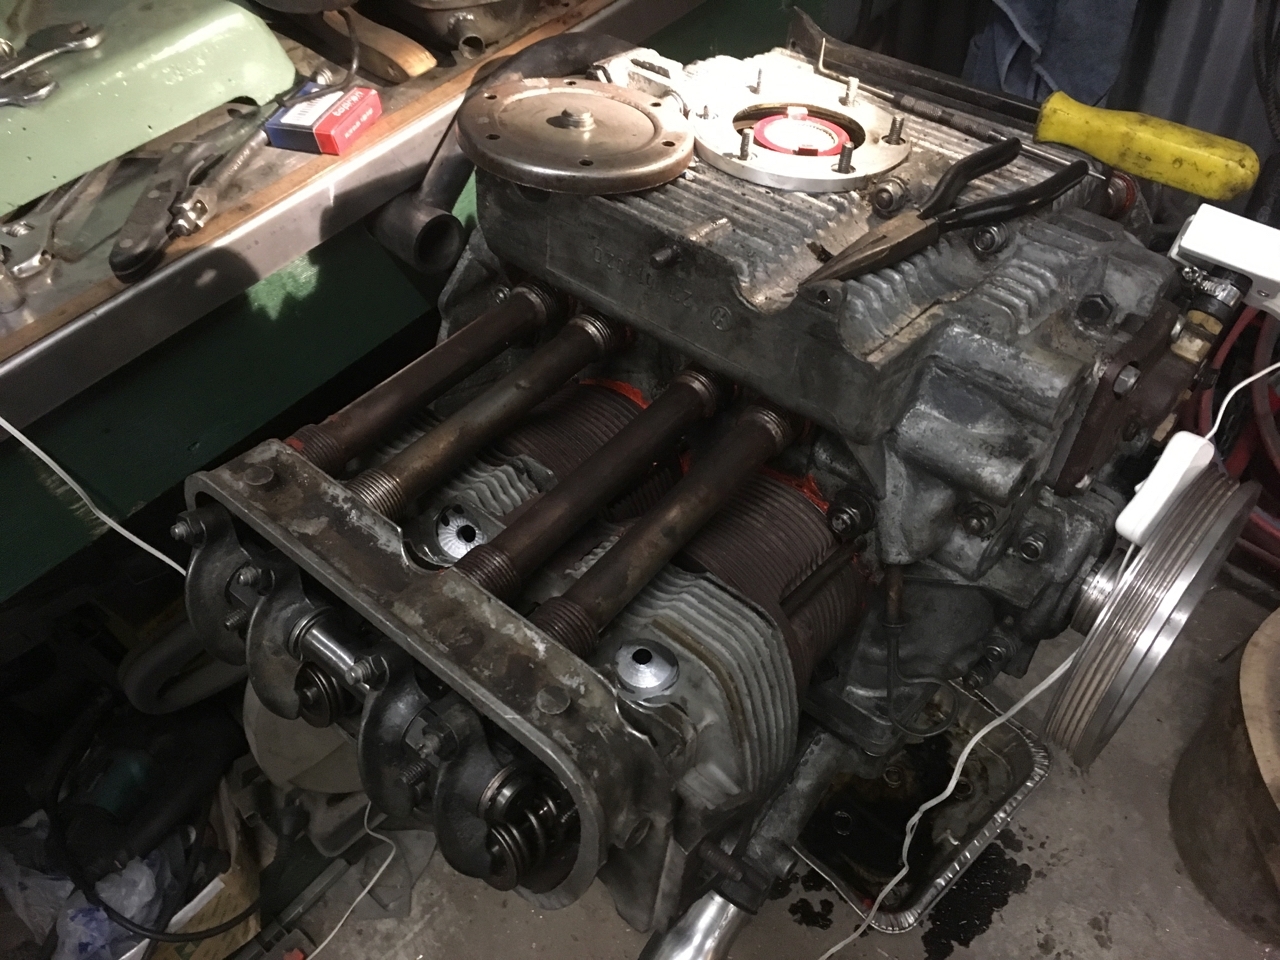
Mick's 70 Lowlight commented on this post about 8 years agoMade some more progress on getting the engine back together. Finished off the heads which involved blending the new seats in, fitting the valves with the new heavy duty engle springs and tapping the second spark plug hole. Also found some detonation damage to two of the pistons where the ring land had become bent pinching the rings. As a result of this I decided to use a set of P&C's from an old doner Type 3 engine I bought for the razor. I took the glaze off with a hone and cleaned the...Made some more progress on getting the engine back together. Finished off the heads which involved blending the new seats in, fitting the valves with the new heavy duty engle springs and tapping the second spark plug hole. Also found some detonation damage to two of the pistons where the ring land had become bent pinching the rings. As a result of this I decided to use a set of P&C's from an old doner Type 3 engine I bought for the razor. I took the glaze off with a hone and cleaned the pistons up and fitted a new set of rings. The barrels are a little worn and could ideally do with replacing but I decided to go ahead and fit them as I'm keen to get the bus running again.More
I CC'd the heads at 44cc's and measured the deck at 50 thou, this gives me a CR of 8.7:1 which should do quite nicely. I was ideally aiming for 8.6:1 but rather than stuff about trying to remove 1cc's worth of material from each chamber I decided that near-enough is good-enough.
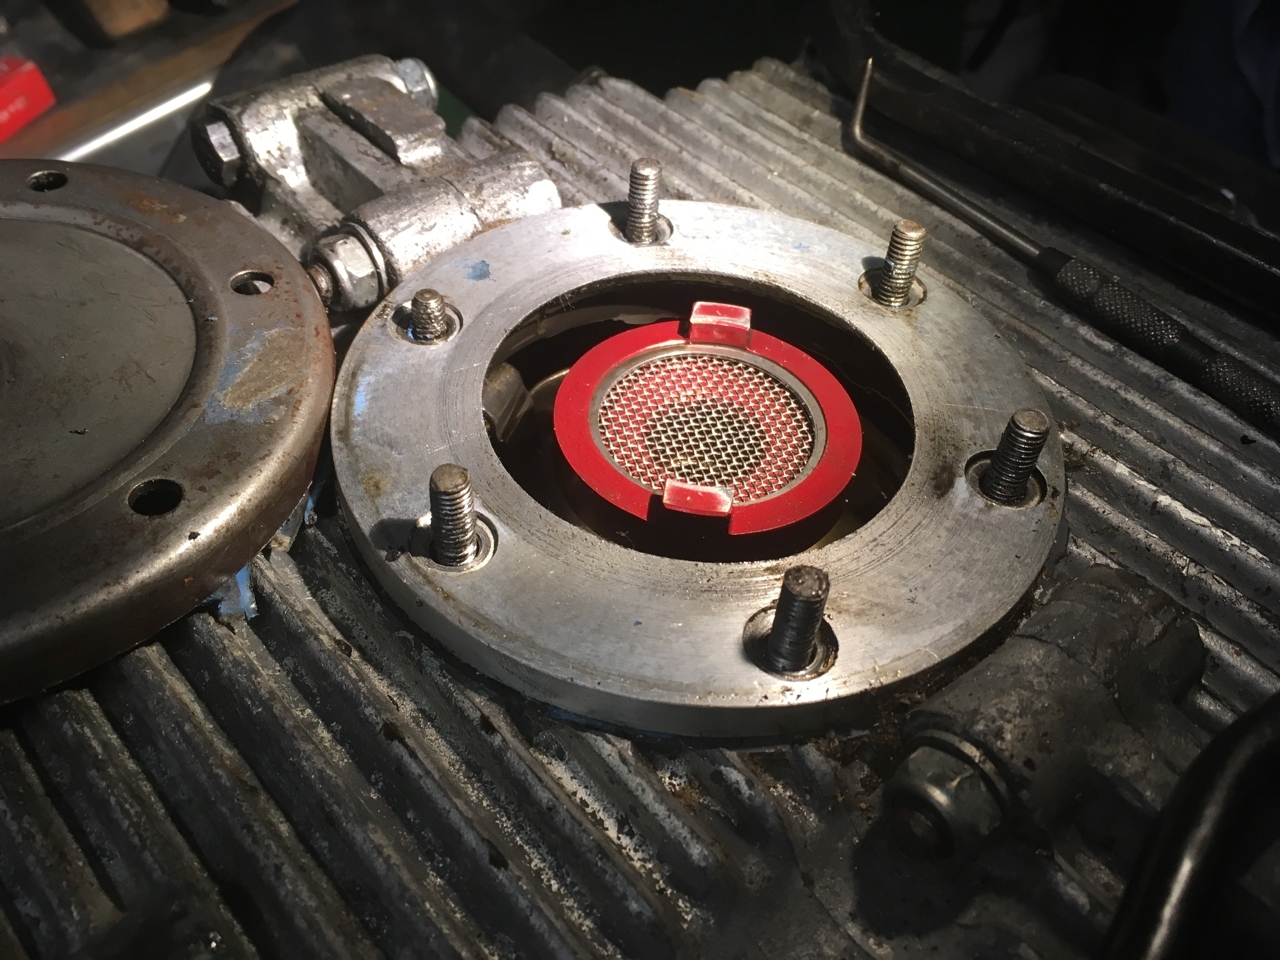
I reassembled the engine and took a bit of a stray from my normal assembly procedure as I decided to use some red hylomar to seal the barrels and pushrods. I normally don't seal the pushrod seals and use blue sealer on the barrels but as the engine was a bit leaky from #1 barrel I decided to put a stop to it. Also decided to take a look at the sump strainer to see if there were any metal particles. (none - it was clean as a whistle)
Next up is to set the valve geometry. I'm fitting a set of Sig Erson 1.5:1 ratio rockers (as they were cheap). This is about as much as I can do with the stock cam and will be a good test of what you can do on a basically stock 1600. (Previously I was running 1.25:1 CB Performance rockers). With the stock cam I will end up with about 0.500" lift which is a massive increase over stock. I'm interested to see how it performs.
So the engine specs as it currently stands:
Stock 1600, case, crank, rods, cam, P&C's
Reworked stock 1600 twin port heads (dual spark)
1.5:1 ratio rockers
Sidewinder exhaust
Joe Blow AMR500 supercharger kit.
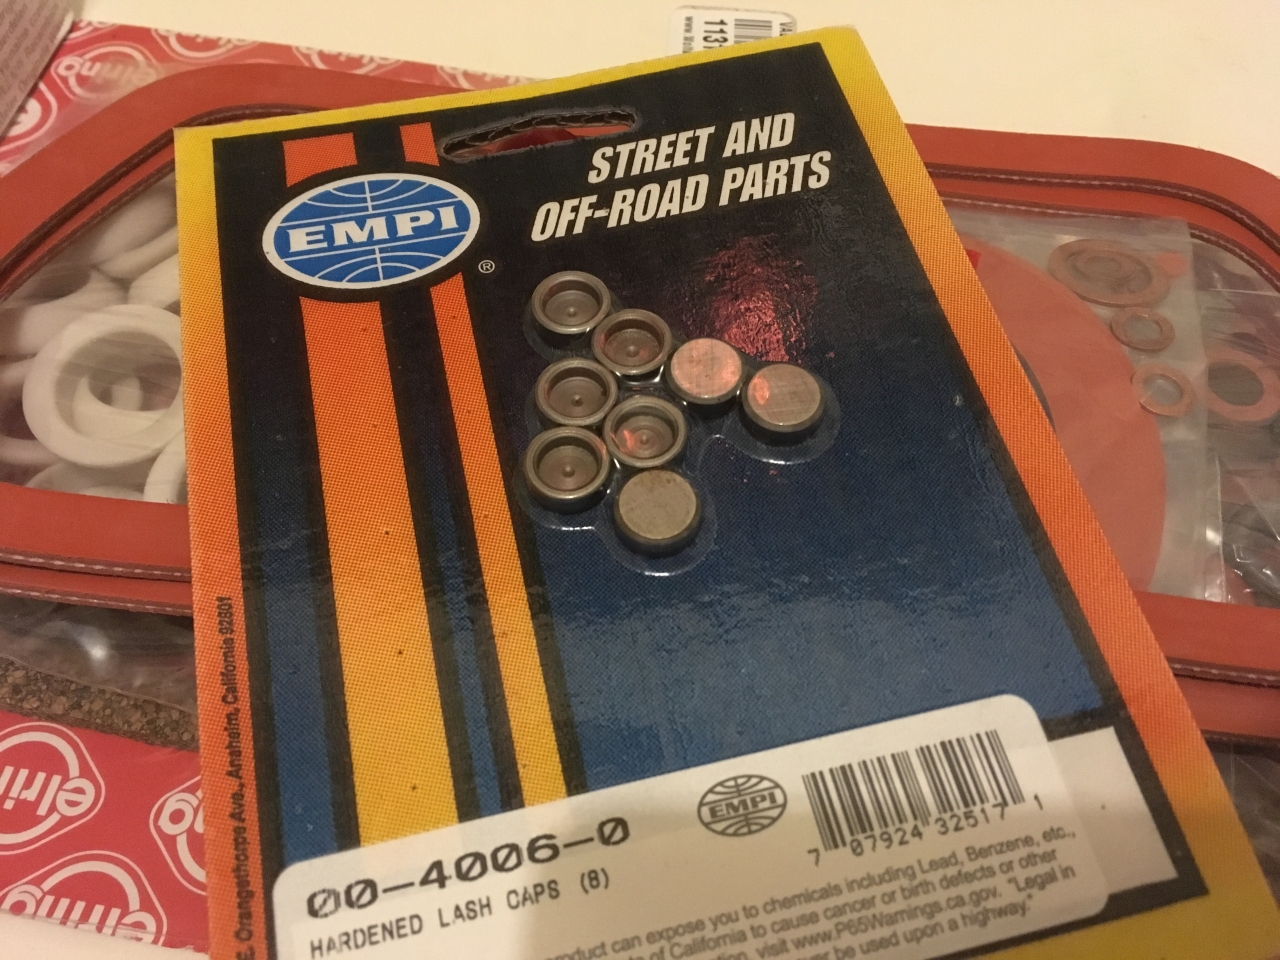
I'm waiting on a set of pushrods and lash caps before I can set the rocker geometry, hopefully they will be here next week. In the mean time I should start looking at getting the tin wear painted up and fitted.Post is under moderationStream item published successfully. Item will now be visible on your stream. -
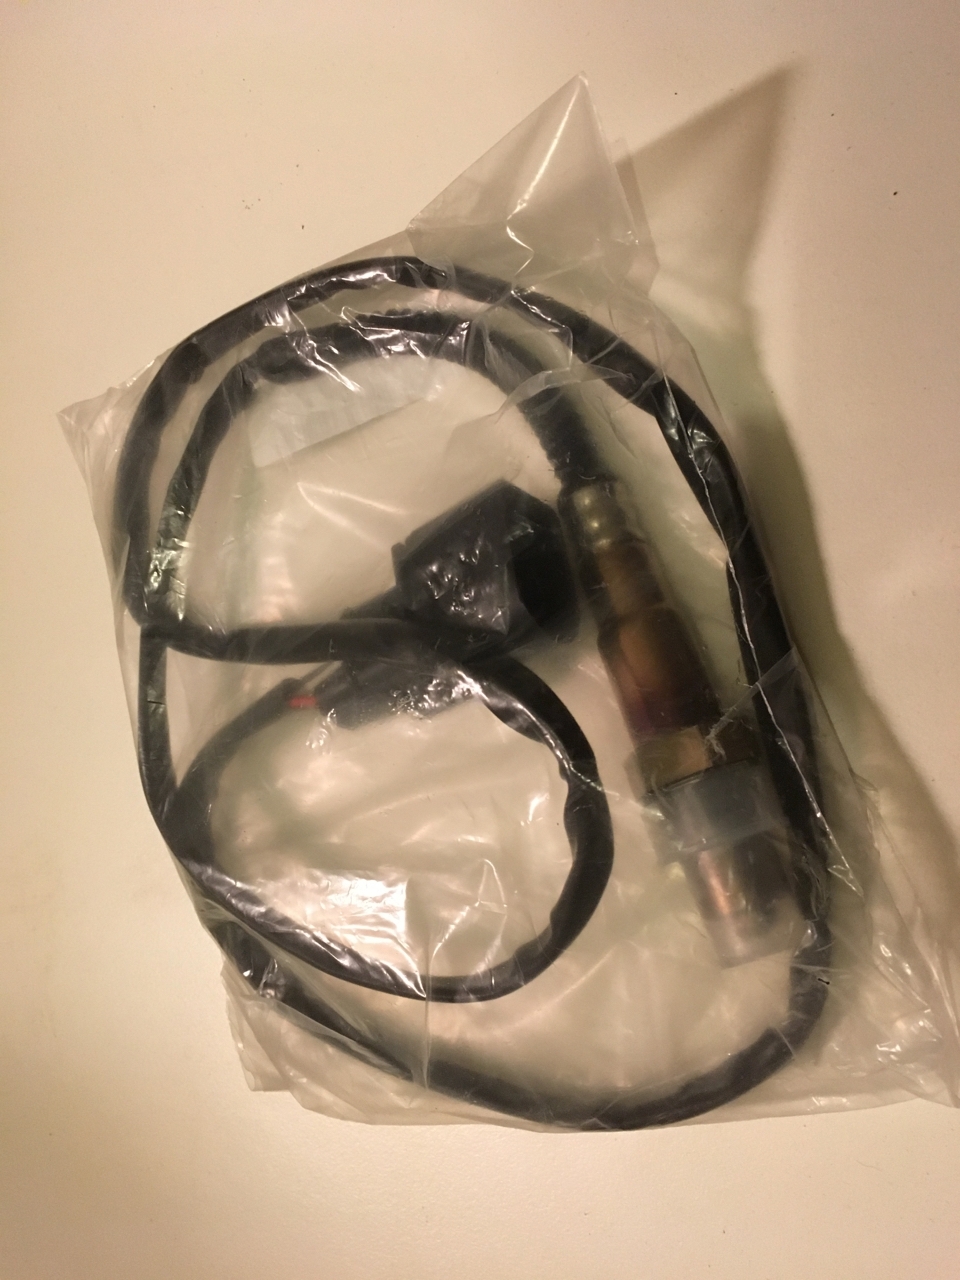
Mail call. Another piece of the puzzle arrived today. Wideband O2 sensor.Post is under moderationStream item published successfully. Item will now be visible on your stream.
There are no activities here yet






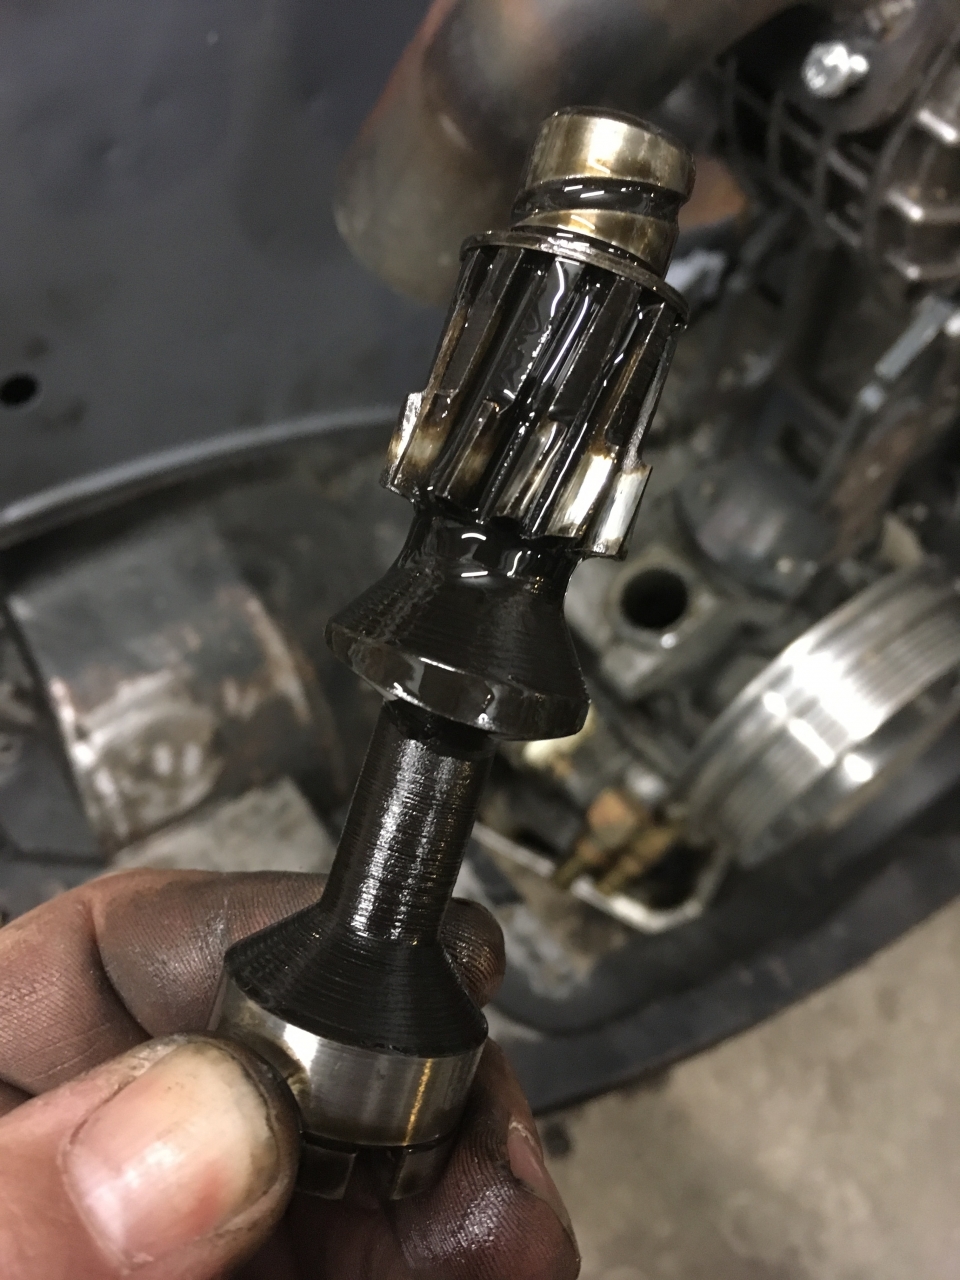
They also do another similar product that is like a self-adhesive sheet. You stick this to the bodywork and it reflects the heat back. It's specifically for the underside of cars where the exhaust is. I recon that'd be worth looking at for your guards. Probably easier to fit too. More ...