
Silencer End Pressings

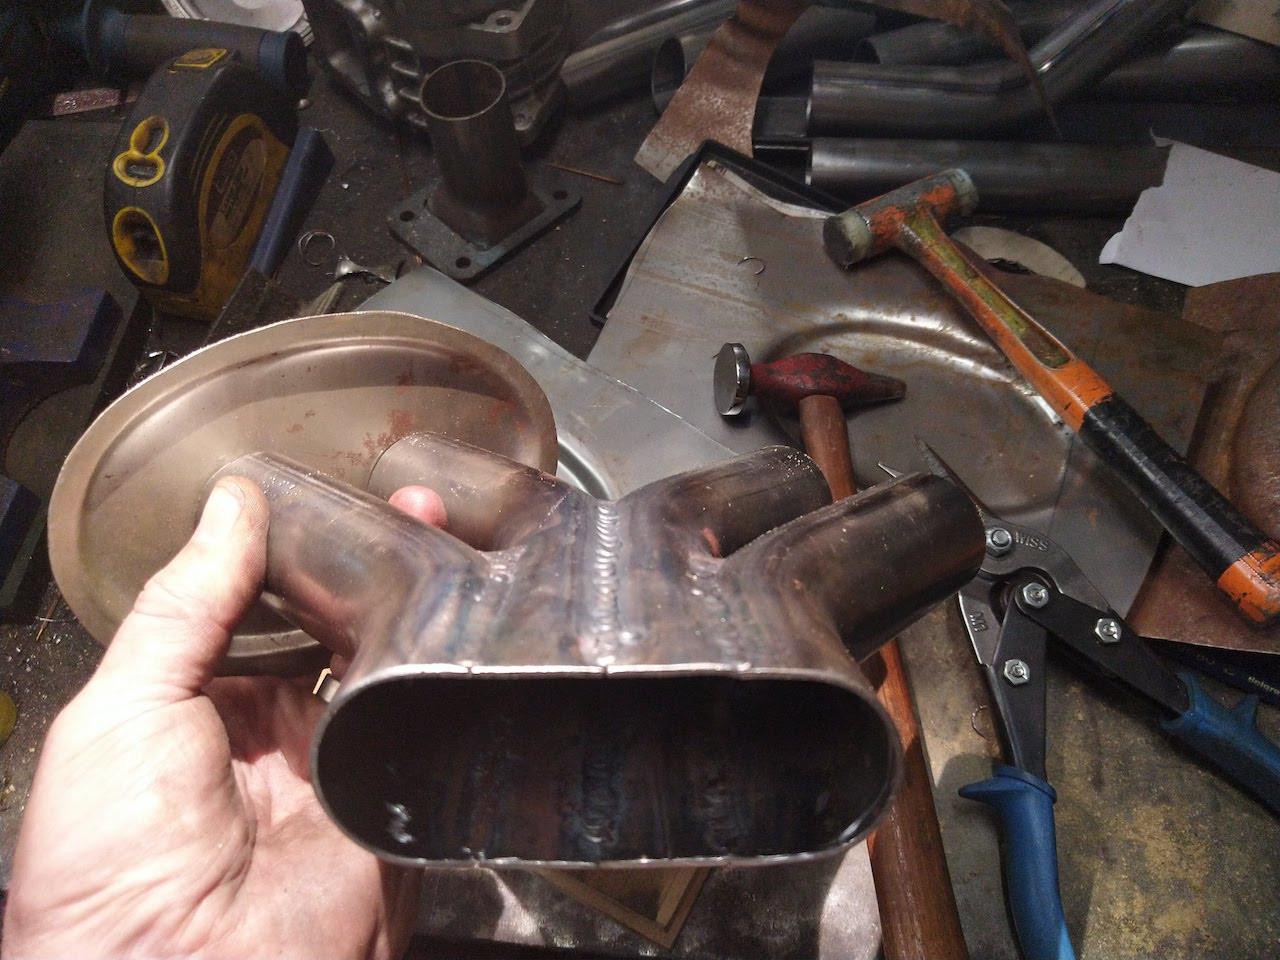
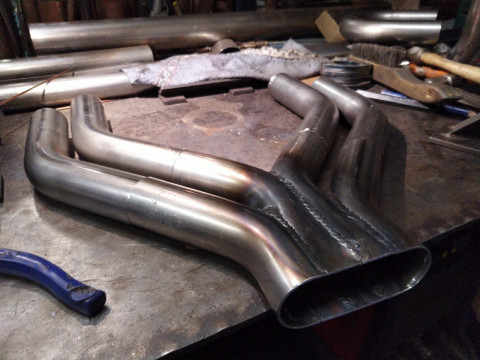
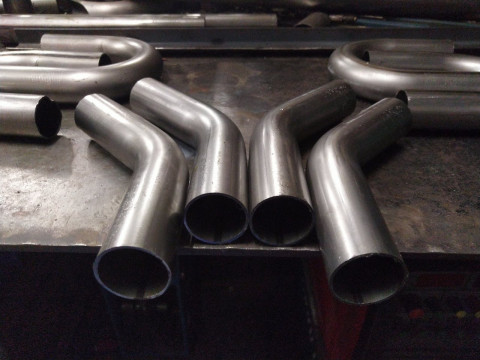
After completing the collector for my DIY Sebring exhaust the next part that I need to tackle is making the silencers. I have already spent a bit of time doing some research to try and find some off-the-shelf items but due to the small size needed I could not find anything available that could be used without having to modify it. This means that the only option left is to make them myself.
I already had a bit of an idea on how I wanted to make the silencers. Two pressed end caps with a return flange around the edge each of which sits inside a simple rolled housing. The basic noise reducing design consists of perforated tube surrounded with a sound deadening 'fire-wool'. Pretty basic stuff really. Not the best as far as noise attenuation goes, but pretty good for flow as the silencers are basically straight through.
For the end caps I decided that I wanted to make a basic press tool to press them from flat steel. My goal was to form a flat 'tray' shape with an upturned flange at the perimeter. This flange could sit either inside the housing or be flipped around to contain the housing. Which style I use largely depends on how well the pressings turn out.
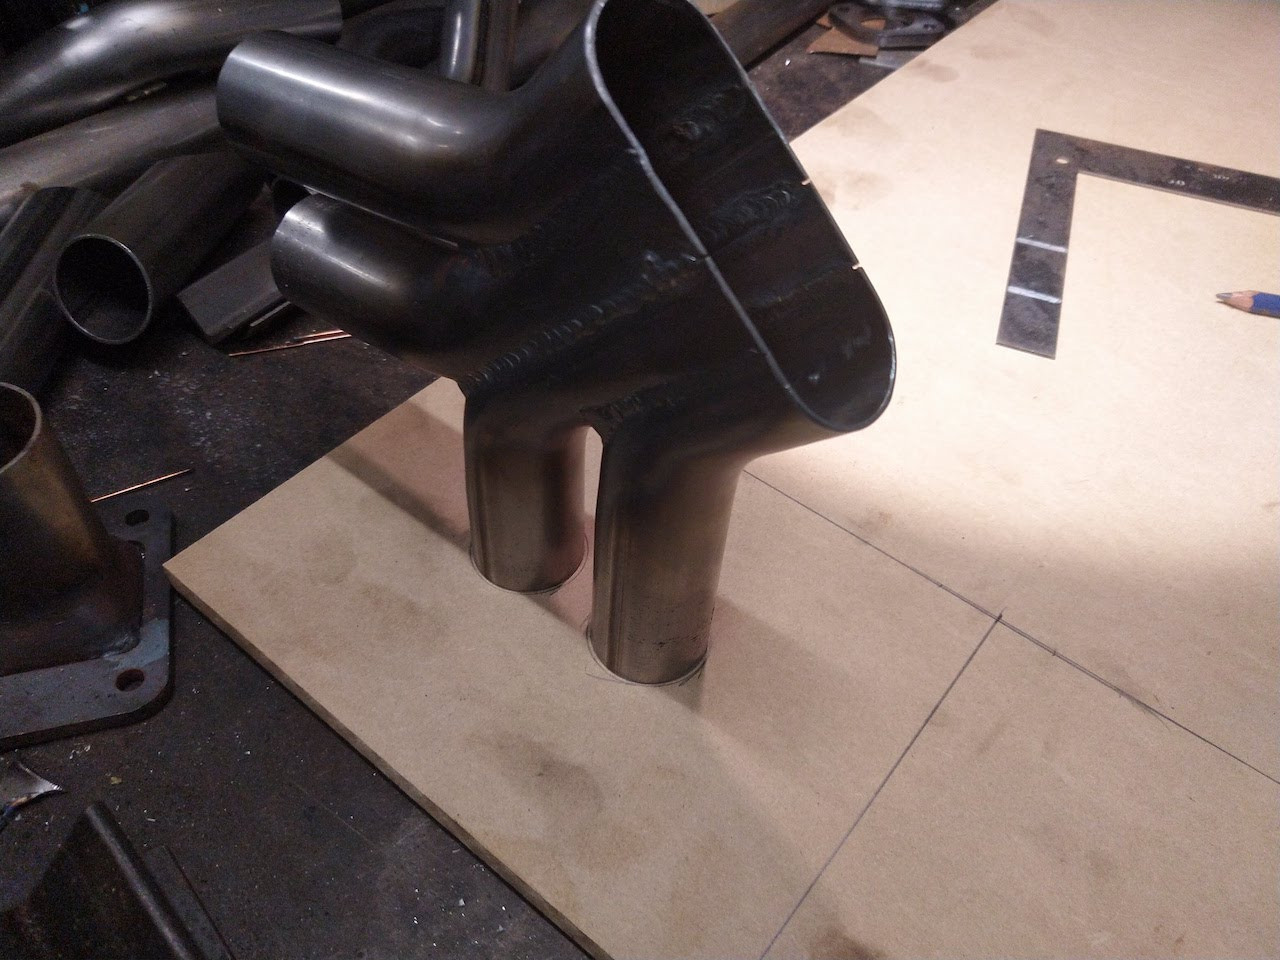
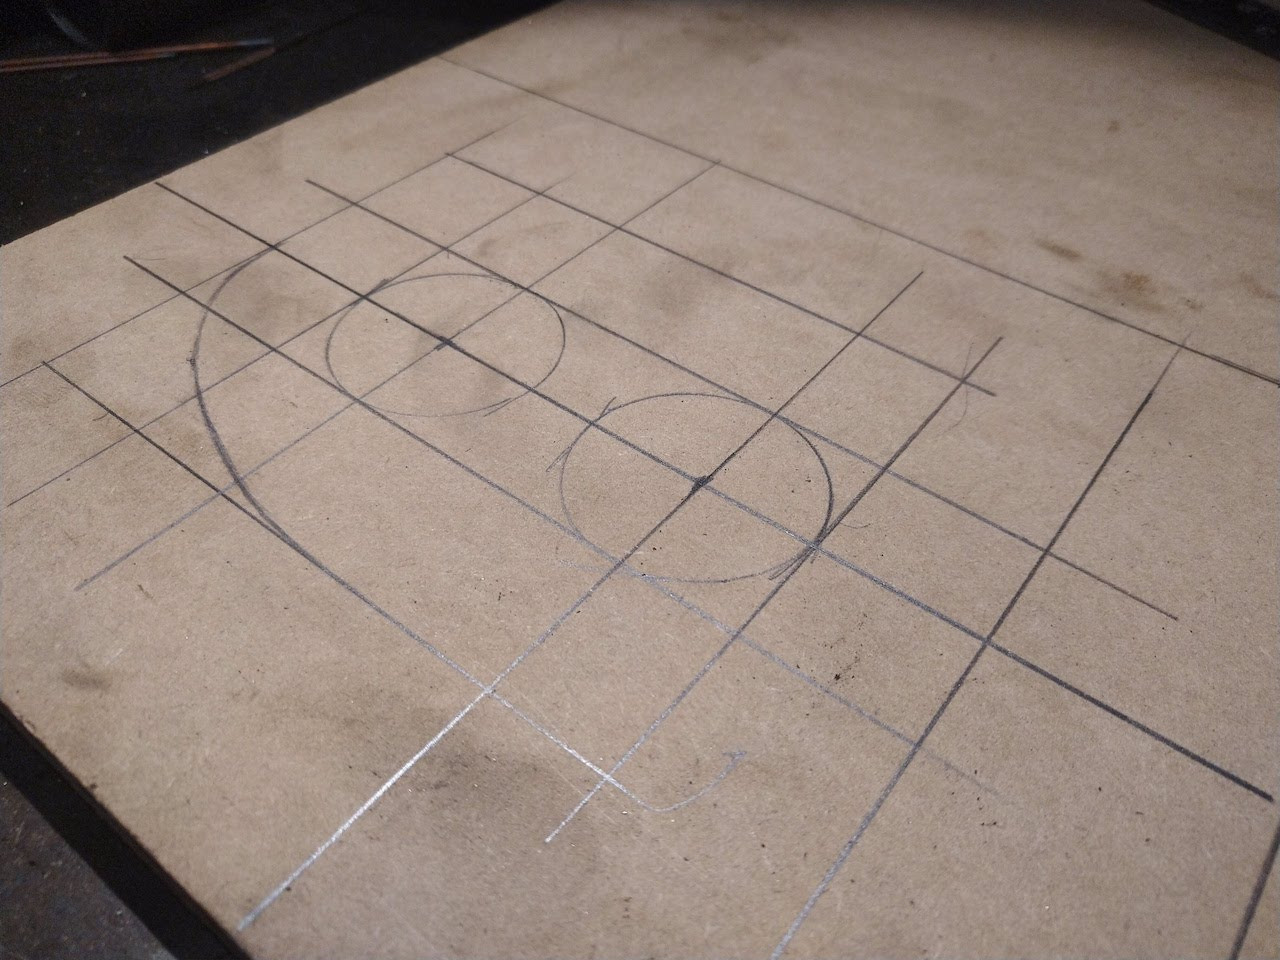
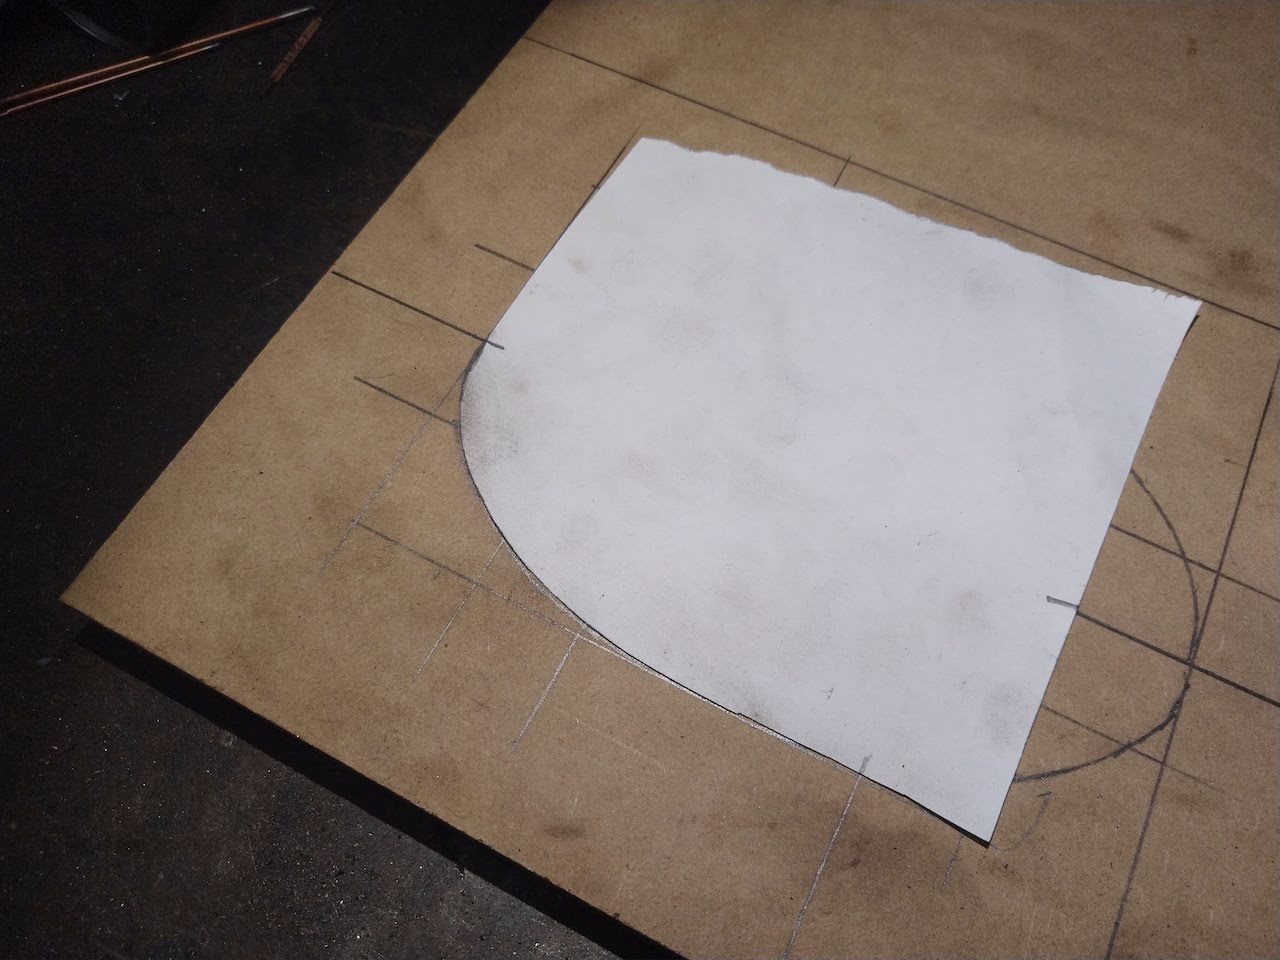
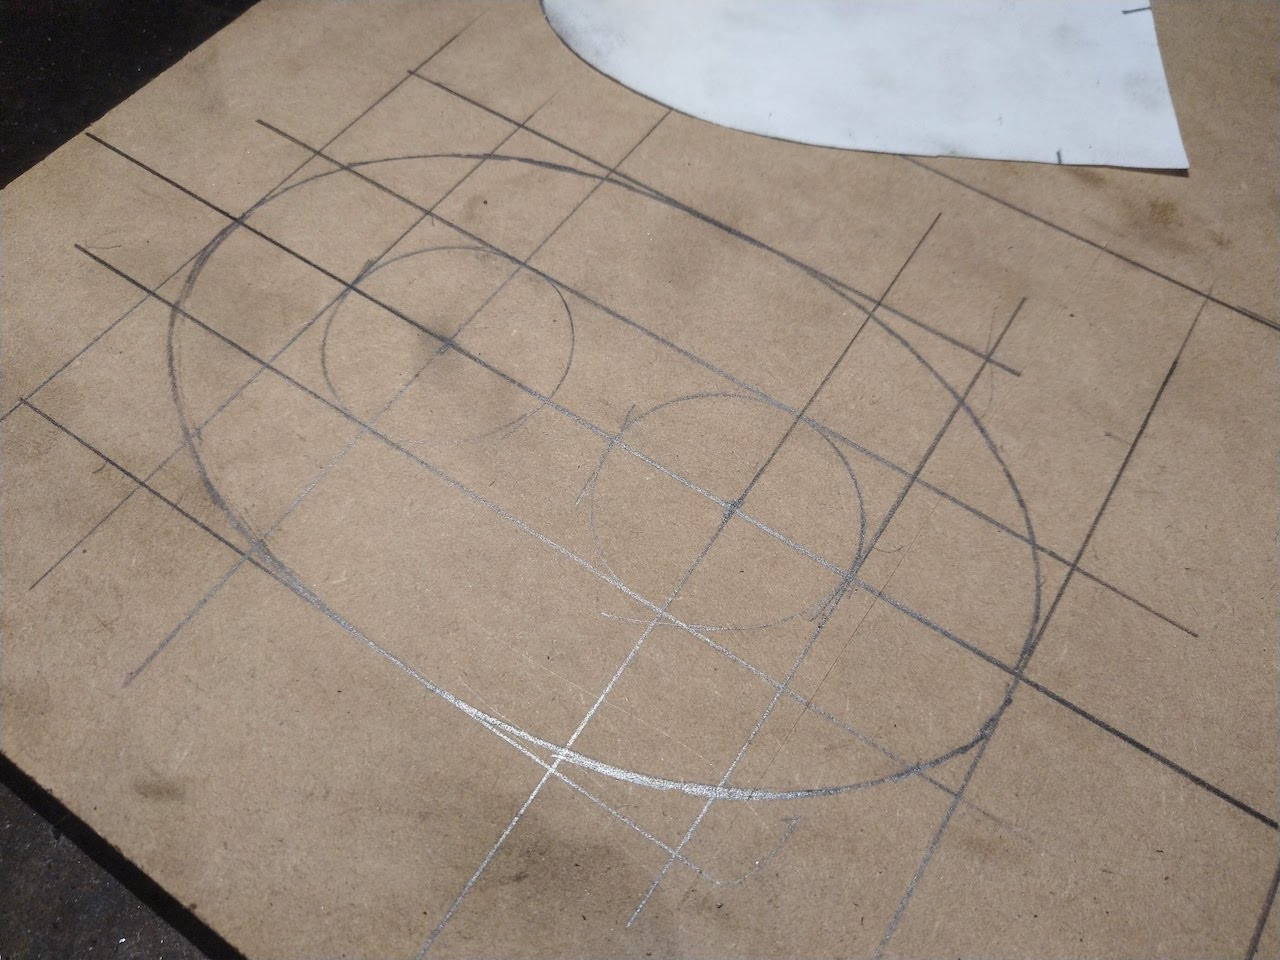
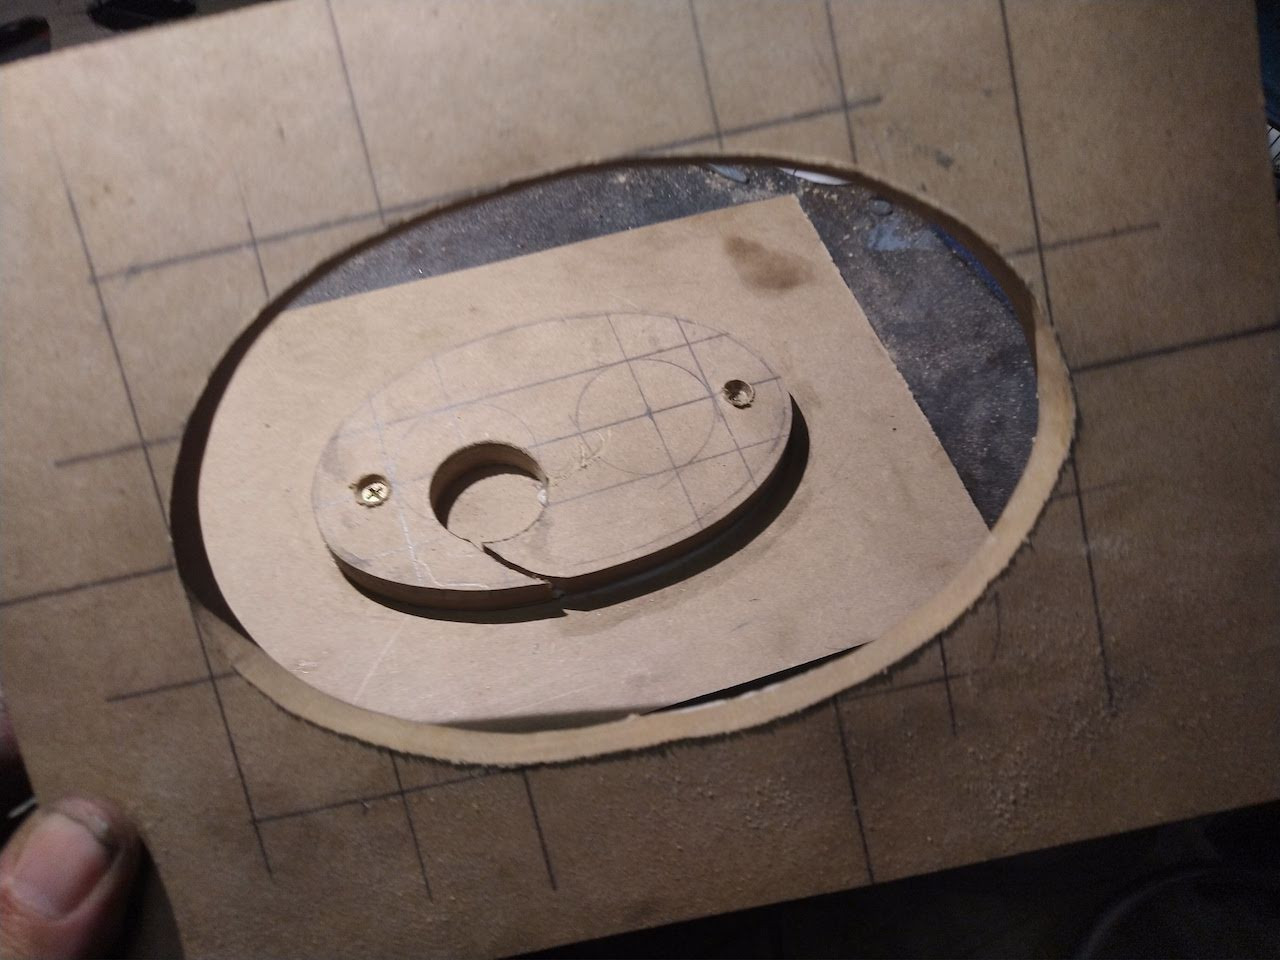
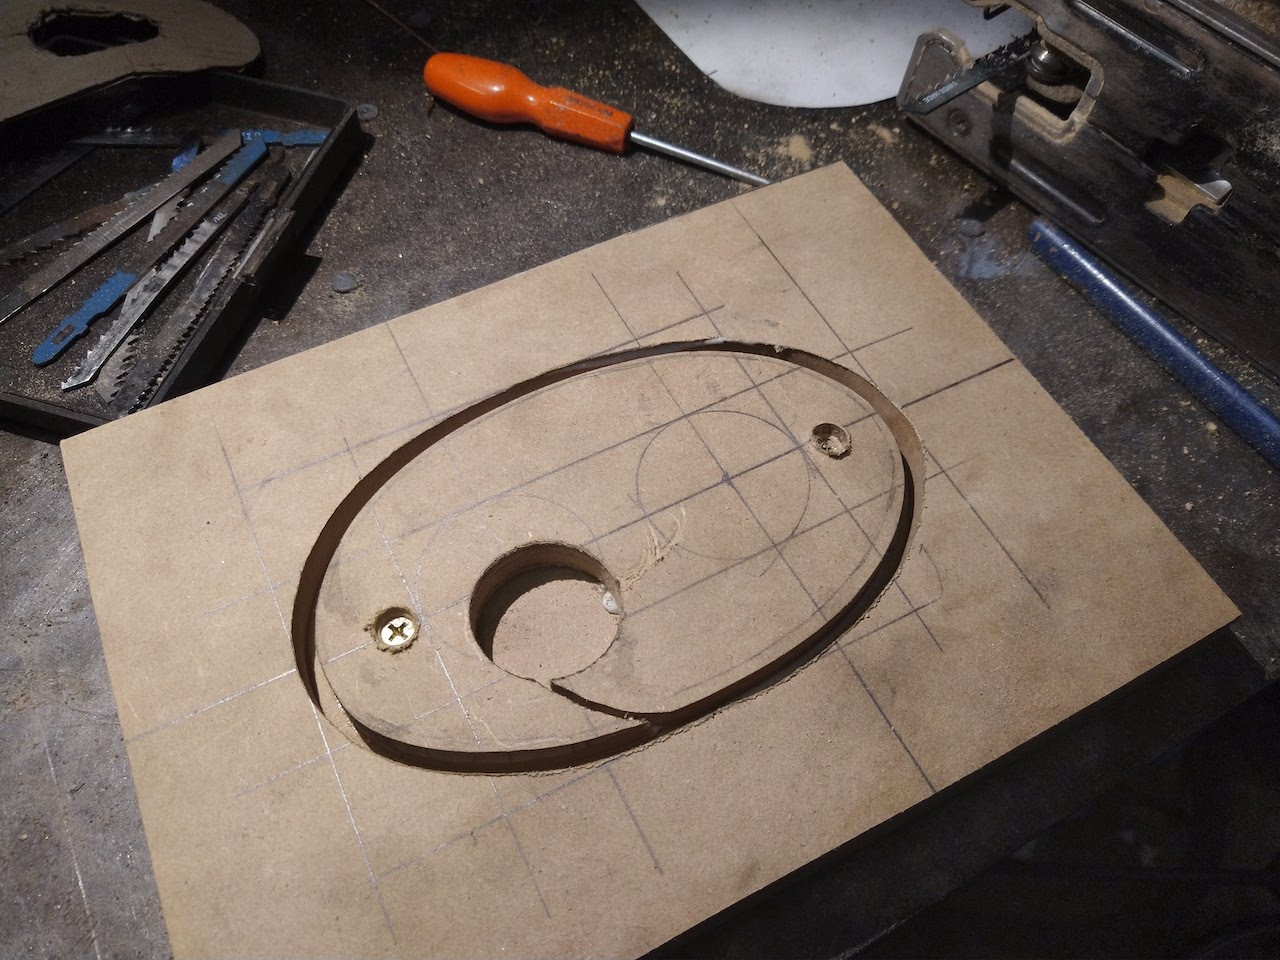
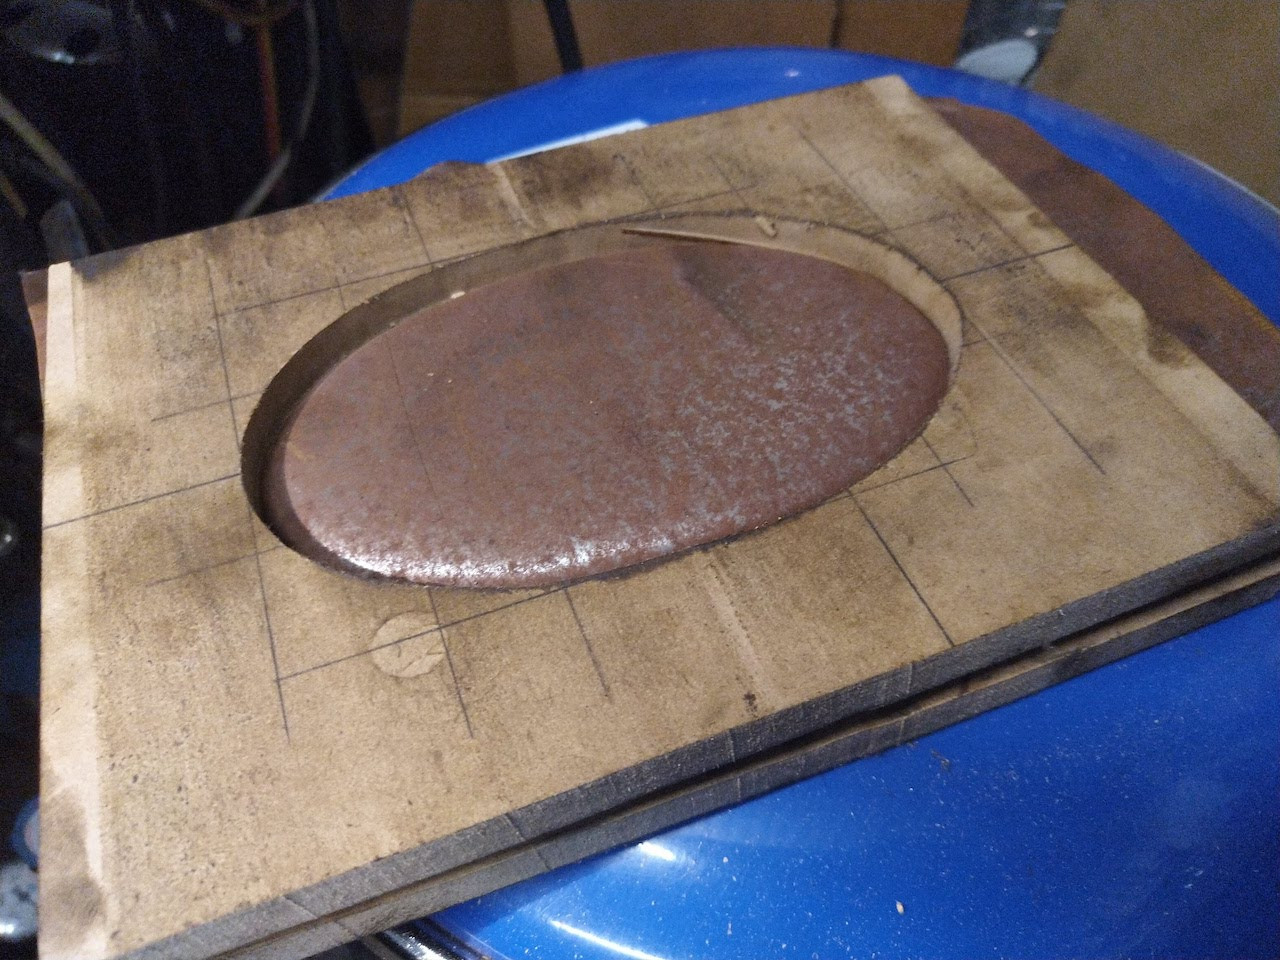
To make the end caps I decided to make a simple MDF press tool that I could use in my shop press. I started off by tracing around the collector pipes. I then drew out a simple grid so that I could get an idea of size and proportions. I hand sketched a bezier curve in one quarter of the grid to define the shape. I decided on a parametric style curve as the constant change in radius would help dissipate the reflected sound waves much better than a parallel sided or rounded design. I then transferred this to the other three quarters using some paper.
I cut the design out with a jigsaw and tidied the edges a little with a power file. I reduced the size of the centre part a little to allow for a slight draft to the flange and then mounted this to another piece of MDF making sure that the two parts were aligned when placed together. I opted to reuse the centre part that I cut out rather than cut up more MDF as it only needed to survive long enough to make 4 parts. If you were making more you might want to consider making a nicer job than I did.. The ability to align the two parts is important when lining everything up in the press as there are no physical guides to align the top and bottom dies.
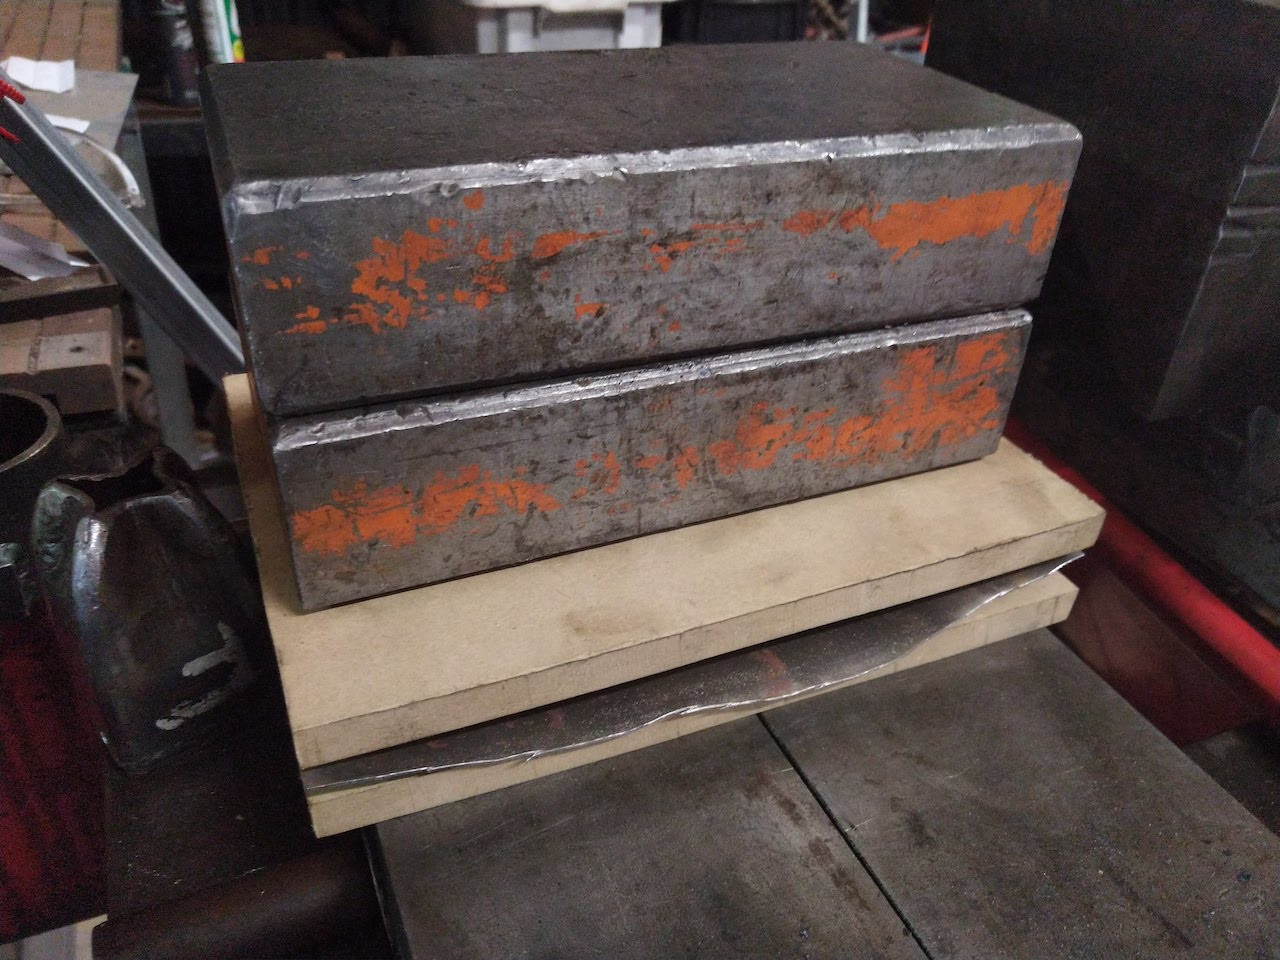
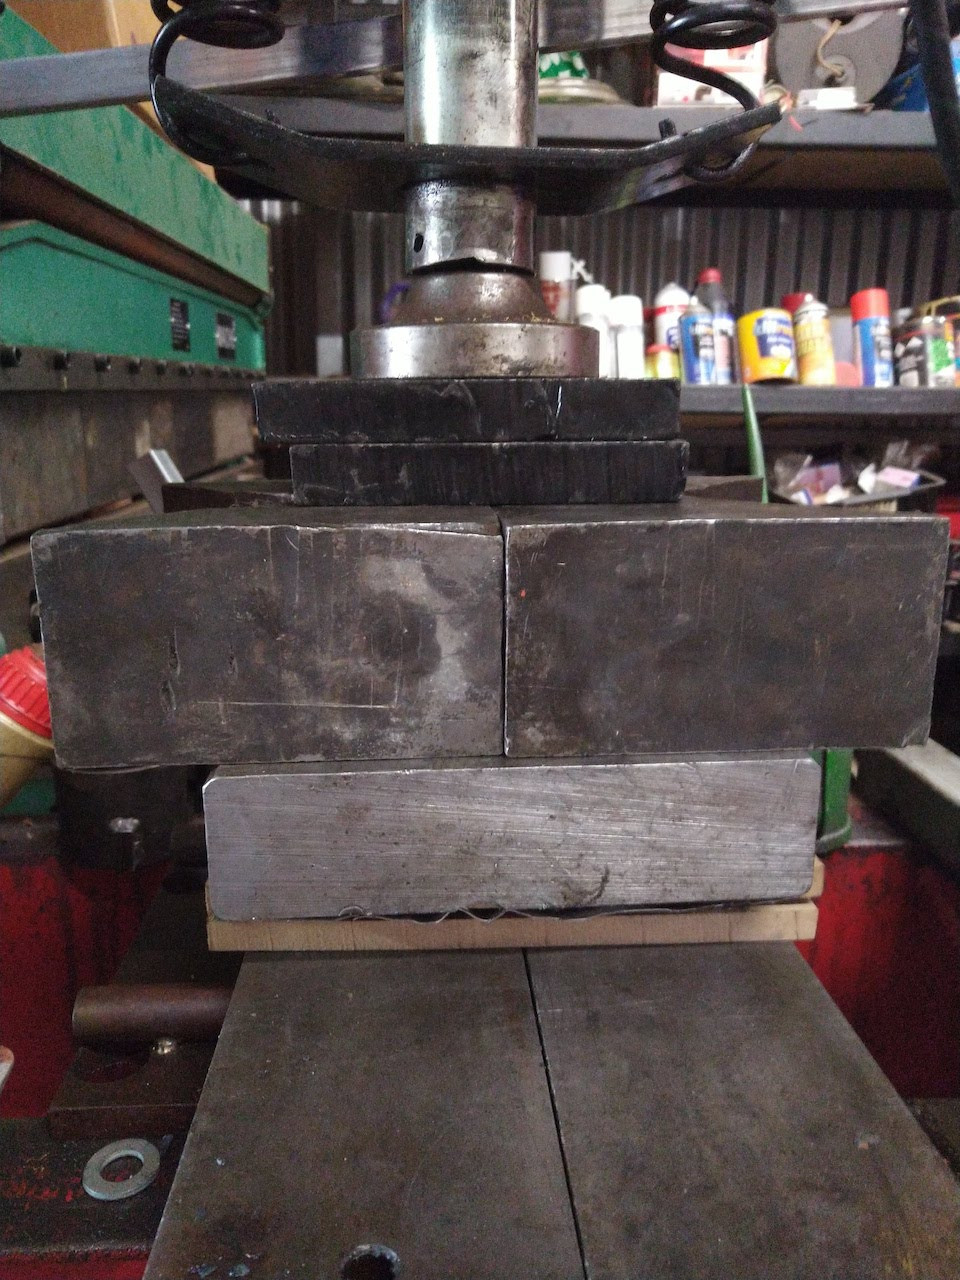
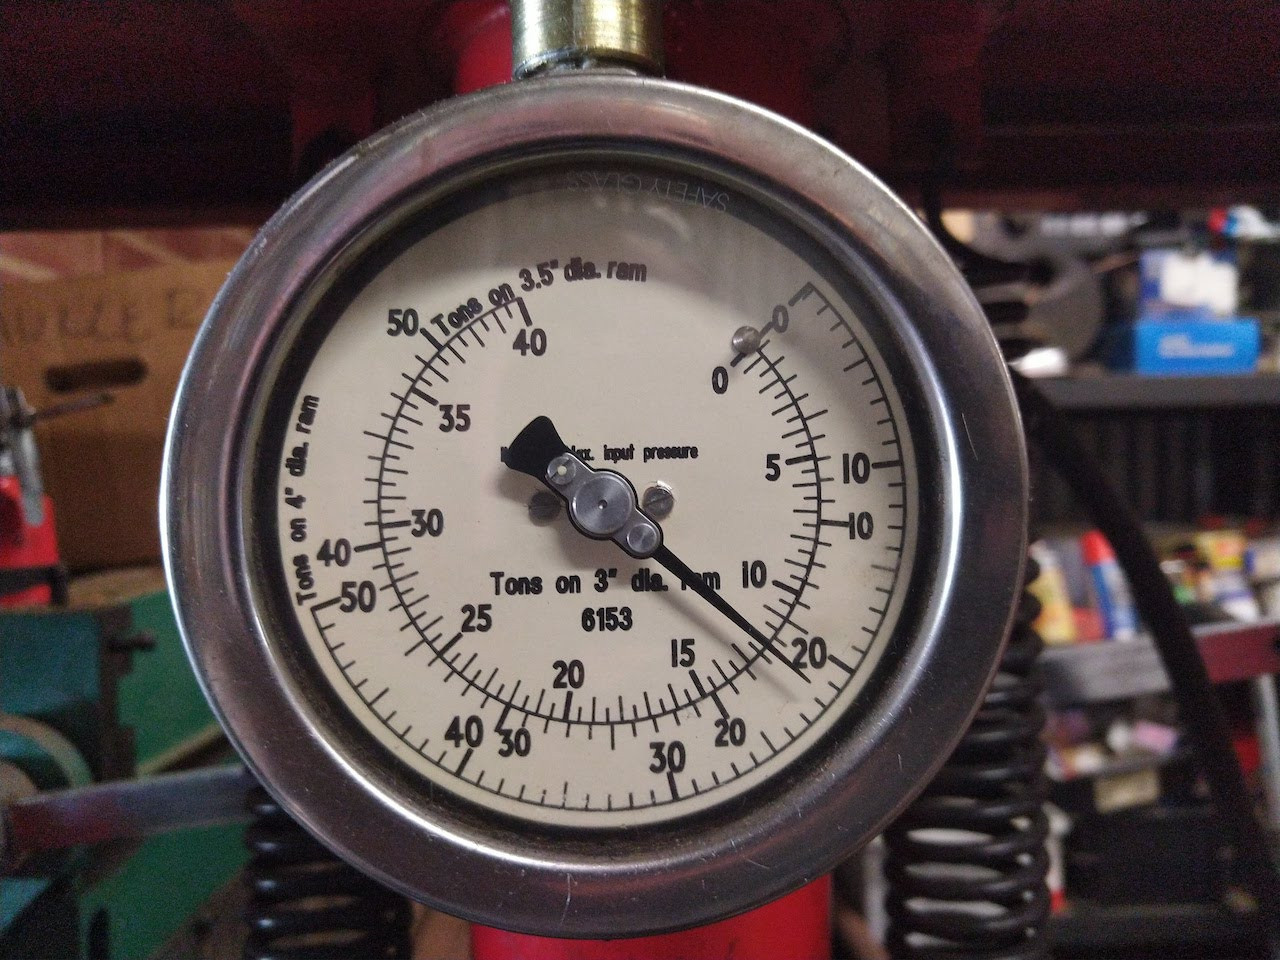
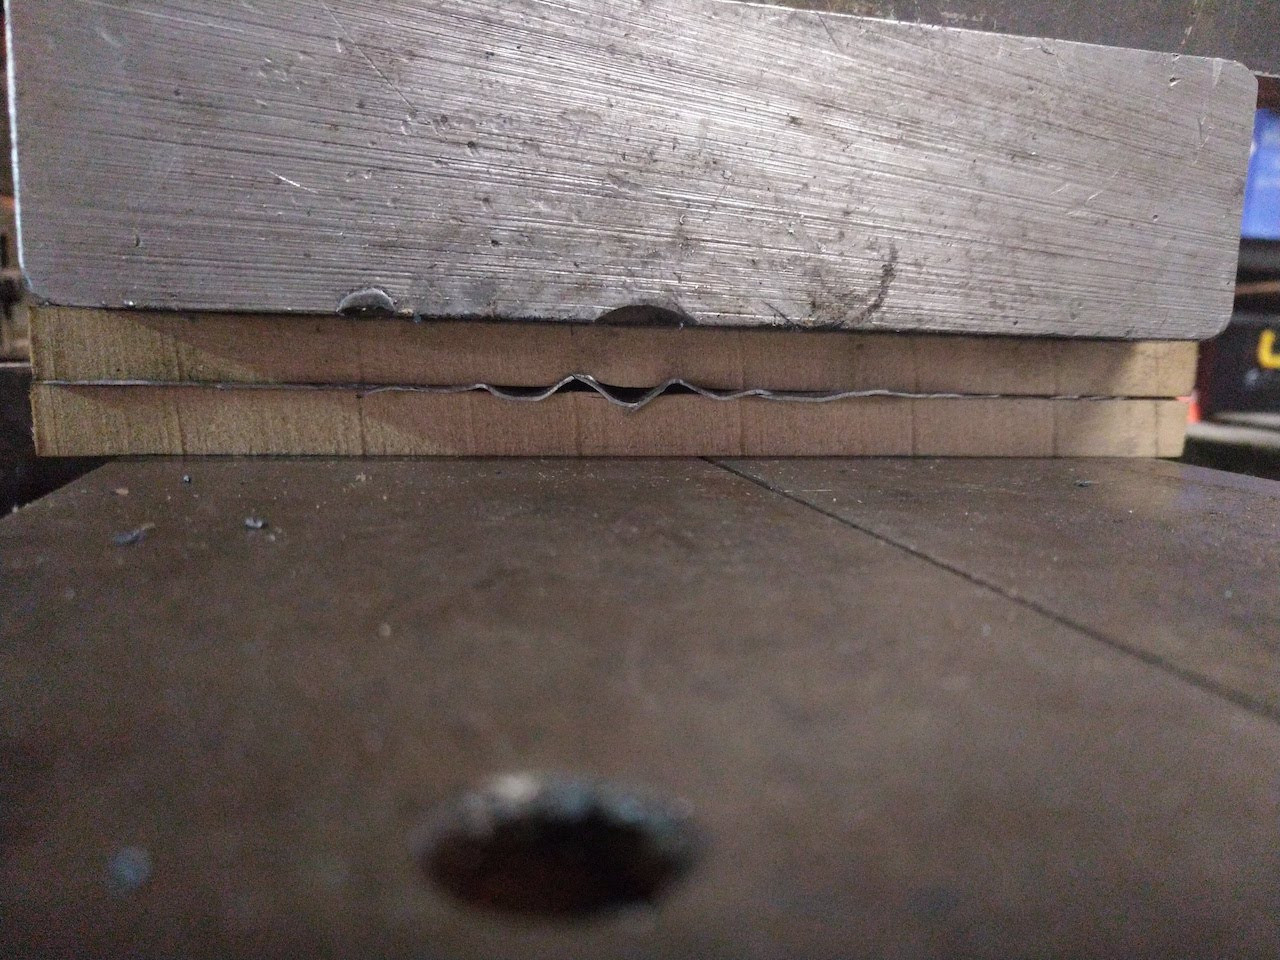
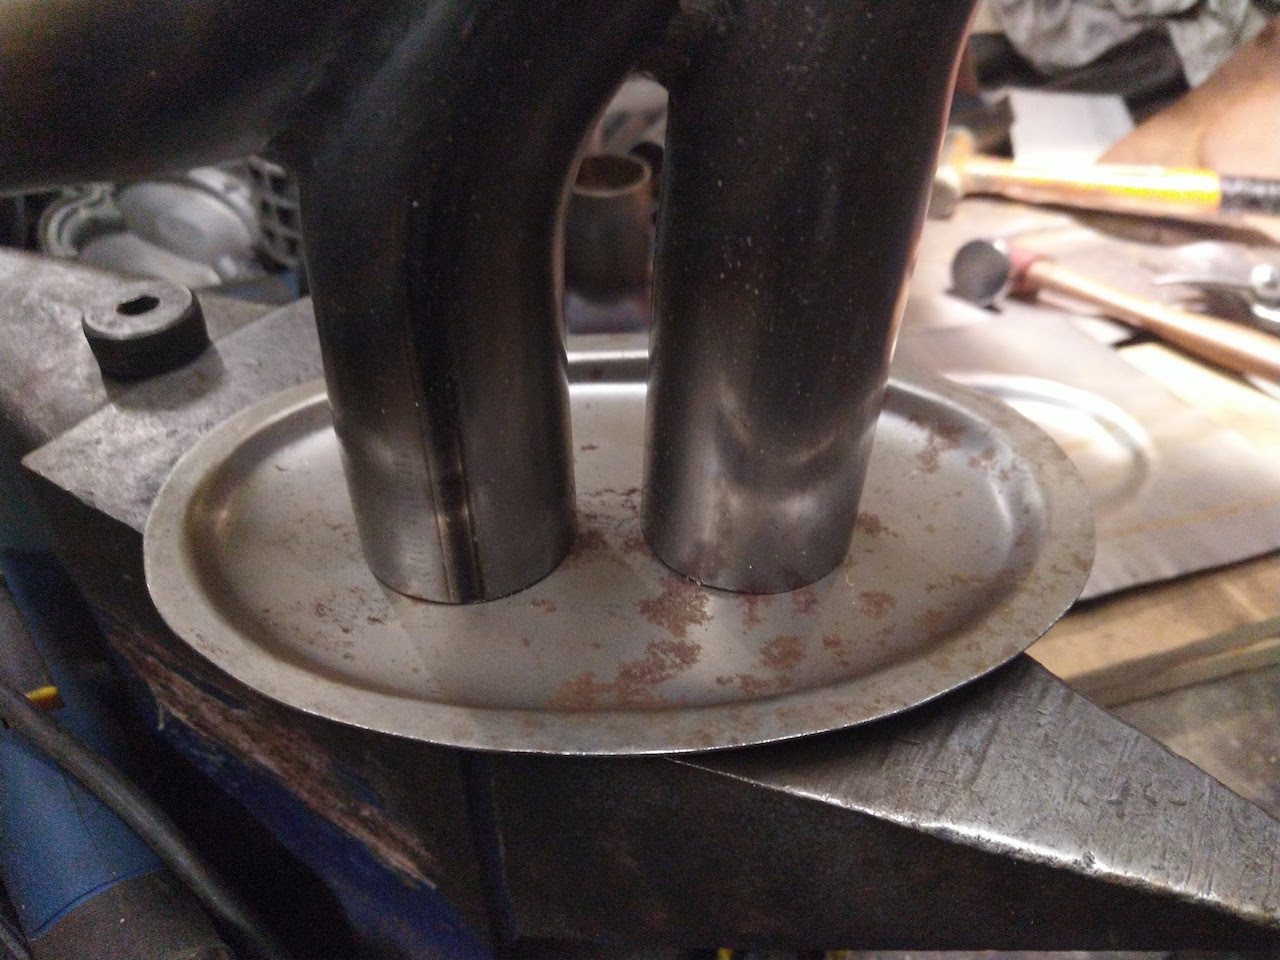
With the dies aligned and loaded with a steel blank I put some large steel spacers over the top of the die to spread the load and then pressed it together. I put just over 12 Tons of pressure on the dies, just enough to make everything meet together. I noted that there was some rippling in the centre of the panel which is to be expected with such a rudimentary die, on a steel die this deformation would be lessened. Normally there would also be a spring loaded outer section to hold the blank taught allowing the upper die to draw the steel into the lower form, but even so, depending on the form, wrinkles can be an inevitability especially on deep draw dies. Wrinkles can be quite a problem on production pressings.
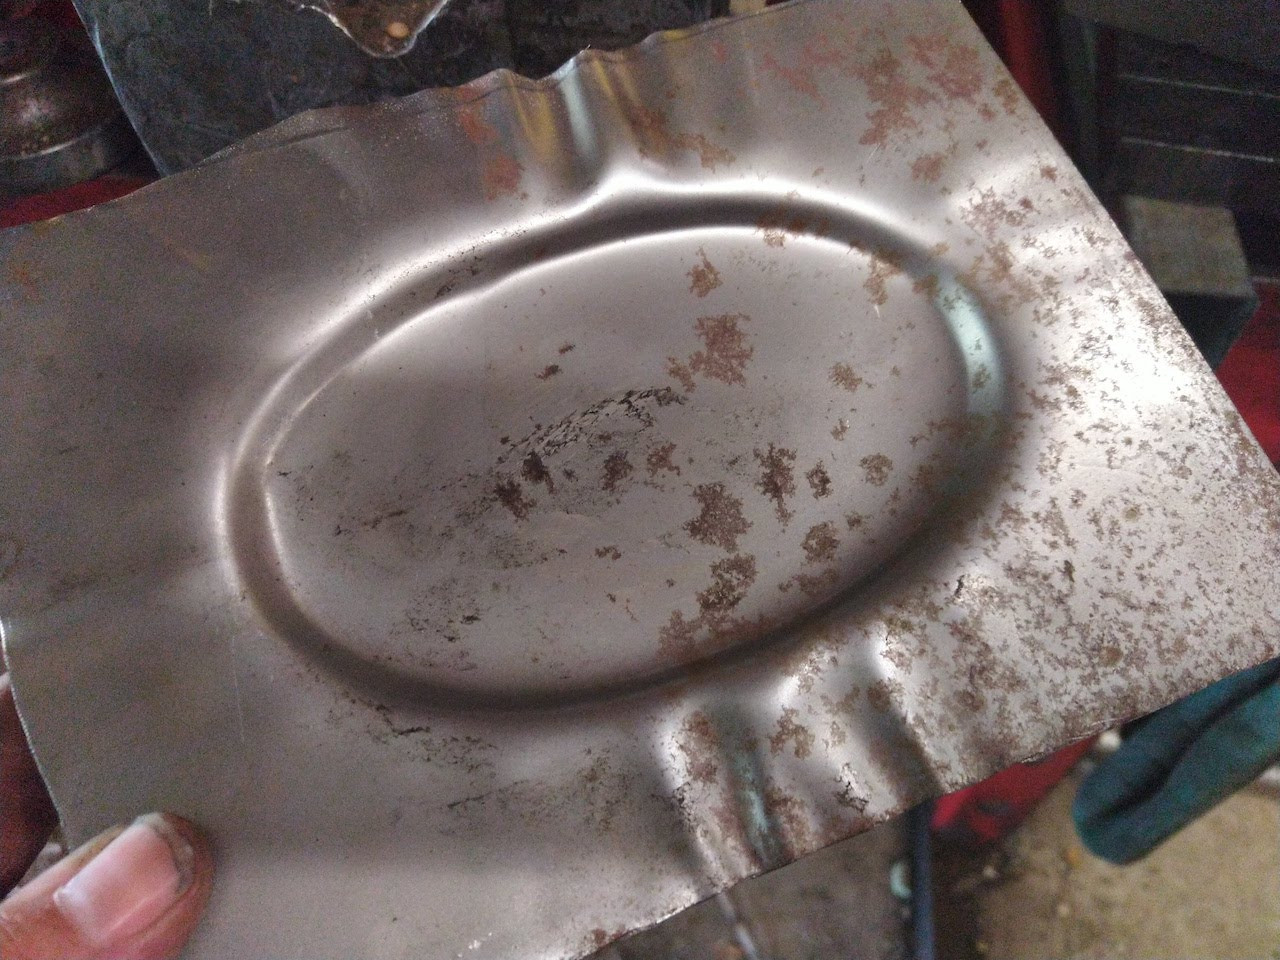
After removing the part from the die I could see that the wrinkles are mostly on the waste part of the pressing. So all good.
'One-in-a-row' as we say in the automation industry.
I pressed three more parts and then dressed the wrinkles as best I could with a hammer and dolly. I then set about cutting the end plate out of the blank. A little work with some snips and dressing with a file and I ended up with an end plate with a flange around the edge. I had originally planned to trim to the inner side of this flange but after roughly cutting out the part I realised that having the flange might be a good thing as instead of welding the end caps in place I might be able to crimp them instead. Hopefully I should be able to tack the caps to the body of the silencer and then dress the flange back over the body. This would be perfect if I can make a wired edge on the body but the last time I made a wired edge was in 1988 during my apprenticeship lol. In addition to this, despite looking for a tin-mans bick (also known as a tin-mans stake) for many years, I've never managed to find one, and they are an essential tool for making wired edges. It's not impossible to do without the bick / stake as I can make a simple swaging block instead, it's simply a rounded groove in a block of steel. I'll have a play around and see what I can come up with. It might even be possible to use a captured flange style join but the flange generally needs to be a lot larger for this as they fold over double.


So overall a successful endeavour. I now have four end caps and half a plan. One step closer...
Sebring Exhaust Part 3
Sebring Exhaust Part 2
Comments