
DIY Pre-A Handbrake - Part 2

In this episode I assemble the parts and drink some coffee.
Well, that's more-or-less what happened...
There was the obligatory standing around admiring my handiwork whilst day-dreaming what it would be like to finish / fit / use the handbrake. In some small way this will of course contribute to the overall project, but the benefit will of course inversely proportional to the amount of time standing around drinking the coffee.
In all seriousness it's not too far from the truth, although I did bend the unbendable bit with the help of the gas-axe and assemble everything to see if it works (it does). I would have bored you with a video, but I needed three hands and the vice wasn't free. Maybe tomorrow.
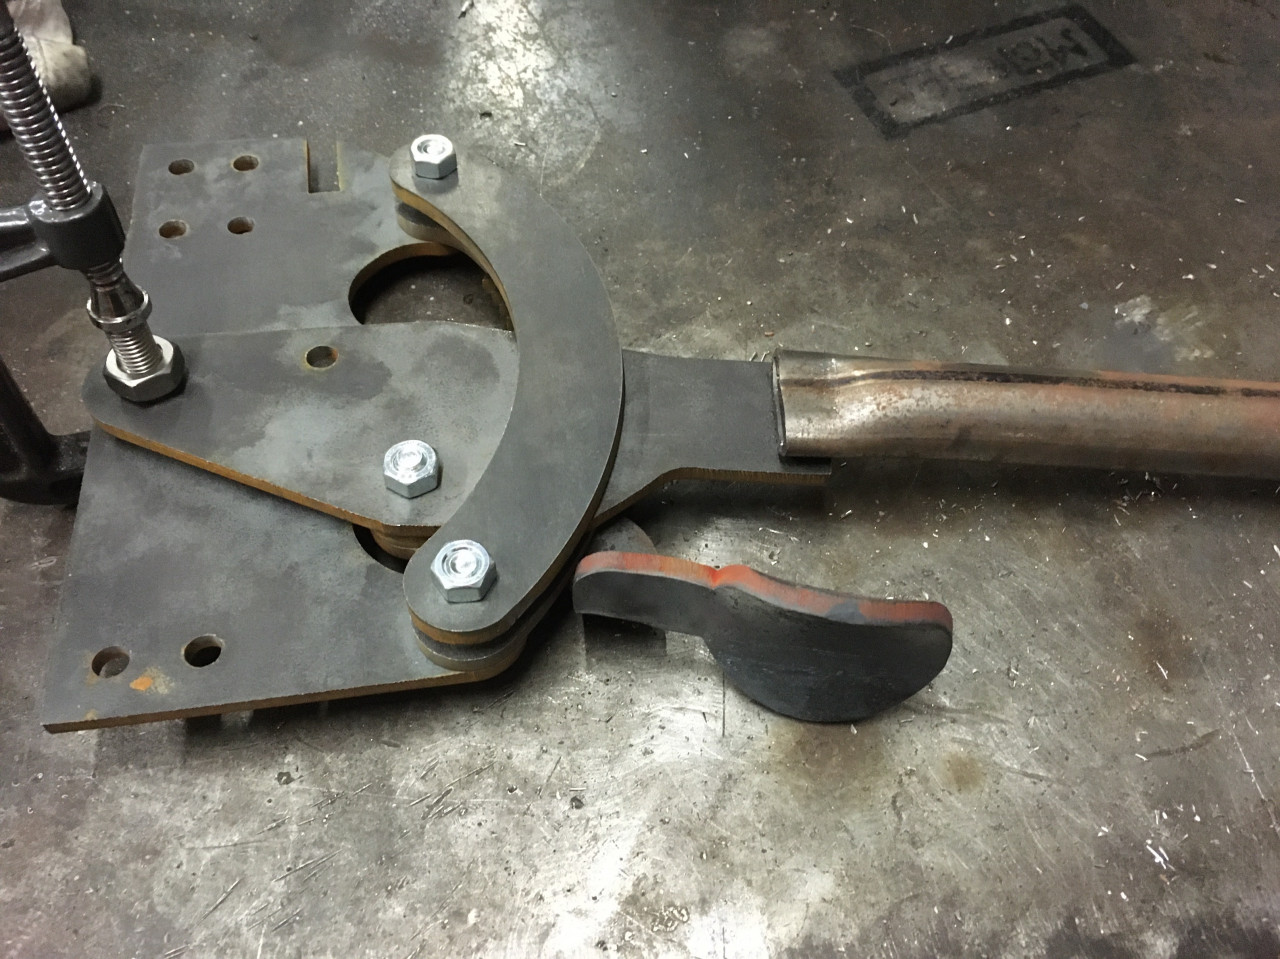
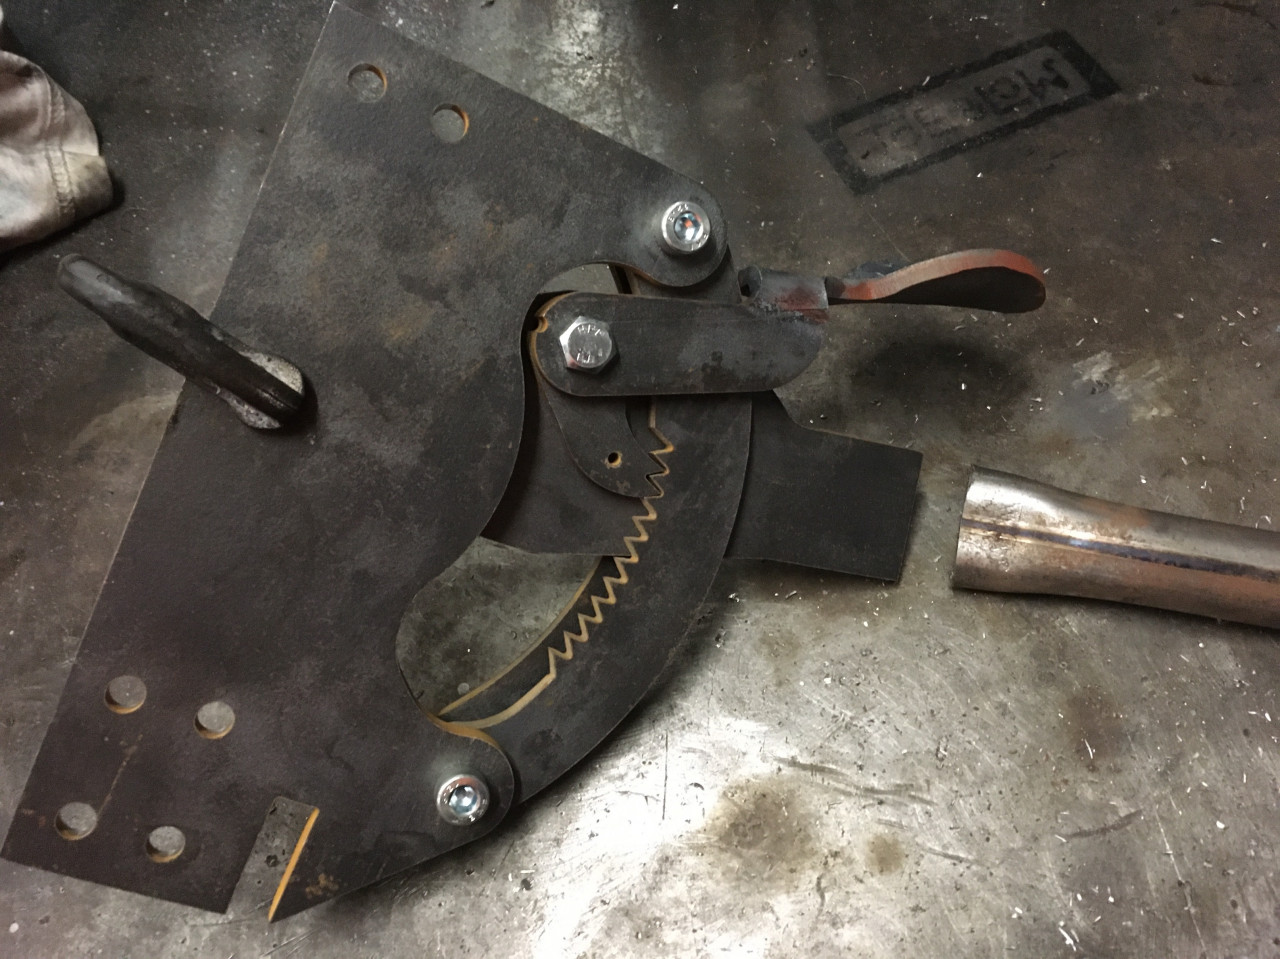
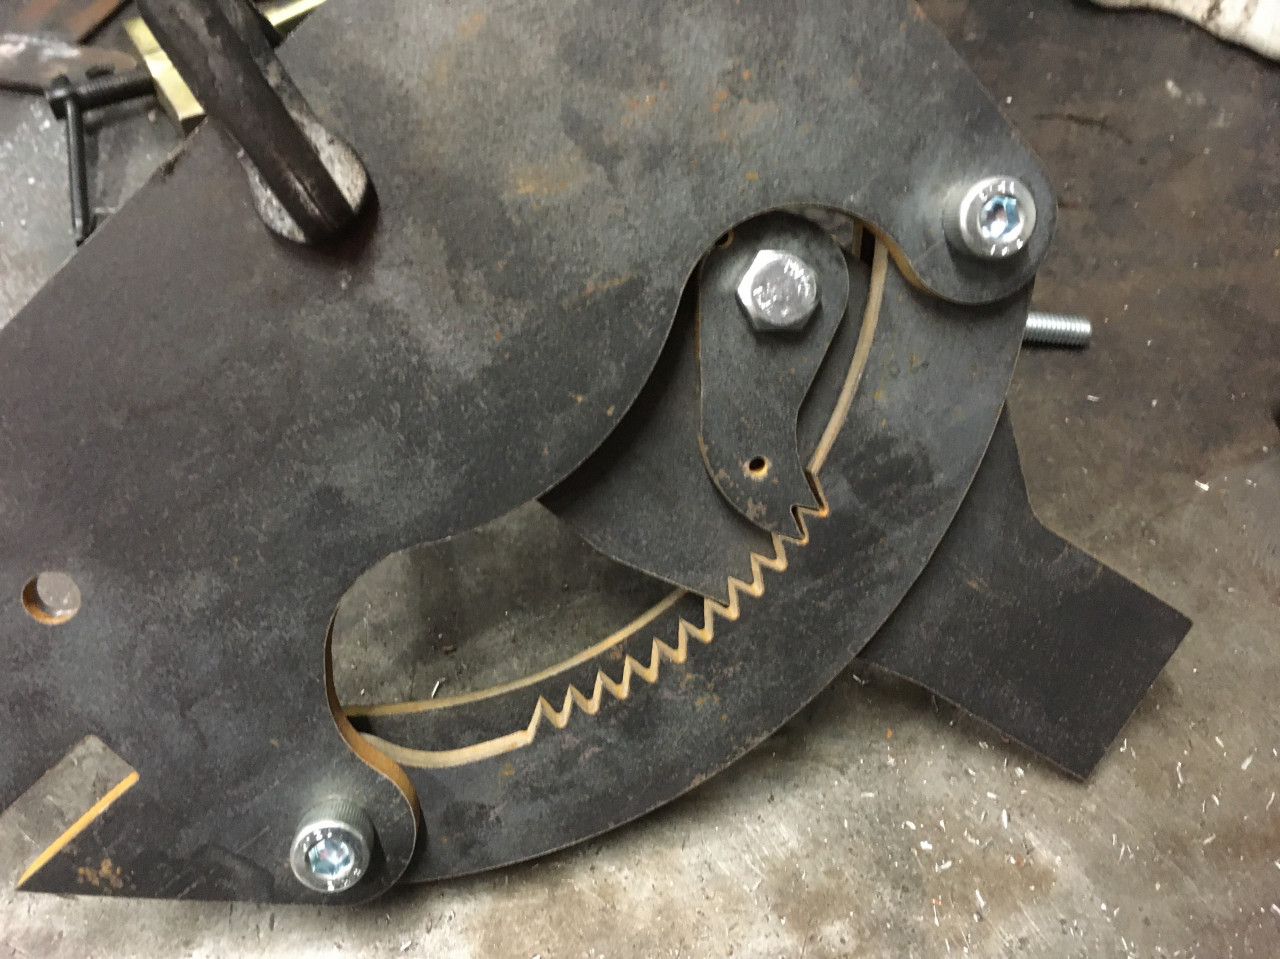
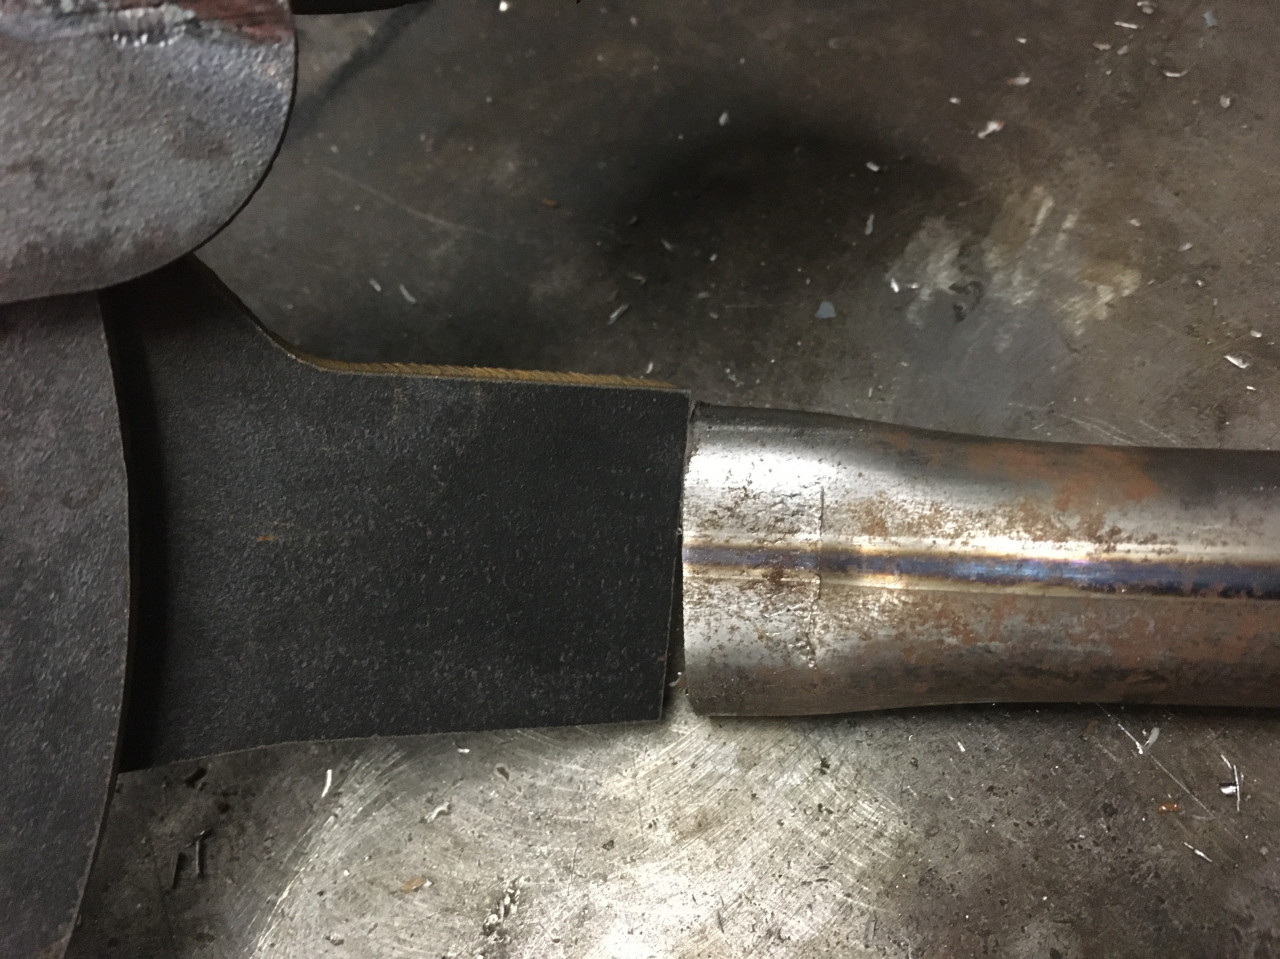
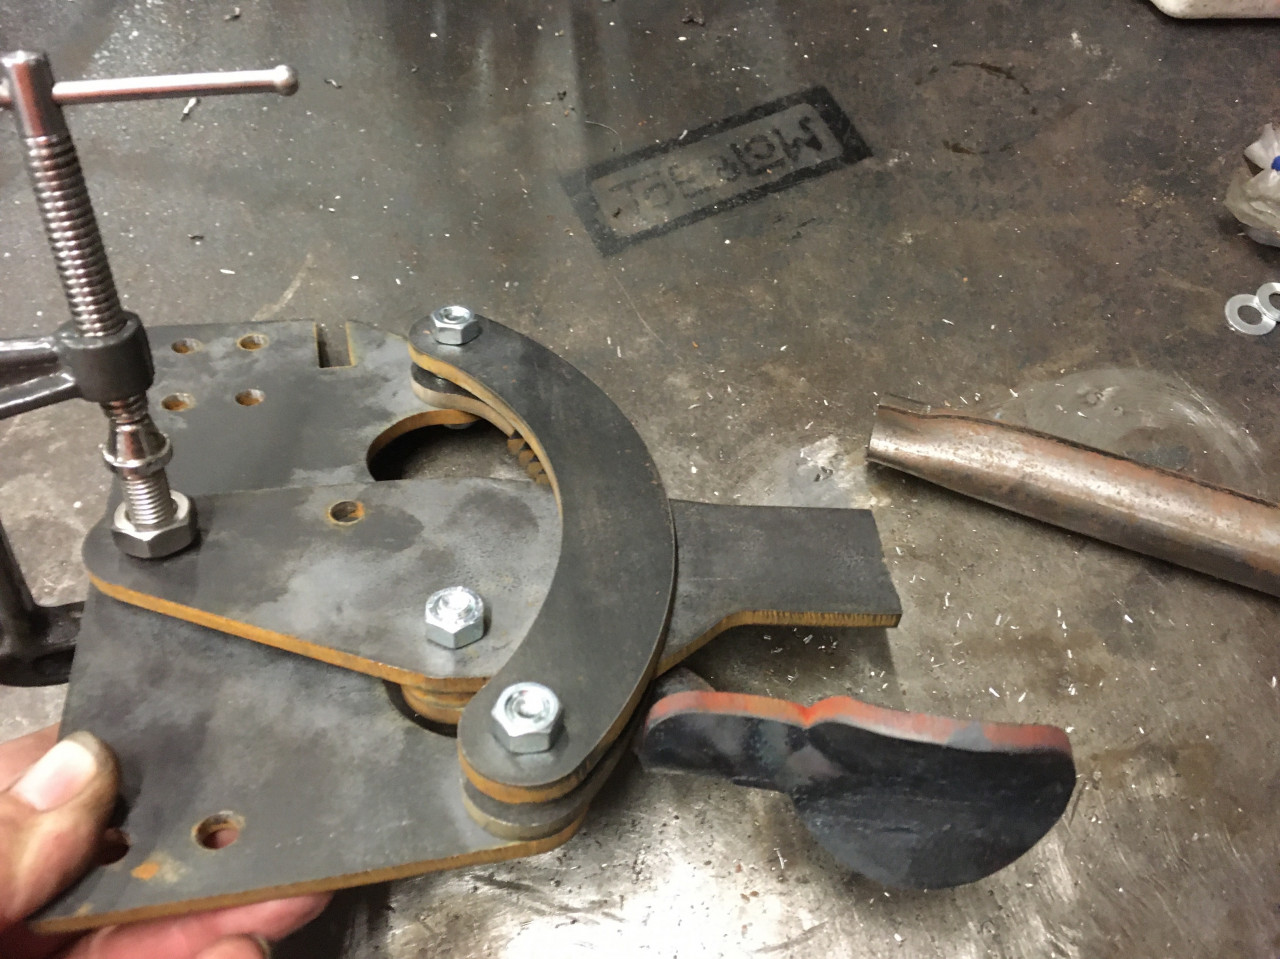
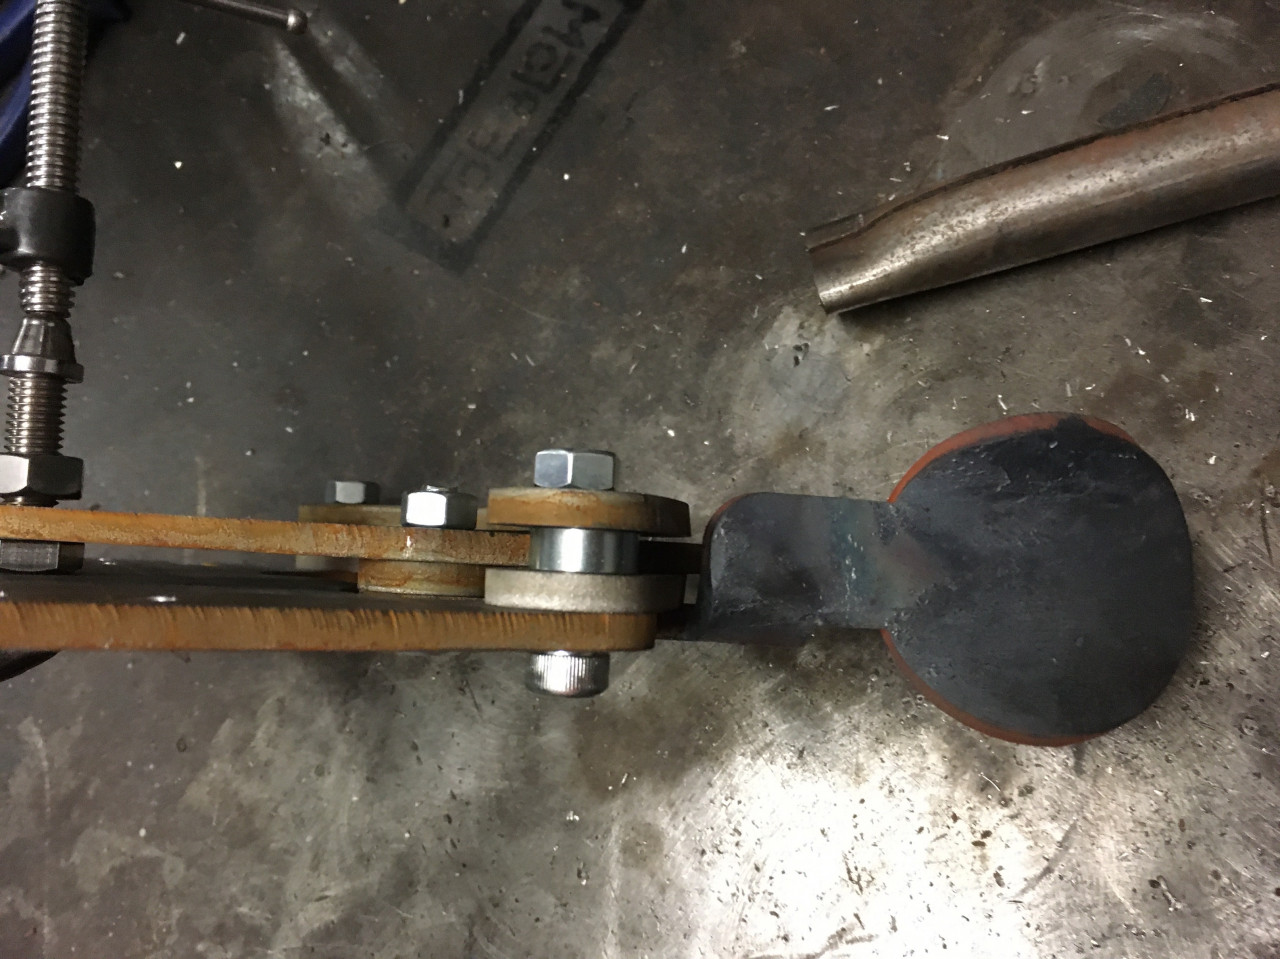
With everything (mostly) assembled, the handbrake does actually work. The pawl engages into the ratchet very nicely, albeit with the aid of gravity instead of a spring, and whilst the trigger is not welded to the pawl yet, it looks and feels like it should work well. I found a nice length of 1" tube for the handle and squashed the end ready for it to be welded onto the lever. I had made the tongue of the lever a little larger than needed figuring that it's easier to remove material rather than adding it, so I need to shape it a little before the handle will fit on to it, I also need to form the end of the handle to match that of the 356 as it is formed to a slight dome at the end of the tube.
The cable alignment looks to be okay. I have elected to use a clevis style end as this includes a pivot pin which is both a simple to fix to the mechanism and will also allow the cable to pivot. The cable does track a little relative to the cable mount as the actuator travels through an arc, but I think this should be okay. I positioned the cable mount so that it was just over halfway through this travel to split the deviation slightly in favour of the lever at it's tensioned position as this is when the cable alignment is more critical. This is also the reason that the mounting bracket is so long. The slotted gap at the bottom is for the cable mount to be welded to, I tried to move this as far away as possible from the lever arm as when the handbrake is in its released position there needs to be enough of a gap between the cable mounting and lever arm for the clevis, plus a little bit of extra room for the cable to be able to relax. The easy option here is to mount the cable mount further down the column, or in the bulkhead, but this means that if the assembly shifts down the column the handbrake will release. Mounting the cable mount to the handbrake assembly means that this cannot happen.
I'm pretty happy with how it has turned out, and need to get it mounted up on the column to see how it sits but there is still a little more work to do. I still need to make a spring for the pawl as well as turn the pivot for both the pawl and lever arm, both of these parts will be welded to the lever arm and main mount respectively. The handle also needs to be finished off. I'll leave making the mountings to mount it to the column until I have had a chance to offer it up and have more of an idea of how that will look.
Comments