It Lives!

You might recall from my last blog Paint Your Wagon, that I ordered some parts from MoFoCo, unfortunately they were not posted out so after a bit of chasing up they were finally mailed out to me express. Well according to USPS they should have arrived no later than 5 days later, so after waiting for 6 days I decided to lodge a paypal dispute. The initial slackness on MoFoCo's part, and time limit that PayPal put on making claims pushed me past the point of trying to pussy foot around the issue. I figured that if the parts arrive - all well and good, and if they didn't, then at least I could order them form somewhere else.
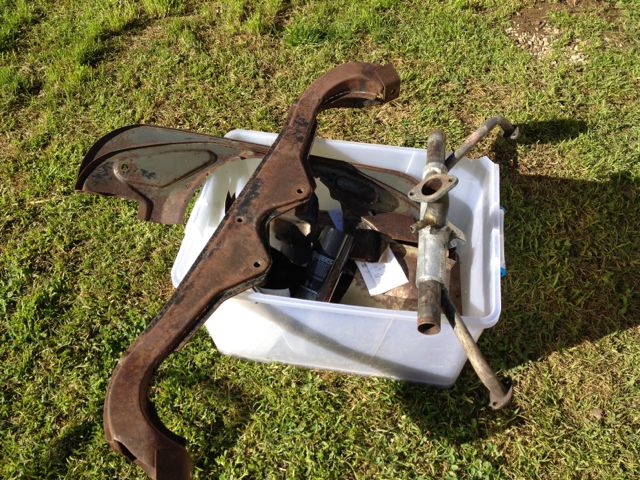
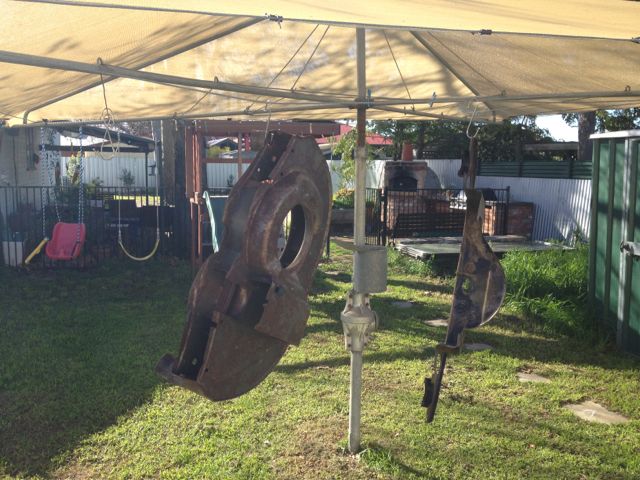
Rather than simply sit about and wait for the bits to arrive I decided to continue on with getting things done. I took the engine tin and some other parts down to the local furniture strippers who did a great job stripping the paint off. I also had a bit of a result whilst I was there as I spied a large anvil. I've been looking for one for quite a while, they are not the easiest thing to come across either new or pre-loved. I asked if it was for sale, expecting that it was a customers, but figuring of you don't ask... well... as luck would have it, it was the owners and it was for sale. Result! What was even better was that he also had a nice bench vice and a smaller insert for the anvil for making sheet metal flanges. Double result! With the engine tin back I set about making good use of my Hills paint booth and gave everything a generous coating or two of black enamel.
The parts that I have been waiting on are the new main bearing / rod bearing and cam bearing sets. The mains were a bit of an odd ball as the case has been machined 1mm oversize into which I was fitting a stock crank. This was simply from cherry picking the best of the parts that I had, the best case simply happened to be 1mm oversize as it had previously been line bored and the stock crank was like new and so was the best bet as no machining was required. Due to odd size there were no bearings available locally, so I ordered overseas. These bearings being the missing link, were holding the whole project up. After waiting well over a week for the parcel to arrive I resided myself to the fact that they were not going to turn up and so I was better to simply buy them again. I had a chat with Paul from Volksfactory who looked into tracking some down for me. Unfortunately he also came up blank. But later that day, as luck would have it, I received a tracking update on the parcel. It had been checked in to Australia. How the plane managed to take 3 weeks to get from Chicago to Australia I guess I will never know, but at least it would mean that I would have my new bearings within a few days. In fact they arrived the very next morning.
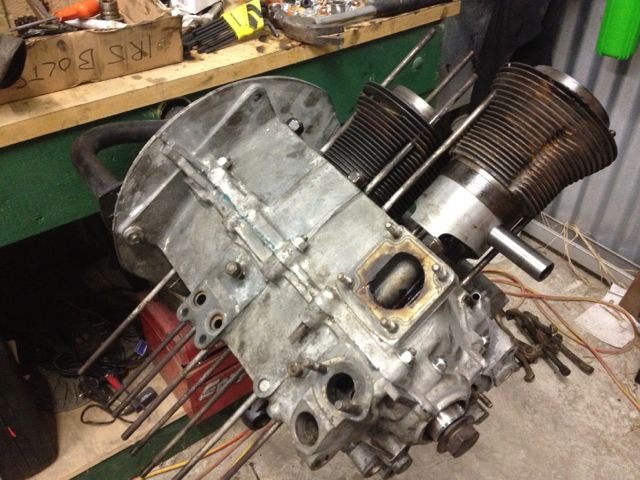
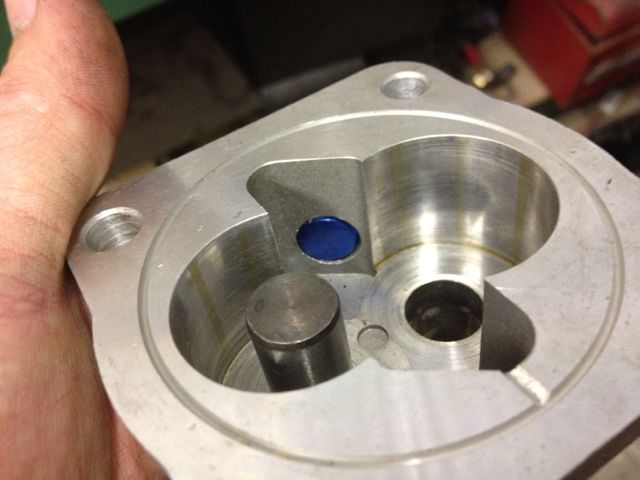
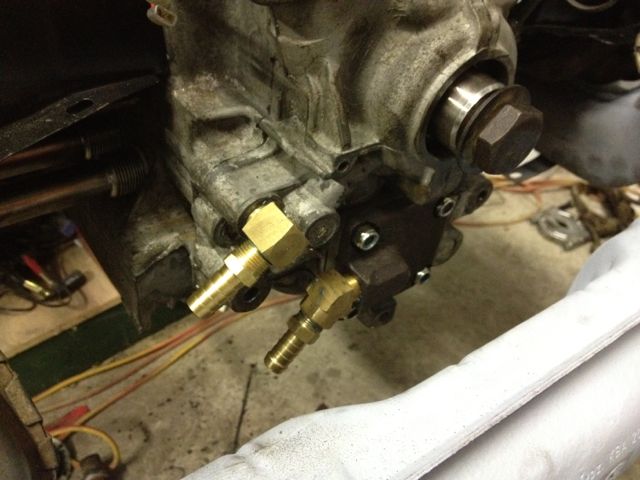
With the bearings now finally in my hands I set to work assembling the engine and by that evening the longblock was assembled. I've aded a few modifications to the engine along the way. You may recall the valve job I did when I refurbished the heads from my A stroke of luck blog post a few weeks back. I also fitted a set of ratio rockers. These are a simple swap for the stock rockers and are basically a stock style rocker that has had the push rod cup drilled slightly closer to the shaft. The result is a 1:25 lift ratio. Cheap horsepower. I also opted for a high flow oil pump. I've converted the case to full flow oiling so that I can fit an external filter. I drilled and plugged the oil pump to match the plug in the oil galley in the case and used a berg cover for the take off. At this stage I will not fit an oil cooler, but this is an easy mod down the track should I require it. My main reasons for the full flow conversion is simply cleaner oil and less frequent service intervals.
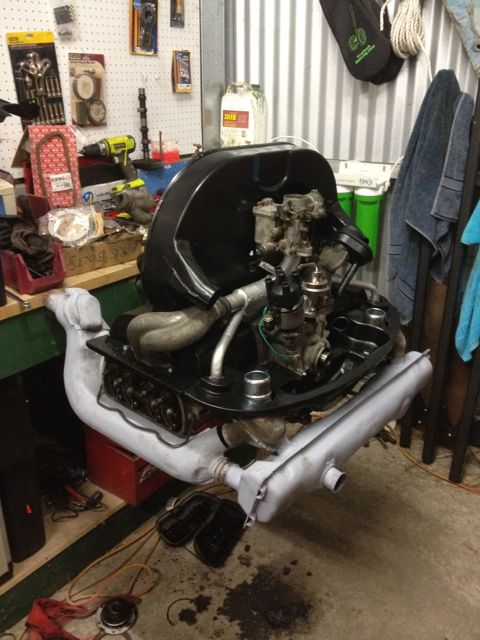
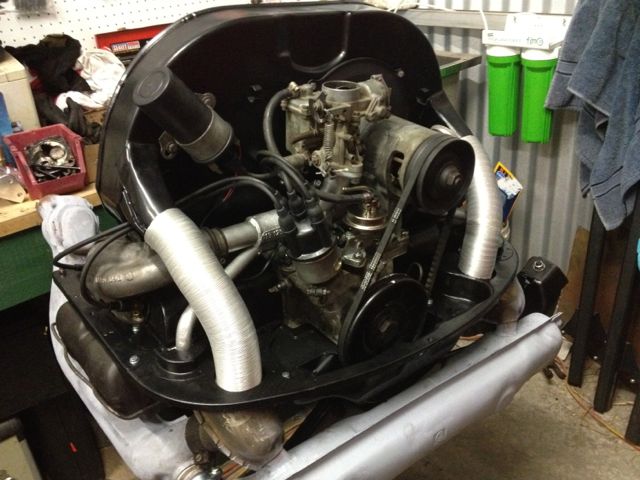
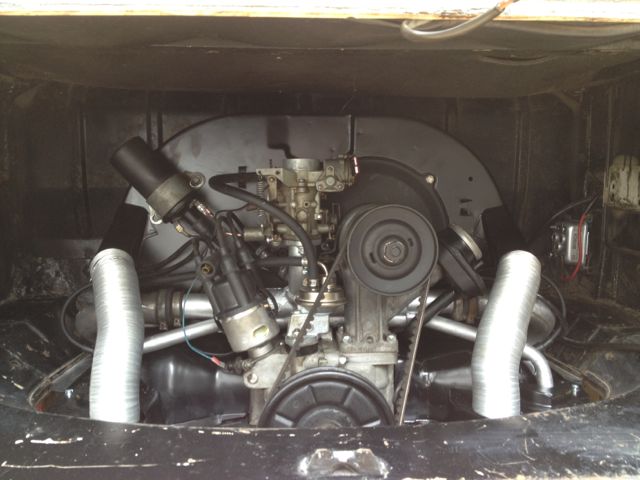
The next day I added the tin, fan and ancillaries and got everything plumbed in ready for fitting in the bus. I had already bought a new distributor and sourced a good used carburettor for the engine. I opted for a Bosch 009 copy, which was by far the cheapest distributor out there. The carburettor is a good used Solex Pict34/3. More about these later. The generator was the one supplied with the bus, as was the tin.
Saturday I enlisted the help of Razor to help give me a lift off of the engine stand with the engine (I really need to rig up a lifting arm above my engine stand). With the engine on the shop trolley we wheeled it out into the sunlight and set about getting it installed. I gave the engine bay a bit of a clean and fitted the new rubbers. I also noticed that part of the rubber seal below the fuel tank bulkhead had been melted / dissolved but opted to leave it and get on with fitting the engine instead.
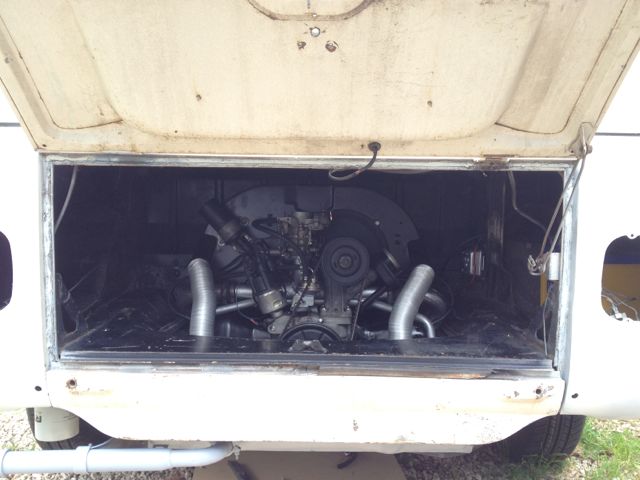
Fitting the engine was pretty painless as was hooking everything up. I had a few issues with the throttle linkage as it was both bent and worn and the pedal assembly needed some TLC too. This meant that I could only get half throttle from the cab, but figured that this should be good enough to get her running. With the fuel lines hooked up, starter connected, electrics wired I had a guess at where the timing should be. The aftermarket 009 has no static timing marks as it is supposed to be timed with a strobe. The overall timing should be approx 30-32 total advance at 3000rpm. Whilst the pulley was off, before reassembling the engine I filed a timing mark at 30 degrees on the pulley for this purpose. You could also use one of those nice degree pulleys too. So to get the engine running you have to guess the initial setting. If you have static timing marks this is no issue, simply set it to 7.5 degrees. But if like me you have no static timing mark on the distributor set cylinder number 1 at TDC on it's firing stroke and then set the distributor so that the points are just opening, now advance it slightly, this should be good enough.
The moment of truth had come. was it going to work? had I put the engine back together correctly, did I forget something? Well the only way to find out was to fill her up with fuel and give it a go.
So I did. I pulled off the coil connection and hooked the battery up. after replacing a few missing fuses I checked over the electrics to find that everything was working except the horn and one rear sidelight. I should mention at this stage that I did not get an ignition key with the bus, so to get things moving I needed to hot wire it. With the coil still removed i cranked the engine over. Yay movement! I continued cranking until the oil light on the dash went out. This meant that the oil system was primed and we could now try start her. I replaced the coil connection and gave two kicks on the accelerator. Then tried to start. Turn... turn... turn...
Nothing! Absolutely nothing. I decided to check fuel first. I pulled the hose off of the bottom of the tank only to find that there was no fuel coming out. The tank fitting was looking a little damp from fuel too. I cleared the blockage by ramming a screwdriver up there. This had the effect of breaking through the wire gauze 'filter' which was no doubt why the tank was blocked. I wasn't too fussed about the gauze filter as I had installed a proper in line filter just after then tank outlet. With fuel now coming from the tank I had another go at starting her... Turn... turn... turn...
Nothing! Still absolutely nothing. Next I checked the fuel pump. I checked that I had connected it the right way around and checked that it was supplying fuel. Nope. There was no fuel pump on the original engine, so I was supplied with an early style 'long' pump', I also bought a new pushrod guide as well. It turns out that the engine must have originally been fitted with the short style pump that uses the short pushrod as the pushrod was too short to actuate the pump. Fortunately I happend to have another engine in the garage and so robbed the pushrod from it
So third time lucky... Turn... turn... cough... vrooom... !!! The engine started and ran (badly) before dying. I tried re-adjusting the timing and to a degree this made a difference, enough to keep it running long enough to get my timing light on and set the timing properly. However, even with the timing set correctly the only way I could het it to run was to 'feather' the accelerator. The engine exhaust temp was also very very hot (too hot to hold your hand in front of). To me it seemed like it was running way too lean. I decided to tear down the carburettor.
With the carb removed, stripped, cleaned and reassembled, it struck me that I did not reset the carburettor before trying the run the engine (the excitement must have carried me away.) Pict 34's are a different animal to the 32 / 30 picts carbies. This is due to the addition of an air bypass and additional fuel circuits. to run properly they need to be initially set up, which basically involves winding out the throttle low speed idle screw until it only just touches the lowest part of the choke cam. next you need to set both the slow speed fuel mixture and air bypass settings to exactly 2 1/2 turns out.
With the carburettor reset and reinstalled I had another go. Turn... turn... turn... vroom... Chugga... chugga... chugga... Yay! it was actually idling. I let the engine warm a little and then went through the set up procedure. With the carburettor set up and the timing set I let the engine run for an hour on a fast idle to help break in the rings.
I fixed up a could of issues with the engine - the bottom tin was missing a couple of bolts and so made a bit of a racket with the engine running as it rubbed on the bottom pulley. I also fitted the oil bath type filter and reset the carburettor.
With the bus running there was really only one thing left to do. Take it for a spin around the block. The throttle linkage is awful and needs replacing, it stuck on quite a lot, which is not good, there is also a massive flat spot on take off, not to mention that I could only get about a quarter throttle. But bugs aside, I still came back from driving once around the block with a huge smile. It's probably been 20 years or so since my last bay windowed bus and it felt good to be back behind the wheel again.
The flat spot is a common problem. It turns out that the 34pict and 009 dizzy are not really compatible. The 34pict really requires a vacuum advance carburettor, or combined vac / centrifugal. There are a few hacks on how to overcome this, mostly they involve enriching the idle / low speed mixture, by either drilling out / replacing the jets or by filling the hole in the throttle butterfly (by soldering or a pop rivet). None of these appeal to me so I will set about sourcing the correct carburettor for it. I could of course fit a 30/32 pict as these will work with the 009, but the extra flow will be handy for the couple of mods that I've made.
So still a way to go, was really hoping to have got the painting finished this weekend too. But at least the bus is now drivable, albeit perhaps not as good as it could be.
Comments