Tanks for the memories

Tanks for the memories

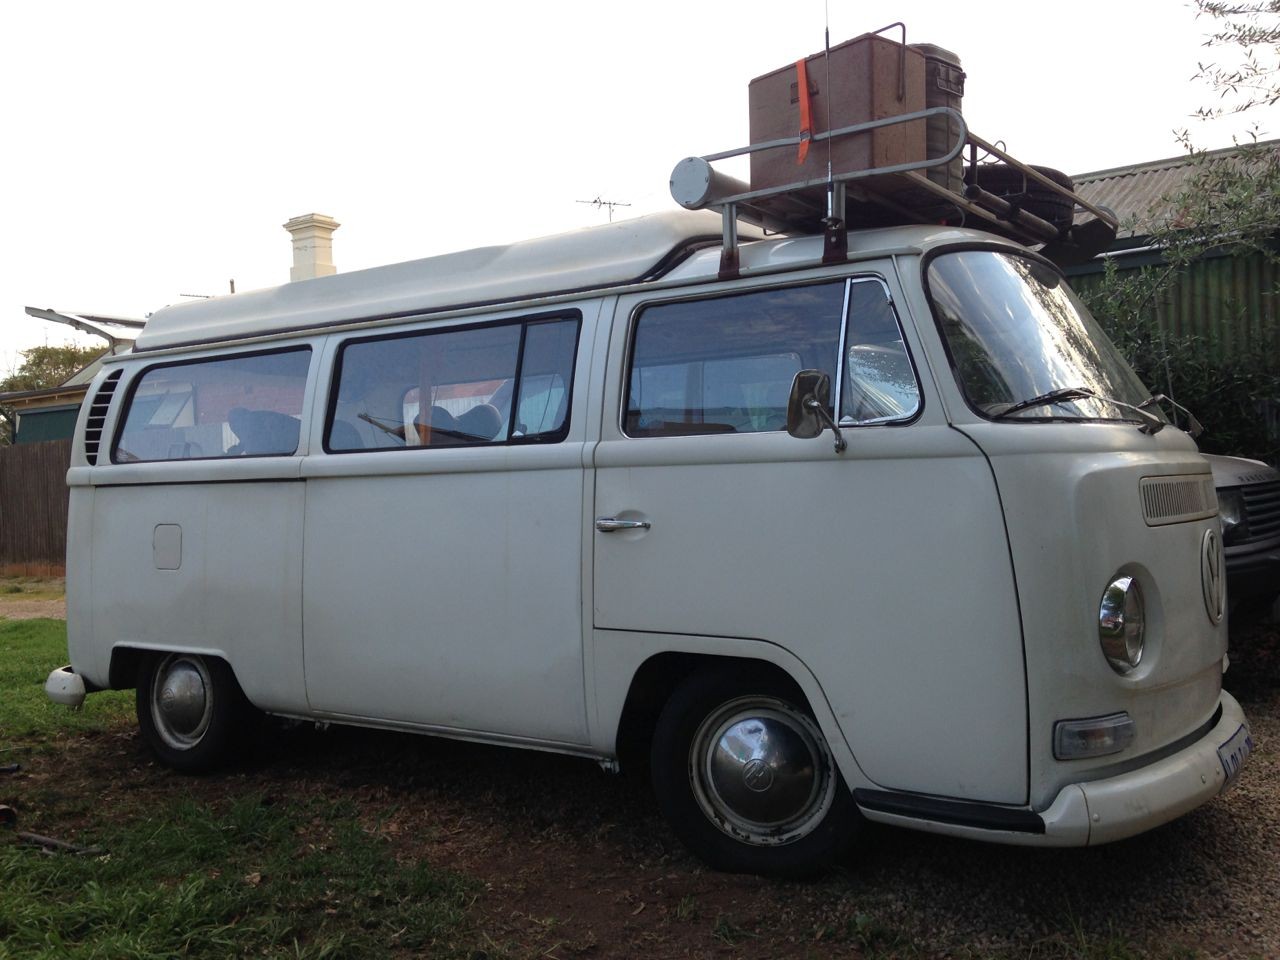
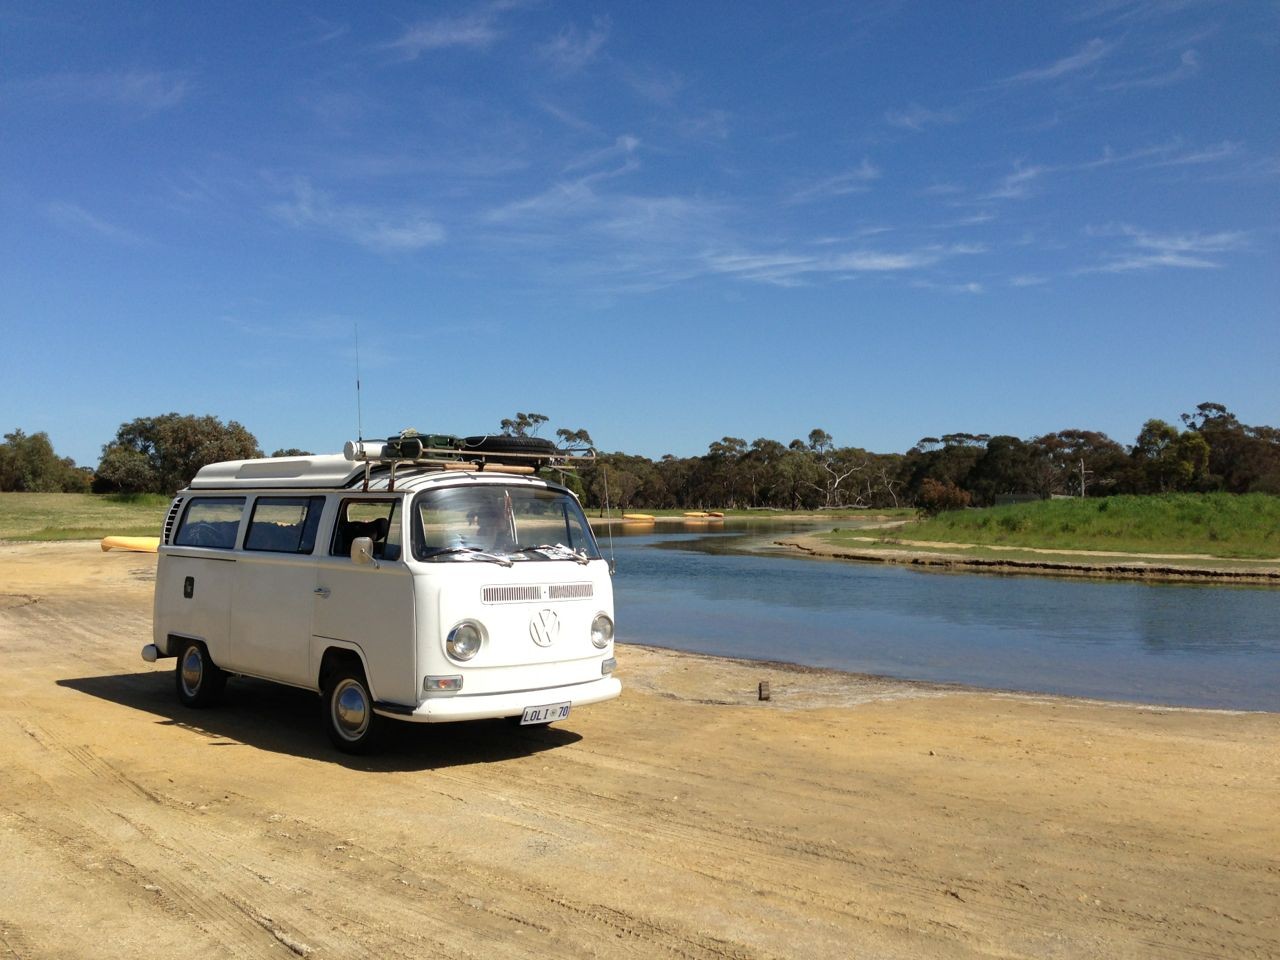
Since getting the bus roadworthy I've spent the past week and a half cruising to work in it which has been pretty cool. It's great to have a veedub as a daily driver again and even cooler for it to be a bus. It's also given me a chance to iron out a few bugs and make a list of stuff that needs to be looked at.

One of the the things that found its way to pretty much the top of the list was a leaky fuel tank. Ironically when I was originally fitting the engine I looked at the bottom of the firewall tin and noticed that the foam seal looked a bit 'melted', I even thought to myself 'I bet that's due to a leaky fuel tank'. Well, guess what, I knew it! the darn thing leaks. Fortunately Volksfactory once again helped me out from their stash of stuff and provided me with a nice early style fuel tank (early bay tanks have a bolt in style fuel sender unit). I also picked up a few other bits and bobs as well, including a passenger window. 

  3080 Hits

It Lives!

It Lives!

You might recall from my last blog Paint Your Wagon, that I ordered some parts from MoFoCo, unfortunately they were not posted out so after a bit of chasing up they were finally mailed out to me express. Well according to USPS they should have arrived no later than 5 days later, so after waiting for 6 days I decided to lodge a paypal dispute. The initial slackness on MoFoCo's part, and time limit that PayPal put on making claims pushed me past the point of trying to pussy foot around the issue. I figured that if the parts arrive - all well and good, and if they didn't, then at least I could order them form somewhere else.

  3319 Hits

Supercharging the bus Part 3

Supercharging the bus Part 3


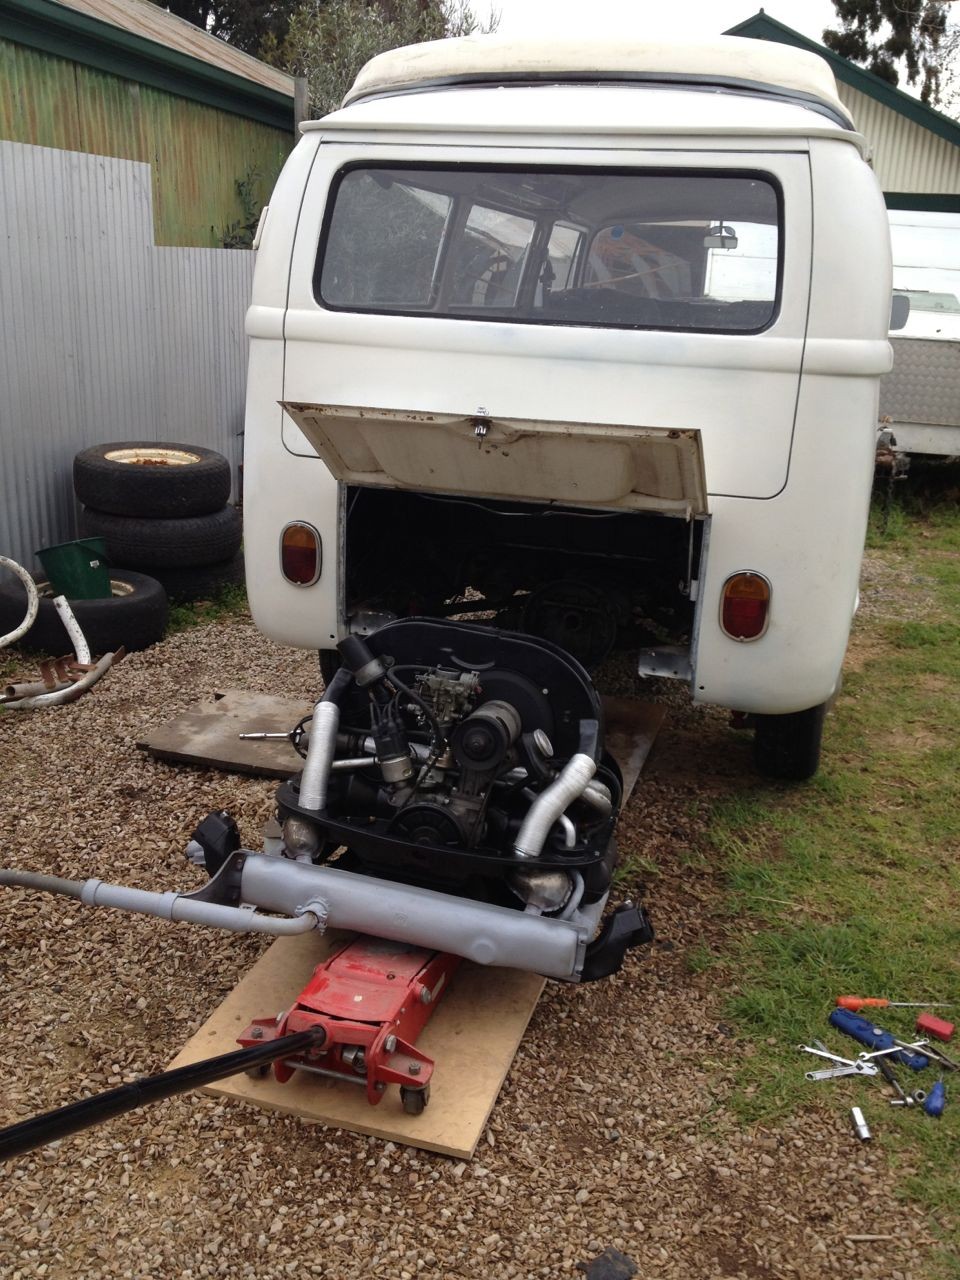
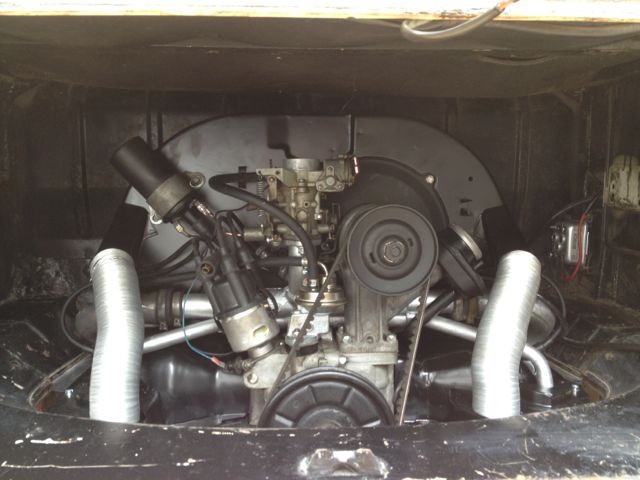
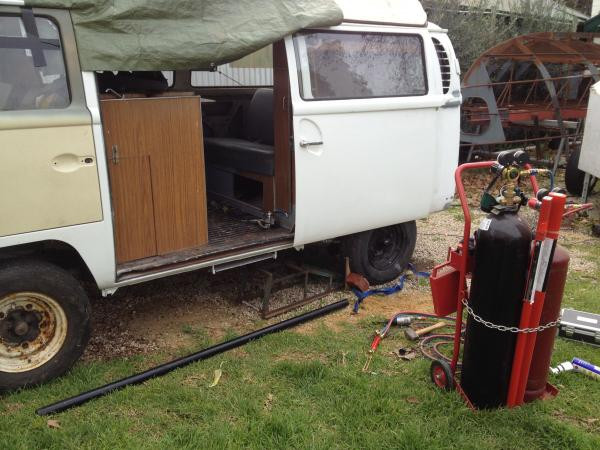
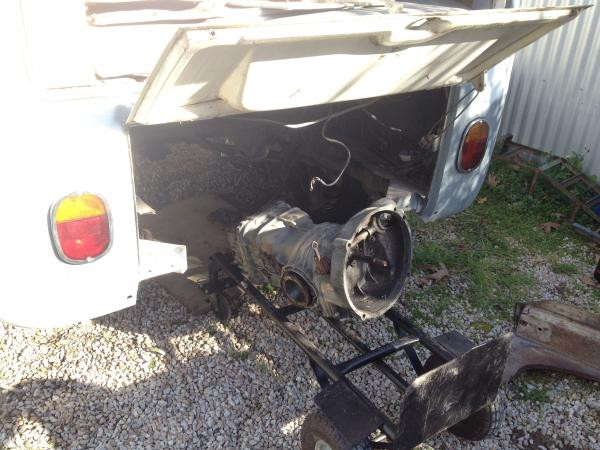
So. Spent today fitting the engine into the bus. Had a bunch of shits and bits to fix up like fixing up my dizzy, rewiring for the alternator, fitting a new exhaust, adding the electric fuel pump, running new fuel lines, cleaning red dust from everything. In fact it took most of the day just getting everything to the stage where I could fit the engine.

  4475 Hits

Taking Check

a7e320f3bc30570ce392fc4afe2aad49

Managed to spend some time this weekend going through the lowlight and taking check of whats what. The bus was packed to the brim with parts and so it needed to be unloaded to see what parts were missing and what parts needed to be sourced. The bus was supplied with some nice extras such as a roo bar and a spare full width rock and roll seat including the rear matress and all of this needed to be taken out of the bus to be able get in and take a look

  2515 Hits
Tags:

Slamfest Part 2 (step-by-step)

Slamfest Part 2 (step-by-step)

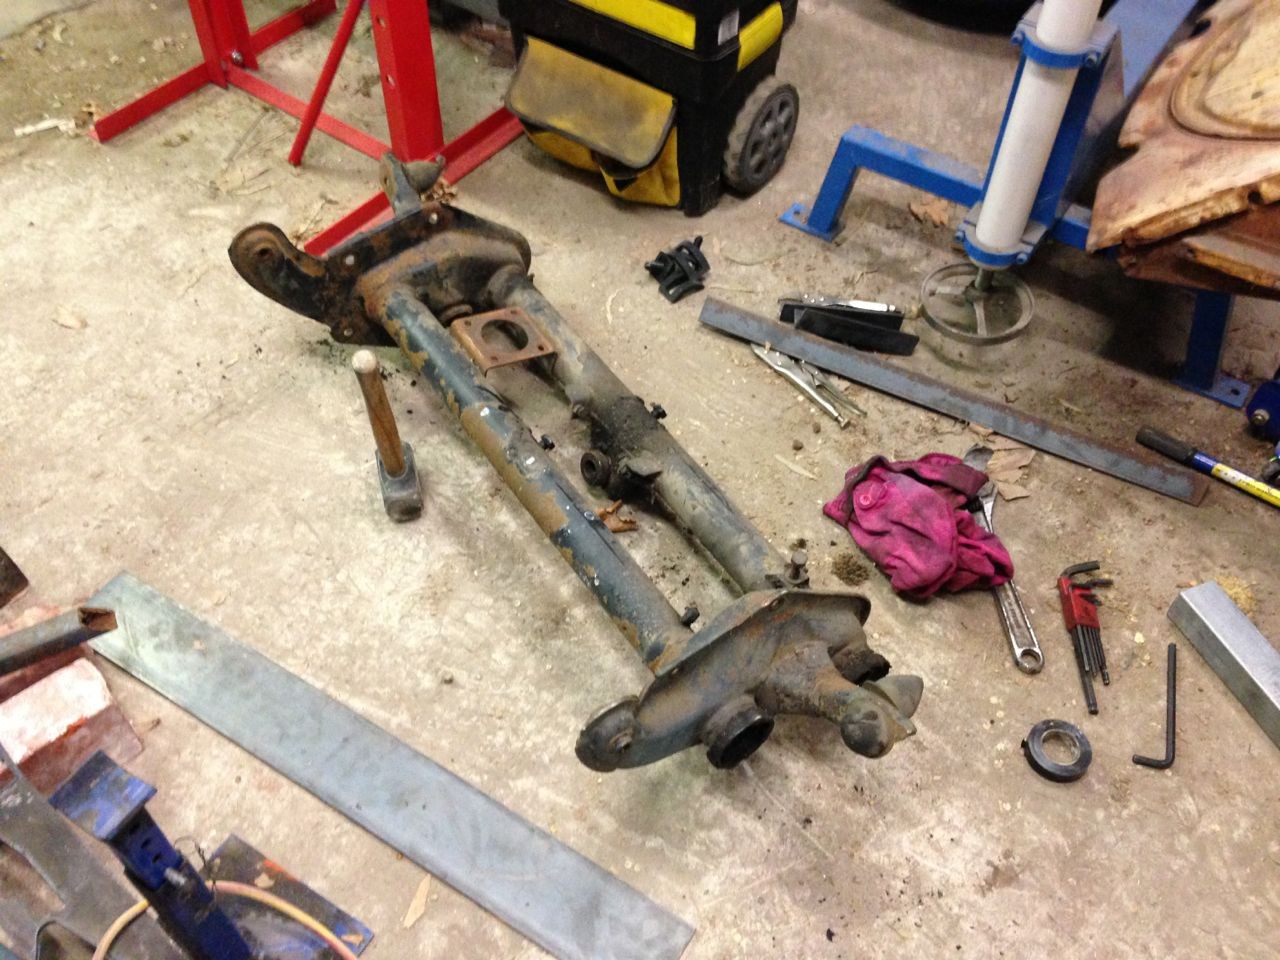
In my lasts blog post Slamfest Part 1 me and the Jimp had stripped down a bay beam and prepped a design for some new side plates ready to cut them out on my CNC plasma. Cutting out the plates was a slow affair as the cutting speed for the 10mm steel plate had to be set at about 300mm per minute, any faster and the quality of the cut suffered. The design was based on a 5 degree castor with the shock tower location moved upwards and backwards to allow for use of the stock shock.


  3608 Hits

Slamfest Part 1

Slamfest Part 1

Made a start on building a narrowed beam tonight. Plan is to build two beams - one for my bus and one for The Jimps.

  4677 Hits

Fuel Starvation Issues

Fuel Starvation Issues

Since building the engine and adding the supercharger the lowlight has been pretty reliable. There were some initial gremlins to overcome such as the vastly underpowered generator, but since swapping it out for an alternator things have been fine. Fine that is until the other day.

We had just stopped off at Hungry Jacks (or Burger King as us Poms call it) to grab some well deserved mango smoothies after a day out at the beach, the bus did not want to fire straight up, which I put down to the very hot weather but I managed to get it started and drove off back to home. We managed to get about 200 yards down the road when the bus just stopped.

  2975 Hits

Supercharging the Lowlight Part 1

Supercharging the Lowlight Part 1

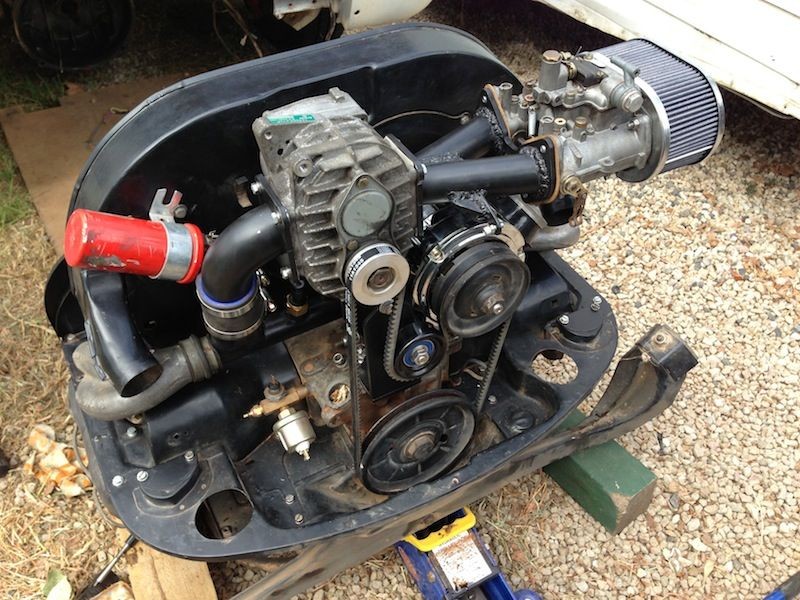
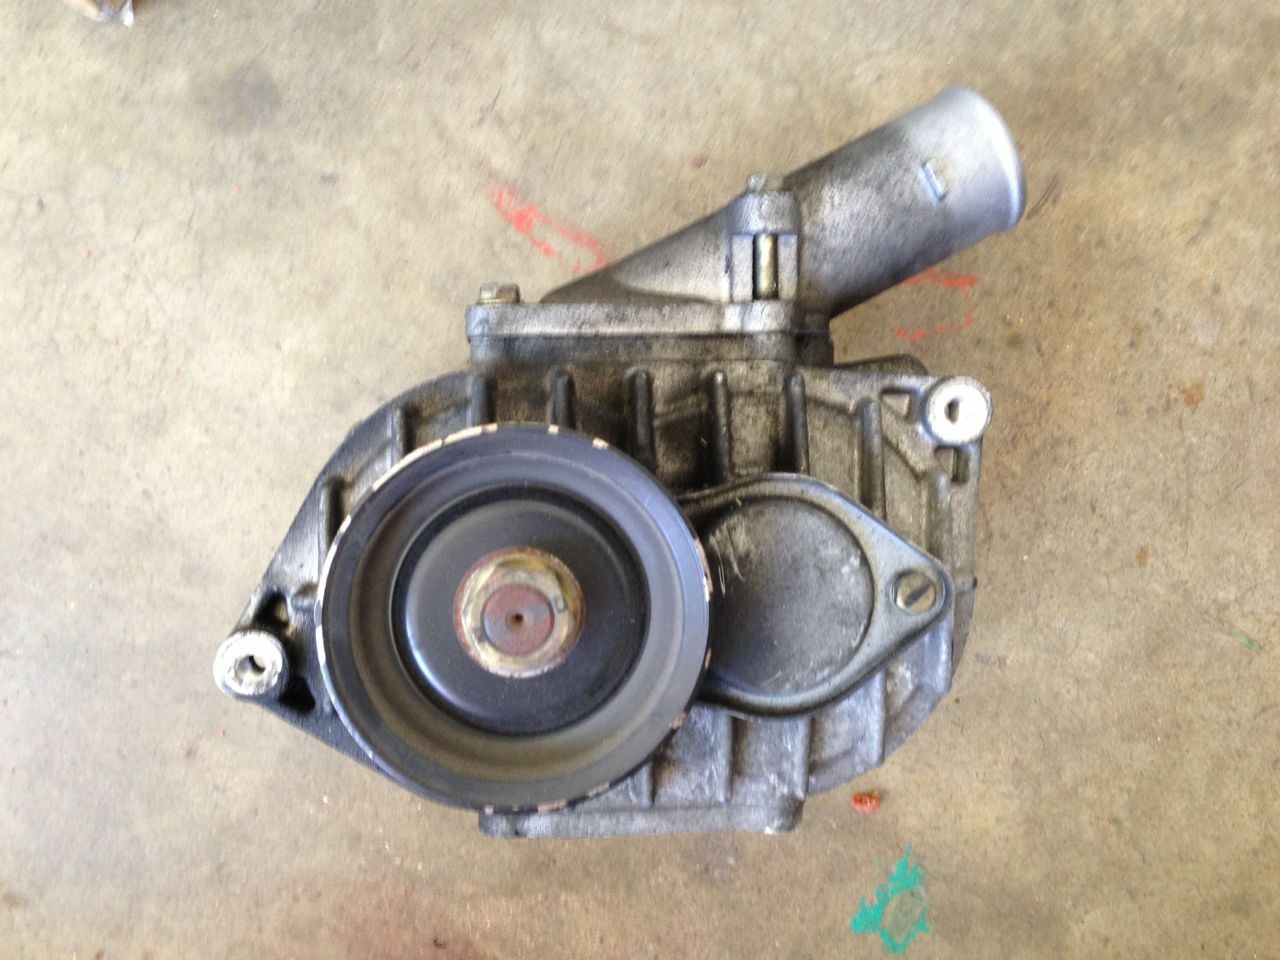
One thing that really struck home on our recent interstate jaunt to ReVolks was how damn slow the bus is. I have often joked that when I toured around Europe (also in a 1600 bay window) you would have to go flat out down the hills just to be able make it up the next one. Well somehow the reality of driving a 1600 bus over very long distances  had managed to become little more than anecdotal humour. This is a bit of a shame, as had I remembered how painfully slow driving a1600 bus was I might have opted to build something a little larger. After all, as our cousins in the good ole yew ess of aye say... 'there's no substitute for cubic capacity', or is there? Faced with the reality of having to build another bigger engine I opted to take the easy way out. Forced induction!

  10664 Hits

ReVolks Roadtrip

ReVolks Roadtrip

It'd been a good many years since I've camped in a bus so I'd really been looking forward to ReVolks. For the non-Aussies here ReVolks is a VW show held in Geelong in Victoria - Some 700k's away from where we are in Adelaide. The mad rush to get the lowlight finished in such a short period of time was mostly so that we could take a bit of a holiday and take in the ReVolks show at the same time.

  2788 Hits
Tags:
bus

Paint Your Wagon

66123e5258fb59b91064f167

Not updated the blog for a week or so, but that doesn't mean that I've been idle, just too busy to be able to get my thoughts translated into the electronic ether.

Last weekend I spent some time getting the doors prepped ready for painting. The front doors both needed painting, both having been partially prepped. The passenger door was already mostly done with only a few minor blemishes requiring attention but the drivers door needed a fair amount of work. The drivers door has at some time been badly dented and could ideally do with a new door skin, but in a bid to get the bus on the road I decided to see if I could make it a little straighter then it was.

  4369 Hits

Bit of Fun

Was stoked to get a text message today from MelleMel. In it was a photo of my new rego plates for the lowlight. See if you can spot the mistake...

  2582 Hits
Tags:

46mm Nightmare

4f6725790e4c6838287c74748bb6e317

Decided to sort out the brakes today. I had already ordered new shoes, cylinders, hoses and master cylinder, and whilst waiting for the remaining engine parts to arrive thought that it would be a good idea to fix up the other things on the todo list.

  2614 Hits
Tags:

Result

fcf2597d738dacaa77830d917510b4ef

Had a bit of a result this week, finally managed to source the remaining parts that I was looking for. If you've been reading the blog you would know from this post that I've been searching high and low for some bukhead tin for a 1600 lowlight. Well as luck would have it, a bloke called Gary replied to one of my wanted ads and said that he had most of the parts that I needed. After taking trip out to go though his stash of parts i walked away with a whole bunch of goodies. Not only did I get the bulkhead tin, but I also got a pair of air vents, a pair of seat trims, a grab handle and a nearside sill repair panel.

  2619 Hits
Tags:
bus

Bottom End

553a1e2f2cdefa288c5a4536f972ad9f

This weekend I managed to get a bit more done on the Lowlight. After rebuilding the heads last week I decided that I should really split the case and at least take a look at the bottom end to make sure that there were no gremlins in there. Whilst this will add a week or two to the build at least I will get a peice of mind until I get around to building a 2150 for it.

  3575 Hits
Tags:

A stroke of luck

1608a15d93853cb1be4653c5ce395bd0

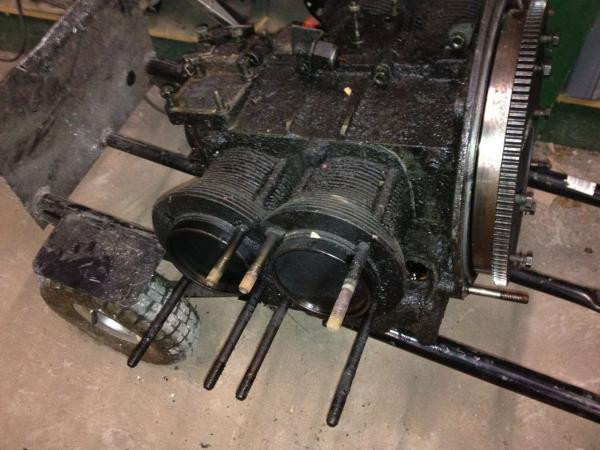
Been working pretty hard on getting the bus engine fixed up this weekend. After stripping the old fasty engine down and cleaning the barrels and heads ready for reconditioning, I decided that I would tear down the 1300 in readiness for it's new parts. I also wanted to get all of the tin off of the engine so that I could paint it.

  3258 Hits
Tags:

Rego'd

b5d63b39e7fec2217666de529a8faa19

Great news. Just got back from Regency after registering the bus. Fortunately there was an old rego sticker still on the windscreen so I was able to fill out the rego form with the old details and get the bus registered. Now all I need to do is get the engine finished off and the brakes overhauled. I also ordered a personalised plate too. :D

  2907 Hits
Tags:
bus

Stripping

3a21600a5c981c09ddef4366d02fea8a

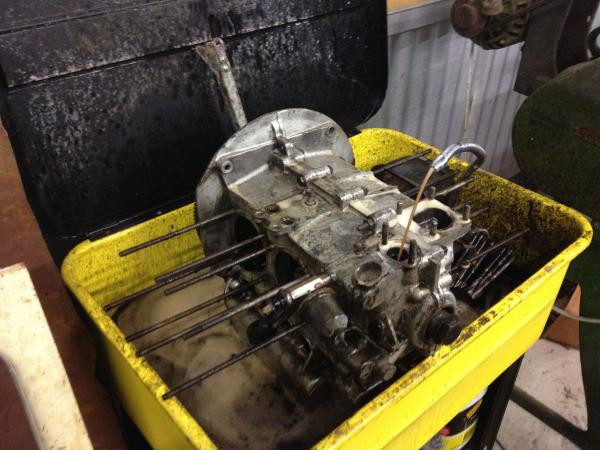
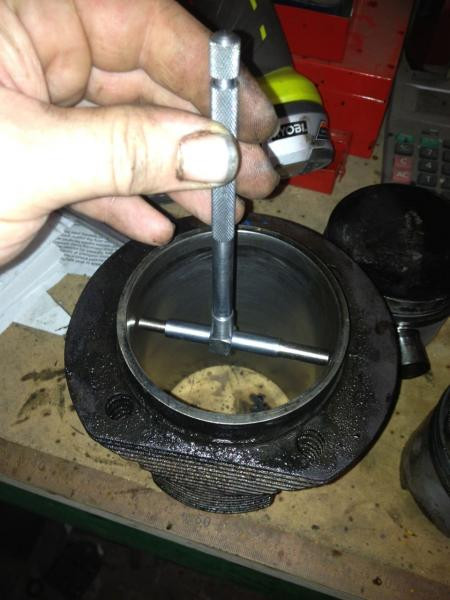
Last night I spent half hour out in the garage going over the fasty engine that I have spare. I want to use the 1600 barrels and pistons (and maybe heads) on the 1300 bus engine that I have.

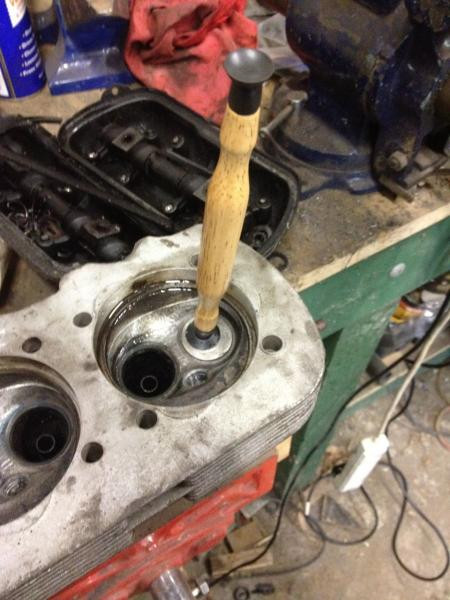
To determine the condition I did a compression test but his was not really conclusive as I could only turn the engine over by hand which didn't really give a suitable reading. Not deterred i decided to take the heads off and inspect them instead.

  2806 Hits
Tags:

There's been a burnley

2240


Took a few days off in the week to get some more stuff done on the lowlight. My target for this week was to get the brakes finished off, get the gearbox in and paint the front doors. As I had already done most of the brakes there was only the front nearside left to do and change out the rear flexi hoses and shocks.When I removed the front nearside drum I was met by a bit of a surprise, the brakes were missing. There had been a Burnley.

  3004 Hits

s-low-ly does it.

c81eb8e09f0ec2ba780c87bf086ef07a-1

This weekend saw the kombi roof that I brought back from Mount Gambier go off to its new owner. Andrew, the guy that bought the roof, also had various kombi bits that I needed so he dropped them off at the same time. Andrew is a top bloke and was the person kind enough to loan me the trailer to pick the Kombi up on in the first place.

  2503 Hits
Tags:

Low Light

36949c1559198d6797f92e666917ba74


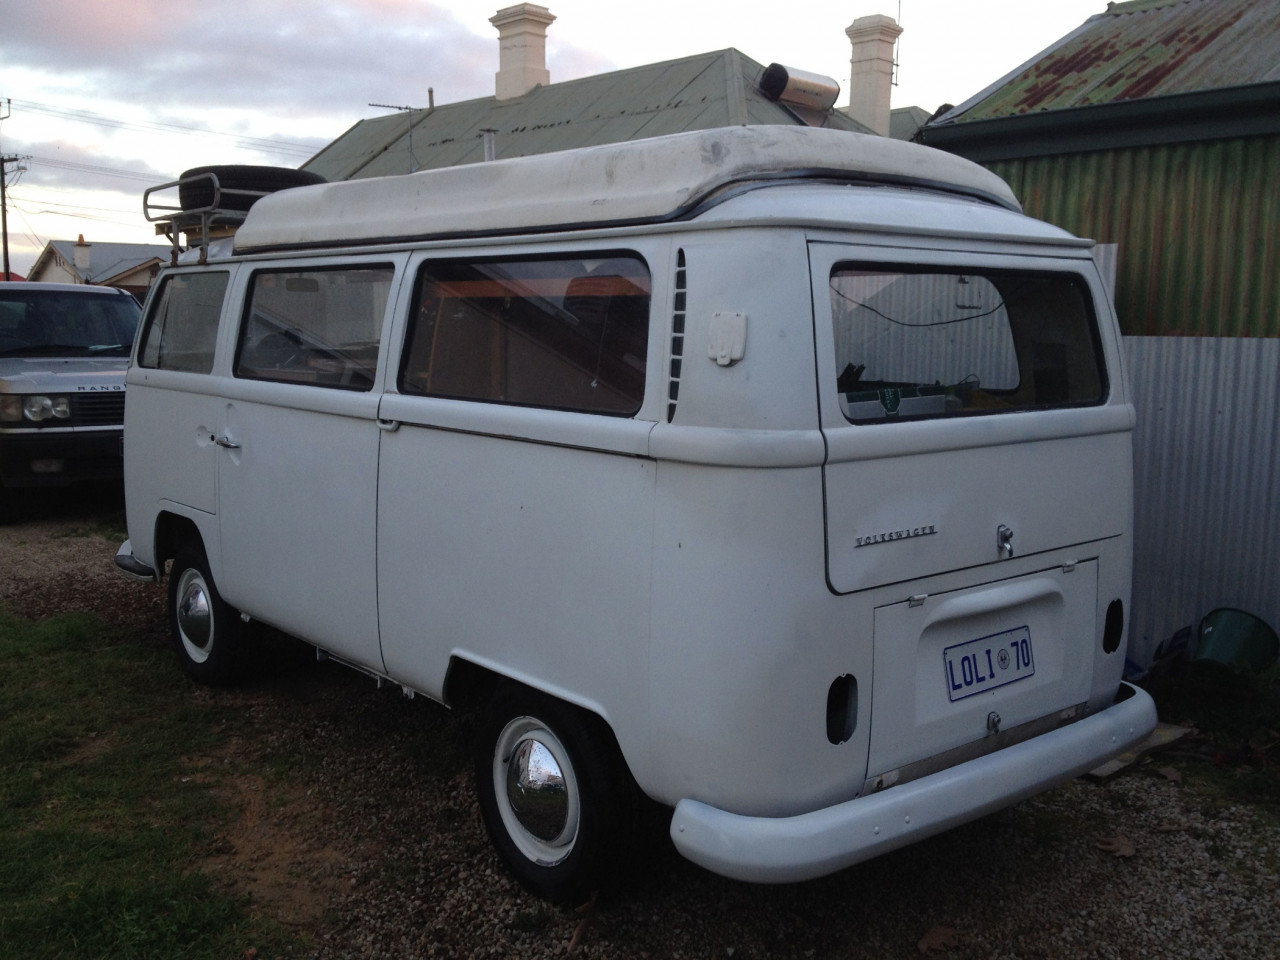
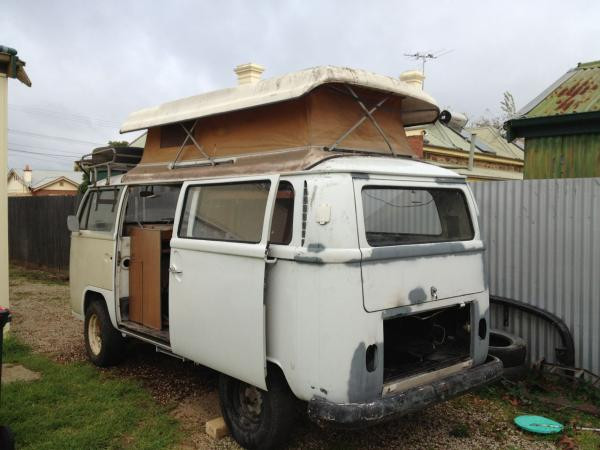
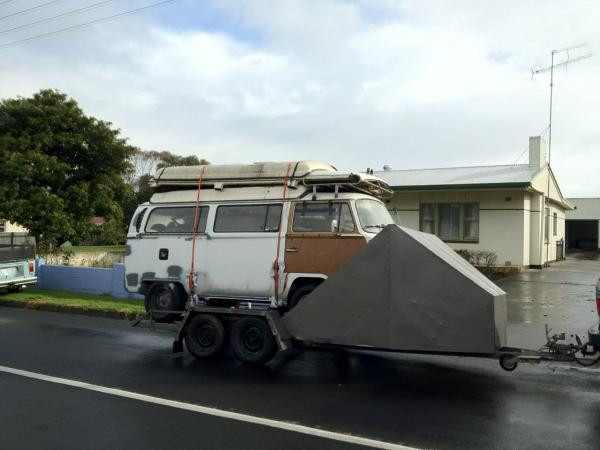
Just picked up another project, a 1970 lowlight bus courtesy of @Matt here on Vdubber. I actually bought this several months back but only just got around to picking it up this past weekend. After a bit of a road trip to Mount Gambier and a couple of days with the very hostiptable Tully Family, we towed the bus back to Adelaide to it's new home.

We also brought back a complete roof clip section from another bay for another local Vdubber (splitmeister from AVD). This was strapped to the top of the bus and made the load very top heavy, which made for some 'interesting' driving.

  2561 Hits

Rear End Done

Ass

The rear end is done and the bodywork is nearing completion so I'm slowly turning my thoughts to what comes next...


  724 Hits
Tags:

Mail Call

dogslegs

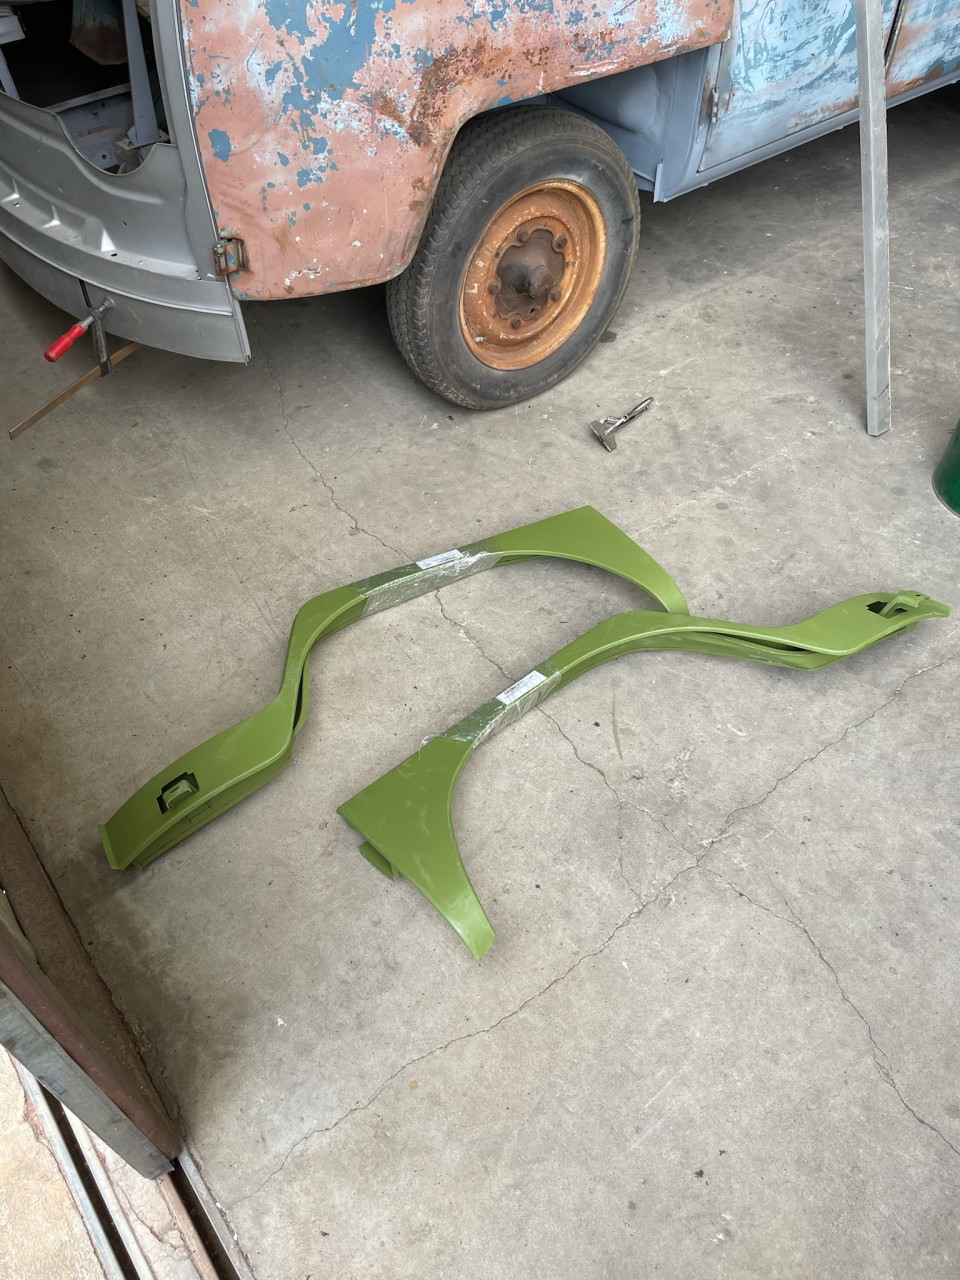
Funky green dog legs

Pretty much the last panel required.

(although we're replacing the drivers door with a better one)

  1157 Hits

Quick update

Quick update

Received an update from the shop. Front inner panel and passenger door are fitted up. Starting to look like a bus again.

  1413 Hits
Tags:
bus

Nose Job

Nose Job

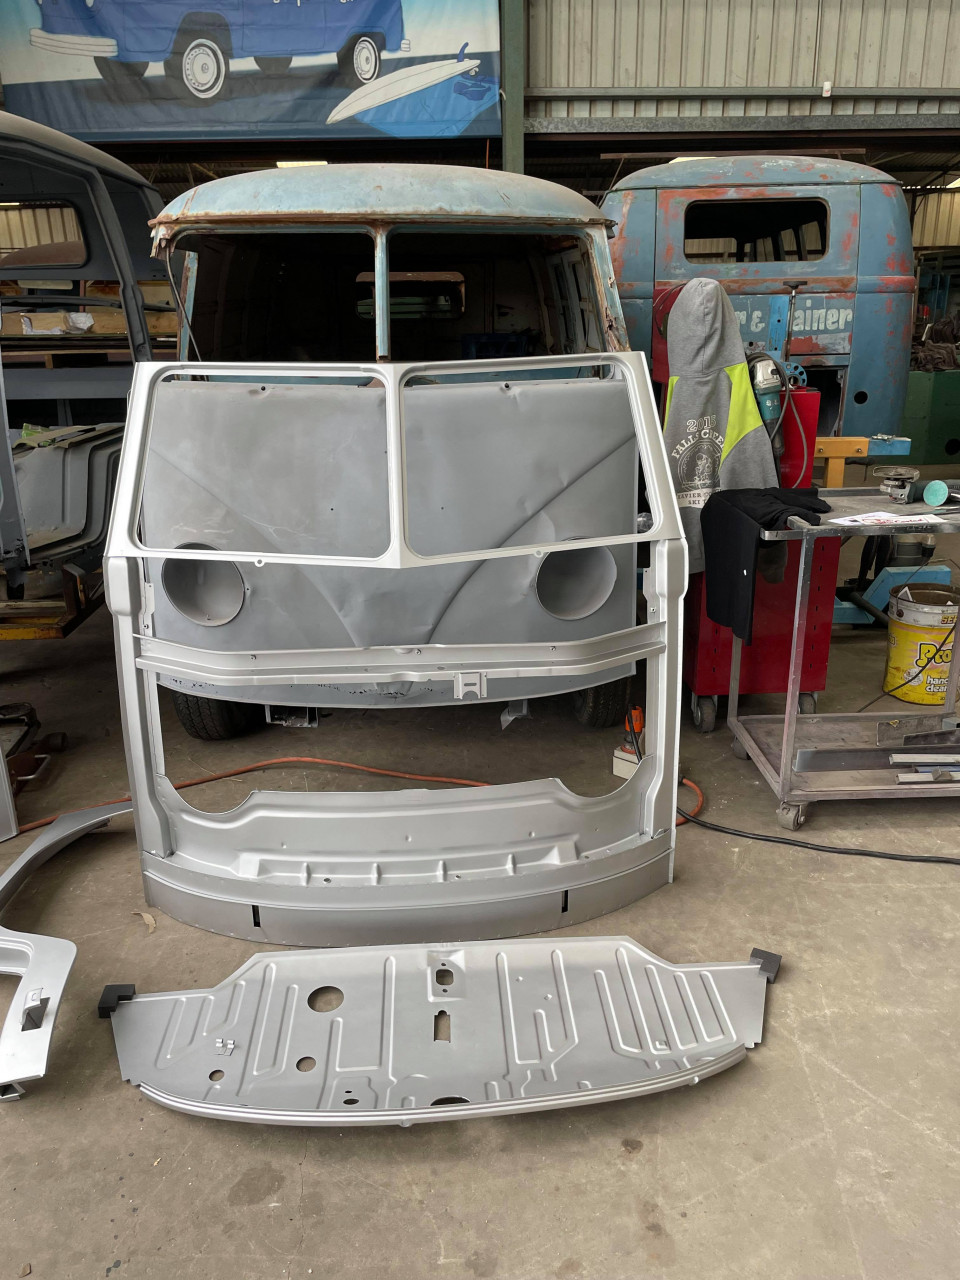
Just a quick update. The shop has just taken delivery of the front panels for the bus. We decided to go for an all-in-one front sub-panel instead of separate panels as not only is it assembled on a jig and so should hopefully be nice and square, but it will also save a heap of time compared to assembling the individual panels on the bus.

  1338 Hits

Resto Progress June '21

198672816_279816710561180_8993195879924602552_n
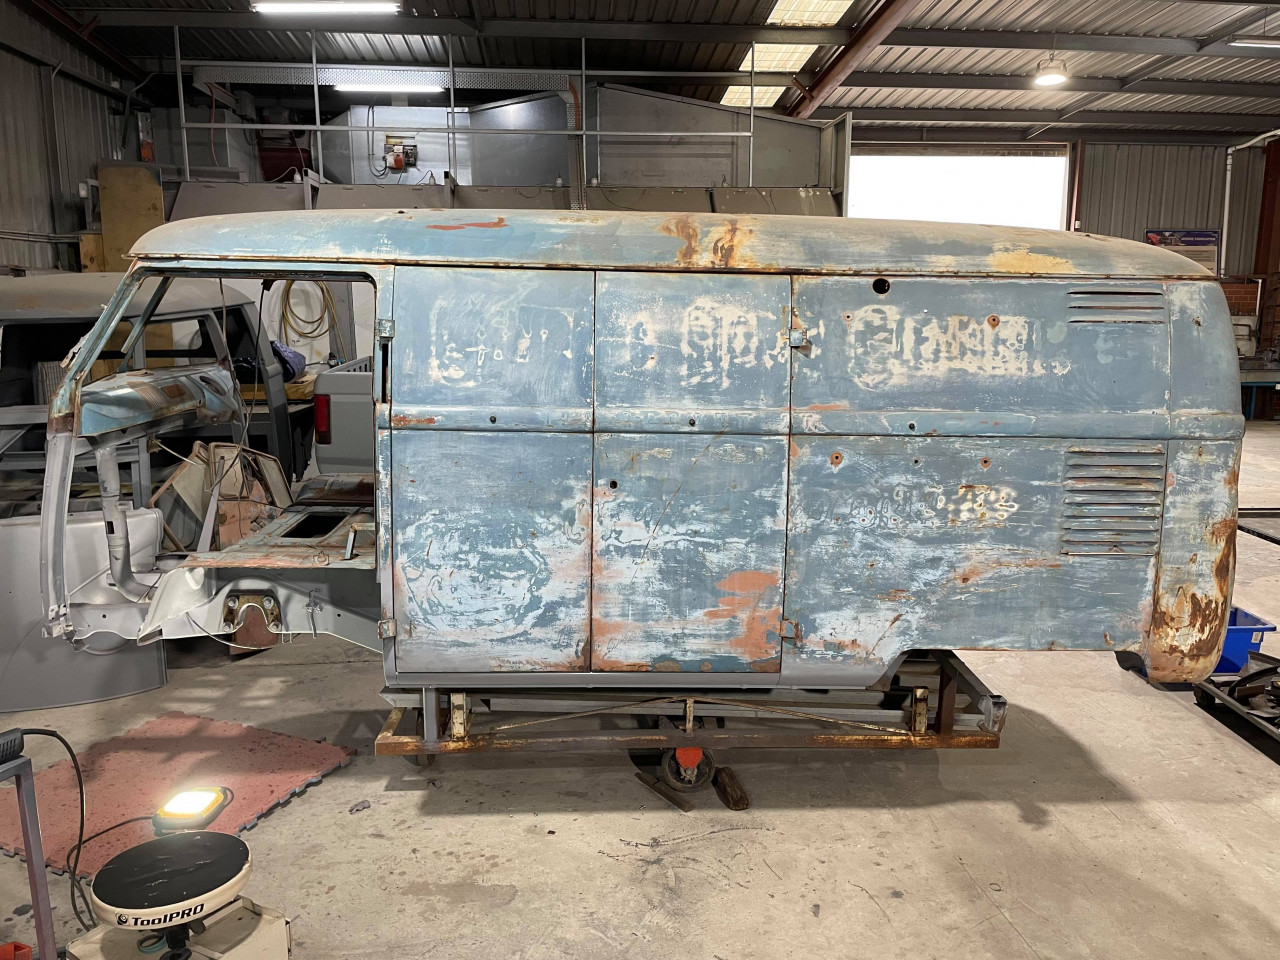
Received an update on the bus's progress. It's really coming along now. The gaps on the cargo doors are spot on which when you consider how trashed the roof and that side of the bus was is a real feat. Cooper has really outdone himself.
  1215 Hits

A nip and tuck and a bit of a nose job

A nip and tuck and a bit of a nose job

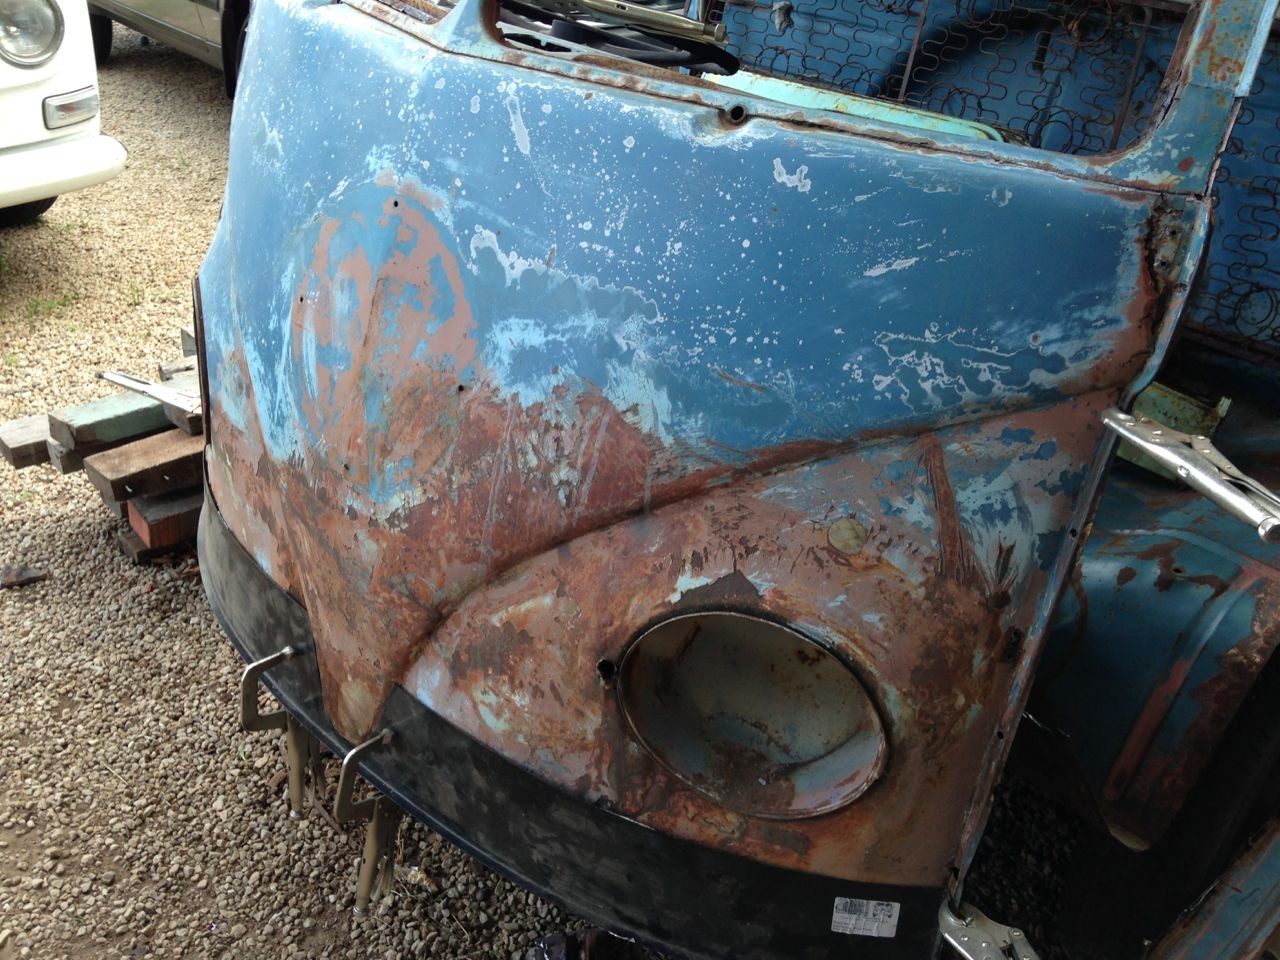
With the long Easter weekend I managed to get a few extra hours in on the bus. Having already cut off the front panel and one dogleg, and made up an A-Pillar repair I decided to carry on with the front end and take a look at the dented front panel.

The front nose, like pretty much every other panel on the bus has suffered a bit of abuse and has taken a bit of a pounding. Not only is there current crash damage, but there are also some previous repairs that have rusted out and need to be repaired.

  3721 Hits

DIY A pillar repairs

DIY A pillar repairs

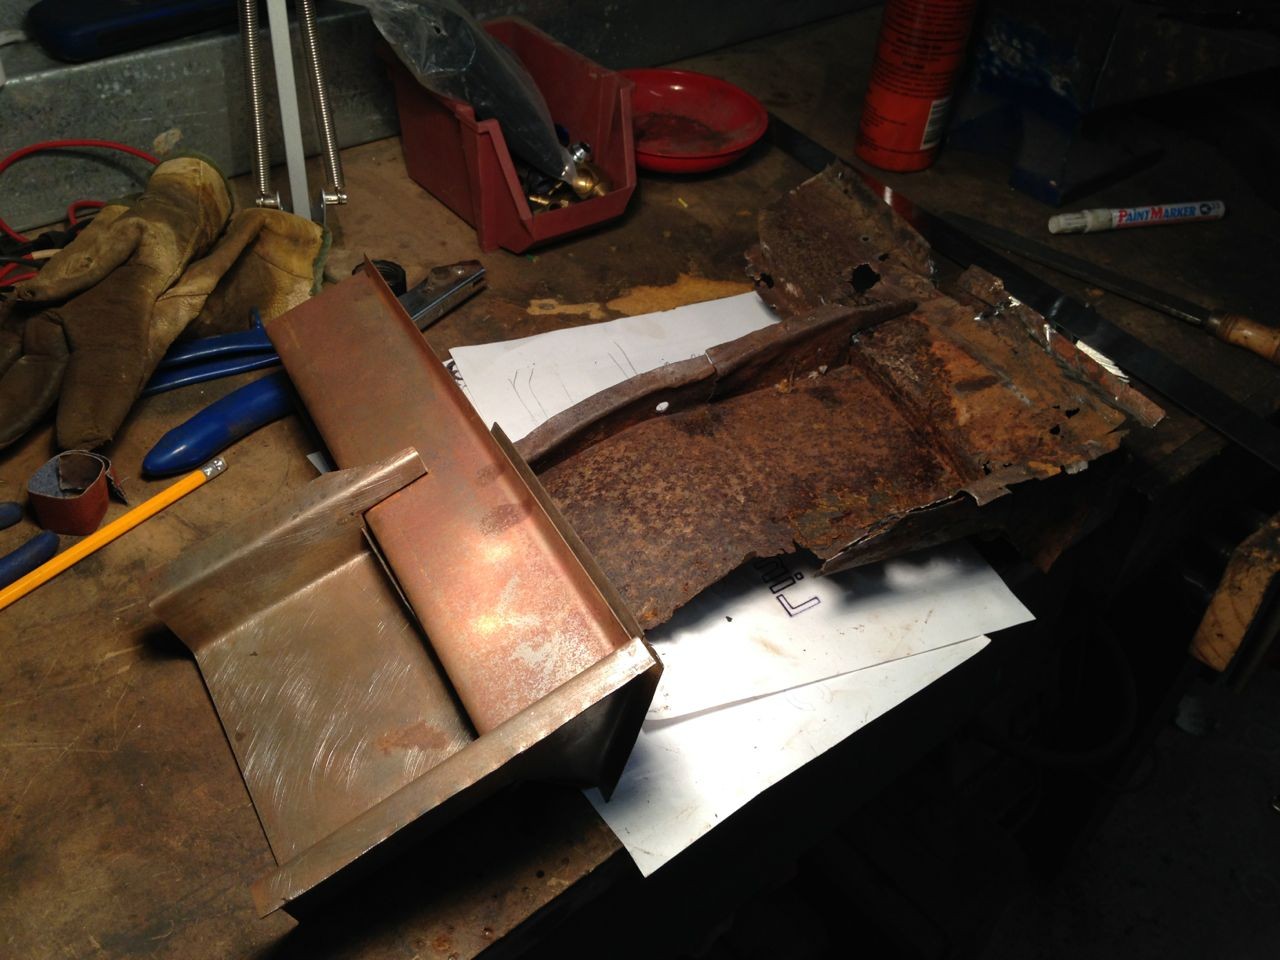
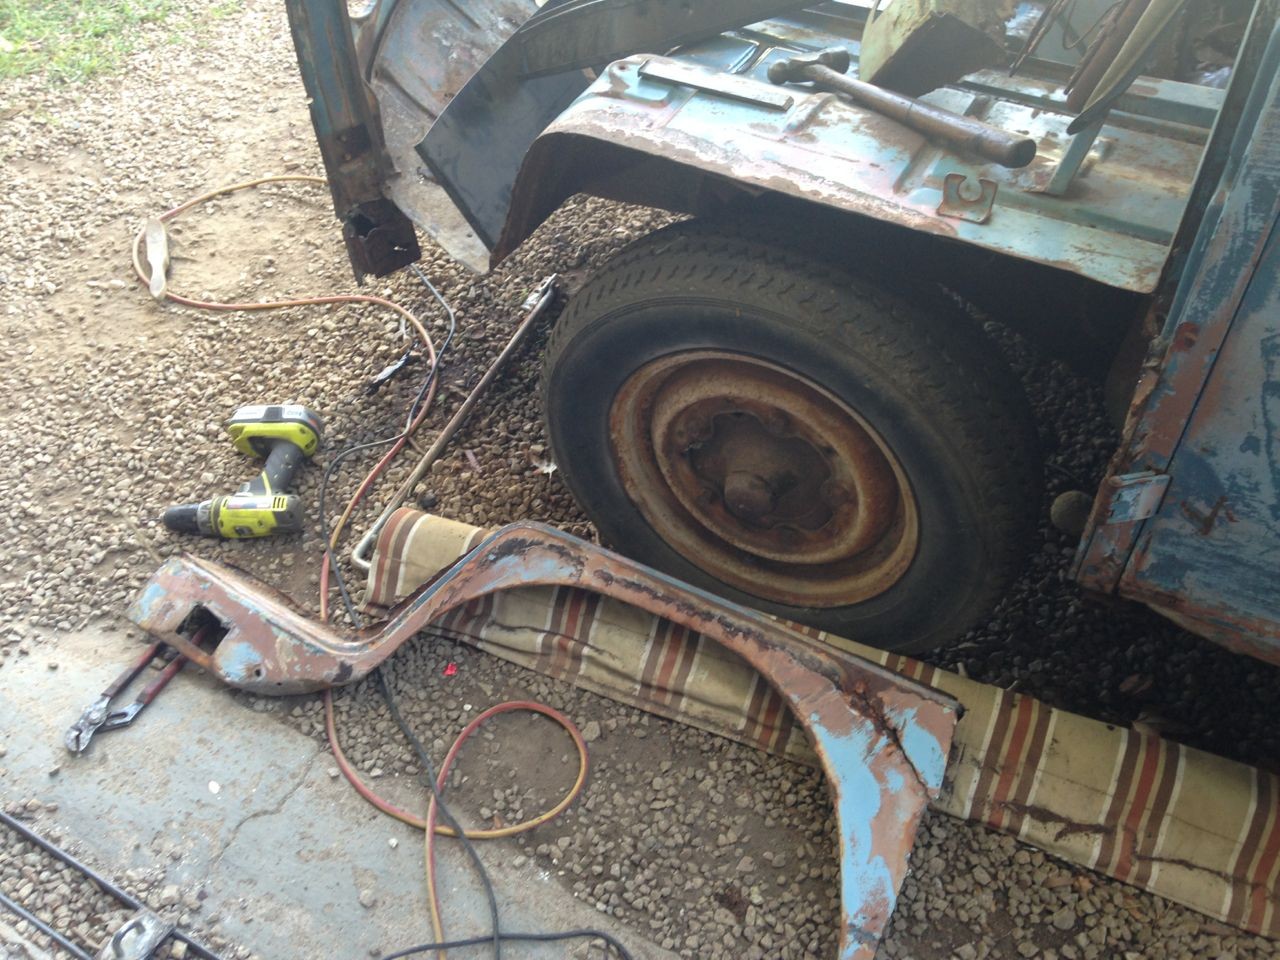
Spent some time today making up the repair panels for the bottom of the passenger side A pillar. Fortunately there was enough of the original left for me to take some measurements from. The repair panels are in three sections - two sections form the a pillar itself and another makes the bracket that attaches to the inner lower nose panel.

  3988 Hits

Tinker

Tinker

Managed to get out and do a bit more work on the bus today, decided to carry on sorting out the lower nose inner panel. The panel that I acquired unfortunately turned out to be for a left hand drive bus, which meant that to get it to fit I needed to swap over the mounting brackets. The reason for this is that the two chassis rails that it attaches to are not identical and so have slightly different profiles, this means that the mounting brackets are also slightly different.


  4511 Hits

DIY Cab Floors

DIY Cab Floors

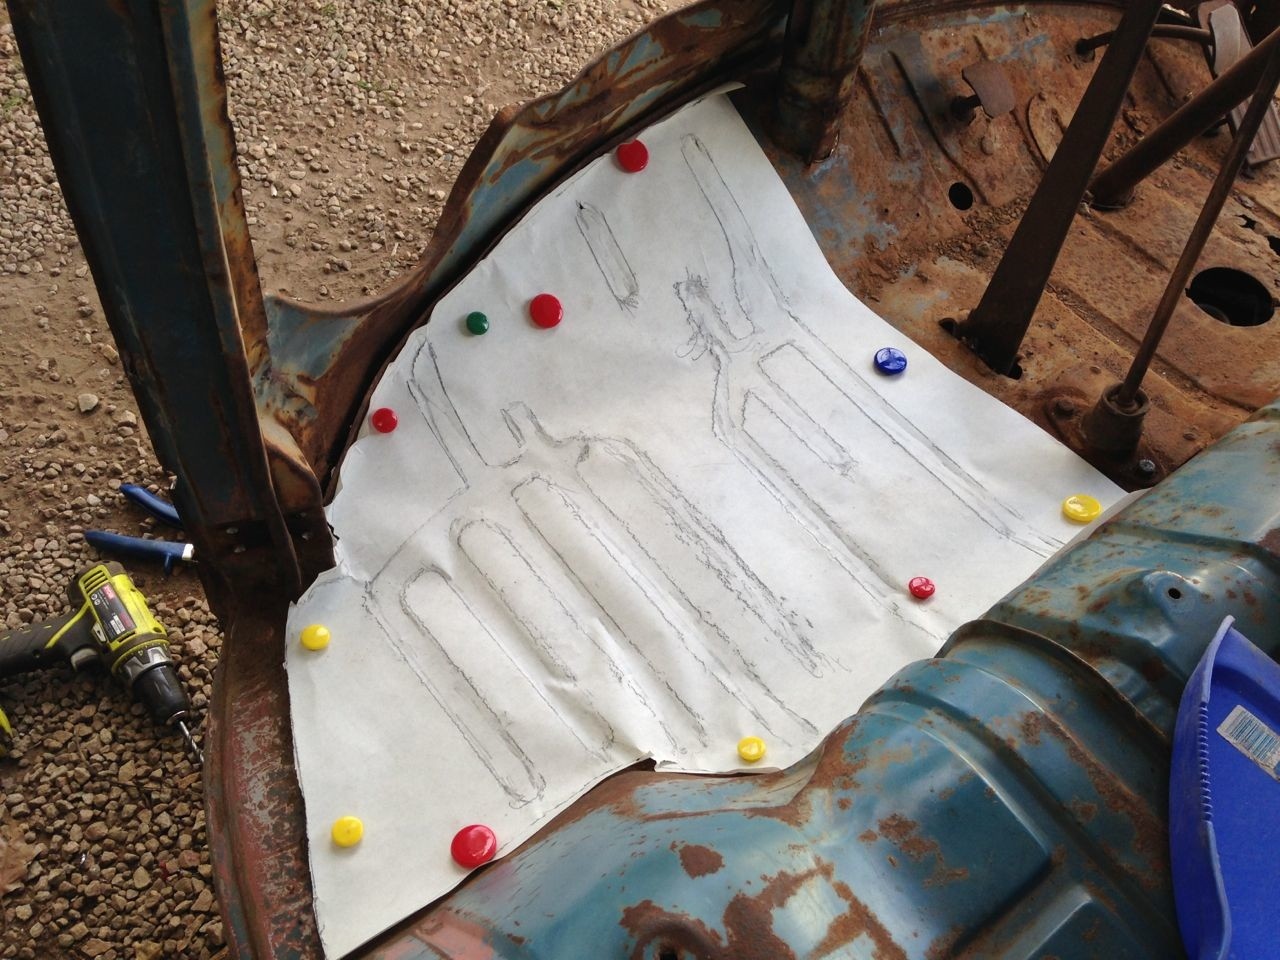
With the cab floor on the '55 looking like it needs replacing I decided to see if I could avoid having to buy a full repair panel by using the floor from a front cut that I have stored for my 15 window project. I have the front cut to provide a dashboard and chassis member to convert the 15 to right hand drive but for some reason the cab floor is nearly perfect. Not what you would really expect on a bus that ended up getting chopped up. Unfortunately whoever chopped the floor section out did not really do a very good job, not only did they gas axe an inch off of the floor on every side, but they also managed to cut straight through the chassis member that I need for the RHD conversion. Phah.

So I decided to dig the floor section out from the back of the 15 and take a look.

  2768 Hits

And so it begins...

And so it begins...

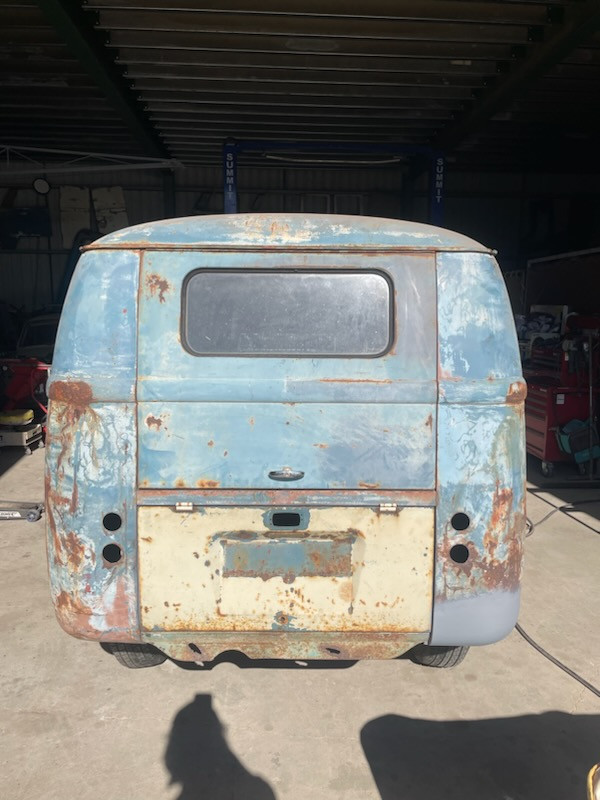
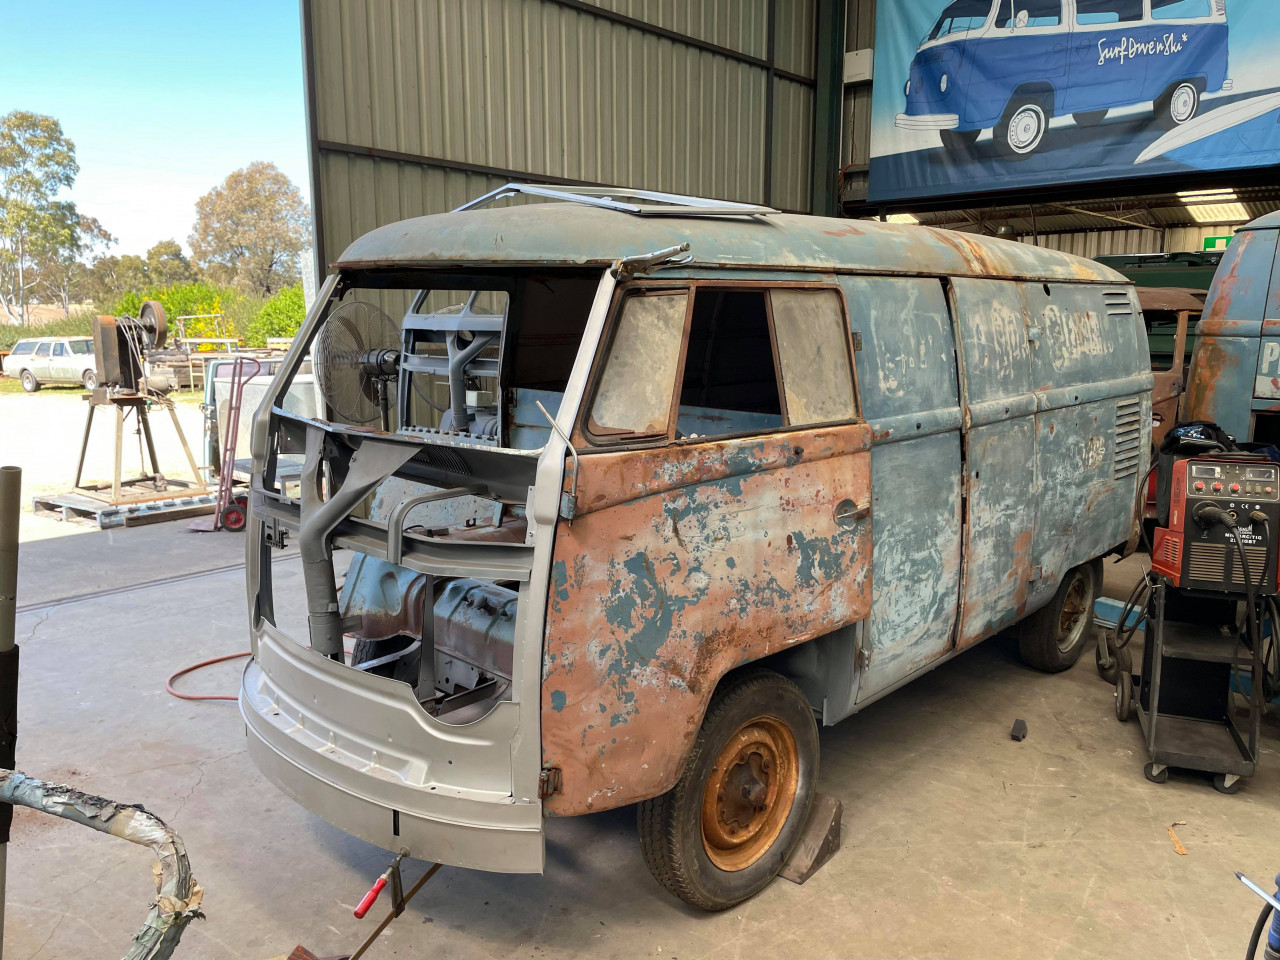
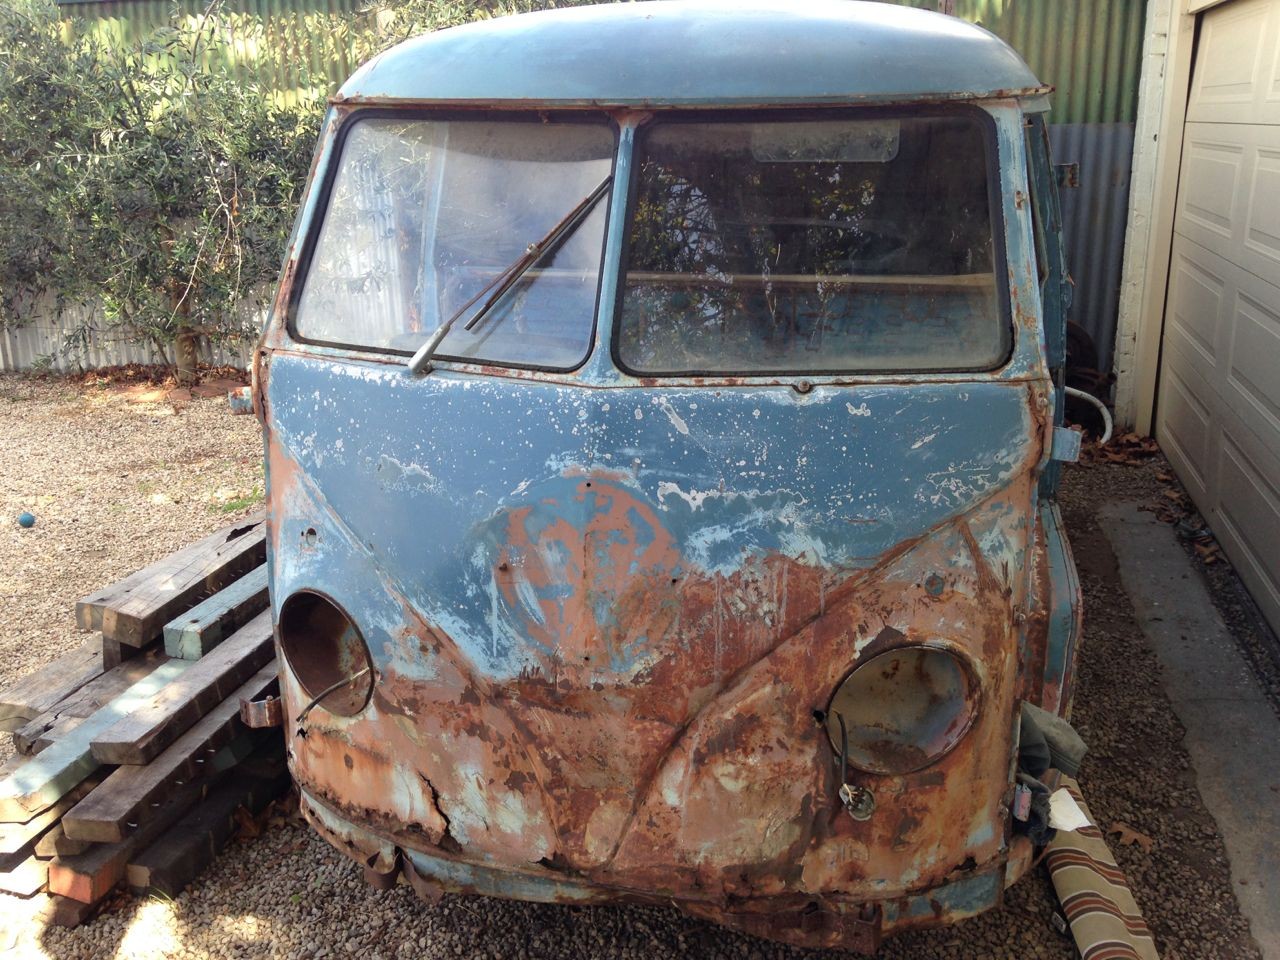
Those of you who know me will also know that I sell supercharger kits under the moniker 'Joe Blow'. A while back I decided that to promote the kits I would put together a logo'd rat panel van - with nice Joe Blow powered motor. Orignally I was after a lowlight panel but somehow ended up with a '55 panel instead. So today I decided to start work on eliminating the tin worm. I recently cleared a load of projects from my schedule and so figuring the bus wasn't going to fix itself I decided to get stuck in.

  3341 Hits