Rear Suspension

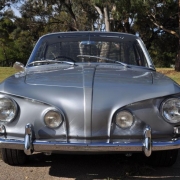
Well, it's been a little time since I actually did some work on the Ghia, recovering the interior doesn't really count as it wasn't me doing the work. So spurned by an invitation to the Victoria day of the Volkswagen in November (Cheers Grey54) I've decided that I will try and get to the event - especially as I was also invited last year, and truth be told the Ghia is pretty much int he same state as it was back then.
So motivated to go and do something, I decided that I really need to get the rear suspension finished, the engine mounted, and the car rolling. Then I can get the exhaust system made, the headlining fitted and look at getting the thing running. First things first - having spent many many hours designing the rear suspension (mostly in my head) I made the decision, that i would simply go for it - trying to fix every minor detail in the design stage has meant that I effectively done nothing - as there was always another detail or issue to address. 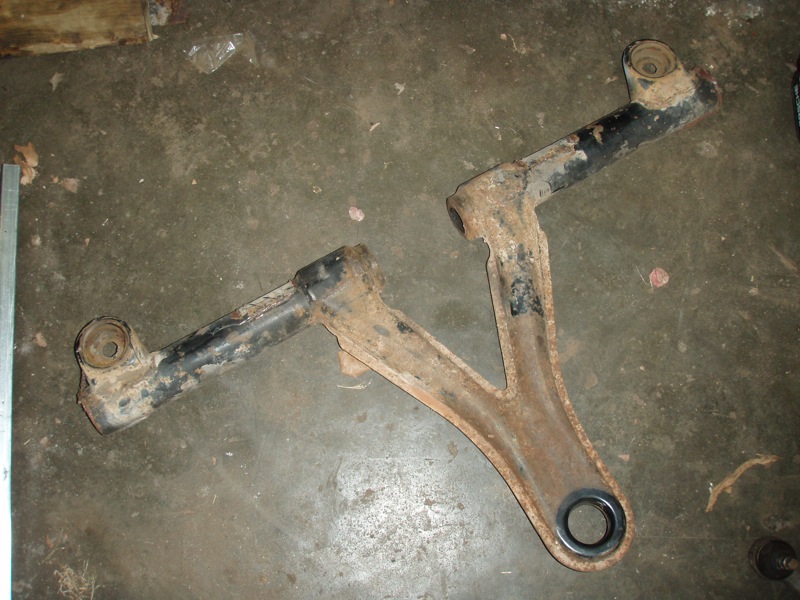
So with renewed vigour I decided to go and get the steel to fabricate the rear suspension from and also to manufacture the rear engine mountings from. The rear suspension basically comprises of a cut down standard rear beam, with removed side plates and the centre cut out of the torsion tube to allow the gearbox selector to align better with the selector shaft.
New top mounts are then connected to both the rear beam, and to each other to provide a top mounting position for the rear springs.
The spring plates are replaced by a ball joint and arm assembly similar to a unibal setup. This allows for toe adjustment of the rar wheels, whoch provides a way to tune the cars handling, and also allows me to correct any mistakes made in manufacture.
So after picking up the steel, I set to work making the top mounts. These are basically the remnants of the original top mounts, with some added strengthning and captive nuts added in, all mounted into a 75mm 5mm thick tube. This provides a suitable mouting for the tubework that connects to the rear beam and the opposite top mount.
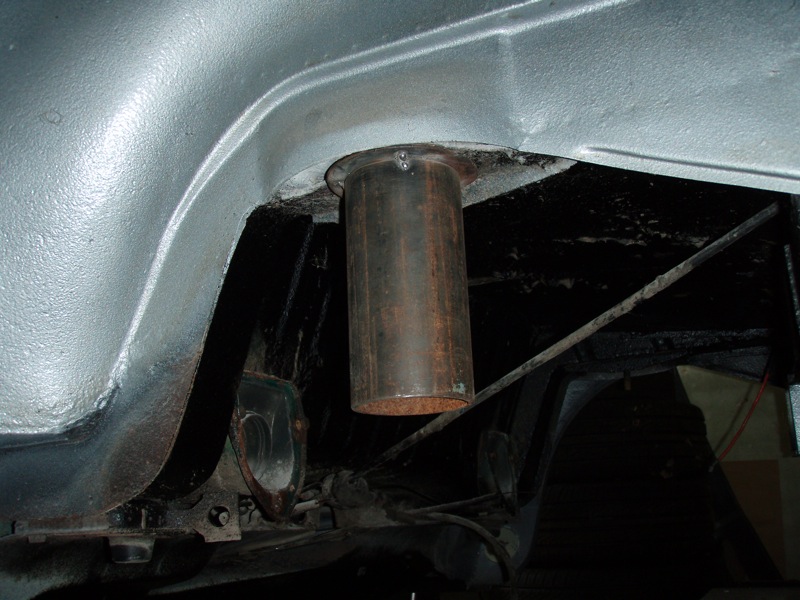
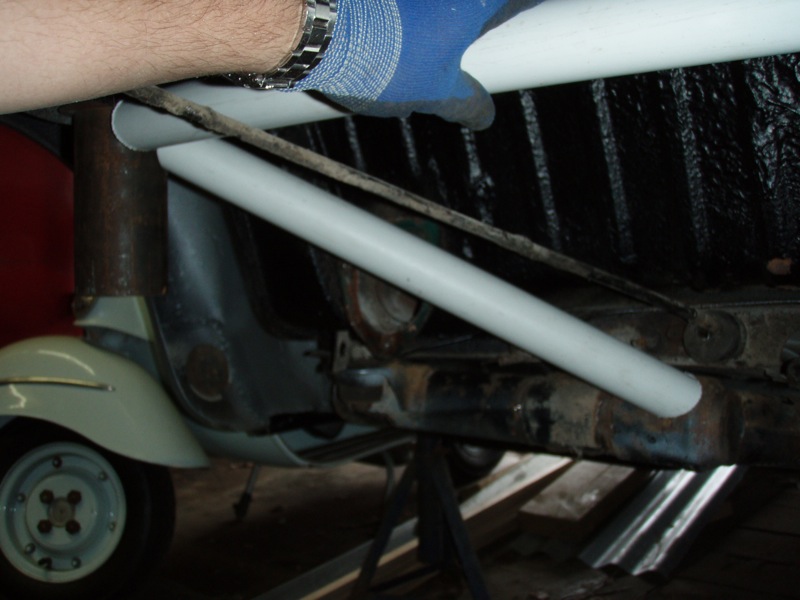
With the new top mounts tacked together, and bolted into the car, i bolted the rear beam in. To try and see how the whole thing was going to fit together, I made some templates out of pastic tube. This highlighted that the heater control boxes were in the way, so i completely removed these - the car has no heating and so they are effectively surplus to requirements. I was then able to get an idea of how the cross tubes will fit, and what clearance issues there would be for things like the accelerator and handbrake cables.
Overall it looks pretty good, I still need to figure out the exact location that thebracing will mount to the rear beam, but I think I really need to re-fix the A-arm mounts, as access to the bolts in these will largely dictate where I can mount an additional tube. The top of the pivot housing looks like a good spot at the moment, although I would prefer it to go directly onto the beam, both for aesthetical reasons as well as strength.
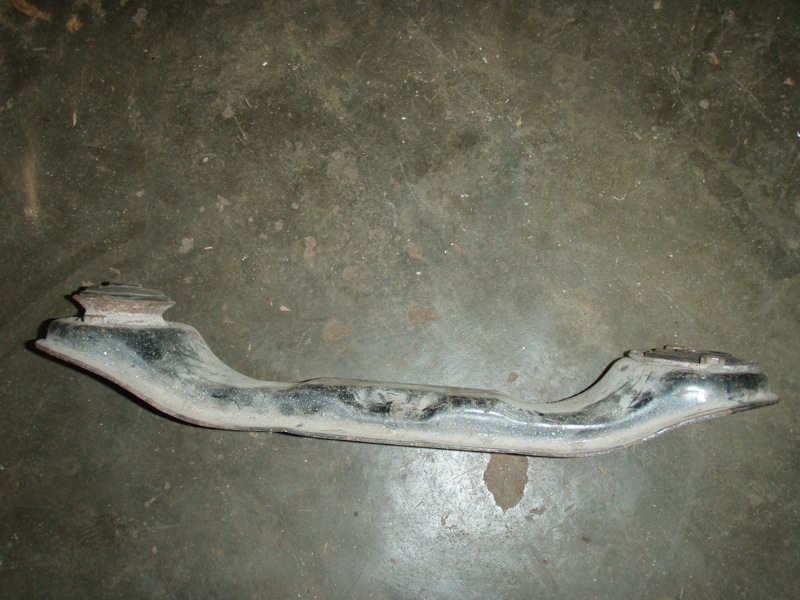
Another thing I looked at was the gearbox cross member. i discivered that by flipping the mountings upside down I could raise the gearbox by 20mm. This was one of the issues I had with the original setup - the differential housing sat far too low to the ground, about 90mm as I recall. The additional 20mm would take the gearboxup to 110mm ground clearance - 1mm more than the minimum 100mm I decided that I wanted (the 100mm is based on measurements I took of other road going cars. As usual, there are more pics in the gallery over at T-34 - http://www.t-34.co.uk/index.php?page=my%20project&action=thumbnails&id=169
Comments 2
Welded the A-arm mounts back on today - they're about 2 1/2 inches further inwards than stock - an overall narrowing of some 5 inches.
Got the templates made up for the cross bracing out of the plastic tube. Will have to wait until next weekend to cut the steel ones out and weld them in position. Also lined up getting the turn bolts made up, just need to make a couple of drawings.