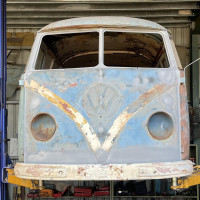
DIY A pillar repairs

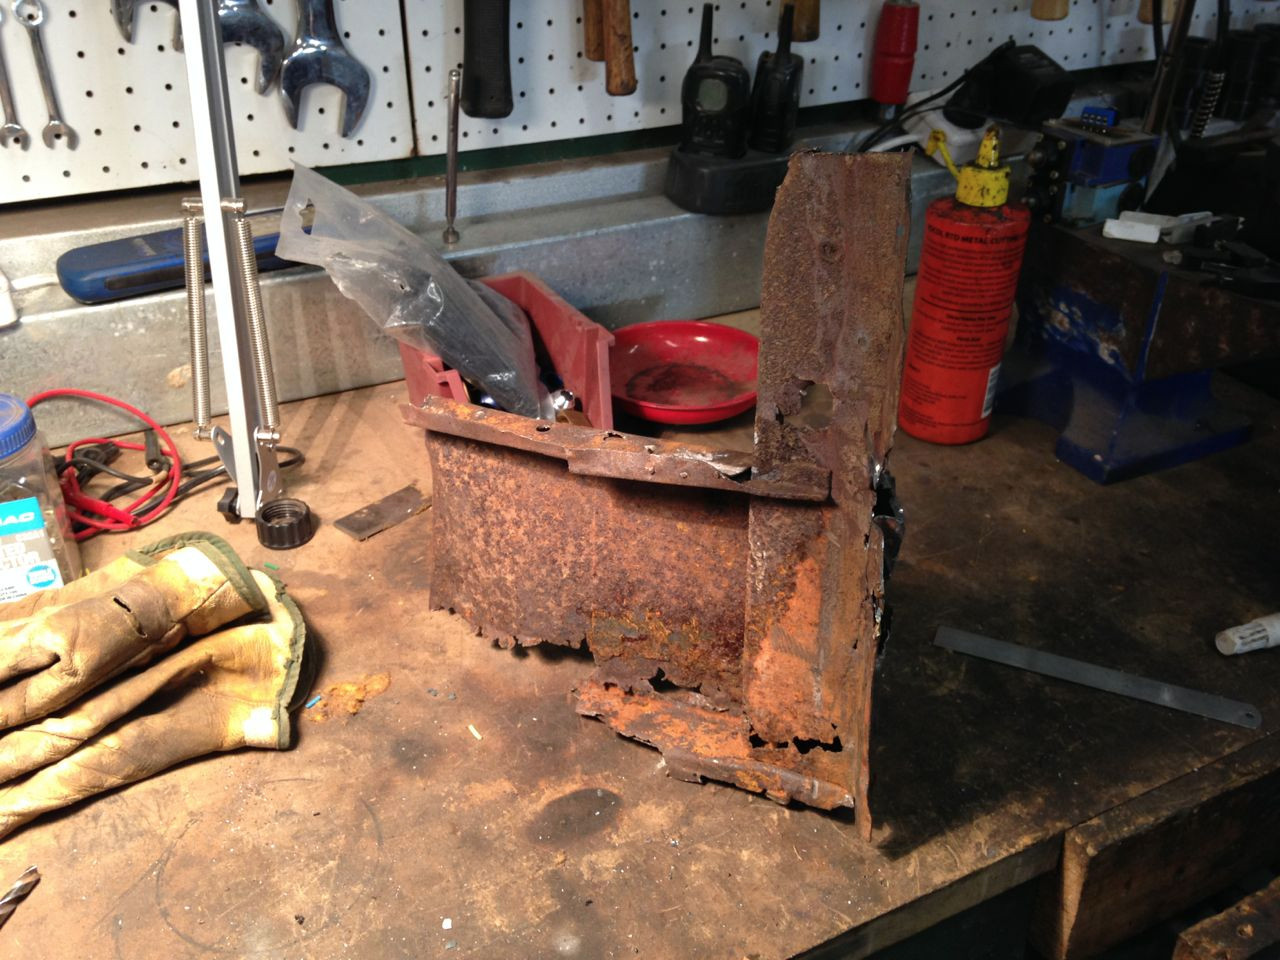
Spent some time today making up the repair panels for the bottom of the passenger side A pillar. Fortunately there was enough of the original left for me to take some measurements from. The repair panels are in three sections - two sections form the a pillar itself and another makes the bracket that attaches to the inner lower nose panel.
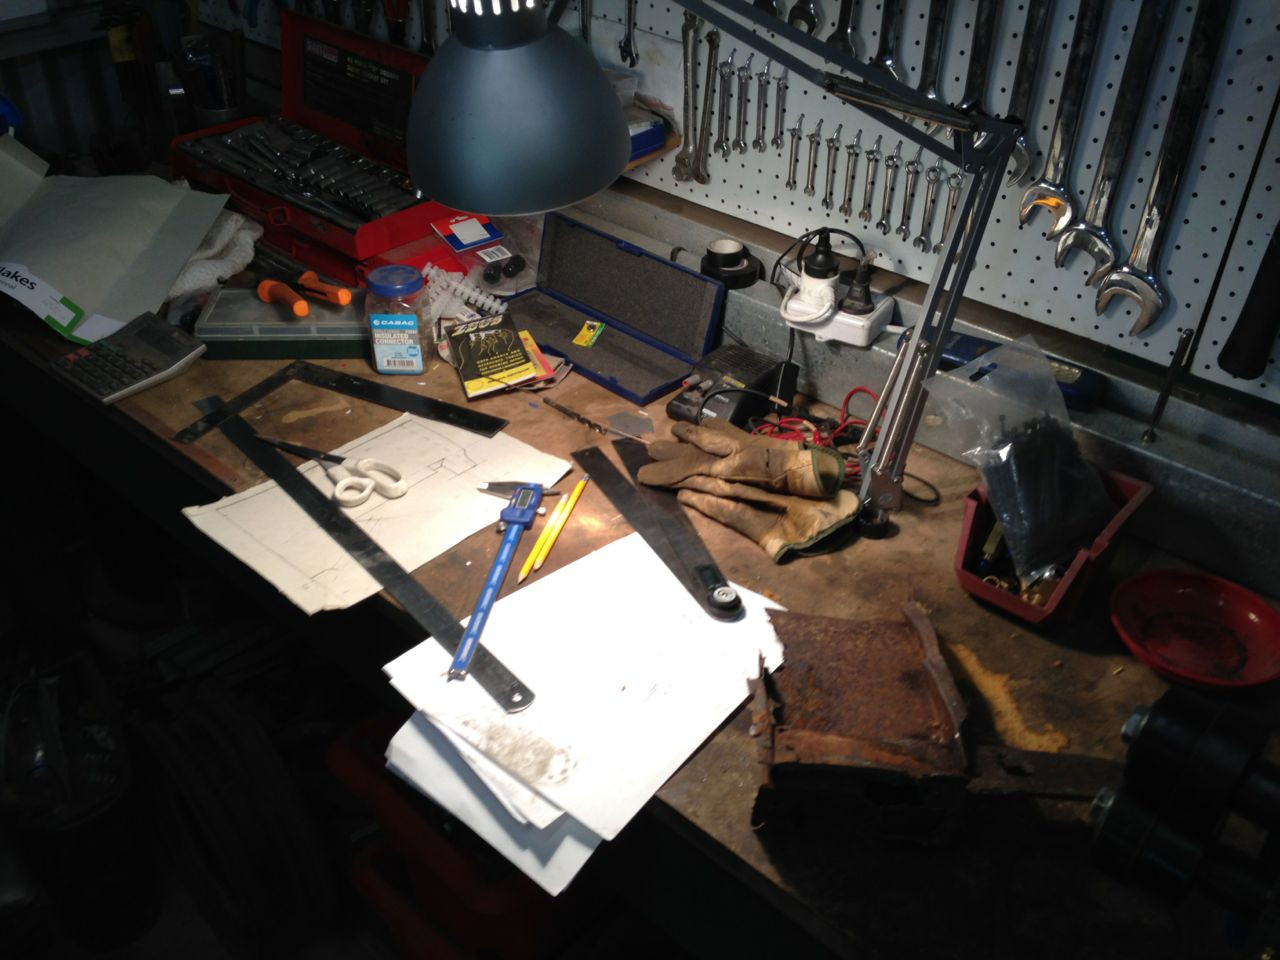
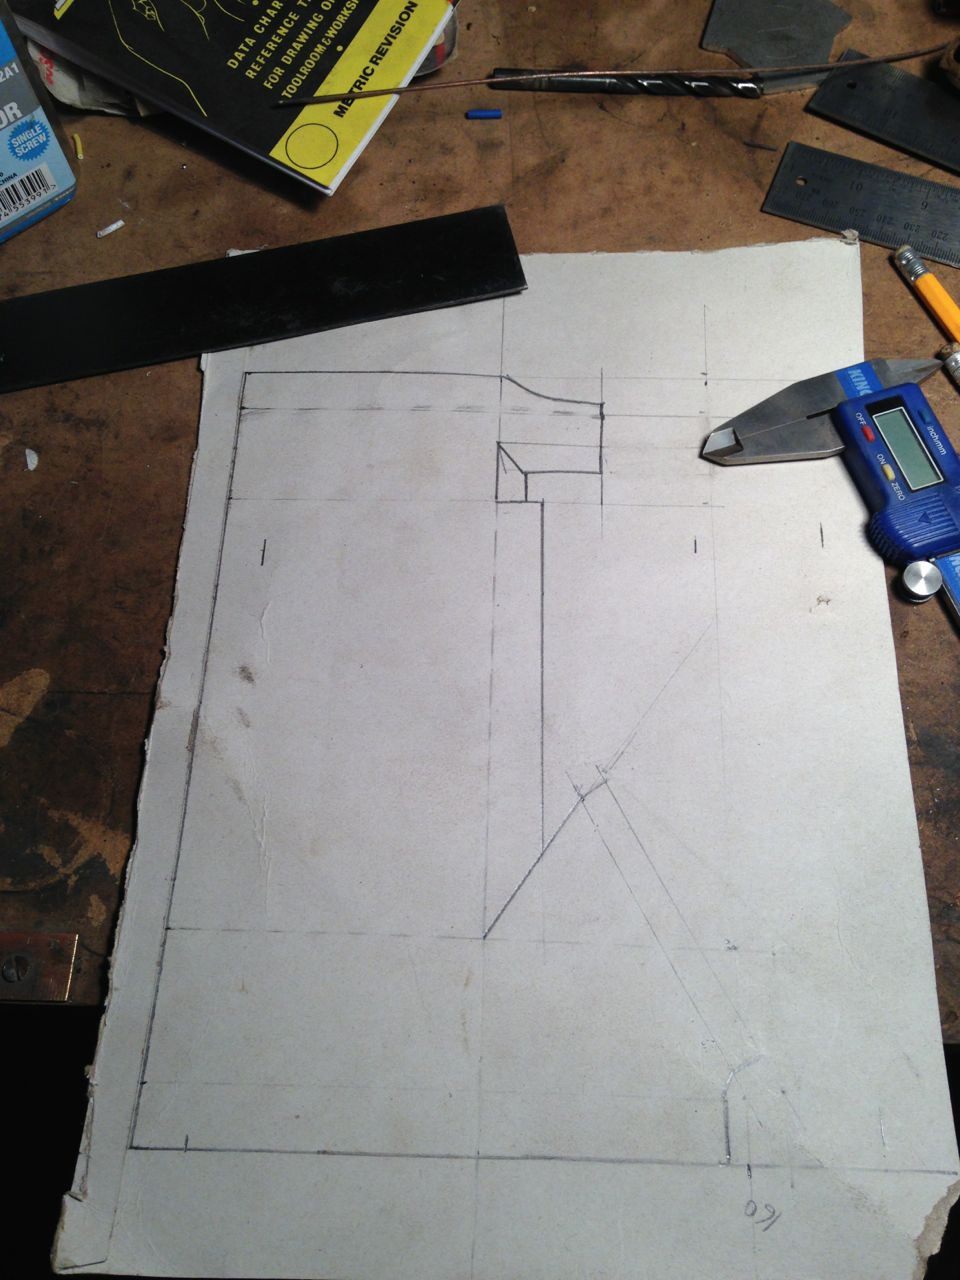
I started off by taking some measurements and making a sketch. I noted the dimensions on the sketch.
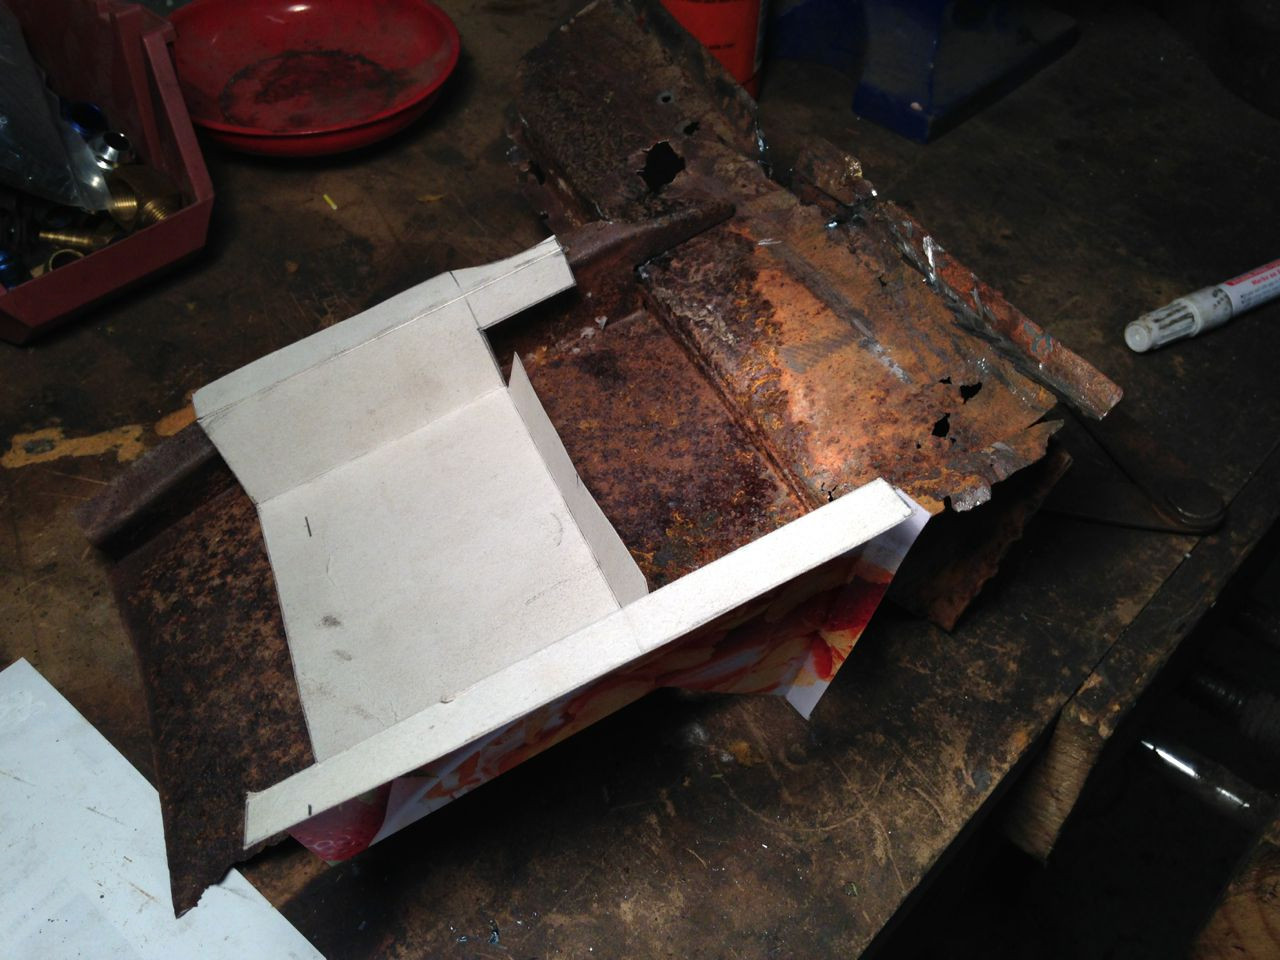
I then transferred the measurements onto a piece of card to make a template.
Once cut out I folded the template up to check for fit
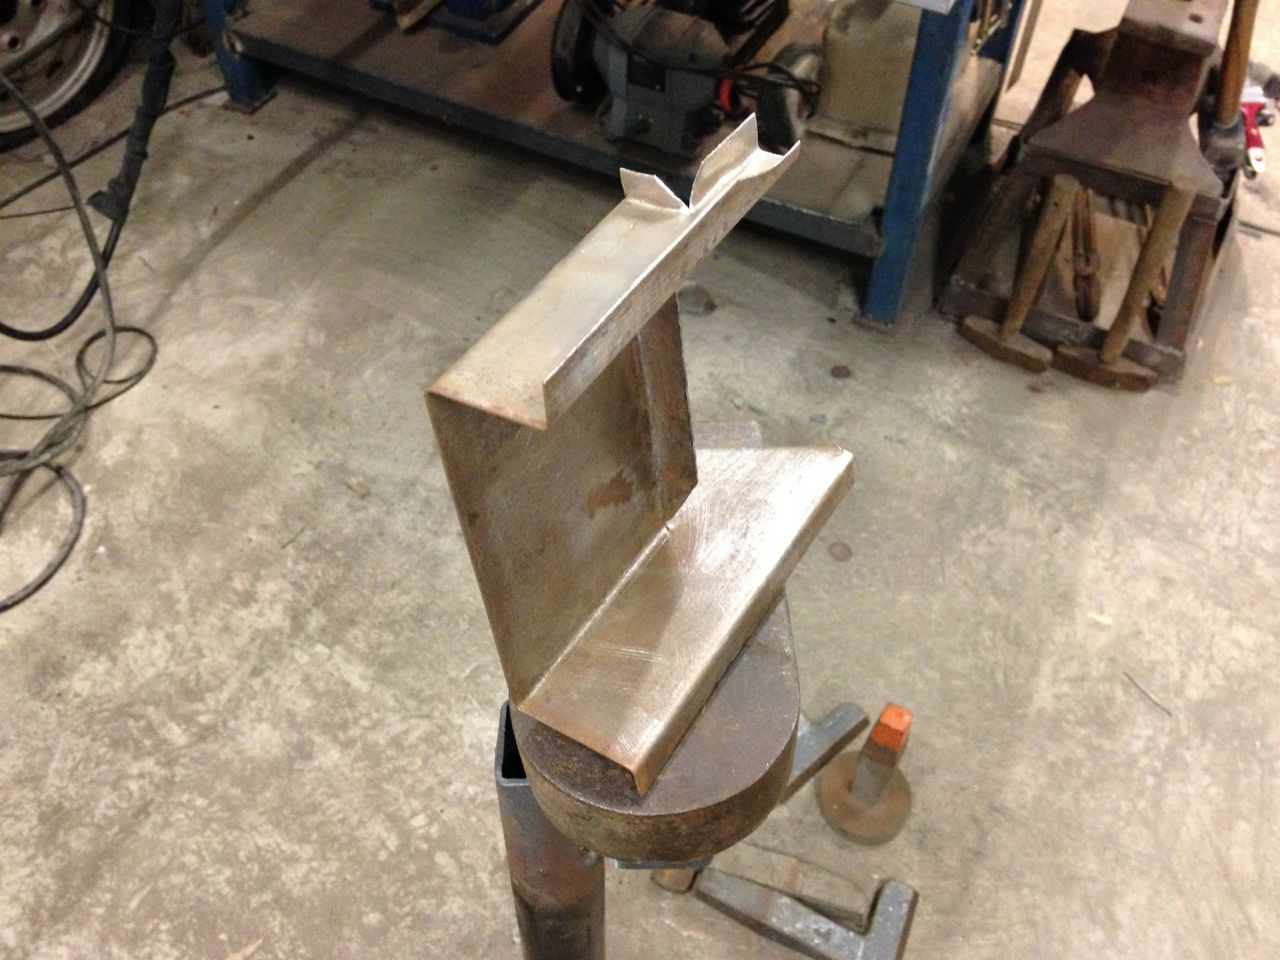
Happy with the fit I then transferred the design onto a sheet of metal by scribing around the template and cut it out. I then bent up the long flanges on the bender and finished off bending up the short flanges on the tinmans stakes. Here's the finished bracket.
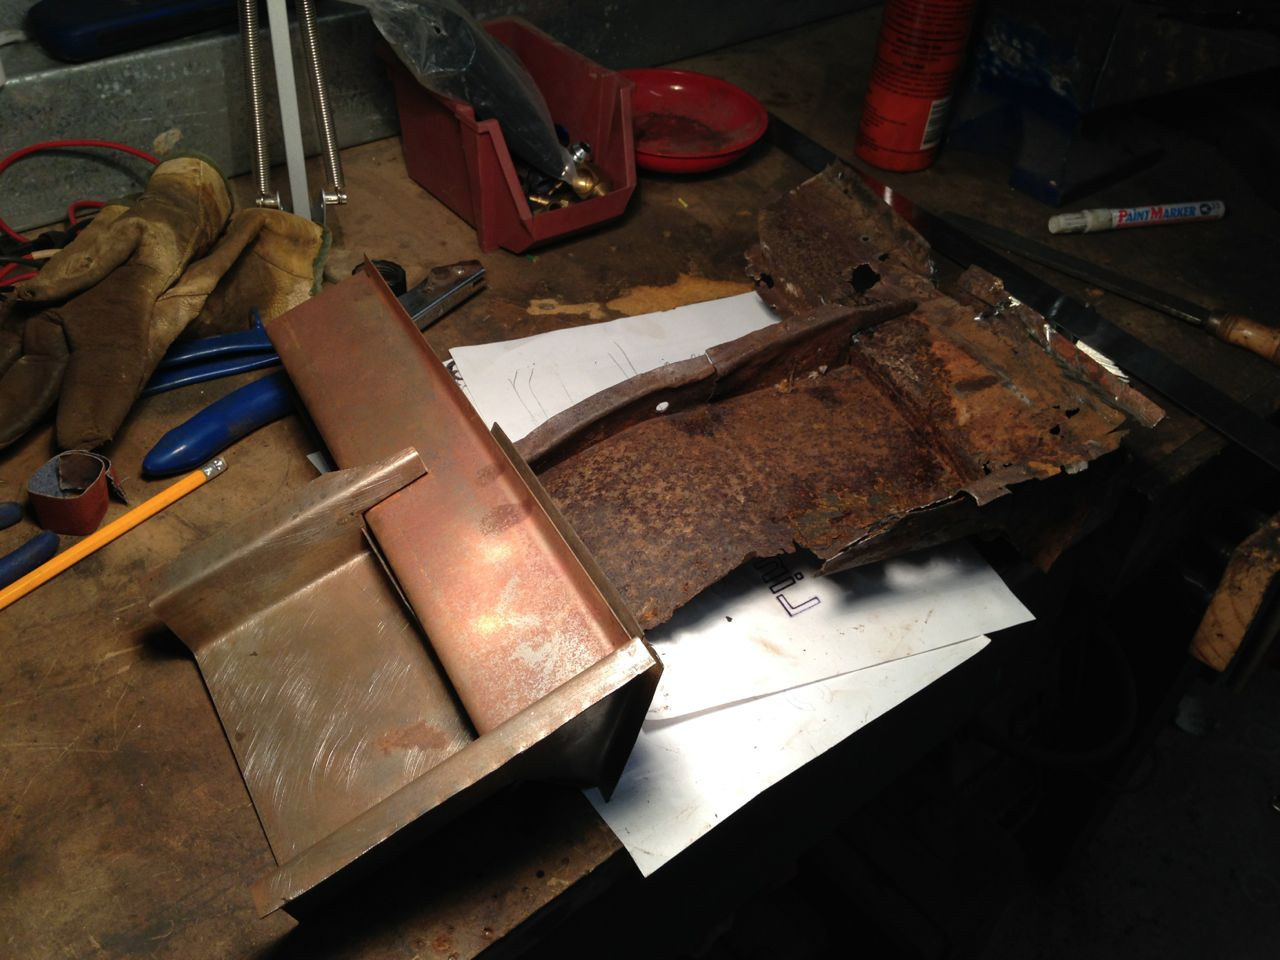
The a pillar sections were pretty straight forward, these were simple rectangular shapes that were bent in the bender to get the correct profile. Here you can see the assembled repair panel next to the original.
The panel still needs to be spot welded together but before I do that I want to test fit it on the bus just in case there are any tweaks and adjustments that need to be made.
Comments