Tinker

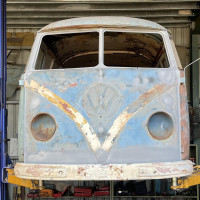
Managed to get out and do a bit more work on the bus today, decided to carry on sorting out the lower nose inner panel. The panel that I acquired unfortunately turned out to be for a left hand drive bus, which meant that to get it to fit I needed to swap over the mounting brackets. The reason for this is that the two chassis rails that it attaches to are not identical and so have slightly different profiles, this means that the mounting brackets are also slightly different.
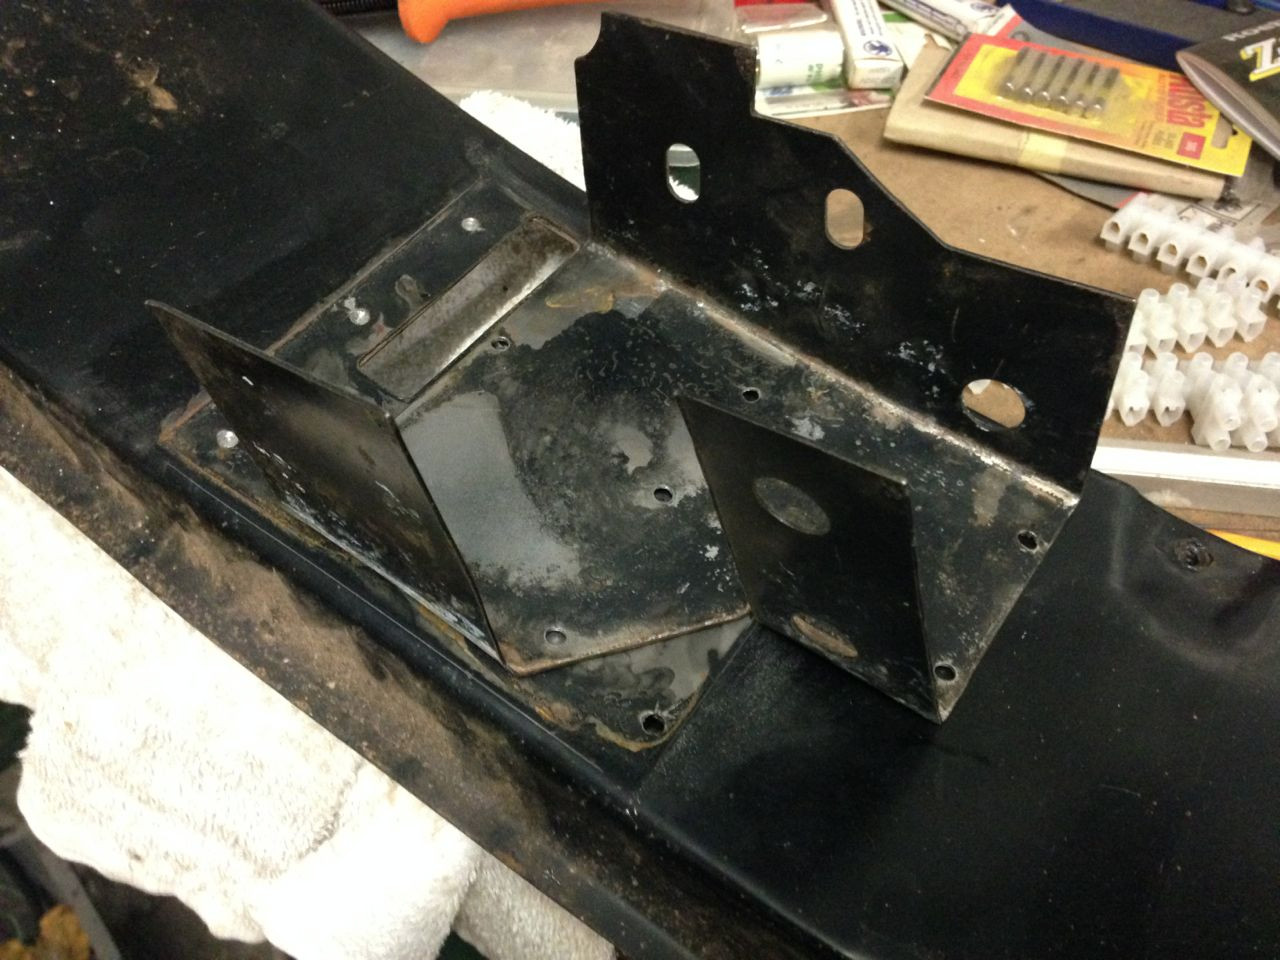
Swapping the mountings over is relatively straight forward. First drill out the spot welds so that you can remove the brackets and then swap them over side for side - this would be all that's required except that as the drivers side chassis rail is not symmetrical and the bumper bracket holes are not central you need to modify them to fit.
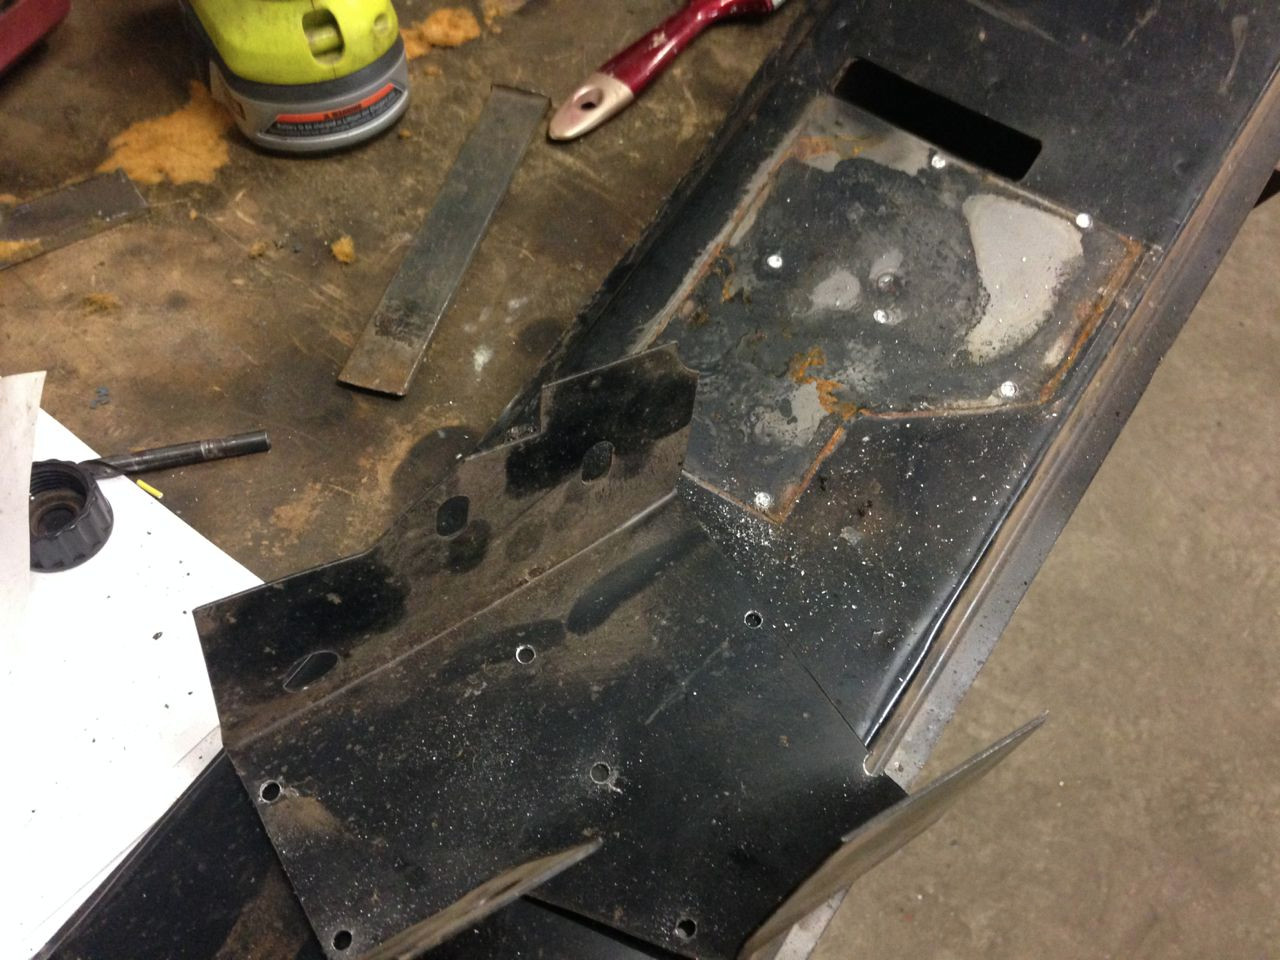
I decided that the easiest way to make the modifications was to straighten the drivers side mounting bracket out and then re-bend it the opposite way. As the passenger side bracket is symmetrical it only requires cutting the bumper mounting hole in the correct position. First I marked the position of the existing folds with paint pen and then straightened the bracket out on my anvil. I then used the press brake to bend the long bend back into the panel in the opposite direction.
To finish off the other bends I needed to dress them in using a hammer and tinmans stake. As usual this meant finishing another job that I had been avoiding for doing, in this case making up a stand for my tinmans stakes. It's funny how most jobs seem to take up 75% of the time making tools and only 25% of the time doing the actual job. Mind you, I think that this is the part that I really enjoy. As my dad always say - use the right tool for the job.
For those of you wondering what a tinmans stake is - it's a fixed dolly that's used by tinkers / tinmen to shape and planish sheet metal. They come in various sizes and shapes and generally have a tapered square base that is used to secure them in place in a square hole - most often in a bench. They are very similar to hardy tools that you might see on an anvil but are not used for smithy work. You can easily make your own tinmans stakes using shaped pieces of metal. Generally you would shape these to suit the job you are doing and range from simple square shapes to round and even spherical. I keep meaning to make one from a tow ball to help shape curved panels - maybe now that I have a base made up I will.

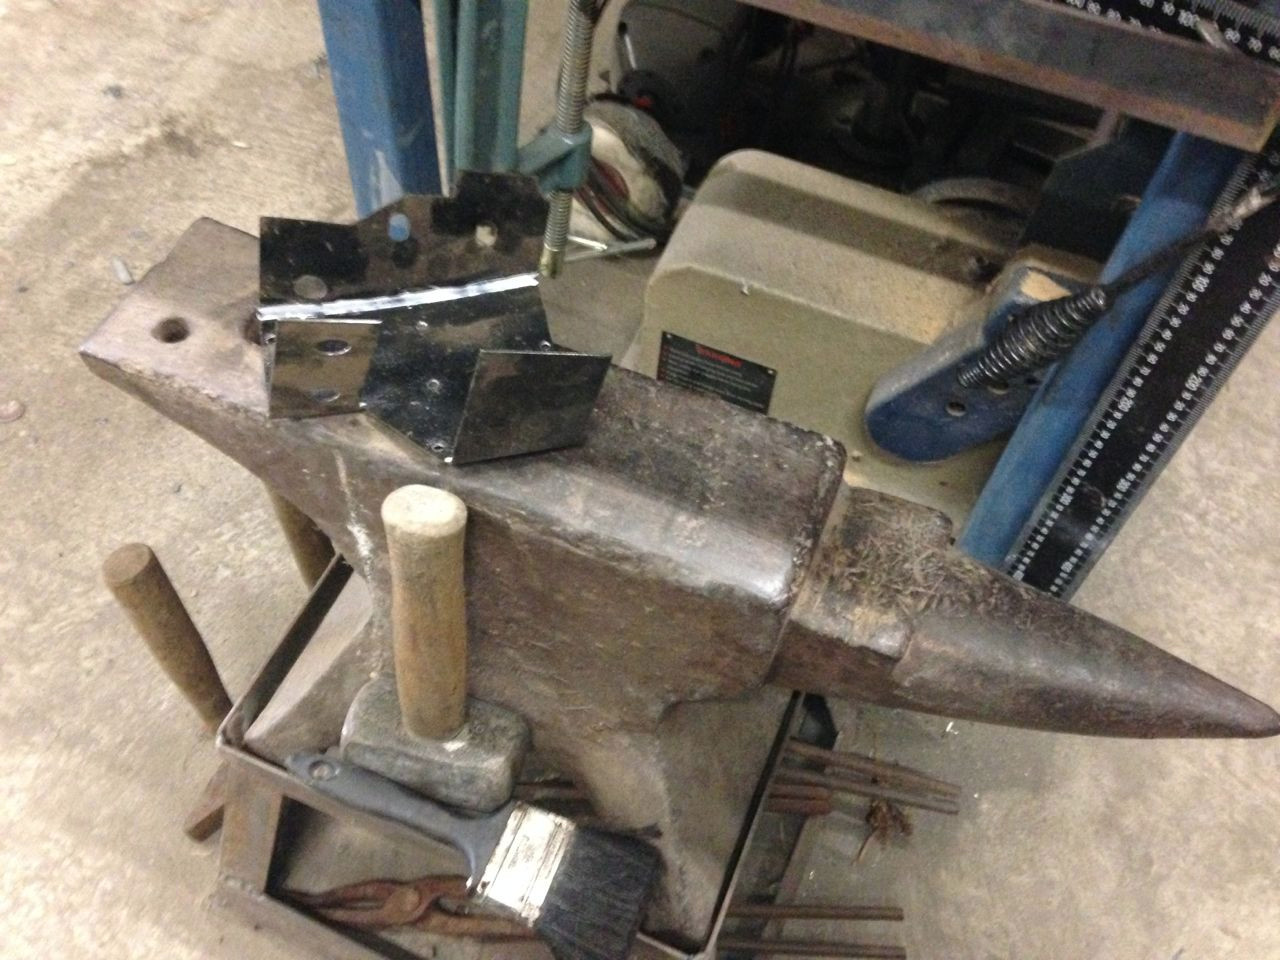
I made up a stand from an old beetle brake drum and some black steel pipe which I heated up with the oxy and formed into a square end to take the stake. I also welded a bit of 50mm RHS to the side of it to take my larger stakes. This is the result.A nice sturdy base with lots of access and easily moveable - great for setting up next to the job, plus if I need it to be a bit sturdier I can always bolt an old rim onto the drum.
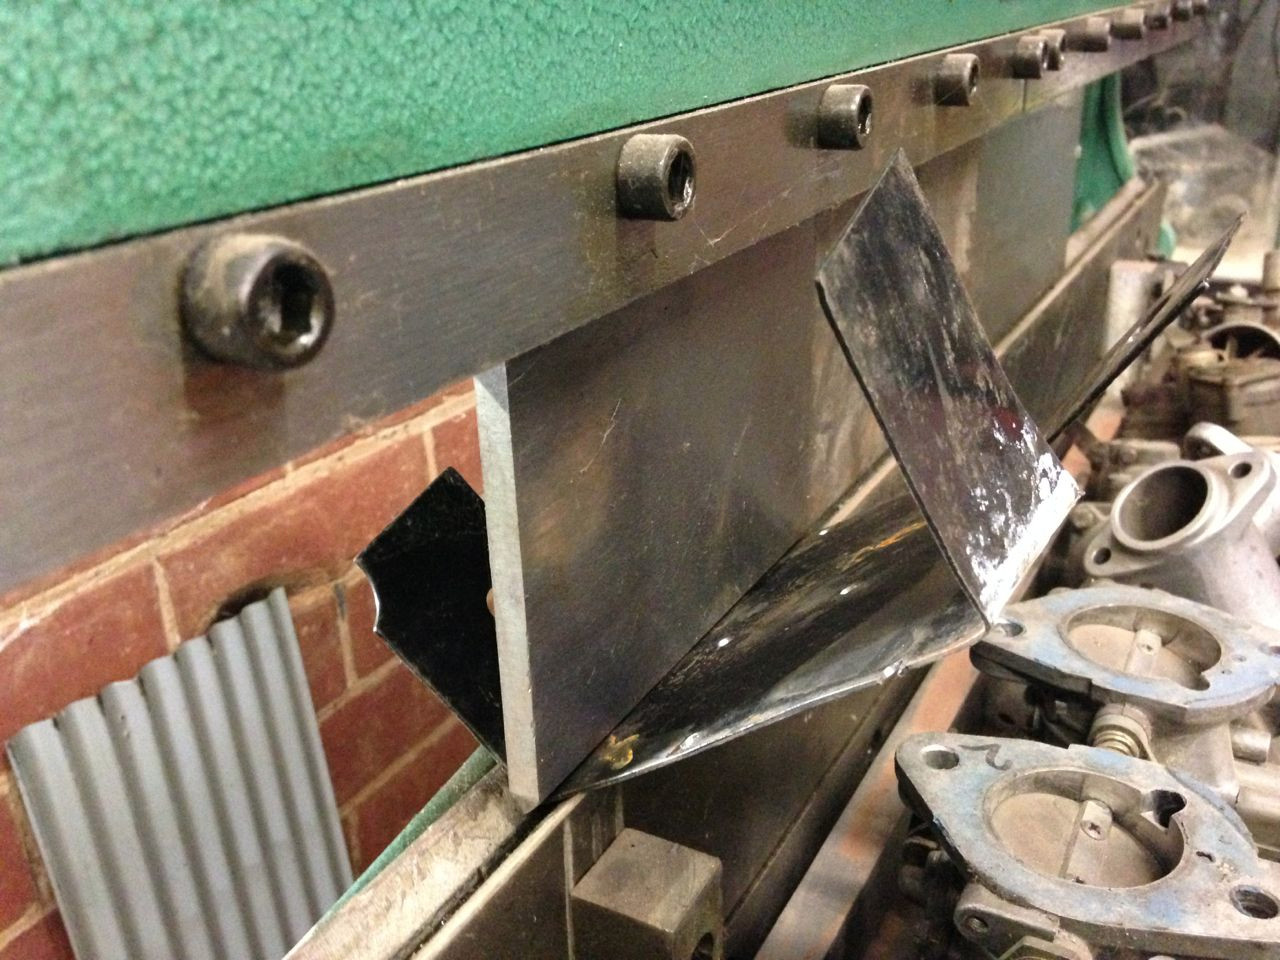
So with the stand finished i bent the other two bends into the bracket and offered it up to the inner panel
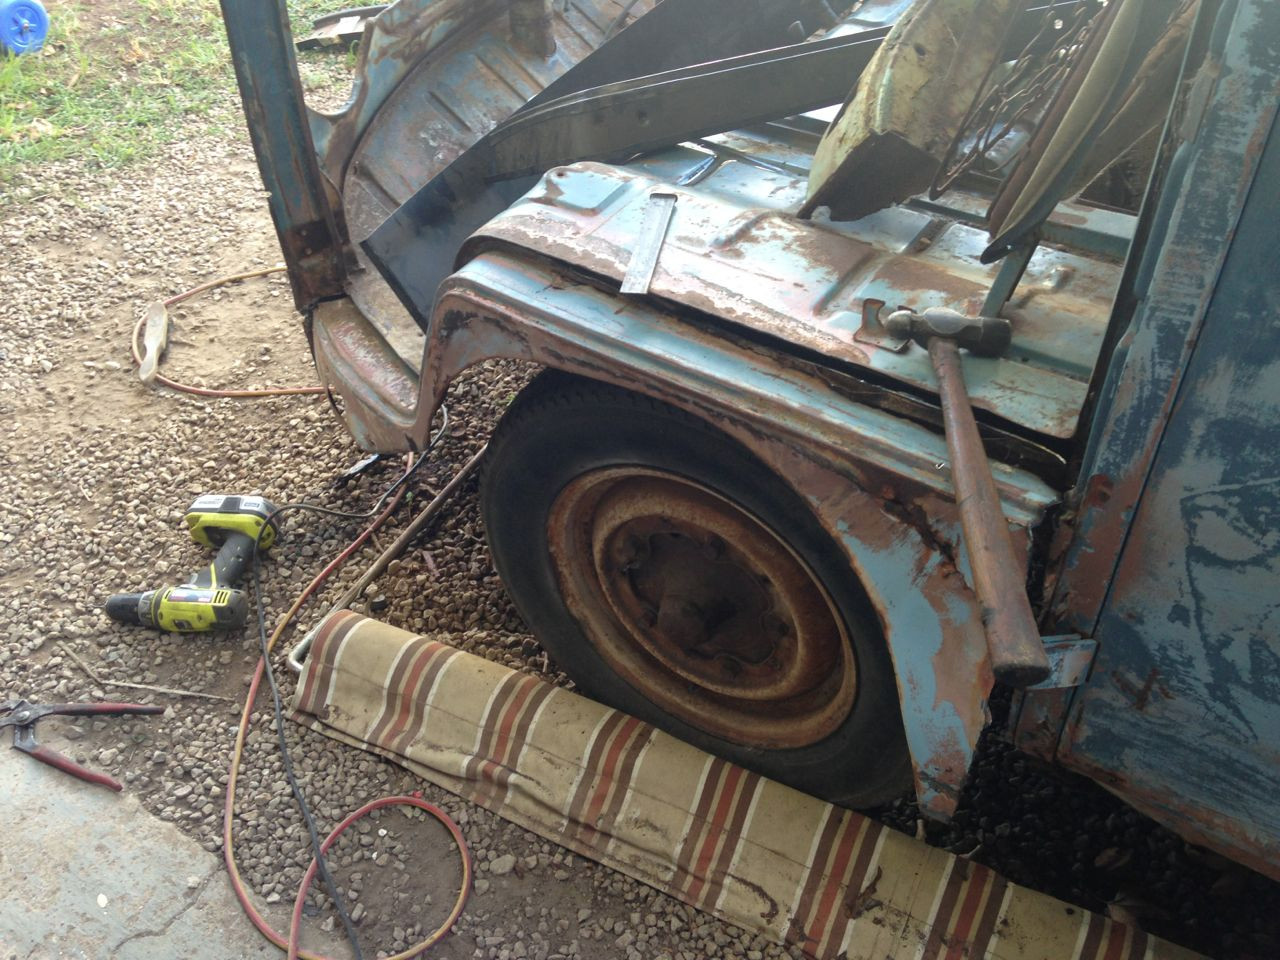
Before I finally weld the brackets into position I will offer the panel up on the bus to ensure that everything fits properly. To do this I need to finish removing the remains of the old inner nose panel and also sort out the bottoms of the a pillars.
Next up I decided to move onto the bottom of the passenger a pillar. I decided to remove the a pillar from just above the hinge mount but to stagger the cut to retain some strength. This also allows for easier replacement as it allows me to clamp the repair panel in place on the seams. To get access to cut the a pillar off I had to cut some of the floor away but as this is going to be replaced it was not an issue. This also meant cutting off the dog leg which took no time at all using the chisel I made last week.

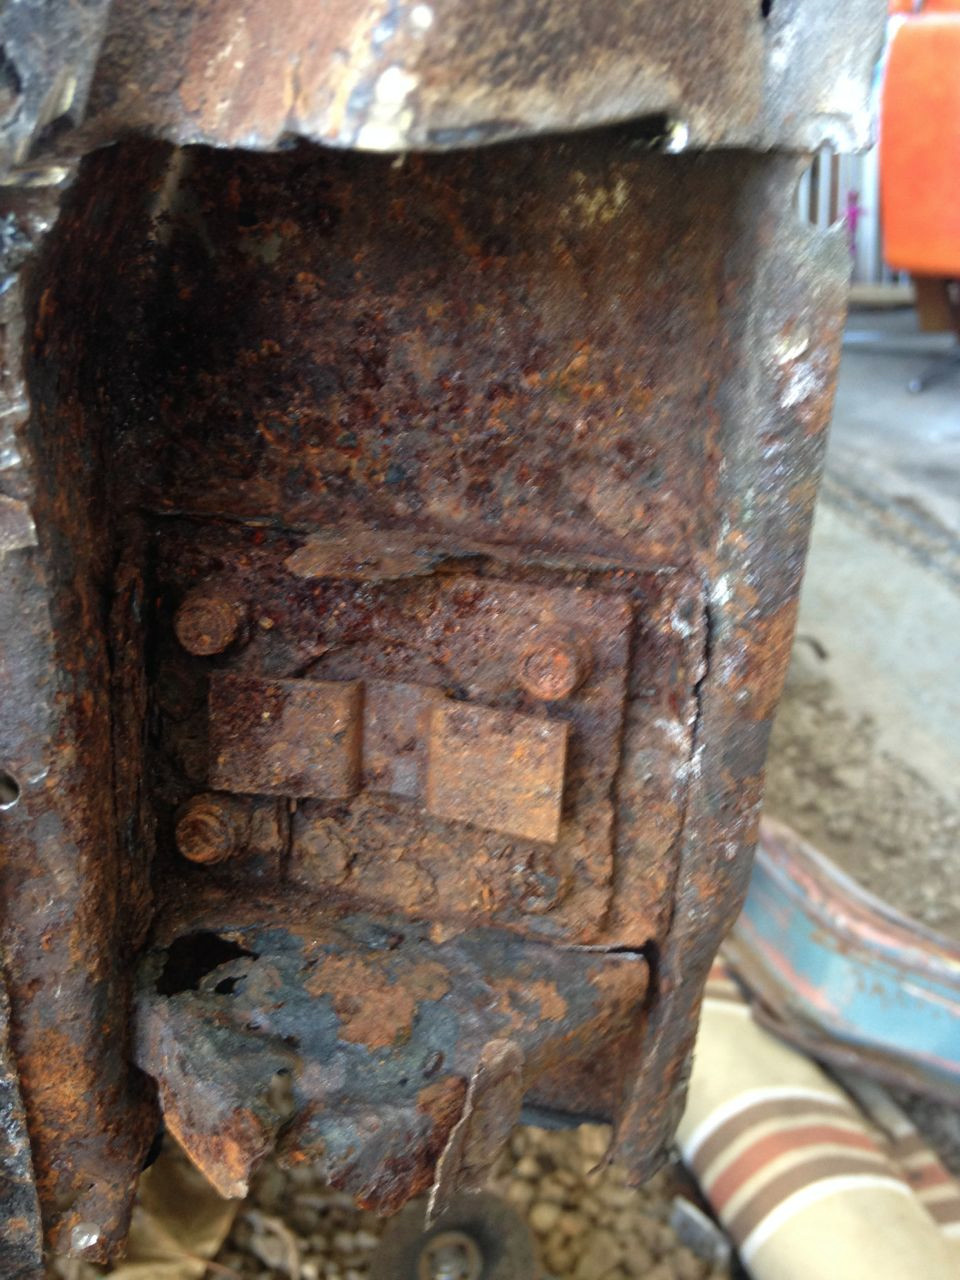
With the dog leg removed I was then able to cut the bottom of the a pillar off which gave me access to the rear of the door hinge. The captive threads on all of the hinges were seized and so will all have to be replaced. Cutting the a pillar above the hinge allows me to easily fit a new hinge plate as well as give me access to make a new supporting brace - very important if you don't want your doors to be saggy. I'm guessing that the top one will be in a similar state.
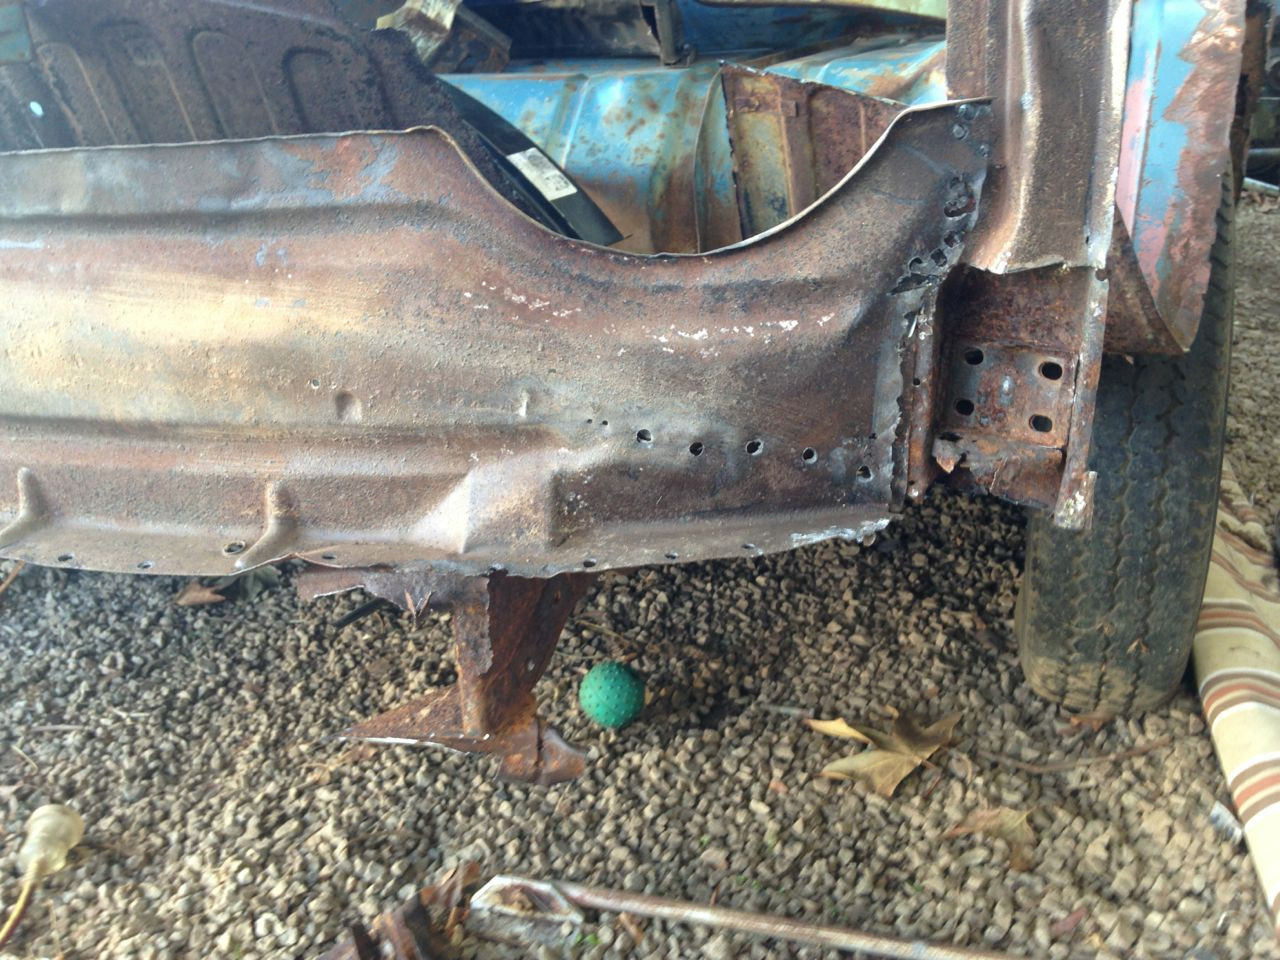
That's about where I got up to today. I managed to clean up the front of the chassis rails a little but still need to carefully remove the remainder of the old lower nose panel. The front of the chassis rails are very good with no rust in them at all, all I really need to do is to remove the old mounting brackets so that I can mount the new inner panel. I also need to extend the inner panel a little on each side and fabricate the end panels, something that should hopefully not be too hard when I get the plasma cutter up and running properly.
Tomorrow I will continue on with removing the old inner nose panel brackets and might make a start with fabricating the a pillar repair panel. Unfortunately I'm stuck waiting for some 40 amp nozzles for the plasma cutter so will have to cut it out by hand. It's a pretty simple panel so I should be able to cut it out with the guillotine. I think I will wait until the nozzles arrive before tackling the end panels, these are a more complex shape so it will be much easier then trying to cut them by hand.
Comments