A nip and tuck and a bit of a nose job

With the long Easter weekend I managed to get a few extra hours in on the bus. Having already cut off the front panel and one dogleg, and made up an A-Pillar repair I decided to carry on with the front end and take a look at the dented front panel.
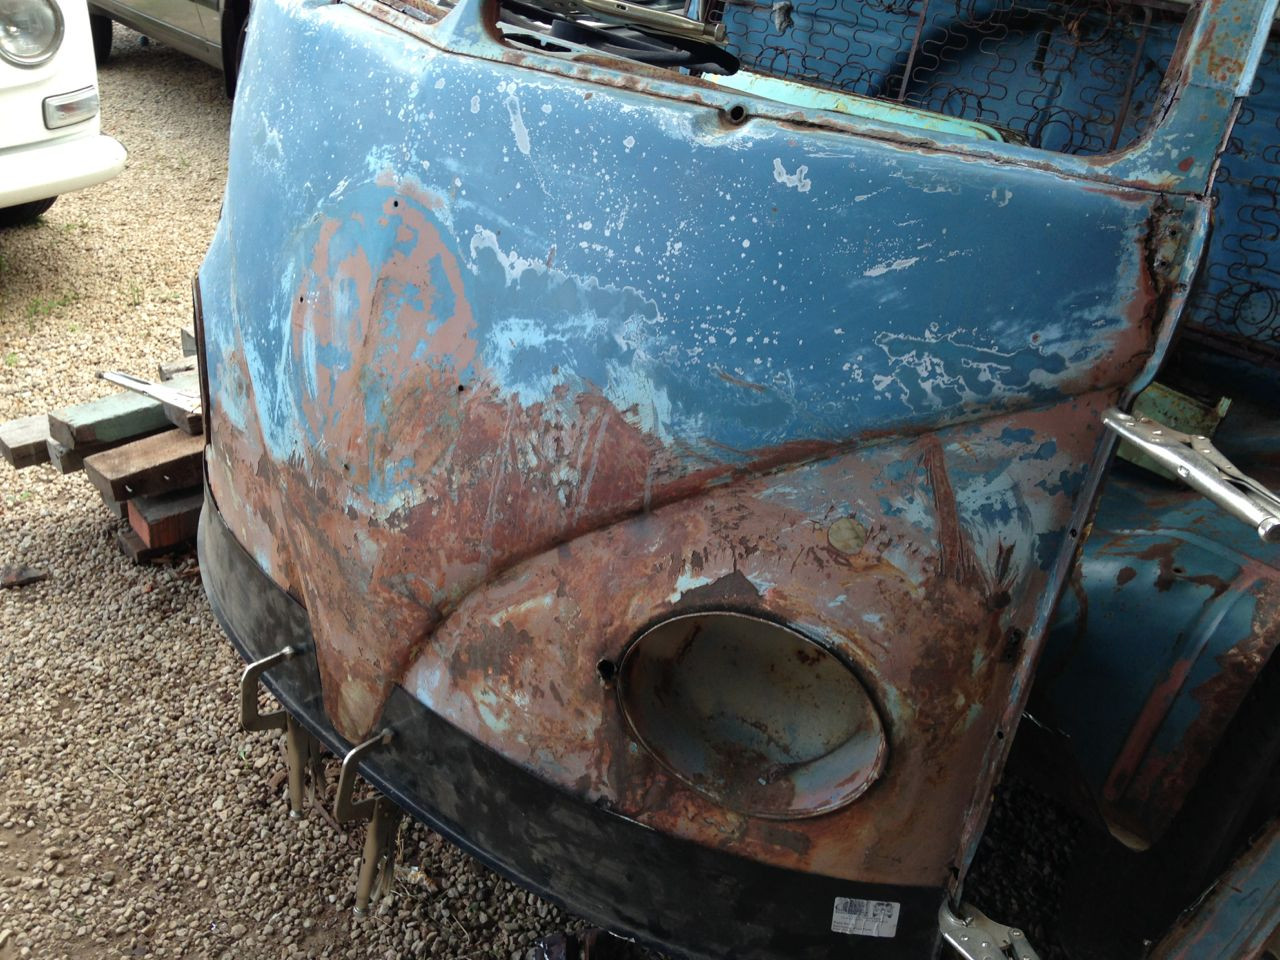
The front nose, like pretty much every other panel on the bus has suffered a bit of abuse and has taken a bit of a pounding. Not only is there current crash damage, but there are also some previous repairs that have rusted out and need to be repaired.
As the plan with the bus is to retain the ratty patina, the goal is to refit the front panel after the rest of the repairs have been completed. Only issue with that is that the front panel has definitely seen better days, in fact if it wasn't for the patina it really would not be worth saving.


So armed with my hammer and dolly I set to work reversing the previous crash damage and trying to return the panel into some sort of shape resembling the original. The idea with straightening panels is to try and reverse the damage. Whilst this may sound like stating the obvious it is actually literally what you need to do. The best way to do this is to try and envisage how the damage was created, where on the panel the main impact was and what shape. Then you need to start from this point and gradually work the panel out back to it's original form - just as if the impact was being played in reverse. Of course the hardest part is identifying and interpreting the damage and figuring out where you need hit and push the panel to return the shape back to normal.
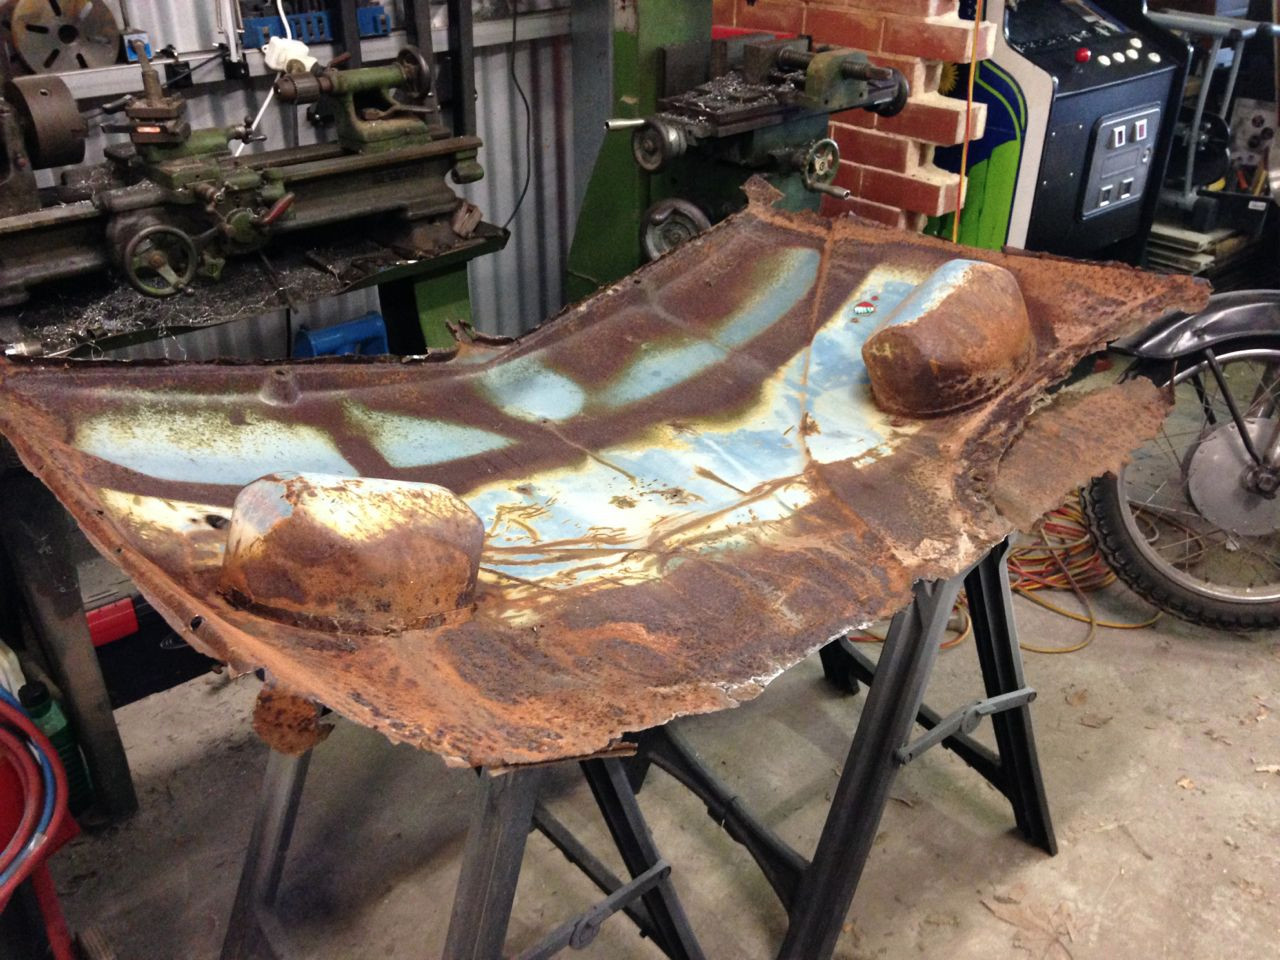
I'm pretty sure that the bus has run up the back of another vehicle and as you can see from the first picture most of the damage was concentrated across the centre of the nose, so that's where I started. Most of the major damage was pretty easy to spot as the paint has long rusted away along the stress lines from the impact. This made it very easy to see where to bring the panel up. The secondary damage was not so easy to spot but was pretty easy to feel with the flat of the hand, this included some dents further up the nose that may have been unrelated to the main impact. After about half an hours work here's what I ended up with.
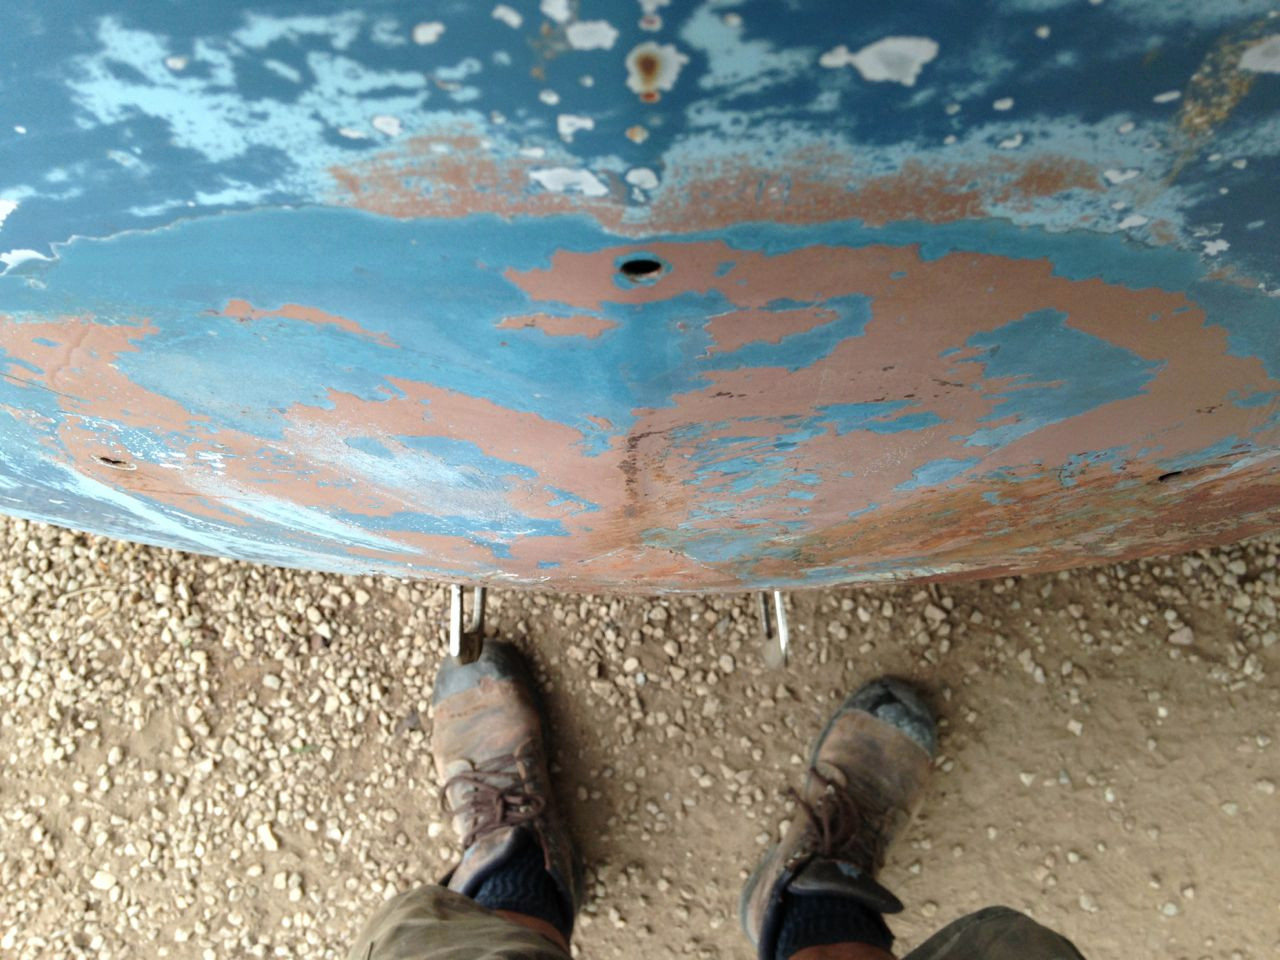
You can see the darker lines of rust across the nose where the main impact was has now been brought back out to somewhere near it's original form and ignoring my boots, from above you can also see that the nose is no longer flattened. There is still a lot of minor dolly work to get all of the smaller imperfections out but this also comes at a price as it damages the paint. I plan to dome some more straightening but will probably leave some imperfections in so as to retain as much original paint as I can.
There are also some repair panels that I need to fabricate. The bottom 6 inches needs replacing, fortunately I already have a panel for this. The top corners also need replacing but I will have to make up some repair panels. The bottom of the screen is pretty bad and ideally needs to be replaced but I will likely see if I can salvage what is there. There is also some some other patches to make where holes have been cut.
With the front panel pretty much done for the time being I turned my attention back to the A pillar. There were some minor modifications that I had to make to the panel to get it to fit correctly. The main modification was to form the top of the panel in so that blends in with the existing A pillar. I did make a tucking iron to help shrink the metal at the top but in the end I simply opted to straighten the top of the panel out and put it into the shrinking machine.
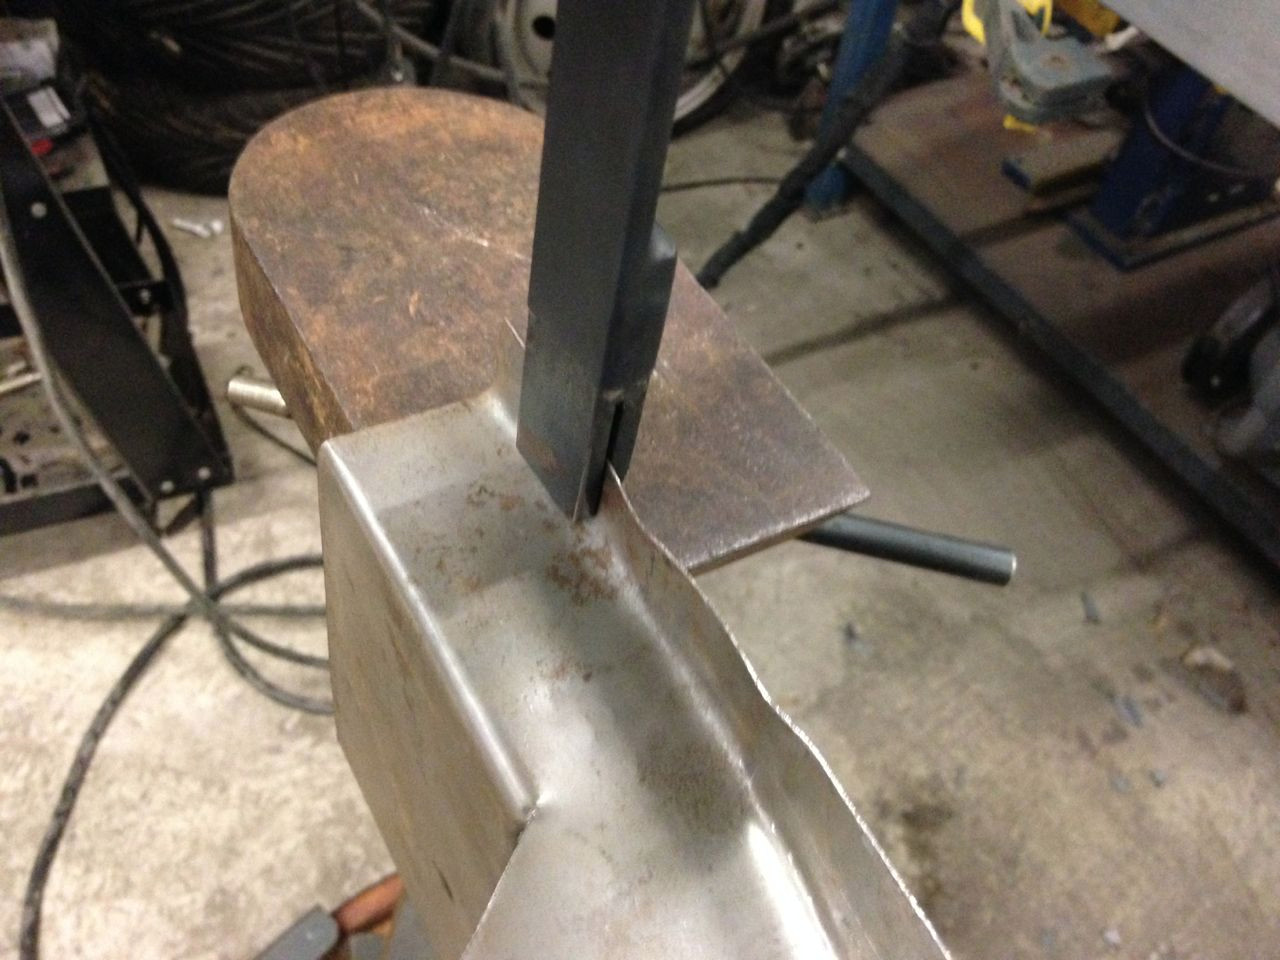
I also needed to move the lower flange in a little. Originally this had been bent on the bender but now that the rest of the panel had been formed it was not possible to re-bend the flange this way. Instead I opted to make yet another tool (can you guess I like making up tools). I'd previously seen these at the Peter Tommasini course I attended and decided to make one up. It's simply two pieces of flat bar welded together with a gap in between. You simply use it to bend the flange in by hand. Once bent in you can also use it like a chasing chisel to help dress in the radius of the bend. Very simple and very effective.

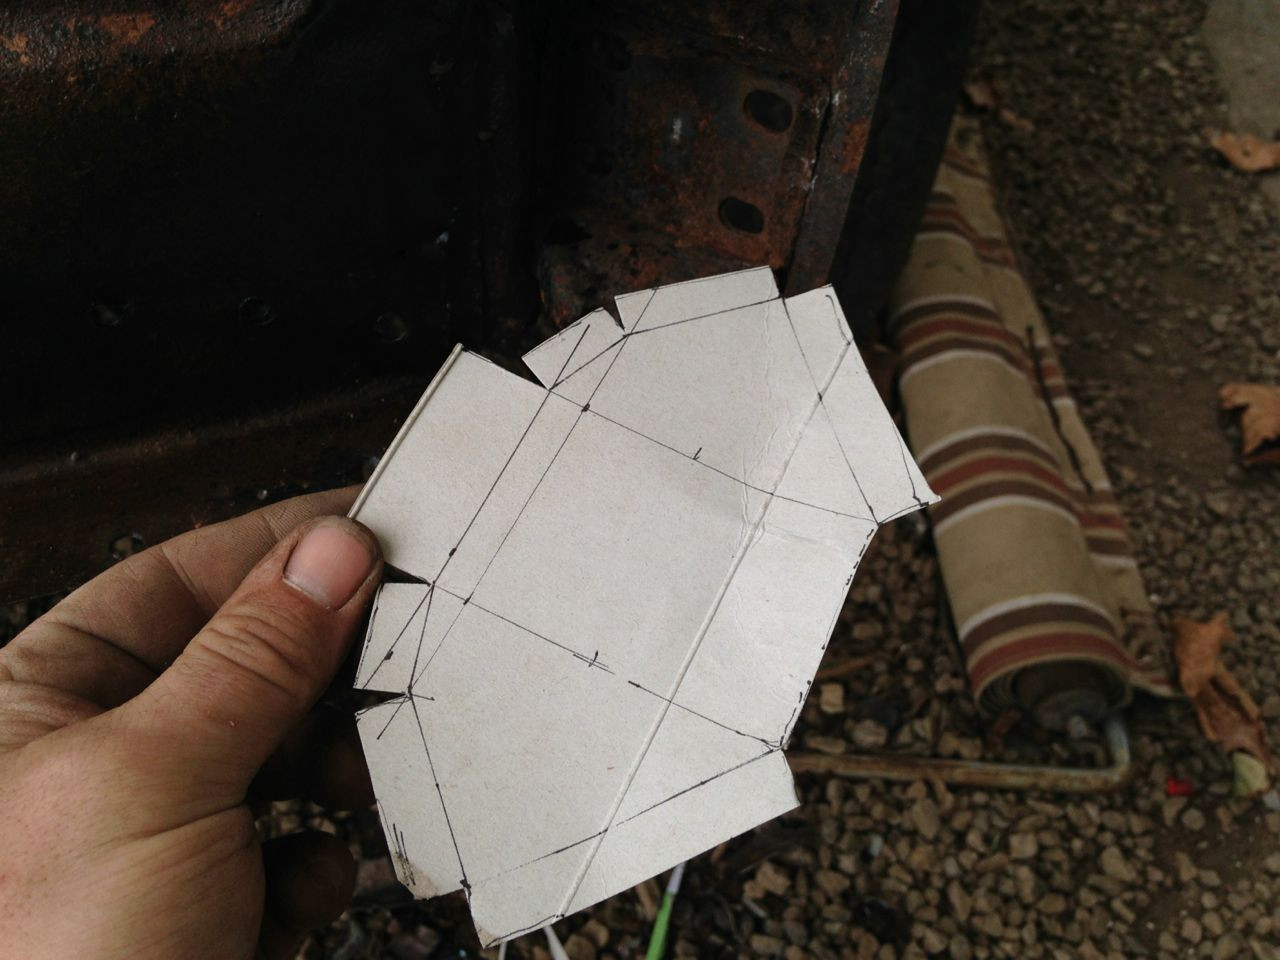
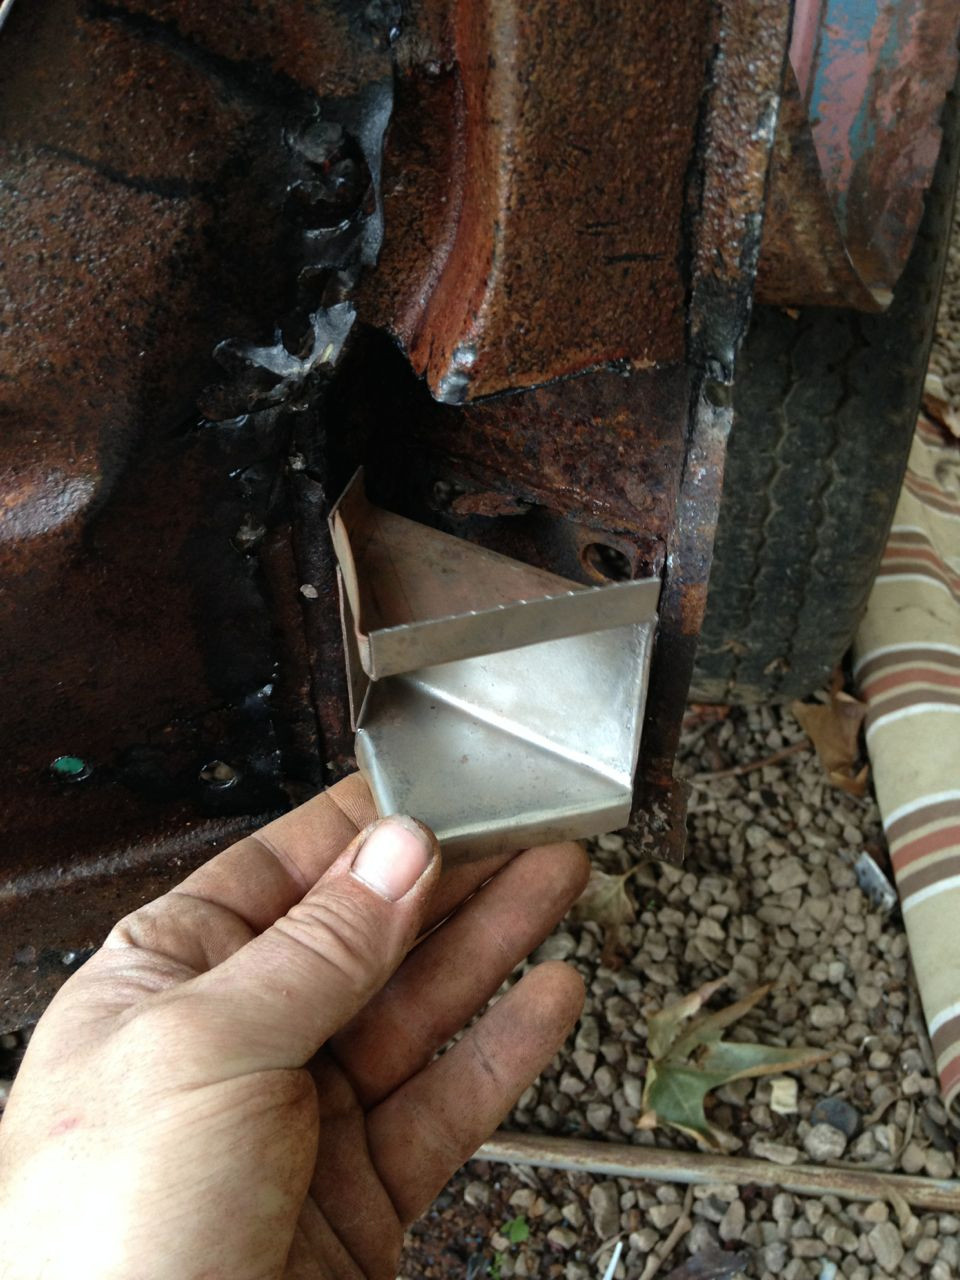
With these mods I'm now pretty happy with the panel and consider it mostly finished - well at least until I've offered up the inner nose panel. I also took the time to make up a repair panel for the inner hinge support. I first made a template and then transferred this onto metal. I then put my new tool to good use bending up the panel.
And the finished part
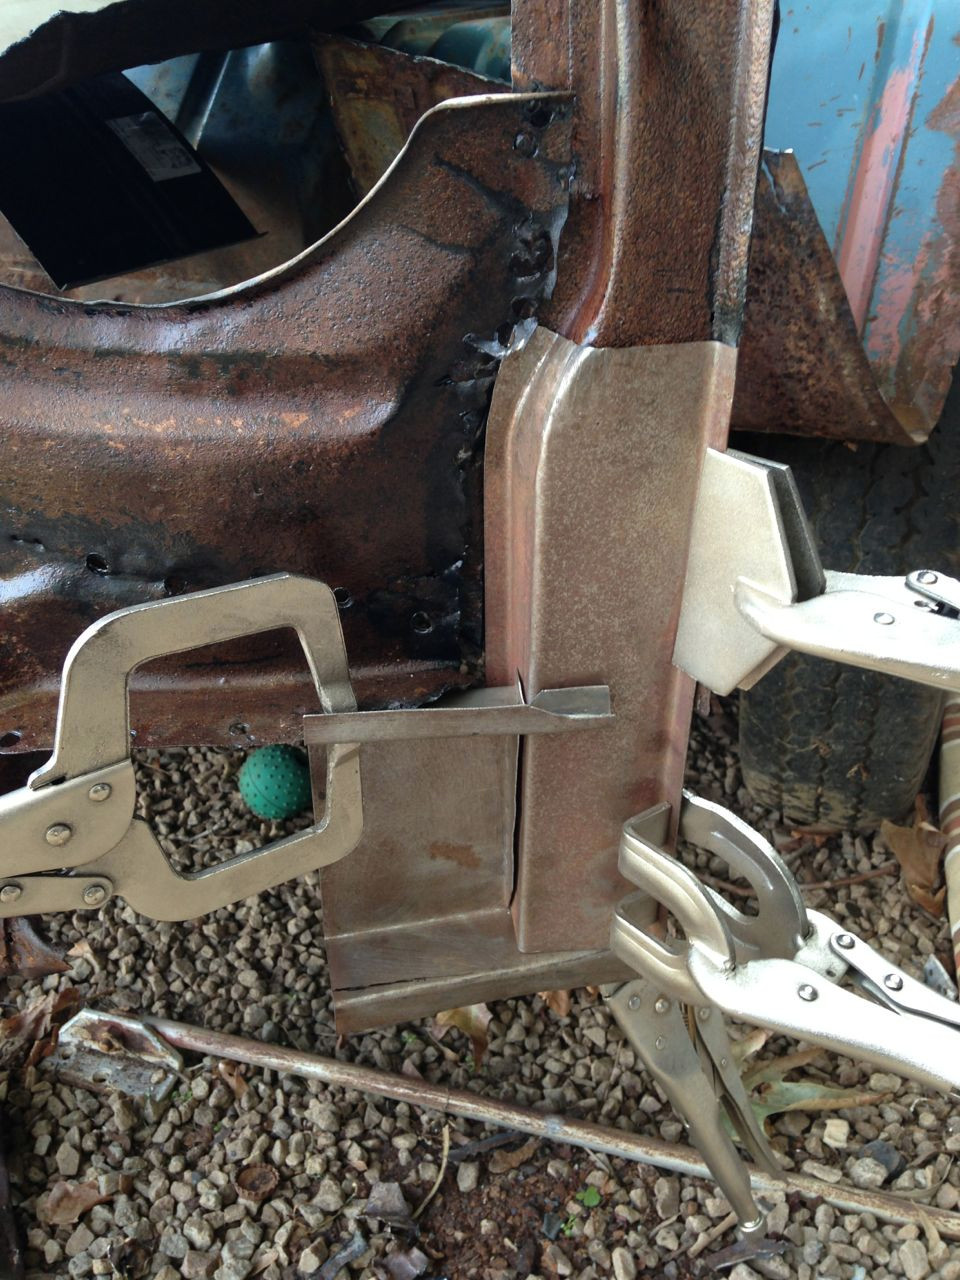
And here is everything offered up and clamped in place. (Actually this was shot before I altered the bottom flange but you get the idea)
I'm getting my confidence up and am pretty game to try and make the complete A pillar for the drivers side. I recon that if I split it up into several pieces I should be able to make something that resembles what I require. It might not be perfect but I figure that as long as I set the door shuts correctly when I weld it in it should be good enough. First off I need to order dog legs and look at making up some B pillar repair sections as these repairs need to be done first. Also trying to figure out if I am game enough to try and tackle making up a dog leg myself. Will have to wait and see.
Comments